How to Make a Picture Black and White
July 11, 2023

Learn how to easily make a picture black and white with Luminar Neo through its filters and presets.
One of the conveniences of digital photography is being able to capture images in color, then if you wish, convert them to black and white pictures. Luminar Neo adds further creativity to this process through its extensive use of filters and presets. And if you want to make really mind-blowing black & white photos, follow this link for more information.
1. Switch to the B&W Workspace
With our detailed tutorial, you can learn how to make a picture white and black without any difficulties! So, when you first open the color image in Luminar Neo, switch to the B&W Workspace as shown in Figure 1. This provides you with the basic tools to create black-and-white photos. If the photo needs some adjustment, do that using the Exposure/Contrast filter.
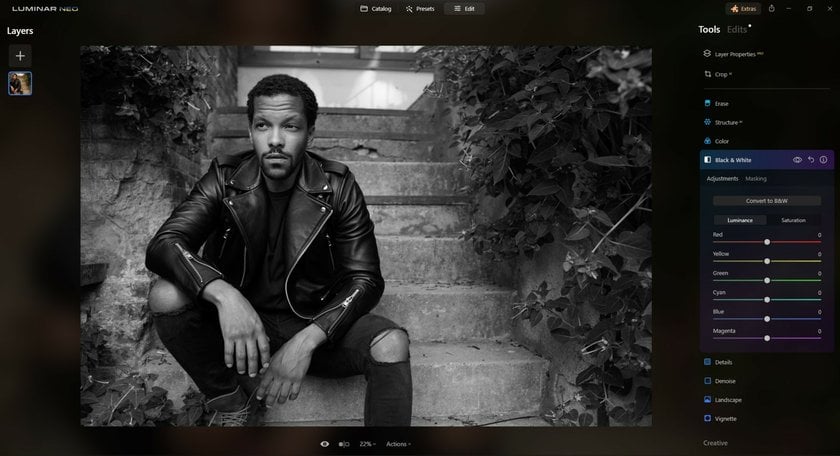
2. Use B&W Color Filter
You can see different color settings. Luminance helps to make the colors you adjust brighter or dimmer. And Saturation helps to keep the colors you choose from being black and white. So just fine-tune your choice with the sliders in the filter to get the effect you want. Also, you can create a layer mask to create a color splash effect on specific parts of the photo.
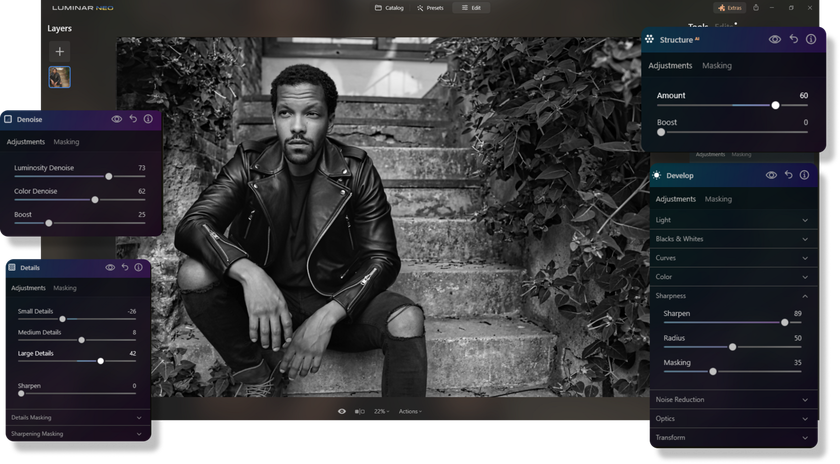
Add the finishing touches to your photo using Details, Structure, Sharpening, and Denoisesliders. These help bring out the textures that are so important in a monochrome image. With a few tweaks, you can create truly stunning black-and-white photos with Luminar Neo.
3. Use B&W Presets and Filters

Another approach is to tap the excellent black-and-white Presets included with Luminar Neo. You can enable those using the Presets button in the upper right corner of the application. There are a variety of monochrome options included with the application. And you can download more or create your own presets for portraits.
To enable a black and white preset, click on its thumbnail and your image will transform to the new look. The advantage of this approach is that you can compare a variety of black-and-white conversions quickly. Once you've settled on one that goes the direction your want, then you can fine-tune it using the sliders in the Presets panel.
If you want to add additional filters to help you achieve the black-and-white look you want for your photo, then click on the Mood in the Creative tools to reveal the full complement of Luminar Neo adjustments. In our blog, you can also find various photo overlays for edits and even Photoshop tutorials.

4. Export Your B&W Photo

Check your work using the before and after curtain to compare the original to the modified photo. If you're satisfied with the black and white photo, go to File > Save to save your working file. This allows you to return to the project for further fine-tuning, with all of your settings in place.
Advanced yet easy-to-use photo editor
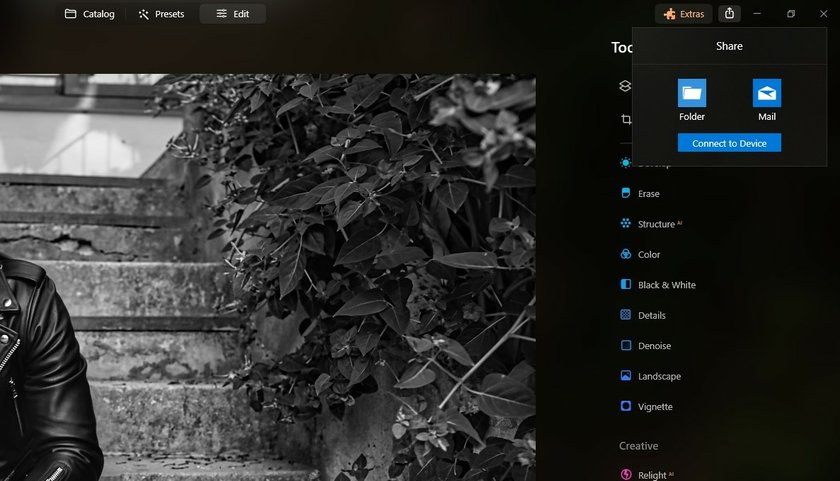
Get Luminar Neo NowAs for the image itself, you can use the Export command to send a JPEG, Tiff, or other file format image to your computer's desktop for sharing with others. By the way, you can also find the best organize photos software in our blog.
Wrap-Up
Now you know how to turn an image black and white. Don't be hesitant to experiment and be creative with your black-and-white images. Luminar Neo is a non-destructive image editor that allows you to return to any stage of the photo editing process. Simply click on the History icon in the top toolbar to review all of the adjustments you've made to that point, then go back anywhere in time.
Transform Your Photos into Classic Monochrome
Try it in Luminar NeoWhen it comes to editing black-and-white images, many photographers debate Capture One vs. Lightroom for the ultimate precision and control of overtones and contrast. Follow this link to another article in our blog for more details.
FAQ
How Can I Make a Color Photo Black and White?
To transform your photos to black and white, you can use software such as Luminar Neo, Adobe Photoshop, or Lightroom. Open the image in the editor, find the Black & White or Grayscale option, and apply it. Adjust the sliders or settings to fine-tune the tones and contrast until you get the black-and-white effect you want.
How Can I Turn a Color Photo to Black and White in Photoshop Elements?
To edit an image in black and white using Photoshop Elements, open the software and the image you want to edit. Go to the Enhance menu and select Convert to Black & White. A dialog box will appear where you can adjust the settings to fine-tune the effect. Experiment with the sliders until you get the result you want, then save your edited image. This allows you to adjust any photo to perfection.
How Do I Make Images Black and White on My Phone?
You can use several apps that are available for both Android and iOS. Install a photo-editing app, such as Snapseed, Adobe Lightroom Mobile, or VSCO. Open the app and import the picture you want to edit. Look for the option to adjust the image's color settings or filters, and select the black and white or grayscale option. Adjust the settings as needed, then save the edited photo to your phone's gallery.


