How to Use a Handheld Light Meter
April 17, 2023
If you've never used a handheld light meter to dial in your exposure settings, you don't know what you're missing. Here's what it is and how to use it. Our experts have prepared an excellent comprehensive guide on where is the light meter on a camera and why you should not be afraid to work with it.
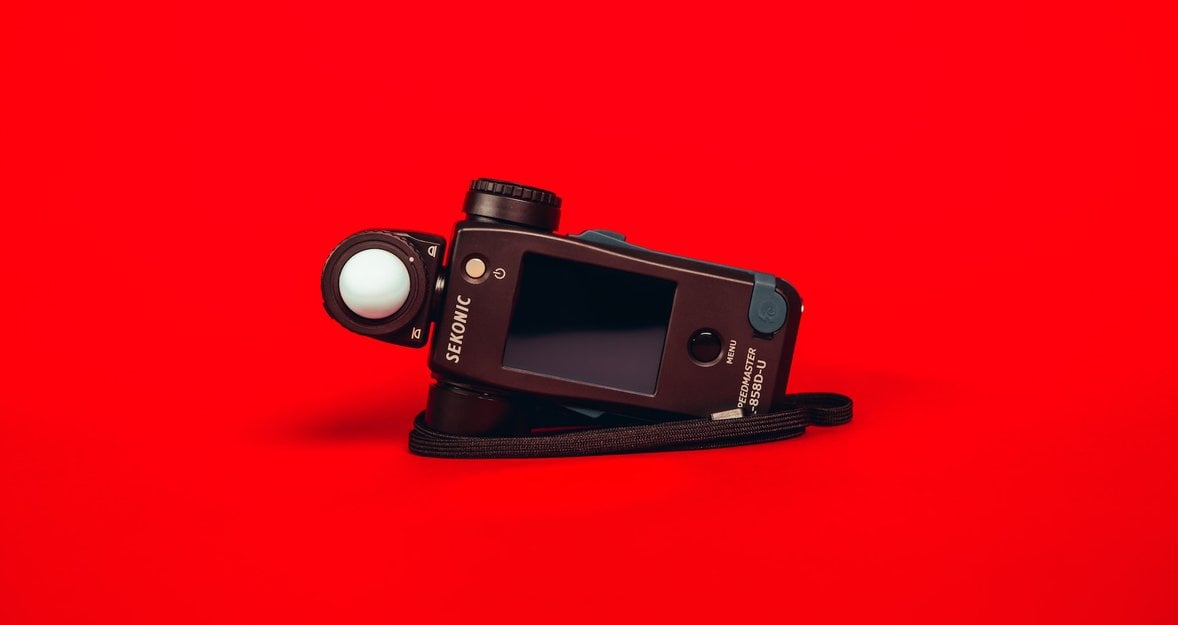
Light meters are one of those pieces of equipment that folks either swear by or refuse to use (or simply know nothing about). Back in the day, they were vital for measuring a scene’s exposure and allowing a photographer to nail their settings dead on. These days, however, most DSLRs come with a pretty well-developed photography meter built inside, and the use of handheld oneshas fallen off. But there are still some pretty good reasons to have one on hand. Here’s why.
What a Light Meter Does
Handheld light meters measure the quality of light in a scene and then break down the results into measurements photographers can use (i.e. f/stop, shutter speed, ISO, etc.). They usually have a number of modes, including reading light that is reflected from a subject, light that falls on a subject or scene (incident light), and the light output from flashes. They’re especially useful when artificial lighting is involved, as they can tell you all the information you need to know about a scene almost instantaneously.
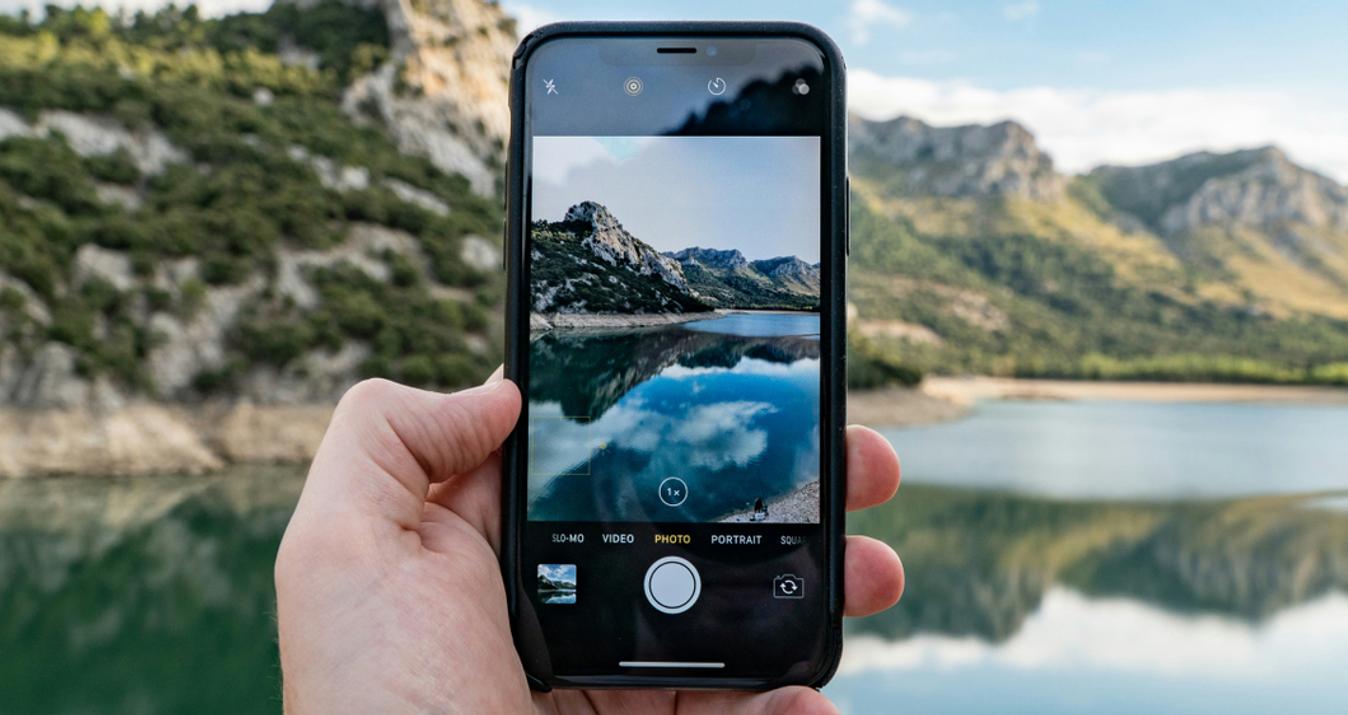
Handheld Light Meters vs Meter in Camera
What is the difference, and why using a light meter would be good for you? Let's start with the fact that the light meter in your camera can only measure reflected light, and as such it’s easily tricked.
Your camera’s meter is calibrated to expose the mid-tone of 18% gray, and for average photos (ones that aren’t too white or too black), this usually works well. But once you get to something that has large areas that are very light or very dark, it will get confused.
How to use an incident light meter? For example, if you’re shooting a black cat on a black sofa, it will overexpose the image. Conversely, if it were a polar bear on snow, the meter will underexpose. And while you can use exposure compensation to deal with these discrepancies, taking an incident light reading with a handheld meter will take all the guess work out of it. That is why it is very important to understand how to read a light meter because your pictures will depend on it.
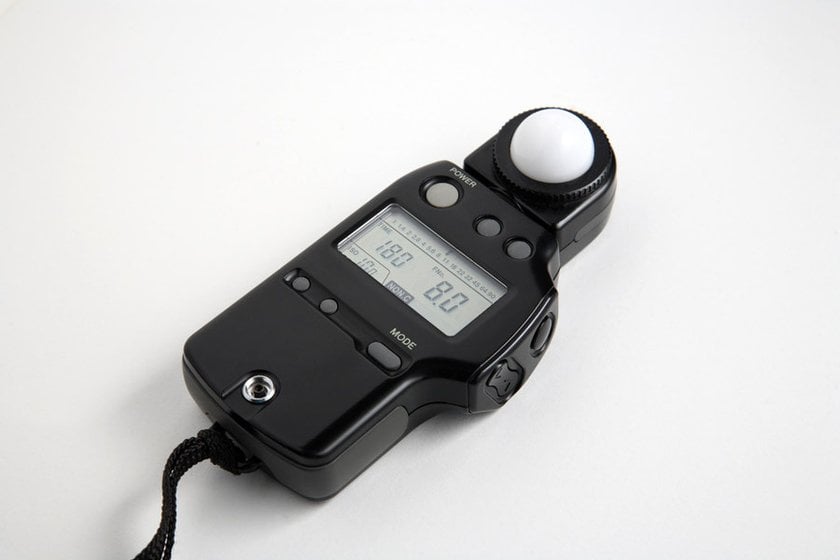
How to Use a Handheld Meter
Good handheld meters have a few different modes: a spot metering mode (reflected light), an incident mode using the meter’s light dome, and one or more flash modes. Measuring the incident light will give you the most accurate readings for non-flash scenarios. How do you use a light meter?
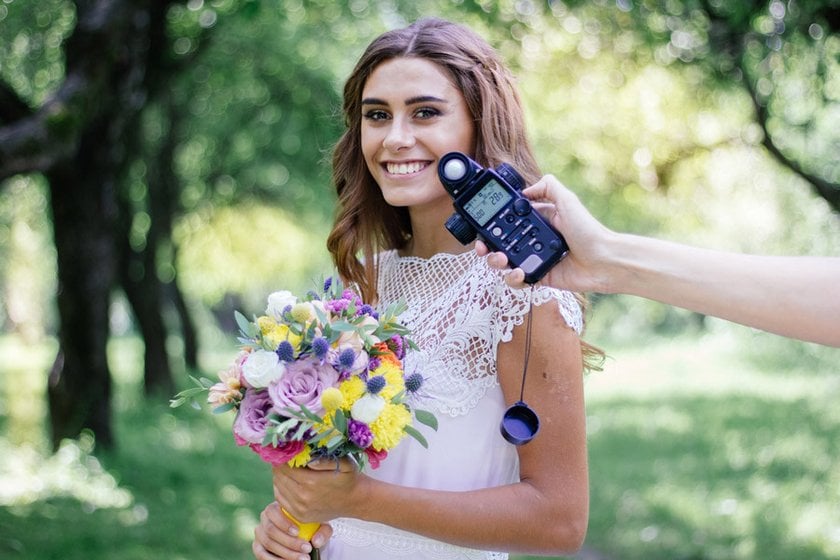
First of all, hold the light meter in front of you or ask a friend to hold it at your subject's distance for accurate exposure readings. When photographing a person, the subject can hold the meter near their forehead, ensuring the light meter captures the light that will fall on them, giving an exact exposure reading for that spot.
And now, here’s how to take a reading:
Start by setting your camera to manual mode and selecting your preferred aperture and ISO.
Next, turn the knob around the lumisphere (the white dome on your meter) to make it stick out.
Now, set the ISO and aperture on your meter to the same ones you have programmed in your camera.
Finally, hold the meter in front of your subject with the lumisphere facing the camera and press the measure button.
Once you’ve done that, you’ll be able to see the correct shutter speed on your screen. Change the shutter speed on your camera, and you’re good to go. You’ll only need to take new light meter readings if the light changes.
Using a Flash
One of the cool things about the more recent handheld light meters is that they can meter flash exposure. They’ll even calculate the lighting ratios between your key and fill lights. Let's now deal with reading a light meter in this case. To use it with a flash, first set up the ambient exposure.
To use the handheld meter with a flash, first set up the ambient exposure.
- Set your camera to manual mode.
- Set your desired aperture and ISO on your camera.
- Use the spot meter mode on your handheld meter and point at an area that is a mid tone in the scene (something close to medium grey).
- Set your camera’s shutter speed according to the light meter’s reading.
- Take a test shot to make sure the exposure is correct for the ambient light.
Next, set the flash exposure.
- Set the meter to “incident” mode and the exposure on the “flash non-cord” setting.
- Position the meter so that the dome points at the camera (by yourself if you have a remote trigger or with the help of a friend if you don’t).
- Fire the flash and take the reading.
- If the reading on the meter says a different f/stop than the one you want, adjust the output of the flash to match. (For half-stop variances, change the distance of the flash to the subject.)
- Take another test shot.
If your test shot comes out well, you’re properly exposed. If not, adjust your flash further. Easy.
Using a Light Meter for Landscapes
For landscape photography, the incident mode on your handheld will give you the most accurate reading. Simply hold the light meter out in front of the camera, making sure that the same light falling on the scene is hitting the lumisphere of your meter. The only thing you have to watch out for is where the sun is, as direct sunlight on the lumisphere can cause the reading to be underexposed.
Of course, there is much more to learn about using the light meter for landscape photography, but these are the basics. They’re well worth the investment, both in terms of gear and also in terms of learning. Not yet convinced? If you live near a major city you can probably find a place to rent one for a day. Try one out and see how it works.
How to Use a Light Meter: Final Thoughts
Okay, now you know how to use a light meter for photography and how it can be useful. Try it for your shots and we're sure the results will be amazing! We wish you great shots.