What Is A Gobo In Photography And How To Use It Effectively
October 27, 2025
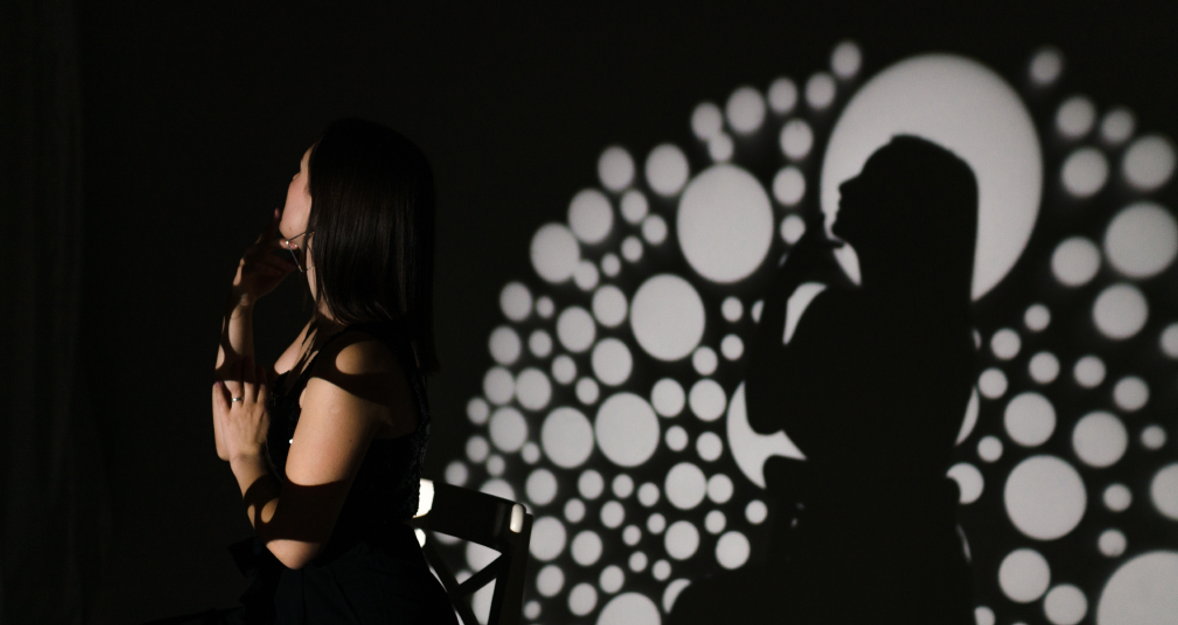
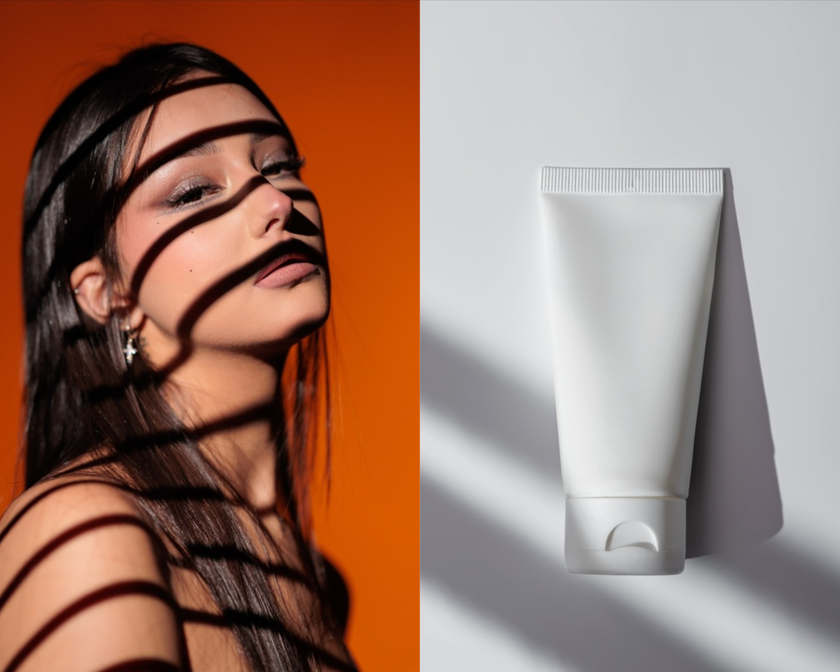
Ever noticed how a shadow can suddenly make a photo feel cinematic? A small lighting gobo patterns setup can do that job better than any filter, turning ordinary beams into storytelling light.
I vividly remember the first time a patterned shadow turned an ordinary wall into the mood of an evening. A gobo did that. Those subtle gobos lighting effects can transform a plain background into a layered, emotional scene with almost no editing. It’s one of those small, physical tools that reward experimentation and attention more than expensive gear does.
This article explains exactly what a gobo is, how it physically shapes light, the real differences between its types, and practical, studio-tested ways to use them in weddings, events, flat lays, and portrait setups.
Defining the Gobo: Simple and Visual
 A gobo is a stencil placed in front of a light to shape the beam. If you search for “What are gobos?” that’s the straightforward answer: patterns, textures, or silhouettes cut into metal, printed on glass, or made from plastic that block illumination in a controlled way.
Its beauty is that it trades digital filters for physical illumination control. In theatre, the same principle applies. Beams are shaped using patterned templates. If you’ve ever asked, “What is a gobo in theatre?” it’s simply the same tool used on stage to project shapes, textures, or logos through light. For photographers and filmmakers, it lets you add depth, interest, and narrative cues without compositing.
Enhance Your Photos with Luminar Neo's Studio Light
TRY IT NOW!Mechanics: How a Gobo Controls Light
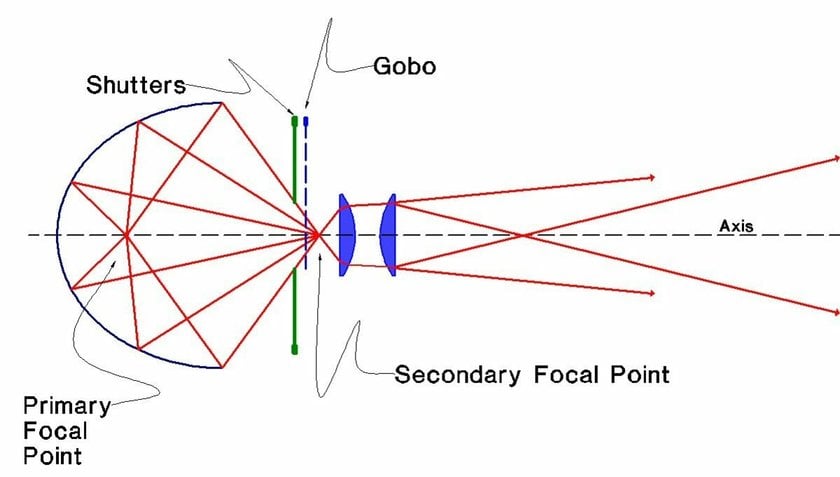 A gobo works by interrupting the beam. Place a design close to a source, and you get a sharp projected shape that falls off quickly. Move it farther away, and the image softens. If your test shots come out slightly flat, a touch of AI enhance image adjustment can recover texture and definition while keeping the lighting realistic. This is the essence of how it works in practice: the relationship between light size, distance, and aperture defines the crispness of the image.
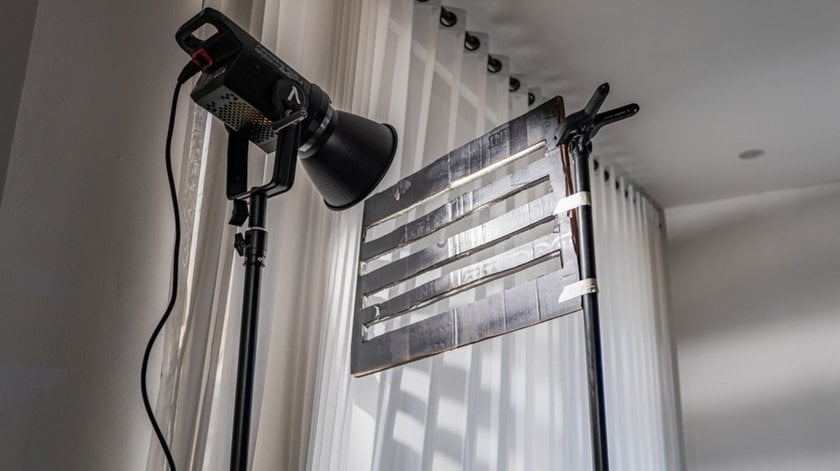
You can use a barn door and a light template to crop unwanted spill, or dedicate a separate projector for highly detailed patterns. If you’re asking “What does gobo stand for in lighting?”, it originally meant “goes before optics” or sometimes “go between,” depending on whom you ask. That old acronym explains the placement: light templates sit between the lamp and the lens to manipulate the projected image.
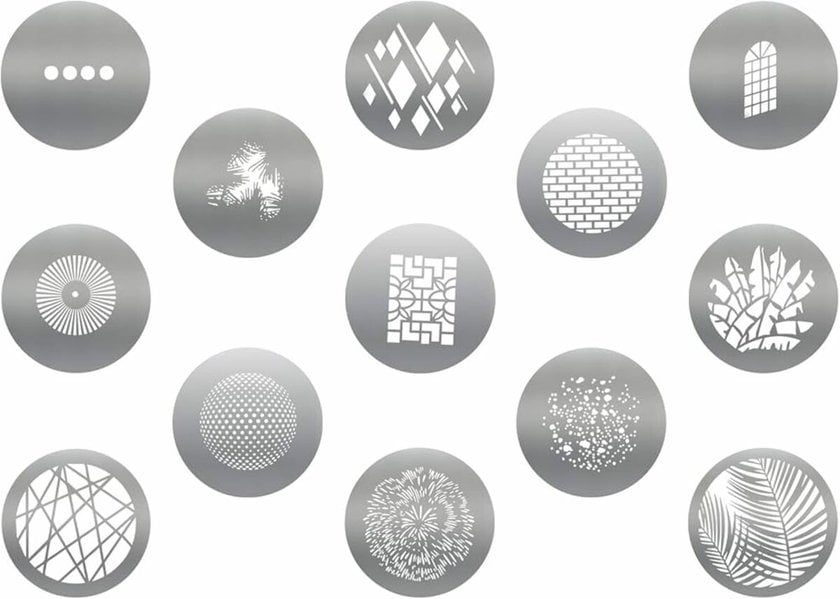
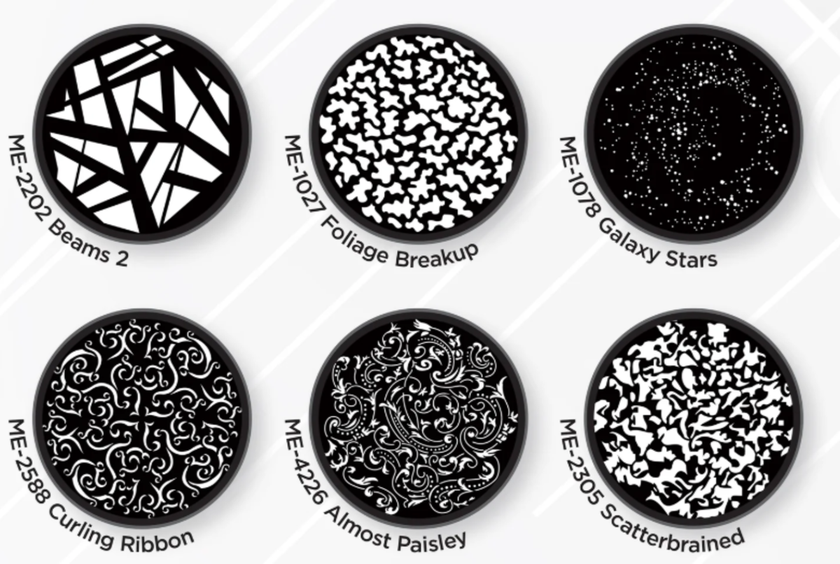
Gobo Materials and Their Looks
Different materials give different looks and handling. For quick gobo examples, think of leaf shadows, geometric grids, or brand logos projected onto a backdrop.
Steel Gobo
 Steel gobos are cut from thin metal and hold up to high heat. They create crisp, high-contrast silhouettes and work brilliantly with fresnel or ellipsoidal fixtures. If you’ve ever wondered “What are gobos in lighting?”, steel ones are the classic example: durable, sharp, and ideal for defining strong architectural shadows or window patterns. When building a studio lighting setup around textured lighting templates, keep your key source soft and your template beam hard so the shadow edges stay readable.
For a hard, graphic window shadow on a subject’s face at 45 degrees, use a steel template. For instance, I cut a leaf pattern for an outdoor reception with a metal stencil in an overhead fixture, and the projected leaves looked believable on bridesmaid dresses even at 20 feet.
Glass Gobo
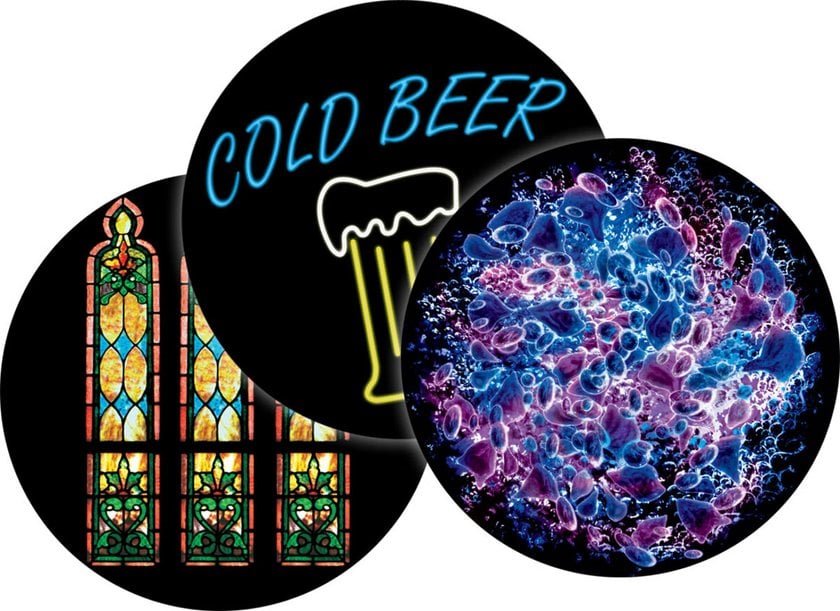 Glass templates can show full-color images and delicate gradients because they are printed or hand-painted. Use glass when you want soft edges and subtle color shifts within the pattern itself. I once used a glass projection stencil of stained-glass texture behind a band; the color bleeds added depth without affecting skin tones.
Plastic Gobo
 Plastic gobos are cheap and great for short-duration or low-heat fixtures like LEDs. They don’t last as long under intense heat, but are safe for DIY pattern making. For product flat lays I often cut logos into plastic and use a low-power LED to project a soft branded shadow.
Where Gobos Shine: Practical Uses
Gobos are versatile. The key is to match the pattern scale and fixture to the scene. If you’ve ever wondered “What is a gobo in the event industry?”, this is where the answer becomes clear: they’re used to project logos, textures, or ambient patterns that instantly elevate a space. Below are concrete situations and how I’d set up a light stencil for each.
1. Creating Mood in Wedding Photos and Films
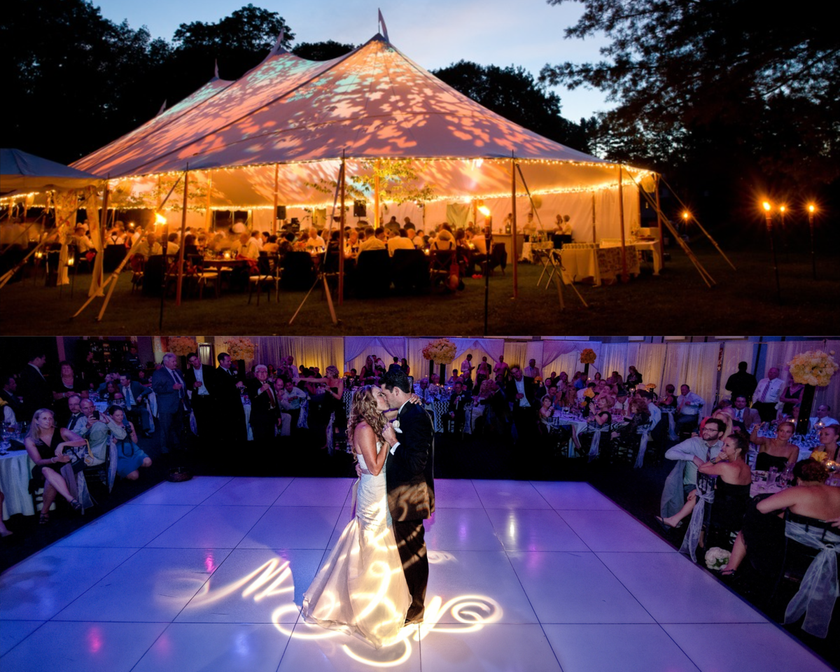 Weddings love atmosphere. A rotating patterned beam fixture in the cocktail area can project subtle twinkle designs onto the ceiling, making a tent feel like a starfield. For cinematic ceremony coverage, use a single, sharply focused projection template to cast a window-frame rectangle onto the altar wall. It creates separation and a cinematic sense of place.
Borrow ideas from portrait photography lighting to ensure faces stay soft and natural, even under complex shadow play. If the venue allows, a small LED projector with interchangeable glass gobos will let you swap color and pattern between the cocktail hour and the reception without moving lights.
2. Branding and Beautifying Corporate Events
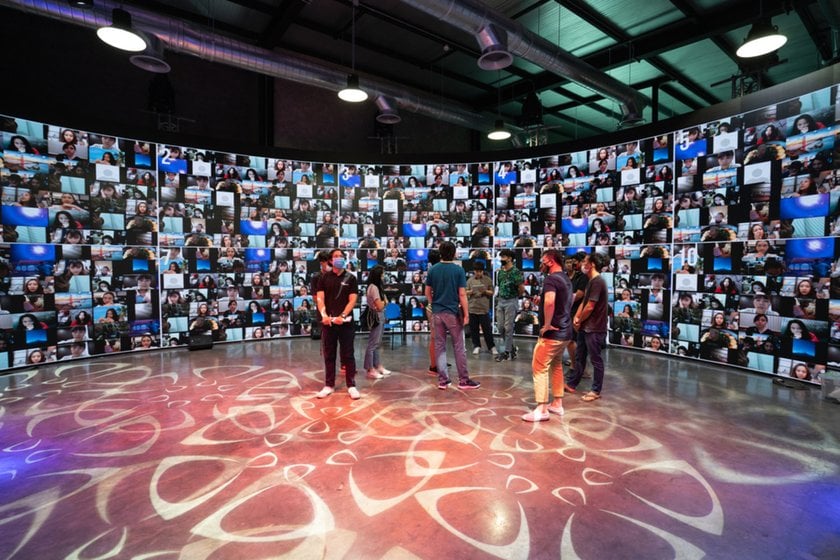 Corporate events often need branding without being overbearing. Projecting a logo subtly onto a floor or drape using a what is a gobo projector helps. A dedicated compact projector with a metal or glass gobo slot will render logos crisply. For breakouts, pattern projection can break up flat tradeshow booth walls; use low-angle placement to create depth, but keep it subtle so it doesn’t interfere with speaker slides.
3. Adding Texture to Flat Lays and Studio Shots
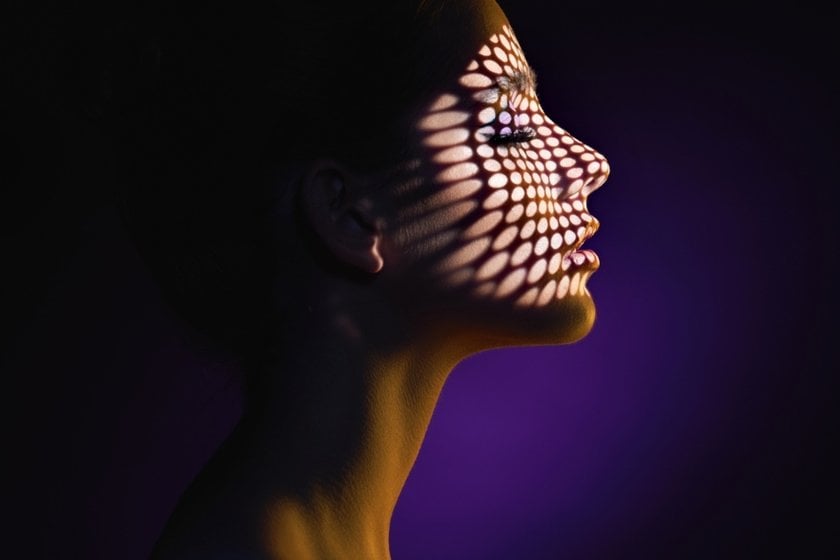
 Flat lays benefit from texture. For product shots of candles or small accessories, try a plastic illumination template with a lace design to cast texture over the surface. In a studio shot of a watch, a hard-edged steel motif stencil mimicking window blinds adds drama and highlights details around the bezel.
When shooting flat lays, place the gobo between the overhead light and the subject, then adjust the distance until the texture feels natural, not distracting. Once you capture your setup, a quick pass of automatic photo editing can refine exposure and color balance while keeping the organic look of the shadow patterns intact.
Hands-On Gobo Lighting Advice
 This is the operational part. Treat it like a recipe: adjust one variable at a time and take test frames.
Selecting the Right Gobo Material
Choose material by heat tolerance and desired edge sharpness. Use this short checklist before a shoot:
If you need crisp geometry at long throw, choose metal.
If you want color or photographic detail in the pattern, pick glass.
If you want cheap, disposable patterns for LEDs, pick plastic.
Also consider scale. A tight floral pattern might read as noise on a large wall. Choose a large-scale motif for big surfaces. This section is where the question of what are gobos used for becomes practical: shaping mood, adding texture, or projecting logos.
Positioning Gobos for Sharpness and Mood
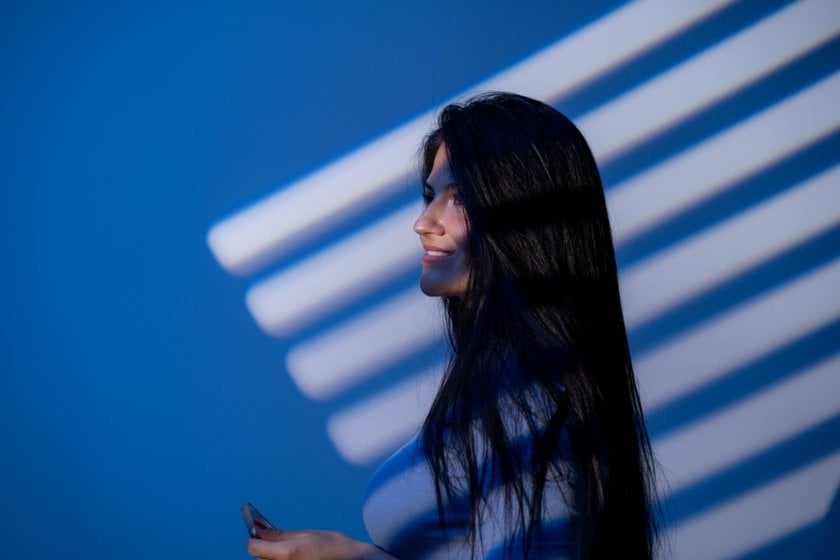
Move the design template relative to the illumination to control sharpness. Close to the source equals crisp; near the subject produces a softer look. Angling the beam stencil can mimic natural directions, side angles for a window effect, or top-down for dappled tree shadows. When I need a natural look for a bride’s portrait with leaf motifs, I place the template three feet from a 2x2 LED panel so the layout skims the model’s shoulder.
That placement kept patterns off the face where skin detail mattered. It’s the same illumination-shaping principle used in stage productions. The gobo definition theatre is essentially how designers project shapes with precision on stage, and that knowledge translates perfectly into photographic lighting control.
Blending Gobos with Other Lighting Techniques
Gobos work best in a scene that already considers key, fill, and rim lights. Use a soft key to maintain flattering skin tones while the stencil or template casts texture from a separate source. Later, a quick pass with a contrast increaser can subtly deepen tones and emphasize the patterned shadows without overediting. For portraits, keep a subtle rim illumination to preserve separation when the patterned beam eats contrast.
Simplify Your Photo Editing Workflow with the Erase Tool
Start Now!Key Takeaways
 Gobos are a low-tech, high-return tool. They let you control the atmosphere with something tactile and immediate. From steel to glass to plastic, each material gives a unique look, and the creative decisions are simple: pick your pattern scale, match the material to your fixture, and position the light template so it reads the way you want on camera.
Try at least two experiments: a portrait where a textured beam provides background interest and a flat lay where a lace motif becomes an accent. If you do that, you’ll understand why photographers often reach for gobo lightning; it’s one of the easiest ways to turn plain lighting into storytelling radiance.