High Key Lighting: Ideas And Editing Tips
April 17, 2023
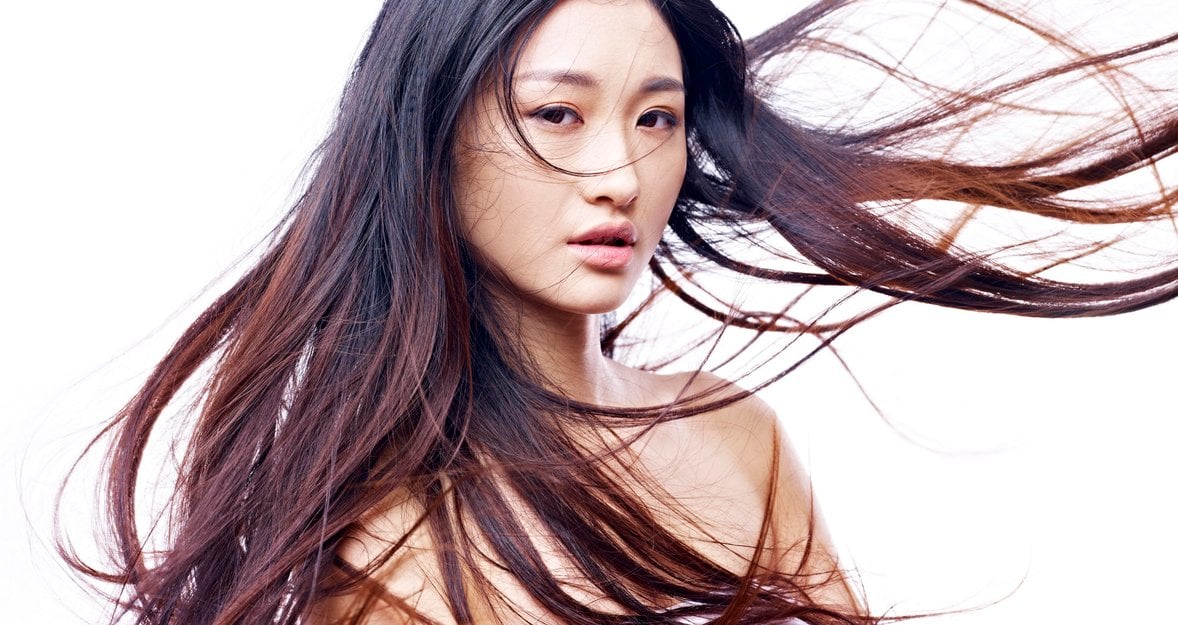
One of the best things aboutshooting in a studio is having full control over the lighting. However, it’s not always easy to configure your setup for the effects you want to create. In this tutorial, we'll explore creating and using a high key lighting setup.
High-key lighting helps create images that suit many subjects well. Learn to set up an effective studio lighting scheme in this article.
Even if you have an ideal setup, though, you still need photo retouching to make an image great. Luminar is the perfect photo editor for the job, with many portrait-specific Presets and neatly organized workspaces that can boost your photography skills, bringing brightness to your high key photos. If you’re not ready to buy Luminar Neo yet, you can click the button below to try it free of charge.
What Is High Key Lighting
Let’s start with a basic understanding of high key meaning. The word “key” refers to the main light in a multi-light arrangement. “High” refers to the power of this light relative to others. Therefore, in this setup, the key light is stronger than the other lights, which are called fill lights.
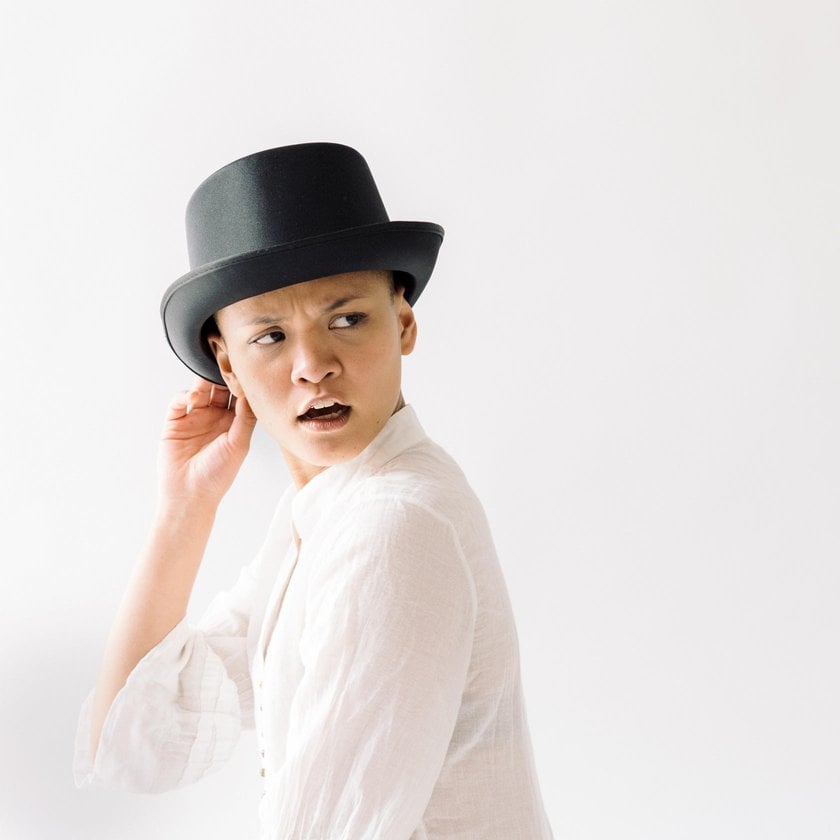
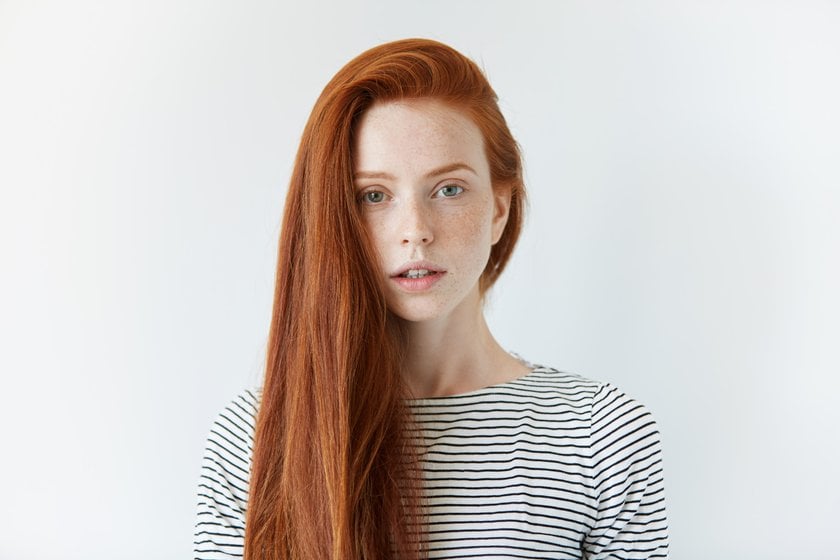
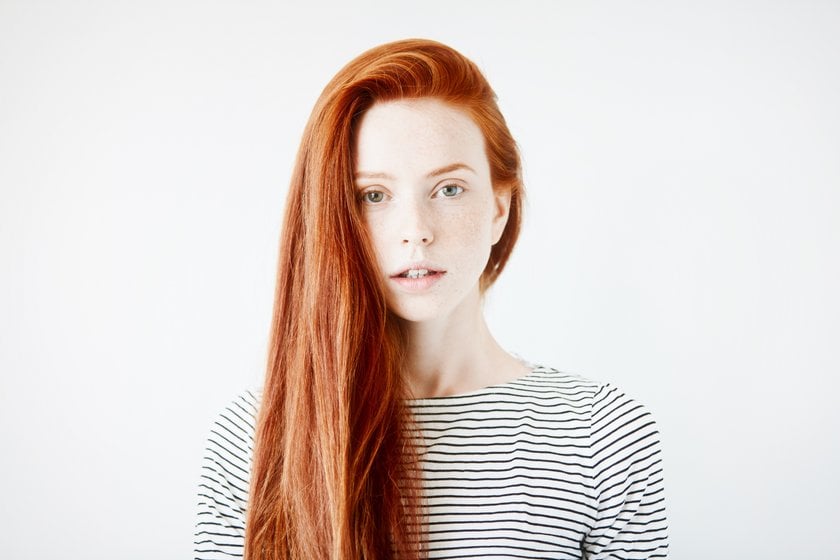
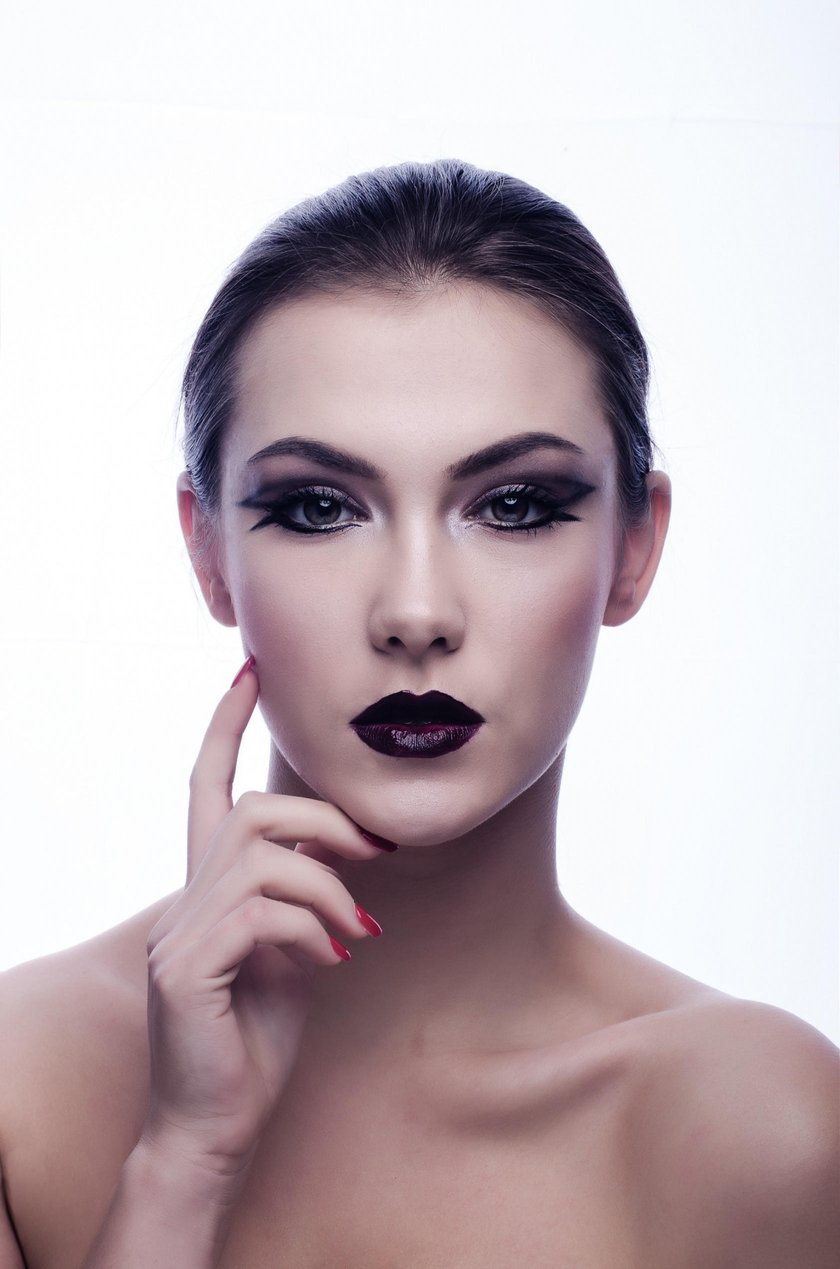
Generally speaking, this setup produces an image in which the subject is relatively free of shadows, leaving the highlights predominant. In portraits and similar shots, the effect is usually combined with strong lights in the background to render it solid white.
High key lighting is useful in creating portraits with a light and airy mood. The reduction of shadow reduces drama, making high key lighting an ideal choice for children’s photography and humorous shots.
Where to Use High-key Lighting
High-key lighting is often used in situations where you want to create a bright, cheerful, or soft atmosphere, such as in portraits, fashion photography, or upbeat film scenes.
This setup is often used in product photography as well to isolate the subject, remove distractions, and give images a more upbeat and friendly feel. High key lighting is a good choice for happy photos. It can also be effective in creating a ghostly effect if modeling shadows are sufficiently reduced.
High Key vs Low Key Lighting
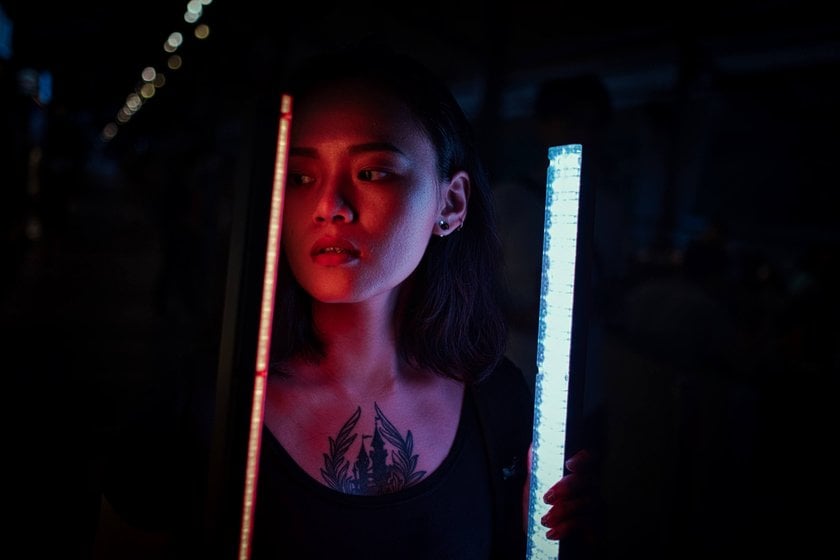
The opposite of high key lighting is low key lighting. Another way to understand high key meaning is to start from the opposite. Low key photography is usually dark, mysterious, and atmospheric. Low key lighting is used in portrait photography to emphasize a person’s face or body without any distractions. Usually it involves a black background and not a lot of light. High key photography, being the opposite, is full of light and evokes upbeat feelings and positivity.
What Is Contrast Lighting
Contrast is the difference between the light and the dark parts of a scene. Images with high contrast lighting display a full range of tones, from bright highlights to dark shadows. Images with low contrast lighting, on the other hand, have a much narrower range of tones. Your high key images can have a high or a low contrast depending on the mood you’re trying to create. Even a grey background can be suited for a scene with high key lighting provided you use the right contrast.
High Key Lighting Set Up
The type of light source you use isn’t critical as long as your exposure settings and white balance are correct. You can mix modifiers as you wish to achieve harsher or softer effects. Large soft boxes work well for portraiture. Although there are several ways to accomplish high key lighting, we’re going to describe two basic setups that accomplish the desired effect consistently.
Three Lights
The diagram below shows a simple, three-light setup for a high key portrait. The same principle can be applied for product photos, still life shots, and similar images.
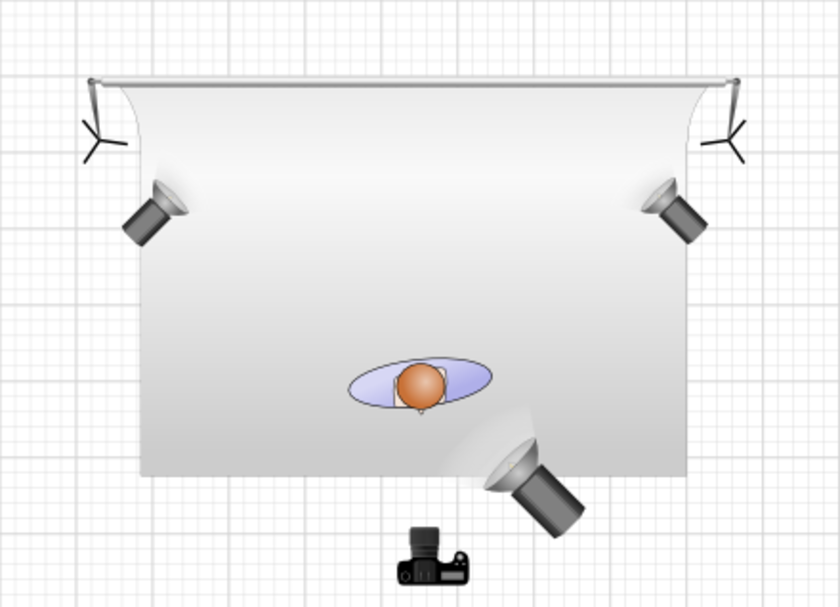
In this studio lighting setup, the key light is positioned up close and at a 45-degree angle from the subject. Two lights are placed two to three feet from the background, also at 45 degrees from the subject.
The background lights should be stronger than the key light to deliberately overexpose and blow out that area. One to two stops of difference should be enough. The key light should be modified and/or adjusted to minimize shadows on the unlit side of the subject.
Four Lights
Another studio lighting setup can be created with four lights. To further reduce shadows, a fourth light may be added opposite the key light, as shown in the diagram below.
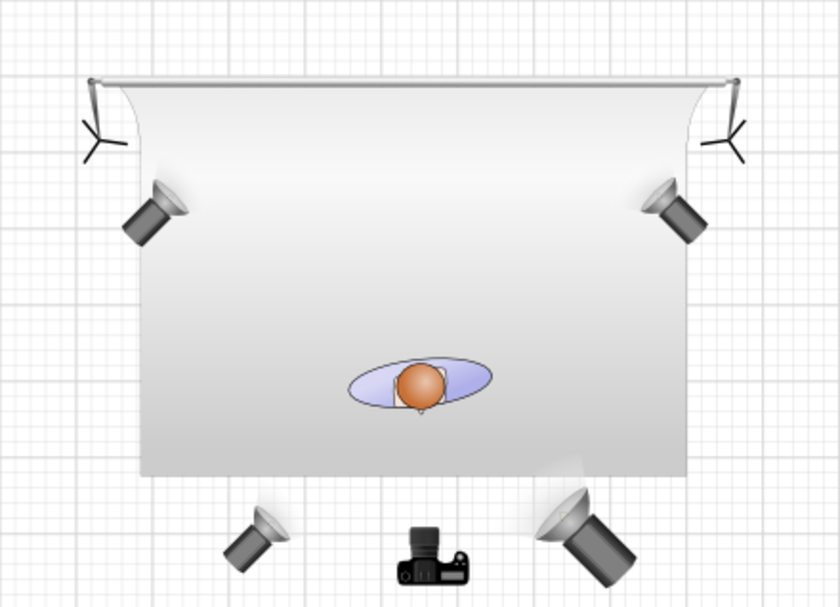
In this setup, the key light should be moved farther from the subject in order to maintain the correct exposure. A smaller fill light should be placed directly opposite the main light, again at about 45 degrees from the subject. This light should be less intense than the key light and be adjusted to leave just enough shadows to model the subject.
Workspace
Each studio lighting setup above is based on a fairly large workspace. The main advantage in this is the ability to maintain some distance between the subject and the background. That helps eliminate shadows from the background as well as any detail in the backdrop.
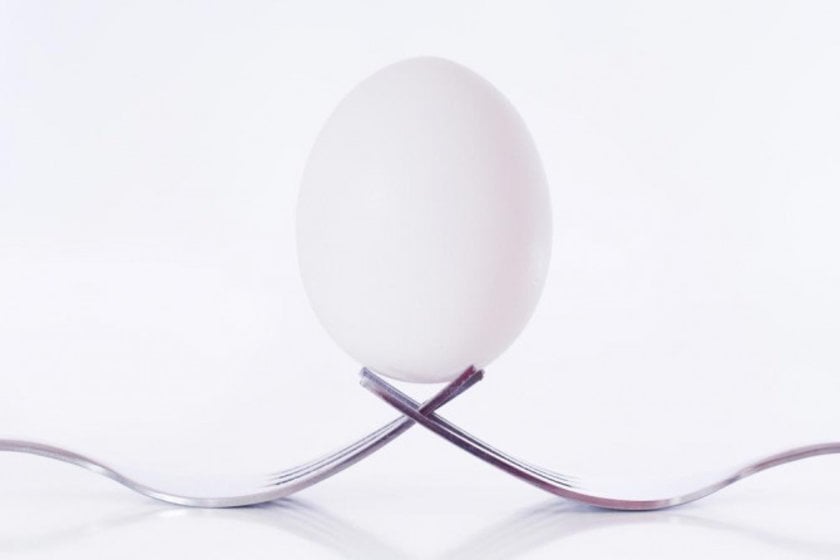
But there’s no reason that a high key setup can’t be managed in a smaller space. Poster board or a cyclorama can be used in place of a larger backdrop. A small strobe or continuous light will work for a key light. Smaller or less powerful strobes can be used for fill, and v-cards or reflectors can also provide fill or background light. The key is balancing the lighting by adjusting the placement and intensity.
Light Types
The choice of light source for high key photography isn’t critical. Flash, tungsten, or daylight-balanced bulbs are all suitable. Sunlight, too, can be very effective. Just don’t forget to select the appropriate white balance setting on your camera.
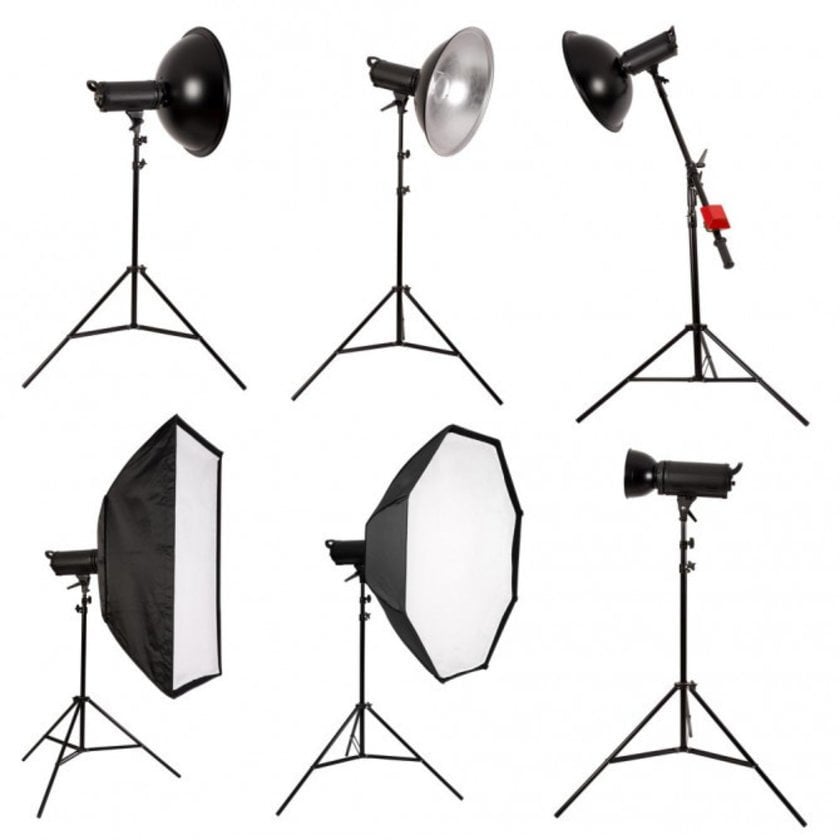
It’s advisable to use sources with matching color temperatures, however. Mixing incandescent bulbs with fluorescent or sunlight with room lighting will create uneven color casts in your images.
Metering
A light meter can be helpful in positioning and adjusting your lights. It’s difficult to judge differences in light intensity with your eyes, since your irises constantly adjust. If you only have your camera available, you can adjust the metering mode to the spot setting and check the various areas of the shot to check the difference in exposure values. If you’re using your camera’s auto exposure system, you may want to set your exposure compensation a stop or more above normal to achieve the desired result. A little experimentation will go a long way. A patient model will be a real asset, too.
High Key Lighting Ideas
We've discussed the high key lighting definition. But for what types of photography is it most suited? This question still remains. Let's explore some high key lighting examples and ideas next.
Baby Photography
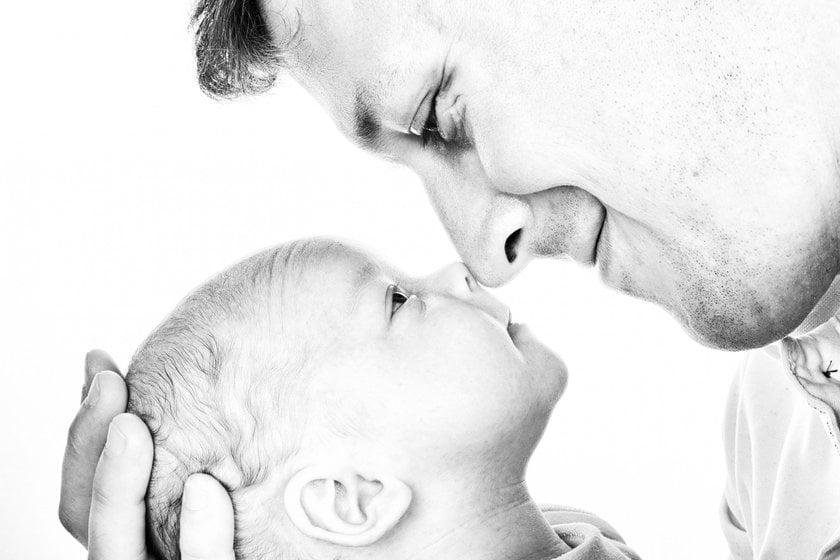
Photographs of children should be happy and lighthearted. If you’re taking a picture of a baby lying on the ground, make sure the light source isn’t casting any shadow on your picture. It would be best to make the baby sit, but if it’s a toddler, make sure to manipulate light in the right way so there are no weird shadows on the face.
Portraits
Sometimes we need an upbeat photo to make us look active, energetic, and positive. A high key portrait can make you and your models feel invincible. These photos are great for showcasing a person’s positivity and active outlook.
Weddings & Couples
High key photography is the best when it comes to couples and weddings. Why? The romantic feelings between the newlyweds are highlighted by the bright and airy feeling of the photographs. We wish happiness and love to the couple, and that’s why the mysterious dark feeling of low key photography isn’t appropriate here.
Commercials
High key lighting is perfect for any commercial shots. If you want to make an object look attractive, add bright colors and make it airy and light. The object will evoke happy feelings and attract potential customers.
Editing High Key Lighting Shots
Even if you’ve done everything correctly, mastered the ins and outs of studio lighting setups, and your images are bright enough, you still need to get them from satisfactory to excellent. The key is to edit in professional software such as Lightroom or Luminar Neo.
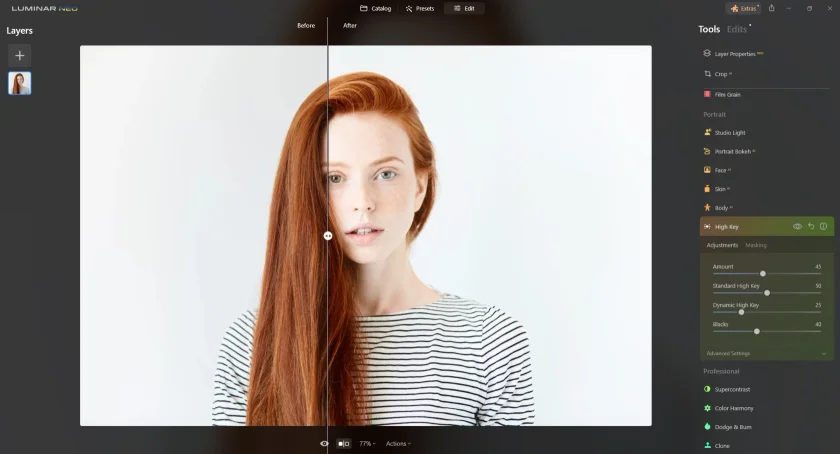
High Key Photography in Luminar Neo
Luminar Neo is a great piece of software for quickly and easily achieving more. Let’s look at the ways it can help with your high key and contrast lighting photography.
Presets
Presets are a quick way to give a special feeling to your photos. There are plenty of free Presets included in Luminar, but you can also go to the Luminar Marketplace to download signature Presets designed by famous photographers. Presets let you achieve a high key photography effect quickly and easily.
Filters and Sliders
Use the multiple filters and sliders in Luminar Neo to edit your image. Smart AI sliders like AI Sky Enhancer and Accent AI can automatically detect weak spots and quickly enhance your high key portraits. Try the black and white conversion filter for stunning black and white shots. Adjust the contrast and brightness by moving the sliders until you get the perfect result.
Workspaces
Workspaces are a quick shortcut to all your favorite filters and sliders. You can create your own custom workspaces or use the predefined workspaces, which give you the sliders you need for portrait, street style, landscape, and many other types of photography. You can also select the sliders you use for high key photography and add them to your own custom high key workspace so the tools you need are always at your fingertips.
Organization
Luminar Neo is great not only for editing but also for organizing your photos. You can rate them, sort them into folders and subfolders, and quickly access photos from a particular date. There’s no need to import your photos or organize them according to dates manually; Luminar Neo does it all for you. You can find your high key photographs from a particular photo shoot, quickly edit one, and then sync those edits across all other photos from the shoot in just a few clicks.
Now that you understand the meaning of high key and contrast lighting, you can start to shoot and edit your photos. If you aren’t sure that Luminar Neo is for you, download it for free and see if it suits your workflow. Click the try button below to download your free trial and edit your high key photos to perfection.
Follow Skylum Software on YouTube // Get the latest videos, tips, and photography inspiration each week!
High Key Lighting in Lightroom
Photoshop and Lightroom are the go-to editing software for many. They allow you to do almost anything. These programs take time to learn, but once you’ve mastered them, the possibilities are endless. In Photoshop, you can create your own high key lighting images using curves and highlights and can add contrast, saturation, and additional lighting when needed.
To Edit a High Key Photo in Lightroom
The key to successful editing of a high key shot is to eliminate dark shadows and create an overall brighter photo. Sometimes you can remove all the color from a photo, making it black and white. Generally, the background of high key photos is white and the lines of the subject neatly blend into the background.
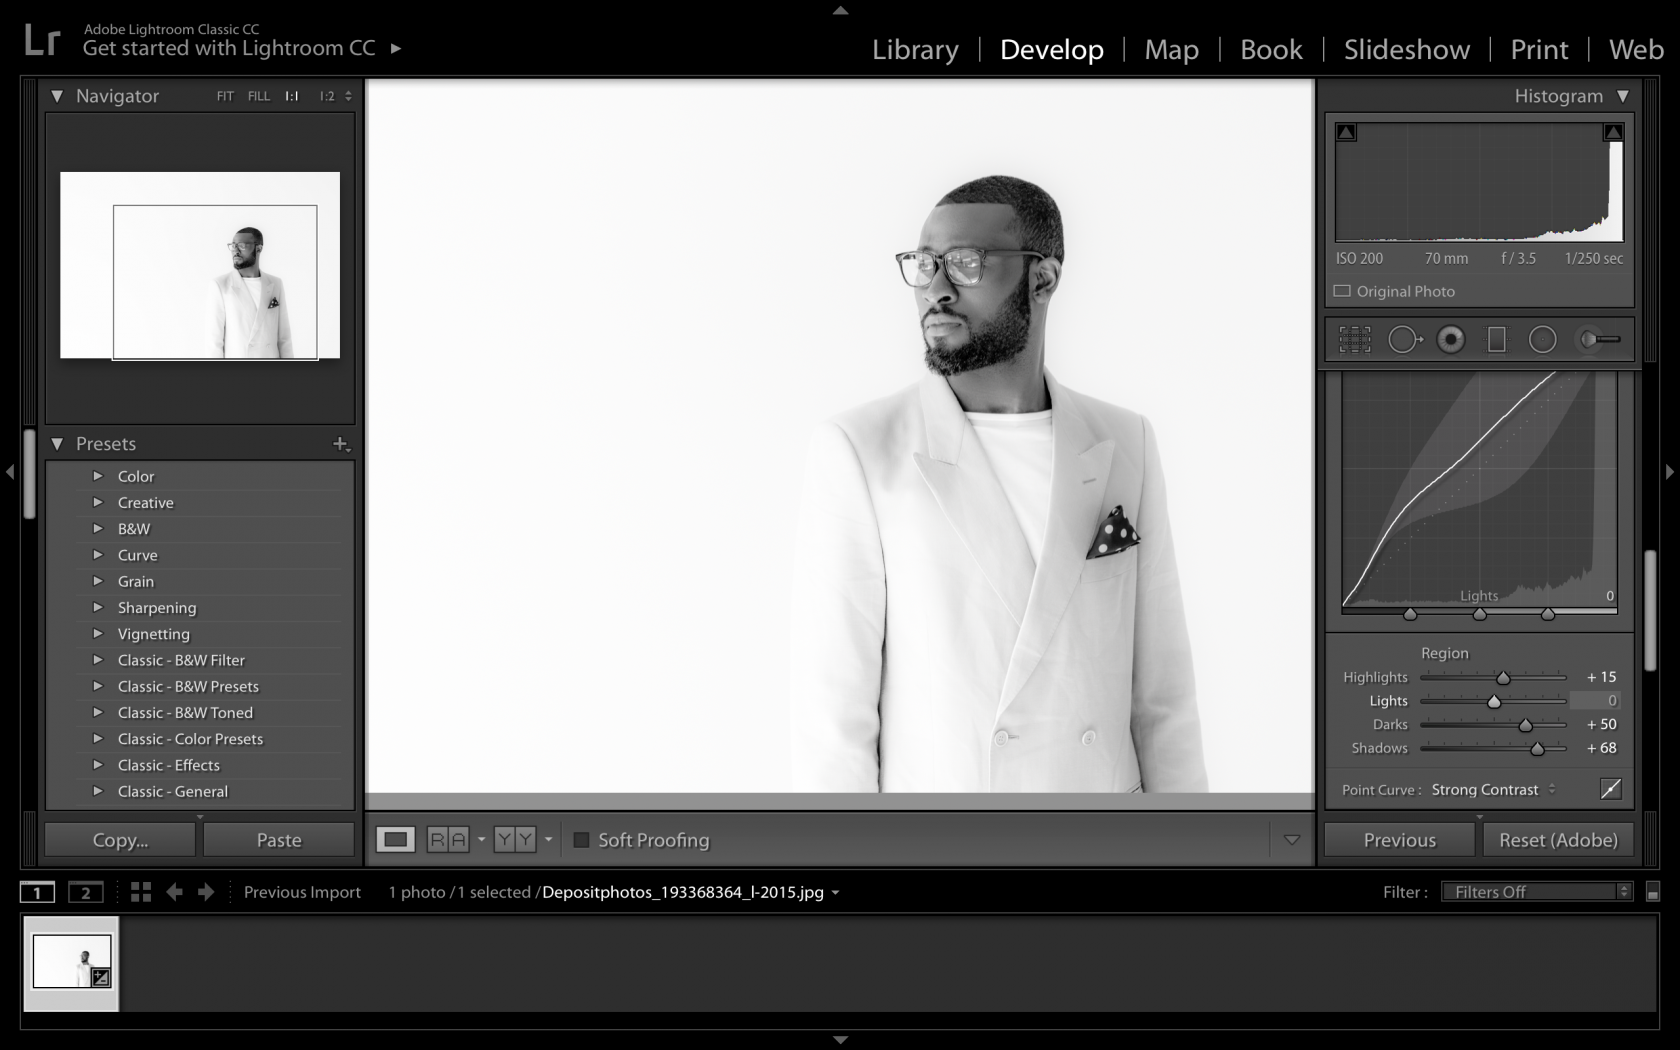
- Open an image with a single person or subject.
- Go into the Develop module, and go the Treatment panel.
- Try putting the Exposure at around +0.4 and the Contrast to +90. This will make your photo much brighter and add contrast.
- While you’re there, adjust the Presence. Clarity should be around -65 and Saturation around -75 to -80. Vibrance should be all the way to -100.
- Next, navigate to the Tone Curve settings. Increase Highlights to about +15 to +20, Darks to +50, and Shadows to +100.
- In the same tab, adjust the Point Curve to Medium or High Contrast.
Finally, head over to the Vignettes tab and set the Post-Crop Amount to +100, the Midpoint to roughly 0, Roundness between +70 to +75, and the Feather to around 70.
All of these manipulations will help you achieve a high key, high contrast look. You can also add additional effects like textures or a graduated filter that will let you control the background completely.
Conclusion
In conclusion, mastering high key lighting can be a game-changer for your photography, allowing you to create bright, airy, and upbeat images that are perfect for various subjects, from portraits to product photography. With the right studio setup and lighting techniques, you can achieve stunning high key results.
Remember that high key photography is not just about the initial capture; post-processing is crucial in elevating your images to excellence. Software like Luminar Neo offers powerful tools and presets that can help enhance your photos, adding that final touch of brilliance and contrast to make them truly stand out.
Whether you're a seasoned photographer or just starting your journey, high key lighting is a valuable technique in your repertoire. So, experiment, practice, and continue refining your skills to bring brightness and positivity to your photography. Download the free trial of Luminar Neo to explore its potential and see how it can enhance your high key photos. With the right knowledge and tools, you're on your way to creating captivating images that will leave a lasting impression on your audience.

