Photography Home Studio: 7 Essential Things You Need to Get Started
June 27, 2023
As the remote work trend grows, typical office space quickly becomes obsolete. If you're wondering how to set up some equipment for your home studio without breaking the bank, here are some helpful tips and essential things to consider!
Creating a photography studio at home is a common aspiration for many photographers, and fortunately, getting started is easier than you might think. In recent years, the world has undergone significant changes that have reshaped many aspects of our lives, including work dynamics. Photographers, in particular, are incredibly connected to sets and studios to bring their creative visions to life. However, with limited access to such spaces, they have been forced to use their ingenuity to find alternative solutions.
If you're a photographer who's used to working in an office but now wants to work from the comfort of your own home, don't worry. Setting up a home studio space is entirely feasible, and there are many ways to go about it. That sounds promising, doesn't it? By using your creativity and basic items, you can gradually create a studio location that is perfectly suited to your needs.
And no matter what equipment you choose, you can't do without a good photo editor. If you thought you had to learn all the Photoshop tools and it would take you a long time, that's not the case because there are other ways. You can always turn your most treasured moments into vivid realities with Luminar Neo, the state-of-the-art photo editing software created to bring your creative vision to life.
How to Create a Professional Environment in Home Photography Studios?
Starting the process of setting up a home photo space can feel daunting, given the multitude of factors you need to consider. So where do you actually begin? The first step was to research local studios. Fortunately, visiting these places in person wasn't necessary; a simple online search proved to be sufficient. Visual references can be incredibly helpful when setting up your home studio.
Observing how a professional sets up their equipment can give you insight into how to optimize your small home photography studio. For example, consider how photographers position the camera and tripod to the subject. Look for any additional accessories they use, such as tethering setups or remote release systems. Also, notice the placement of the main light sources, like strobes or ambient lights, and any additional options or modifiers they use.
Creating a truly comfortable and conducive professional atmosphere is also very important. We have collected some tips to help you:
- Designate a specific area of your home. This helps create a separation between your personal and professional life and allows you to control the environment.
- Keep your studio clean and organized. Remove any unnecessary clutter that may distract from your subject, because a tidy and well-maintained space creates a professional impression.
- If you're concerned about maintaining a professional image while working from home, you can also rent a virtual office. This solution allows you to have a business address, handle mail professionally, and even access meeting rooms when needed, giving your photography business a polished and credible presence.
- If you often have clients or models visiting your home portrait studio for portrait photography, provide comfortable seating for them to relax during breaks or while waiting. In addition, have a selection of props that match your favorite types of photography.
- Consider creating a dedicated space to showcase your work. Frame and display your best images to give clients a visual representation of your skills and style.
- Make sure your studio space respects your clients' privacy. If you're photographing individuals or sensitive subjects, provide a private changing area or screen for them to prepare.
But there is one very important thing. Keep in mind that the expensive equipment found in professional studios can often take years to acquire. That's why it's crucial to focus on the essentials and start small. And don't forget about photo organization software, because you're going to be working with a lot of footage taken at a home photo studio.
7 Essentials to Maximize Your Studio’s Potential
So you have a spare room, a camera, and an unwavering desire to create your own photo zone. The important question is, how do you set it up? Just for you, we have put together a list of everything you need to create your photography home studio.
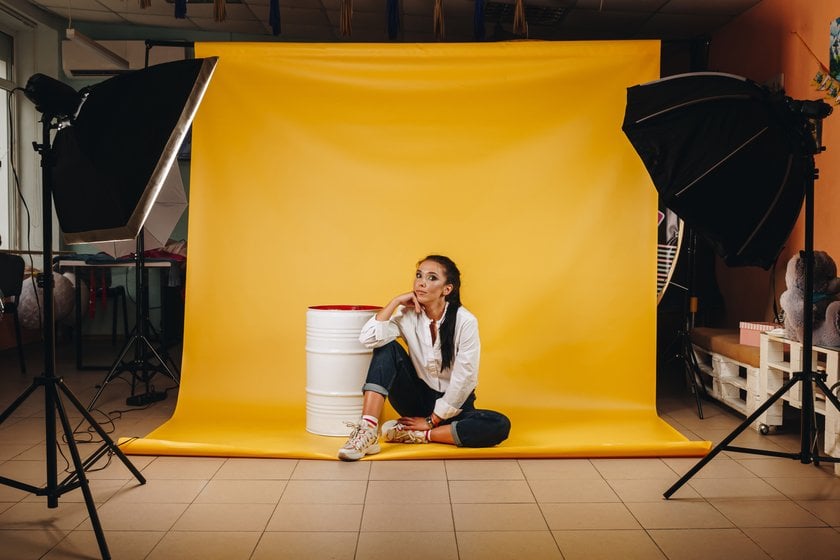
And remember that creating a photo zone doesn't require an abundance of equipment. In fact, even a modest space can accommodate all of your photography gear. Just place your backdrop stand against a wall, place your lighting stands in front of it, and you're ready to go! It's a simple setup that allows you to capture professional-looking images that don't take up much space.
By the way, you're sure to get a lot of great shots. To efficiently organize and easily access your image files, it's important to have plenty of storage space while using the best photo-sharing platform to showcase your work.
1. Camera and Lenses
Choose a camera that meets your specific photography needs, whether it's a DSLR or a mirrorless system. Also, invest in lenses that cover a range of focal lengths, for example a wide-angle optic, a standard zoom, and a telephoto option. This will give you flexibility and ensure that you can capture a wide range of subjects and compositions.
It's best to start with a versatile lens, like a 50 mm prime or a zoom lens with a focal length range that suits your preferred genres, whether it's portraiture, still life, or product photography.
2. Studio Lighting
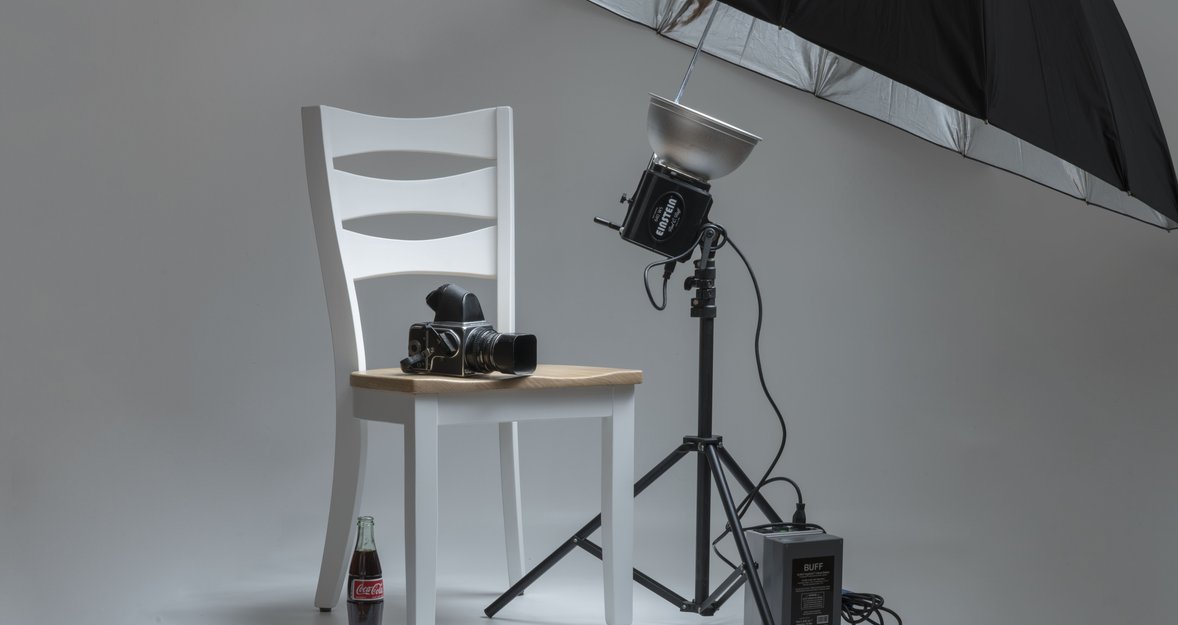
Sometimes the light from the flash is not enough and the good studio needs some additional options. This is especially necessary for professional-looking results. You'll need at least one main source of lightning, such as a strobe or continuous light, to illuminate your subject. In addition, consider investing in modifiers (softboxes, umbrellas, and reflectors) to shape and control the light.
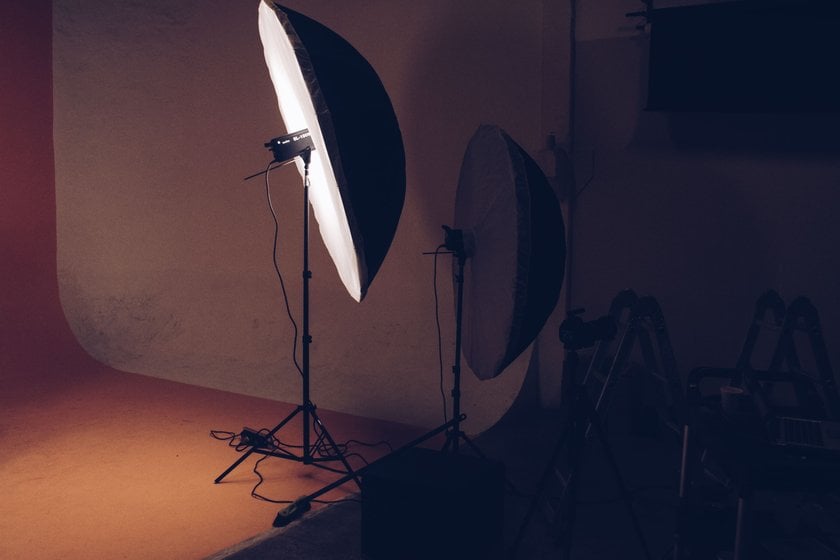
Also, beauty dishes, light stands and diffusers can help you achieve different lighting styles and effects. Having a variety of modifiers at your disposal allows for versatility and creative freedom in your studio.
3. Various Backdrops
Choose versatile backgrounds that lend themselves to different genres of photography. Seamless paper rolls or fabric backdrops in neutral colors work well for home photo studio setups. Also, consider investing in different textures or patterns for variety. Some options include seamless paper rolls, fabric and vinyl backdrops, or even DIY ideas like painted canvases.
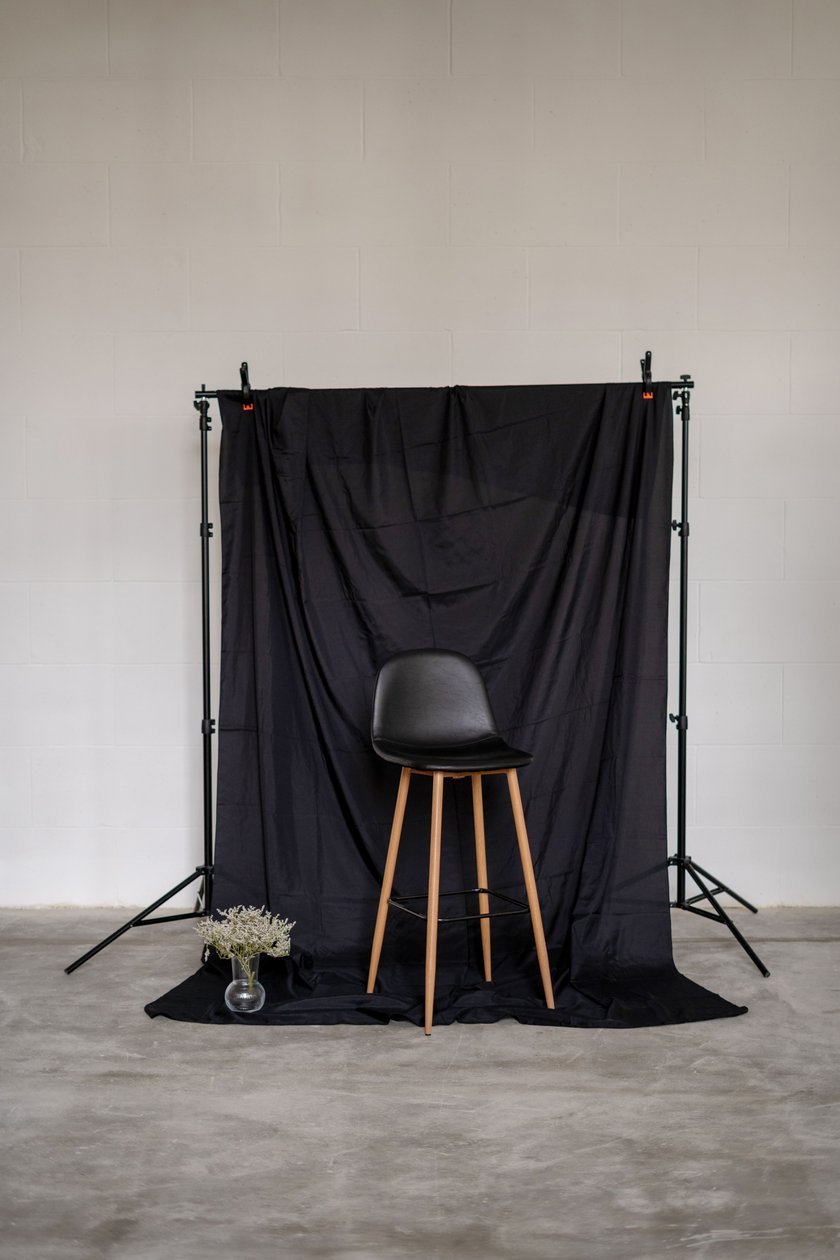
Also, there is one more thing that will definitely help you and make your work easier. A sturdy background support system with adjustable crossbars and clamps is essential for easy hanging and changing different backdrops.
4. Tripod
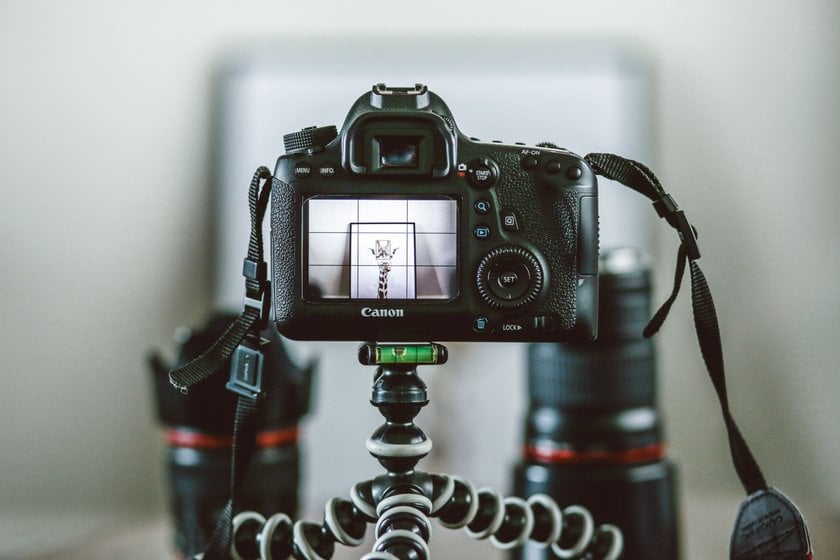
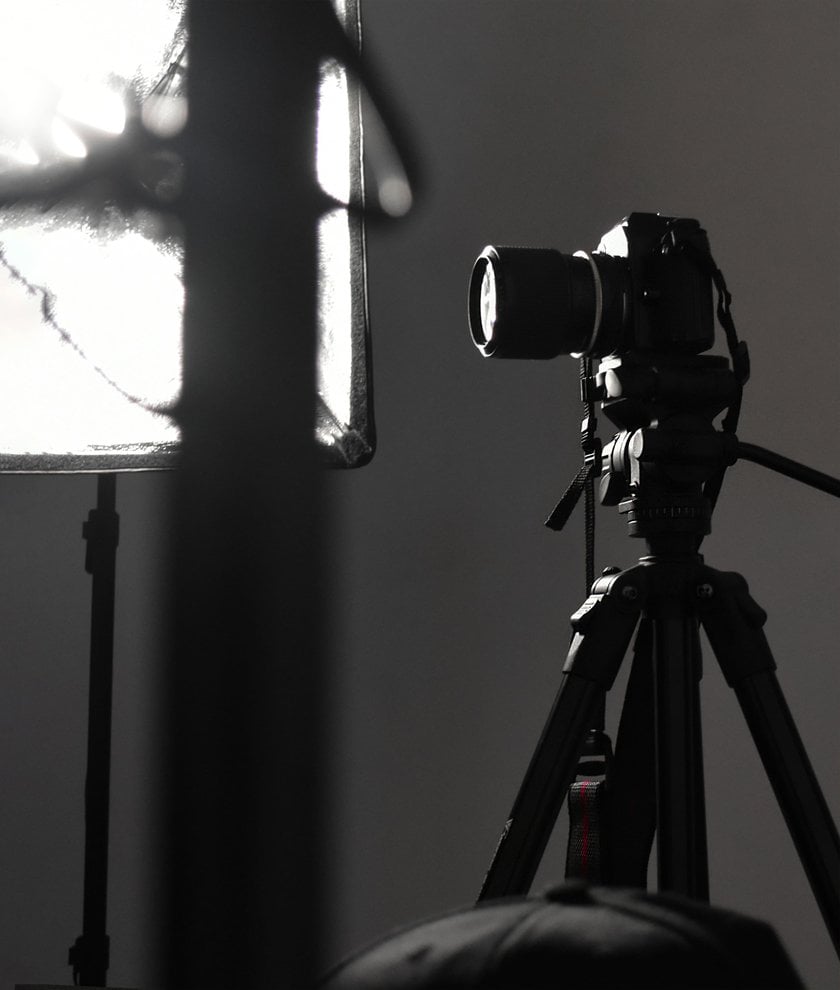
Due to the size and weight of DSLR cameras, it can be a challenge to maintain a steady grip for long periods. So, a sturdy tripod is invaluable in the home photography studio setup, providing stability for long exposures, precise compositions, and consistent framing. Be sure to look for a tripod that offers durability, adjustable height, and a quick-release plate for easy camera setting and removal.
5. PC or Laptop Connection
Tethering your camera to a computer in your studio set allows you to instantly view and evaluate your works on a larger screen. For example, a laptop can serve as the hub where you connect your camera, download images, and use photo editors to make necessary adjustments.
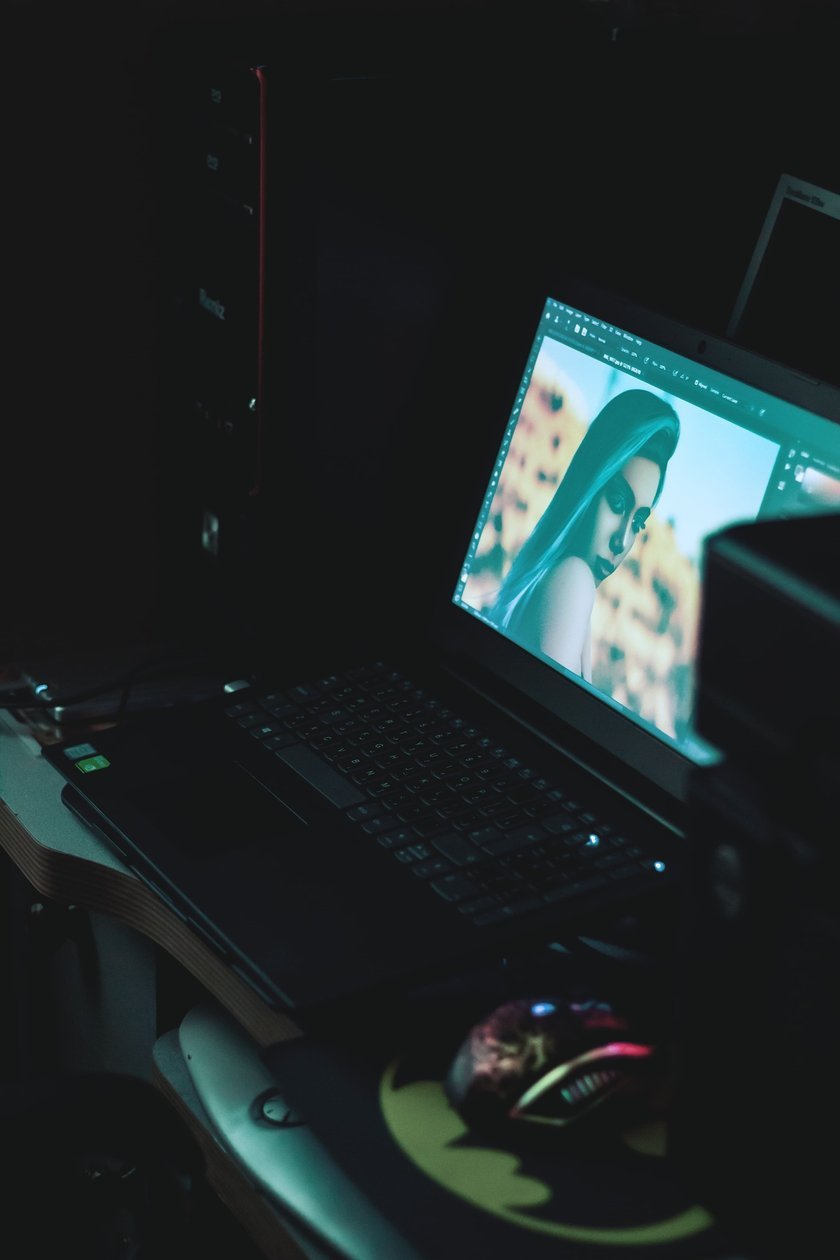
We recommend popular options like Luminar Neo or Lightroom for a seamless editing experience. By the way, you can also check out our blog to find the best presets for Lightroom. And If you are used to working on a PC and are looking for a Windows photo viewer alternative, Luminar Neo is also a great option.
6. Props and Optional Gear
Depending on the type of photography you want to do, a collection of props at a home photography studio can add depth and interest to your images. These can include items like flowers, vases, fabrics, jewelry, or anything else relevant to your desired style. Some popular ideas for portrait photography are vintage cameras, colorful balloons, stylish hats, books, or even musical instruments.
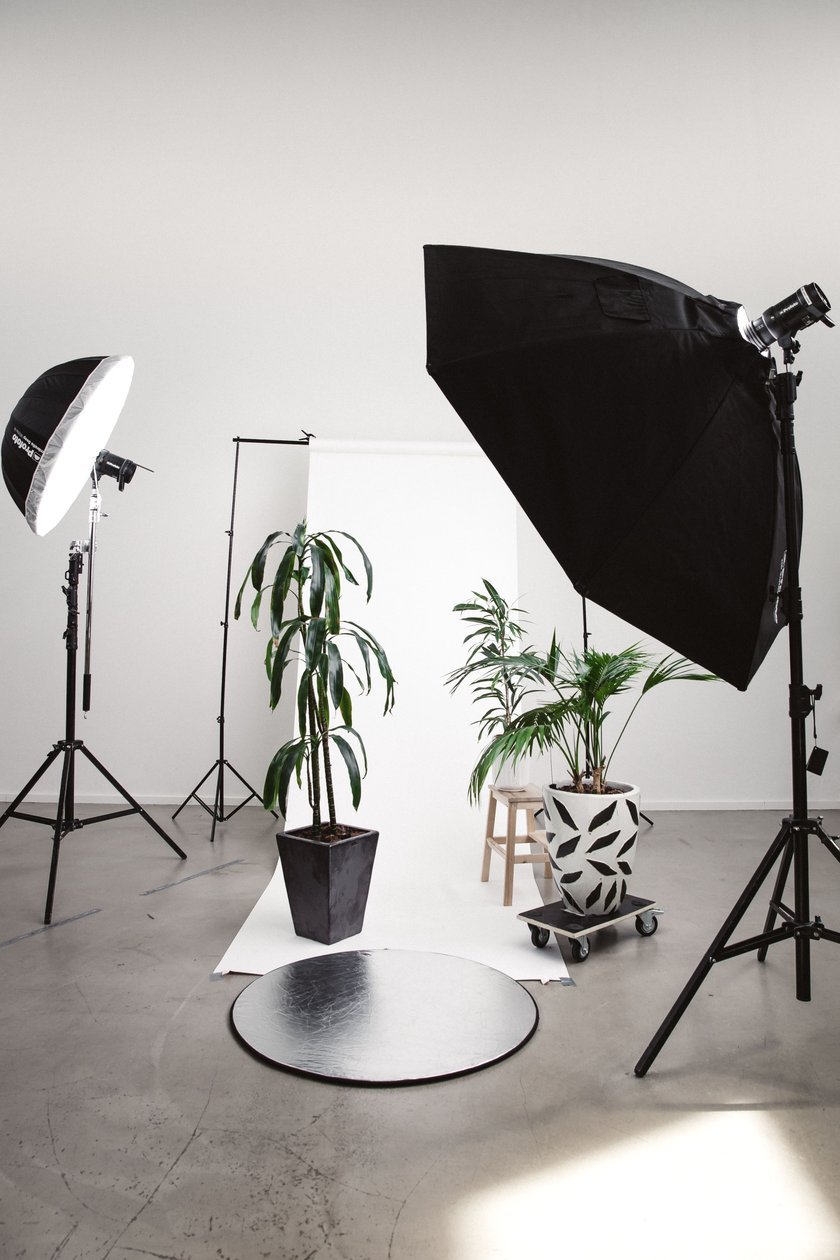
There is also some optional equipment that can enhance your portrait photography. Stepladders are a versatile way to change your shooting perspective and capture unique angles of your subject. Meanwhile, a fan can add movement and dynamic elements to professional portraits, such as wind-blown hair or flowing clothing.
7. Post-Processing Software
After taking your photos, you can improve and refine them with editing software. Believe us, even the most impressive picture can be made even better. So, invest in professional editing software like Luminar Neo to enhance your images. This AI photo editor offers a wide range of editing capabilities, allowing you to adjust exposure, and colors, and fine-tune your photos to achieve the look you want.
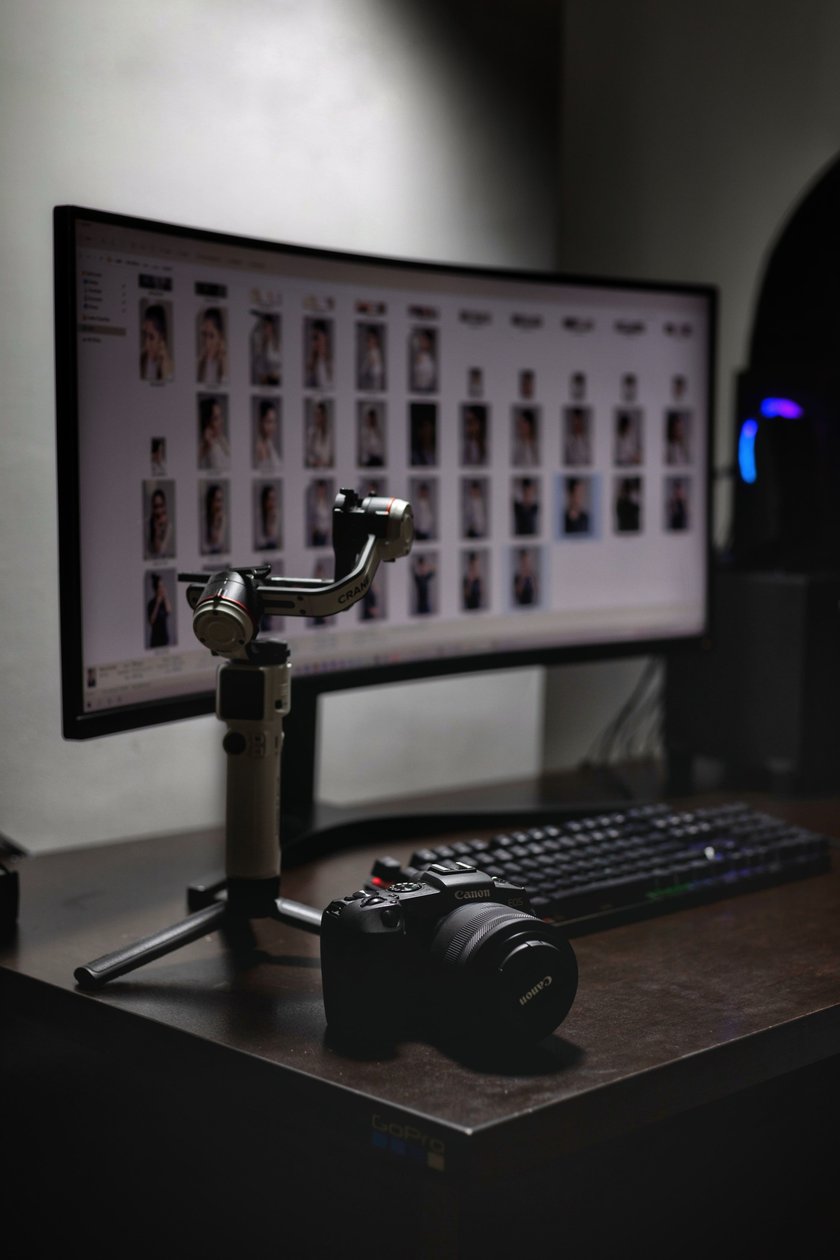
With a single click in Luminar Neo, you can take landscape photography to new heights, retouch portraits with precision, effortlessly remove unwanted details and even transform entire scenes by replacing skies and adjusting the lighting. You can also use a simpler online photo editor if you need to improve the picture on the go.
The Best Tips for Taking Great Shots in Home Photo Studio
When getting started with home photography, remember that you have the flexibility to make the process as simple or as complicated as you want. Don't worry if you're using a beginner's camera and relying on natural light; you can still achieve remarkable results! We will share our top tips for setting up the scene and taking your shot to ensure you get the most out of your photo studio at home:
- Experiment with different lighting techniques and modifiers to get the look you want. Play with the intensity of your lights to create depth, shadows, and highlights that flatter your subject.
- Use compositional principles such as the rule of thirds, leading lines, and symmetry. Carefully consider the placement of your subject, props, and background elements to create visually pleasing and balanced compositions.
- Incorporate elements that add depth to your images: foreground objects, layers, or varying distances between your subject and background. This can give your photos a three-dimensional feel.
- When working with models or subjects, communicate clearly and guide them to help them pose and express themselves. Try to create a comfortable and collaborative environment that fosters trust and brings out their best.
- Be meticulous in your attention to detail. Always look for distractions, stray hair, wrinkled clothing, or any other element that might detract from the overall look. Small adjustments can make a big difference in the final result.
- Explore different angles and perspectives to capture unique and compelling shots. Play with high and low angles, overhead shots, or unconventional perspectives to add variety and creativity to your portfolio.
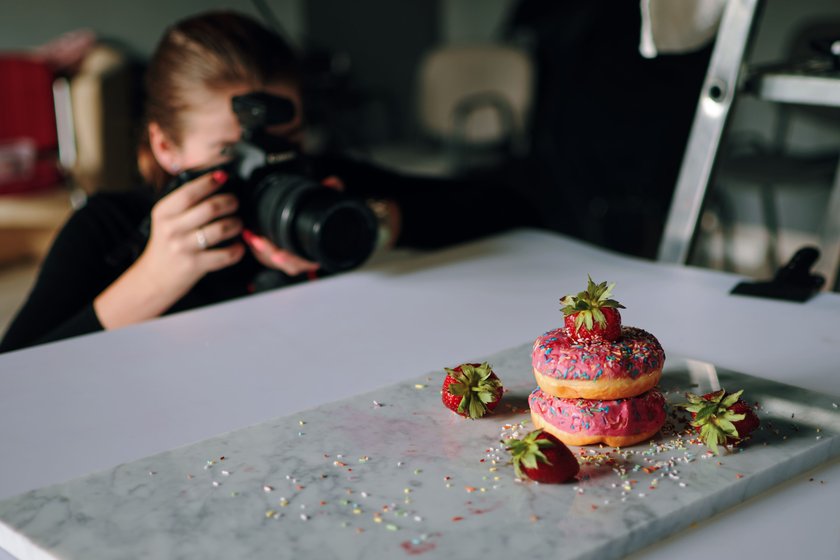
And remember, adding even the smallest element to a photo changes the overall look. Indoors, it's hard to spark your imagination the way you can outdoors, and after a while, you start to feel like all your pictures are the same. You need to break up the monotony with some creative elements.
If you are a beginner, a small studio is all you need to build your photography business. Start by offering professional portraits to friends and acquaintances who will be more forgiving of your setup and enthusiastic about your talent. Also, focus on presentation and professionalism to ensure success.
Photo Studio Home: Explore Different Projects and Possibilities
Such a studio opens up a world of creative possibilities. Let's talk about some of the possibilities you can explore in your photo zone:
- Capture stunning portraits of individuals, families, or even pets.
- Showcase products for e-commerce websites or catalogs.
- Master the art of still-life photography by arranging objects and capturing their intricate details.
- Create mouthwatering images of culinary delights with careful lighting and composition.
- Collaborate with models, stylists, and makeup artists to bring fashion concepts to life.
- Use the studio space to experiment with different techniques and subjects.
- Try abstract concepts, textures, and lighting to create compelling fine art photographs.
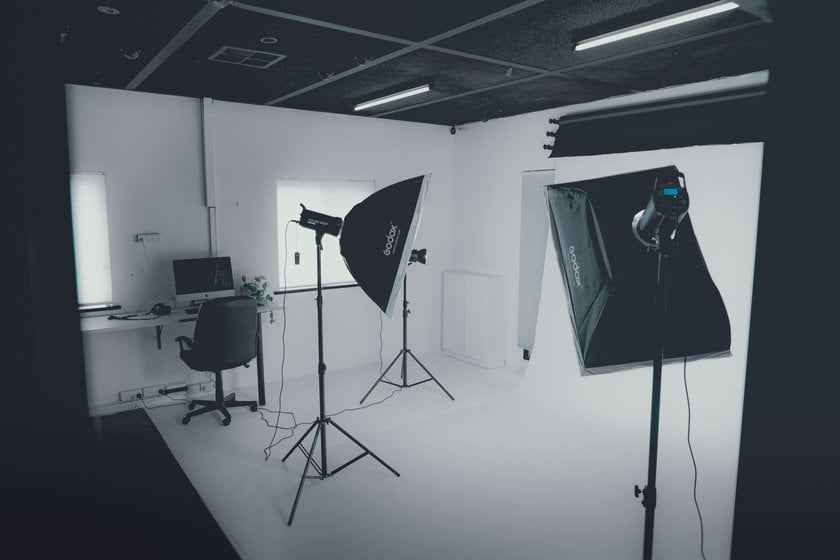
So, while some studios may be smaller and lack the professional amenities of larger commercial spaces or outdoor locations, they can still be very versatile and productive. A properly organized room provides a great space where you can explore different genres and develop your unique style.
To Sum It Up
All studios are different, and each one requires a unique set of gear to bring the blank walls into the workspace and use it to its full potential. Over time, you'll learn how to choose the right equipment, and it will undoubtedly improve the quality of your work.
Remember, photography is a continuous learning process, and your home studio provides an excellent opportunity for exploration and growth. Also, the more you practice and experiment, the better you will get. Just continue to push your creative boundaries, try new techniques, and learn to refine your skills and develop your unique style. Enjoy the way you work and let your creativity shine through in every shot you take!
FAQ
How Can I Effectively Utilize Limited Space for a Home Photography Studio?
To maximize a limited home studio space, begin by decluttering the area and removing any unnecessary items. You can use versatile furniture, mount equipment on walls or ceilings, and consider modular setups. Get creative with space-saving backdrops and take advantage of the light. Also, choose compact and efficient equipment for your setup.
What Are the Essential Equipment and Tools Needed for a Home Photography Studio?
Essential equipment and tools for a home photo zone include a camera, lenses, lighting equipment, a tripod, backdrops, reflectors, and a computer for post-processing. In addition, optional furniture, props, and a comfortable seating area can enhance the studio setup.
How Can I Create a Professional Environment for My Home Photography Studio?
To create a professional environment, consider a few key elements. Use proper lighting techniques, maintain a clean and organized space, and invest in quality equipment. Think about professional backdrops and props. And another key to success is optimizing the space for client comfort and ensuring a seamless workflow from photo session to photo editing.


