Light Painting Photography Basics: How to Start Painting Light
April 21, 2023
In this Skylum article, light up your creativity as we cover the basics of light painting photography, from tips to camera settings to tools. If you want to know how to do light painting photography, then just read this article.
Have you ever encountered those shots online of vibrantly lit words and shapes full of light and wondered how to replicate them?
Painting light is a simple and a fun activity to do with everyone from kids to advanced photographers. It’s referred to as light painting because that’s precisely what you’re doing while your shot is being captured — painting with light.
 From what you need, to camera settings, to technique tips — the Skylum team has put together some light painting photography basics that will help you feel ready and eager to start painting your world with all sorts of colorful light.
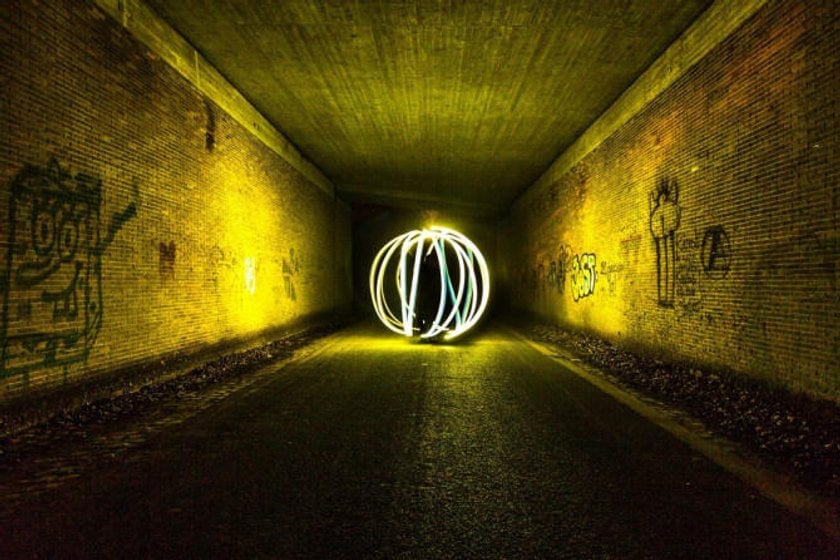
What Is Light Painting?
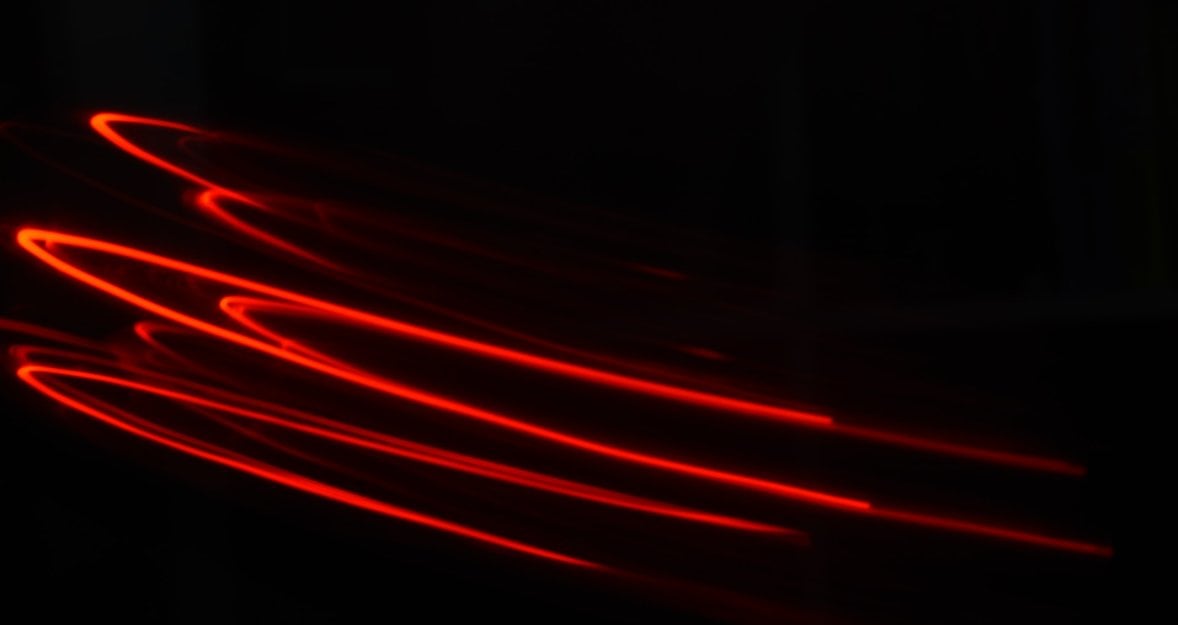
You’ll use a handheld light to paint a scene while the camera’s shutter left open during a long exposure. And the good news is, it’s super simple once you get the hang of it.
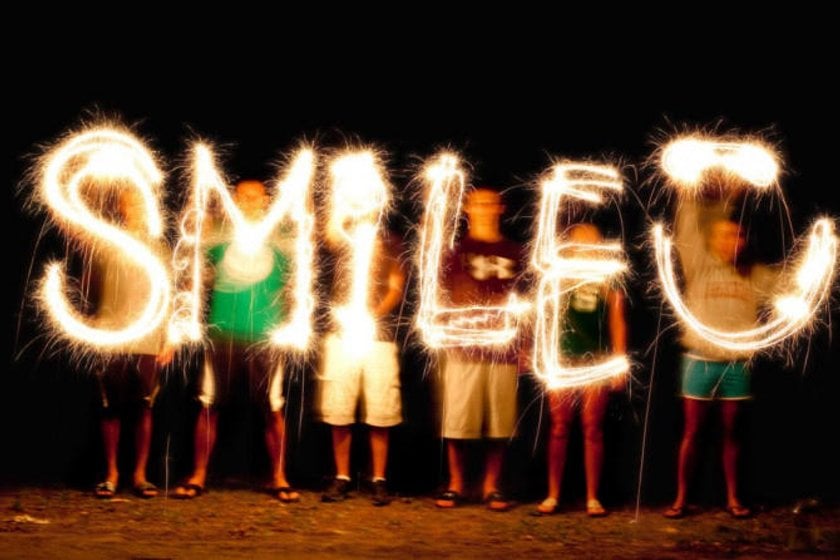
You can paint everything from words to swirls to shapes to wild flying animals — anything that ignites your creativity and inspires your photo-taking.
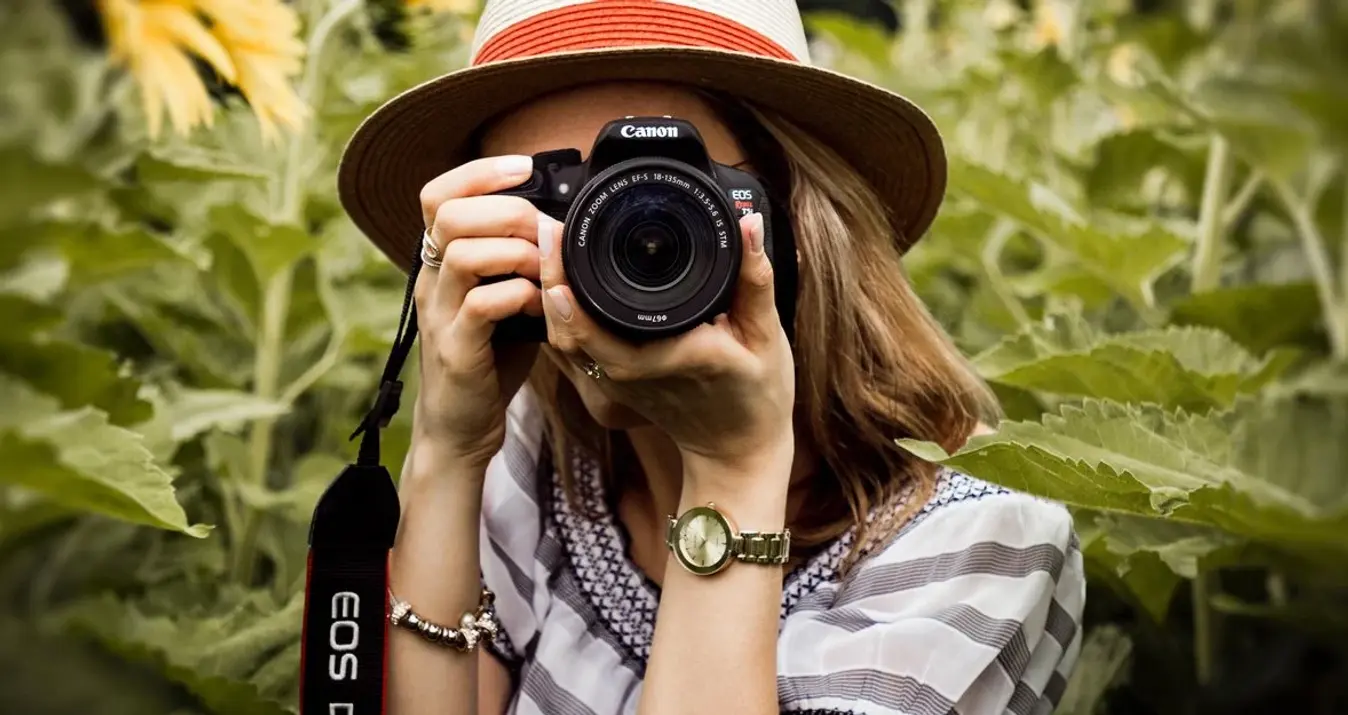
What Equipment You Need for Successful Light Painting
Camera
It’s best to use a DSLR camera that can be set manually (though you can also use film cameras).
Tripod
Light painting requires long exposures, so use a tripod to avoid camera shake.
Light Source
You’ll need a light source! Photographers commonly use flashlights, pen lights, laser pointers, etc. Fixed light will not work in this case.
Camera Settings for Light Painting
What about light painting photography settings? You can use manual mode. Go for a shutter speed between 11 and 30 seconds for a longer exposure, an aperture between f/8 and f/32, and an ISO of 100 or 200.
Create the Shot
To get the shot, choose a dark environment and decide on a focal point before locking the manual focus. Set your timer (or use a shutter release) to ensure that you have enough time to get to your object and begin painting. Move the light from your chosen light source in whichever way you desire and when the shot is done, take a peek. Adjust your camera’s settings as necessary to achieve the exact creative end result you’re looking for. It may take a few times to get it right — but with light painting, experimentation is half the fun.
Light Painting Technique Tips
There are a few primary tips and techniques shared by painting pros over the years. As you get more comfortable with the basics, keep these technique tricks in mind.
- Try to paint from the sides, as it will work to bring out the texture.
- Keep in mind that different surfaces will produce different results (i.e. wood, metal, glass, etc.)
- Use different angles to produce three-dimensional effects.
- Stay moving and wear dark non-reflective clothing.
Light painting brushes also help make your images more original. We will provide other useful tips to improve your long-exposure light painting photography technique.
Keep It Completely Dark
It may seem one of the trivial photography tips and tricks, but any extraneous light sources will affect the final image to the point of ruining it. So it is better to shoot outdoors, away from lanterns, and at home in a closed room with curtained windows or no windows at all. Also, your clothes should be dark, because light-colored ones and especially things with reflective elements will make you visible in the frame.
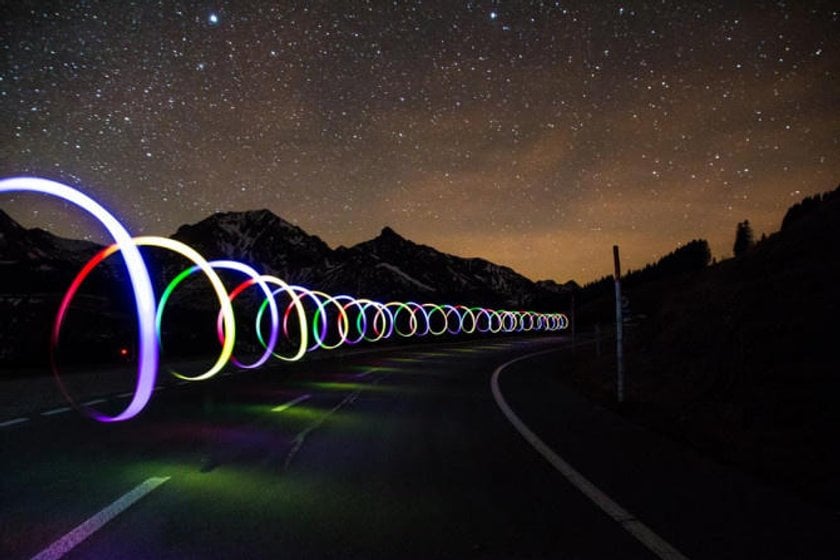
Draw with Different Colors
You can use any kind of steady light source to make light trails, and glowsticks are also ideal. Remember that creative light painting photography is done with different colors, the more unusual the colors, the better. Just keep in mind that halftones can be hard to distinguish from one another, so choose saturated colors instead.
Use a Tripod
To get a picture exactly the way you want it, the camera must be stationary, because you're shooting at a slow shutter speed, and if you don't, blur is inevitable and the picture will be completely ruined. Therefore, you need a tripod or at least a bookshelf, table, or other objects that will hold the camera steady throughout the shot.
Reflections Add Authenticity
It's best to start drawing from the ground or another surface to get reflections in the picture. This will visually add more volume and effect to your painting with light photography, as well as confirm its authenticity.
Plan the Drawing in Advance
This is especially true if the drawing is going to be complex, even if there is more than one participant. It's necessary to calculate all movements in advance and make marks for light painting photos (just make sure they are visible in the dark but not in the picture). Practice the approximate movements, so that it is easier to control the imaginary axis of symmetry (in the dark it will be one of your main reference points).
Light Painting Photography Ideas
It doesn't take a long time to learn how to do light painting photography. It is enough to understand the principle of painting and to feel the space. When you draw closed shapes, you need to know where they begin. But there's a trick to this, too.
You can put the finger of one hand in space while you draw with the other hand with a flashlight. In the end, you just have to go back to the finger. It's more complicated with large figures. Here are some ideas on how to use this technique:
- Drawing objects. Try experimenting with different colored moving lights to get interesting results.
- Take pictures outdoors. Draw the outline of a selected object with your moving light source.
- Graffiti in the foreground. This is easy light painting photography. You can create all kinds of light inscriptions, drawings, and abstractions in space.
For creative work, it's better to stock up on different flashlights. LED panels leave distinctive streaks. Flashlights with diffusers draw bold lines. Flash modes on flashlights allow you to draw dots.
Before you start with light writing photography, mount the camera on a tripod and set a slow shutter speed mode on your camera. The duration depends on the ambient light and how long the figure will be drawn. 2 sec may be enough to create simple stripes. For a complex figure, set it to 5-10 sec then press the shutter button. Close the aperture if the photos are too bright. Most of the time, you'll need to vary the shutter speed between 10-30 sec. So, light drawing is done with a long exposure time.
Conclusion
When you initially begin light painting, you’ll find it a fun experimentation to do with fellow photography enthusiasts. Painting names, creating swirls and spirals, anything you can imagine. And as you learn more and practice, you can use it as an incredible and creative resource in both professional and hobby photography.
Plus, the feeling of being able to actually paint light is one that may never leave you bored.
From all of us at Skylum, have fun exploring the infinite world of light! Just use our guide to light painting photography.