The Ultimate Guide to Food Photography Tricks and Tips
March 09, 2024
Check out our complete guide to food photography and learn how to create great photos and be featured in any gastronomic magazine. We will guide you step by step from gear and camera settings to secrets of composition and sources of inspiration.
Food photography involves perishable subjects, many of which are hot or extremely cold, that change color and shape quickly. You have limited ways to display your subject, and good lighting conditions are needed. Last but not least, food photography is a commercial genre; most of the time, you must follow a strict brief and reflect the client’s perspective more than yours. As a bonus challenge, your photos have to look appetizing even when the food isn’t.
Because you have so many on your plate, metaphorically speaking, we’ve put together a complete guide to food photography to help you get started. In this article, you get helpful tips for beginners and experienced food photography hacks that will bring your work to a new level. Find the best camera for food photography, develop your photo session routine, and find inspiration anywhere you go. Check out our tips for food photography, and don’t forget to have fun. Great photos happen when you have the right mindset.
The Art and Science of Food Photography
Food photography is an art. You may need some tricks to make your food look delicious and desirable. Behind the lens, you’ll need to experiment with props and editing software to make the final picture pop. Great food photography tells a story, whereby by getting the best shades of products, the photographer engages audiences in a feast for the eyes.
Understanding Food Photography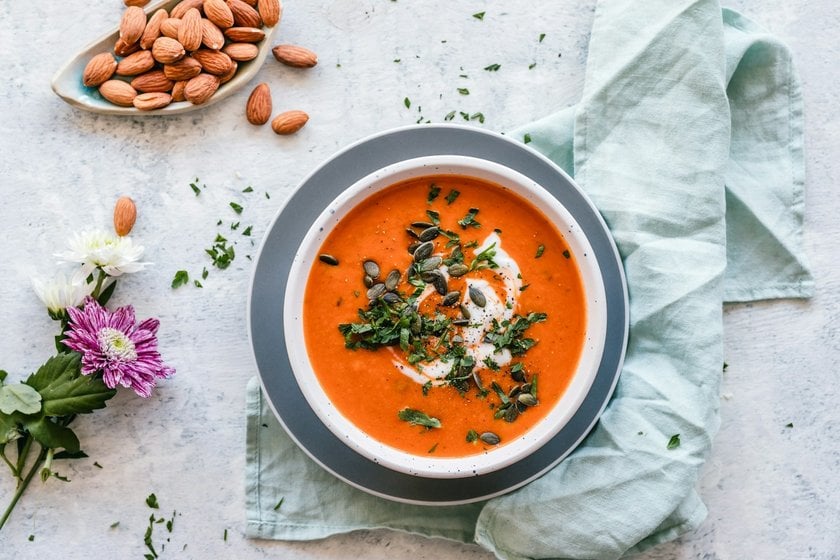

Food Photography Basics Every Photographer Should Know
Food pictures require mastering lighting, composition, and styling to showcase the allure of the main object. Even with smartphones, both beginners and professionals can capture stunning images. Voluminous compositions show the depth and multi-layeredness of dishes, while flat-lay offers a popular approach, providing a bird's-eye delectable view. Following guidelines on framing and angles will help you find the most profitable look for each product. Experiment with different angles, props, and backgrounds to improve your skills. Learn to work successfully with various colors and remember complementary combinations. It will help you create bright and rich masterpieces. Both beginners and professionals should use the same techniques to achieve the best results. Constant practice will help you quickly master this art and find your style.
Essential Food Photography Tips and Tricks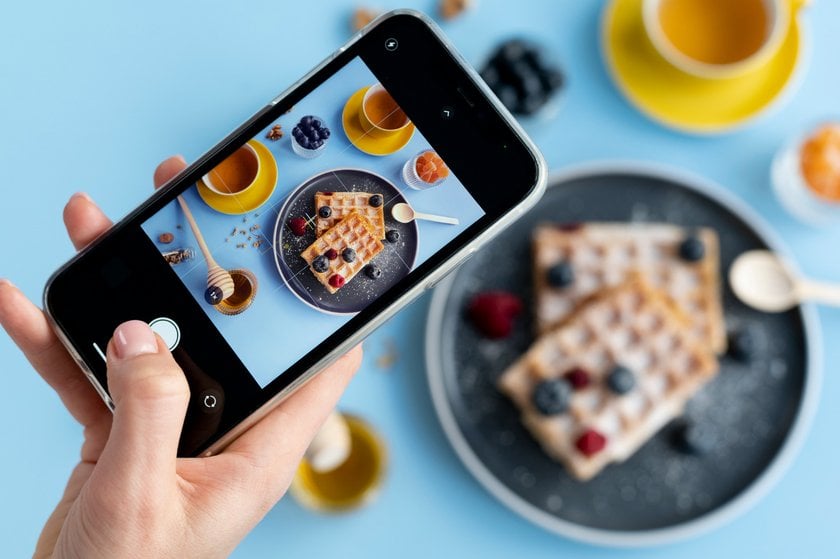

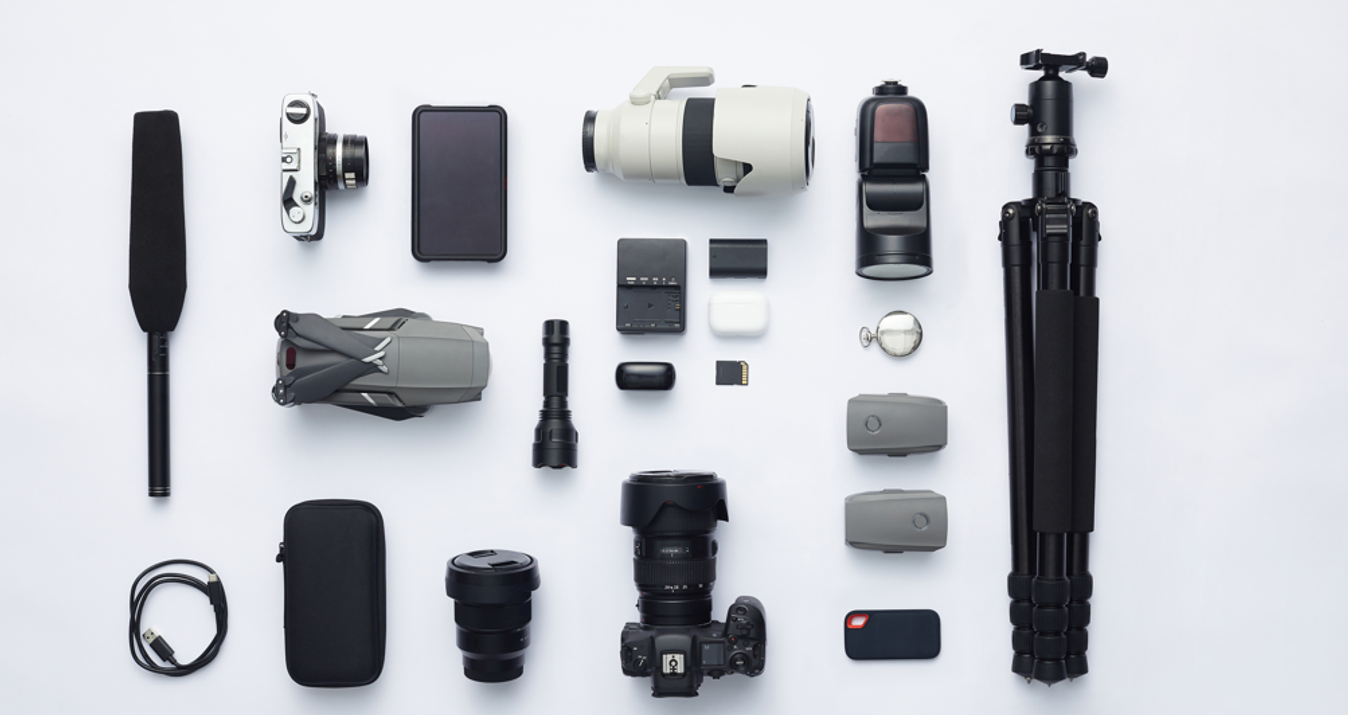
The best gear is preferred, but having the latest technology to take amazing photos is optional. Some famous photographers use smartphone cameras or analog black-and-white cameras. So start with what you have and improve your gear over time. The following steps of our complete guide to food photography will help you understand what you need and why.
1. Learn to use the built-in Flash in Manual mode and buy or make a diffuser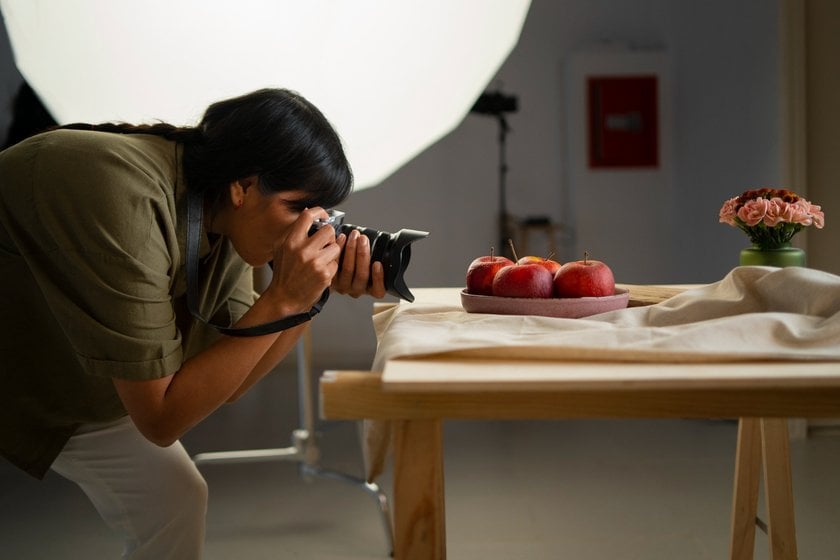

Flash also helps a lot when there isn’t enough light in the scene. But if you use it at full power, you may wash out the colors of the food and create flat images and strange reflections. Set the built-in Flash in Manual mode and adjust its intensity. You can also buy or make a diffuser, a white cap that goes over the Flash and makes the light smoother and more natural-looking.
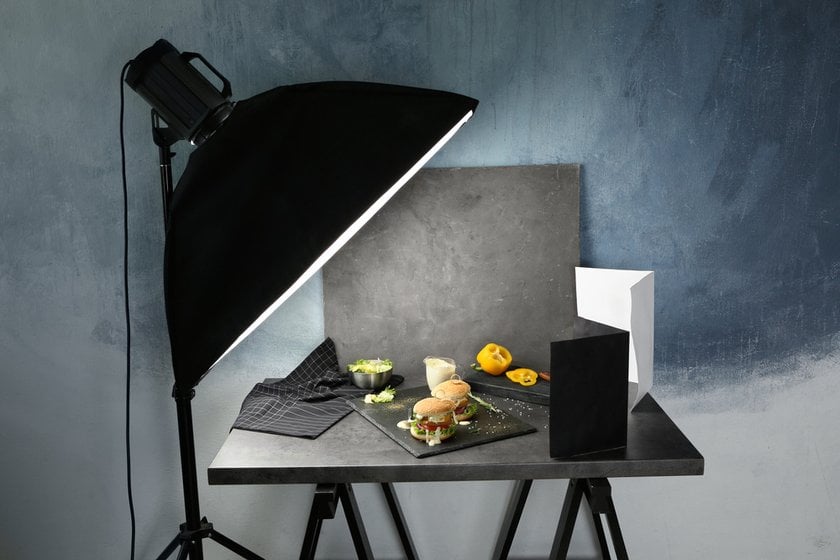
2. Invest in an external flash unit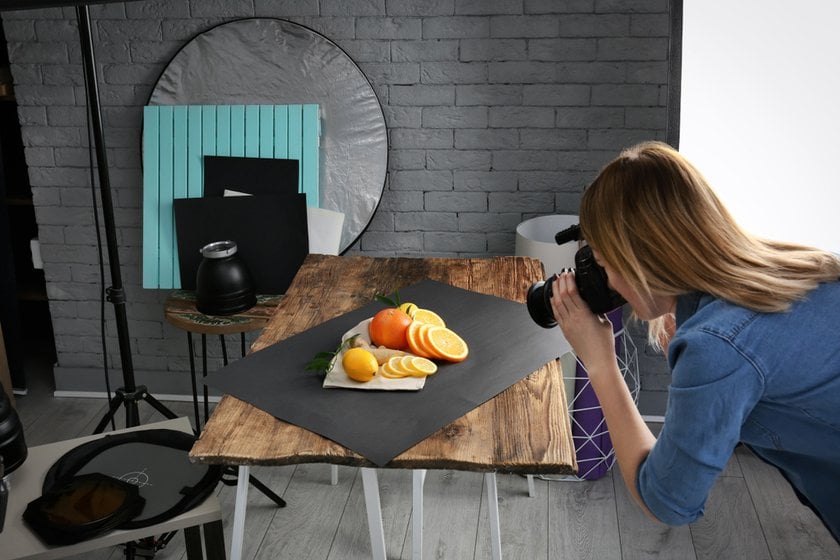

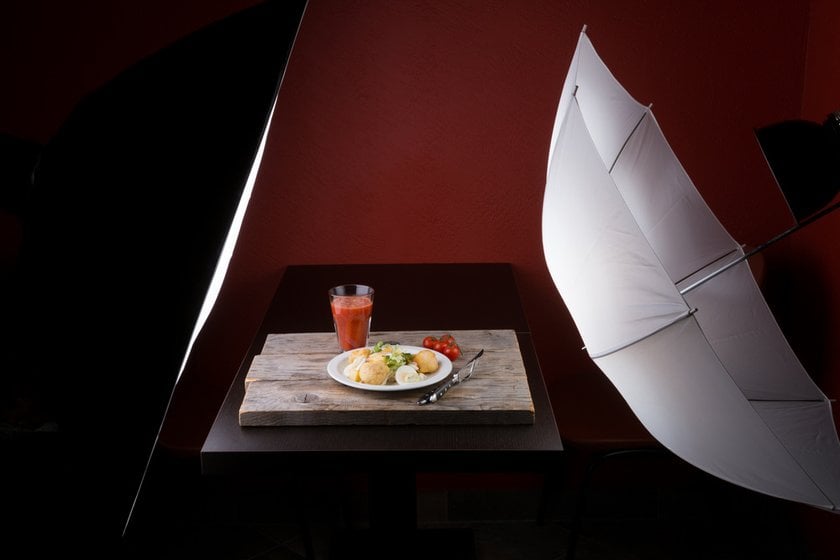
An external flash unit gives you full control over the intensity and direction of the light. You can place it anywhere around your subject and create the lighting system you need. Instead of the frontal unidirectional beam of light from the built-in Flash, you’ll have a uniform light surrounding the subject. Don’t forget to adjust the white balance when you use Flash.
3. Set white balance according to lighting conditions

White balance is important because it can change the color of the food. You want bright, clean whites because otherwise, the food will look stale, the plates will look dirty, and no one will like to eat that food. As a rule, you usually want a cooler color temperature so you don’t make the food look yellowish.
Maximizing Natural Light for Stunning Shots
Move the light source around your subject and see how it influences the scene. Side lighting enhances shadows and adds a sense of depth, which makes the photo more realistic. Backlighting enhances the edges and creates a powerful contrast between background and foreground. Front lighting can ruin colors and create flat images, especially with a powerful flash. The most common lighting for food photography is a system with multiple sources of artificial light that evenly surround the subject with light. Natural soft light gives you a good effect without unwanted shadows and shine. However, avoid direct sunlight, which produces the opposite effect and makes the picture look bad.
Why Natural Light Elevates Your Food Photography
Although many food photographers prefer to use artificial light sources, natural light can work very well. Moreover, natural light enhances natural colors and makes the food look appetizing. Experiment with natural light coming through a window or move your photo session outdoors and benefit from the warm glaze of the golden hour. Natural light complements your visual story by adding a temporal dimension. Use natural light whenever possible. You can smell the freshly baked bread in the morning light.
The Magic of Angles in Food Photography

Approach the photo session step by step, leaving space for improvisation and new ideas. For example, start by arranging the décor, sorting props, and setting the light. Then, take photos of each scene using multiple perspectives and angles of shooting, different lenses, and several artistic styles. Ultimately, allow yourself to be creative and explore new styles, unusual angles, and everything that inspires you. The result of the picture you get will depend on the specific angle. Therefore, you need to choose the most profitable shooting points for each product or dish.
Finding the Perfect Angle for Every Dish
Yes, the client may ask for landscape photos with a deep depth of field and bright colors. However, you’re free to find new perspectives and shooting angles and present the food in a unique light. It also means you should place the camera relative to the subject and not yourself. Sometimes, you can adjust the décor; sometimes, you must climb a table or kneel. But a diversified portfolio will help your career.
The Role of Composition in Food Photography

How can you photograph food on a plate artistically and interestingly? The key, as always, is composition. Even if commercial photography has many restrictions, you should find a way to express your creativity and deliver artistic photographs.
Advanced yet easy-to-use photo editor
Get Luminar Neo NowNegative space is your friend

Negative space refers to the space around the subject, usually representing space. It balances a composition, creates an airy feeling, and makes the subject stand out. You can use as negative space a plain background, a white plate or tablecloth, or anything that doesn't distract from the main topic.
Create a complete and diversified set of compositions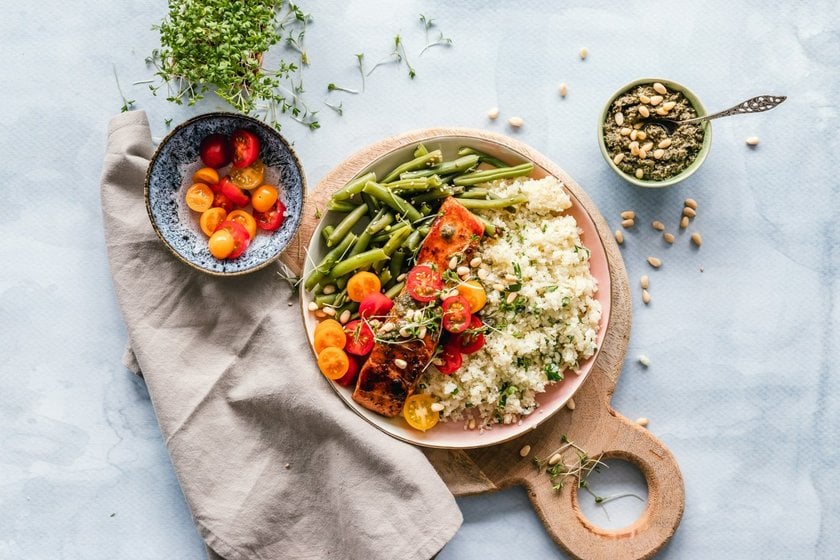

Some products look better in groups, while others look better in individual subjects. You may prefer a particular perspective, such as close-ups or photos taken from above. Nevertheless, at the end of a photo session, you should have a complete set of compositions, including environmental shots, details, top and front perspectives, photos taken at 75 and 25 degrees, and so on. After the photo session, you can't return and take other photos. You have to make sure you have everything you need.
Add abstract meaning to your compositions

You can also enrich the story by adding elements with abstract meaning. If you include hands, people, signs of poverty or luxury, traditional elements, and so on in the frame, the viewer will know more about the food and its purpose. For example, the hands of an Italian Nona making pasta speak about this meal's long history and rich tradition.
A pretty photo is good; a visual story is what you remember

Aim to create memorable pictures. To do that, you should focus on storytelling as well as aesthetics. Why do you photograph a specific subject? What do you want to say to your viewers? And, most of all, why should anyone care about a photo? Explore the reasons behind each image and put something of yourself in each composition.
Mastering the Rule of Thirds and Beyond

Only some things have to be in the center of the frame. The rules of composition apply to food photography as well. Although you’ll see many examples of food positioned in the center of the frame, you don’t always have to use this pattern. Use the rule of thirds and place the subject at one-third of the frame. Or use the golden triangle rule and put the subject across the diagonals. Avoid creating the same compositions over and over again.
Enhancing Food Appeal with Simple Tricks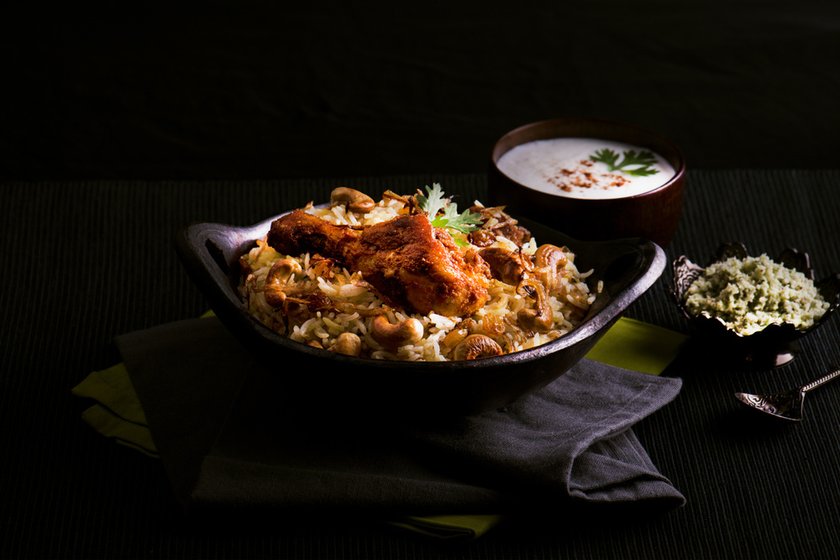

It is very important to make the food attractive even before the photo editing stage. Therefore, among the tricks for food photography, pay attention to your props' appearance and the composition's main components.
Exclusive Tools of Endless Possibilities in One AI Editor
EXPLORE NOW!Using Oil and Water for That Perfect Sheen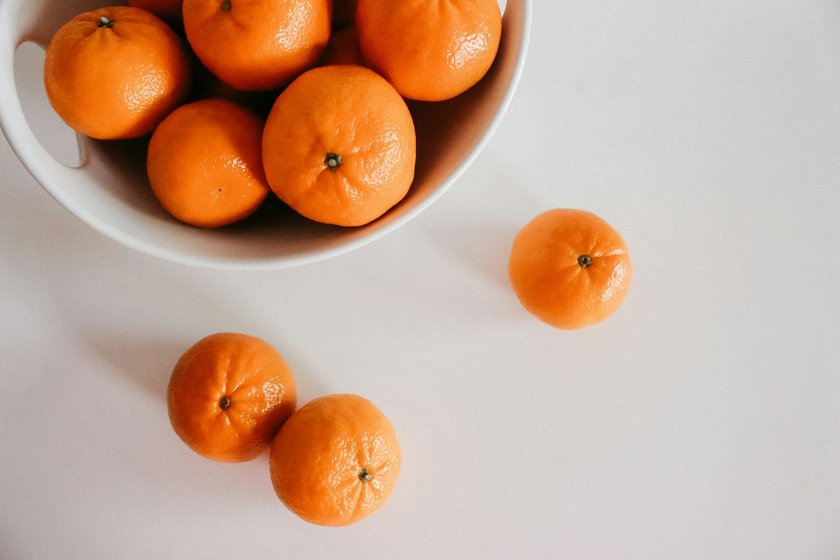

Try rubbing fruits and vegetables with oil or sprinkling water drops to create an attractive shine and fresh effect.
The Importance of Fresh Ingredients and How to Highlight Them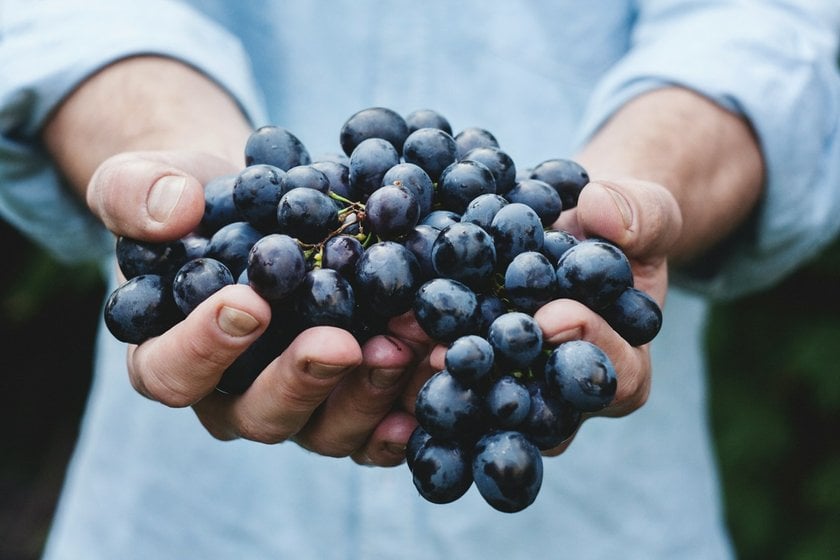

Use only fresh products for shooting because correcting flaws at the photo editing stage can be difficult and lengthy.
Advanced Food Photography Hacks for Professionals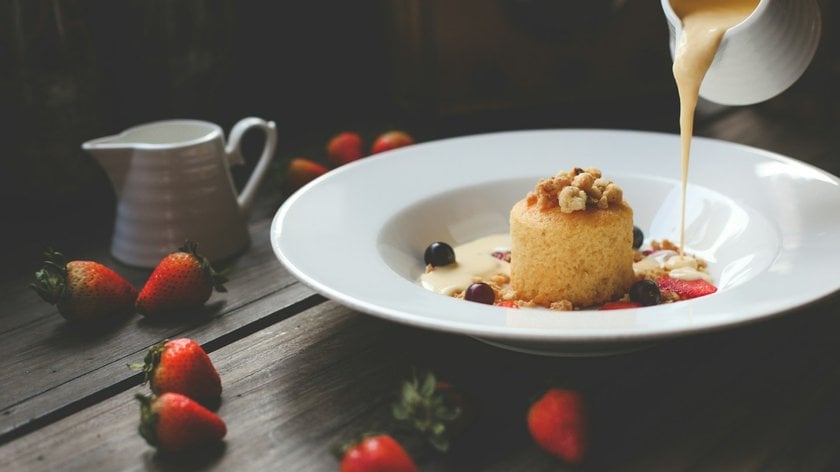

Once you've mastered the basics, start complicating your processes to grow in the industry and create more interesting and unusual compositions. More advanced food photography tricks will help you develop yourself as a professional.
Incorporating Movement for Dynamic Images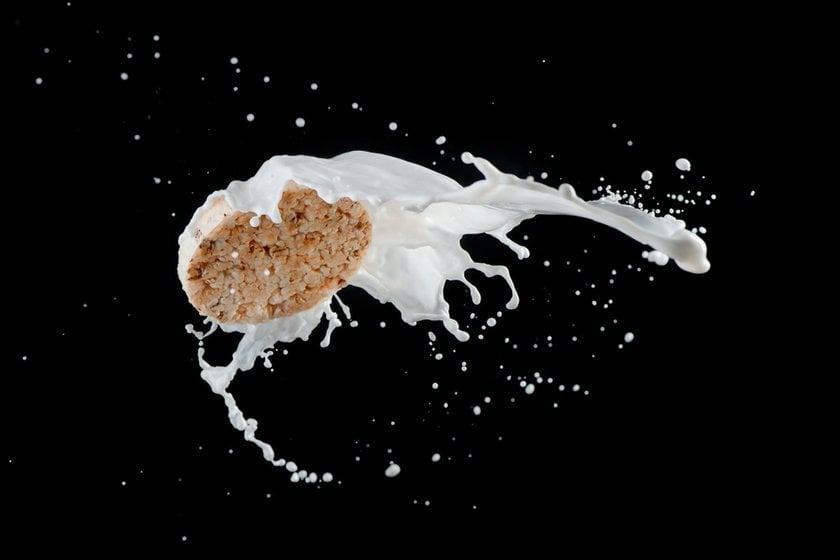

A food photo can include action and movement. Think about melting ice cream, splashes, spoons stirring the pot, ingredients falling into the bowl, hands following a recipe, and so on. Use fast shutter speeds to freeze motion and deliver sharp images.
Explore the secrets of Floating Food Photography and master Food Levitation Photography to create impressive aerial compositions and convey the movement of jumping fruits or vegetables.
Playing with Depth of Field for Focus

Manual focus may save a lot of pictures. This mode may be your friend when you want to have only a part of the frame in focus. The slightest movement can change the focal point, and you’ll have a ruined picture.
A shallow depth of field helps you hide the background, create contrast between the subject and background, and make the subject stand out. You can achieve it using large apertures (small f-numbers), telephoto lenses, or a small camera-subject distance.
Another way to make the subject the star of your photos is to use contrast. It may be color contrast (e.g., placing a yellow lemon on a blue background), texture contrast (e.g., arranging the asparagus perpendicular to the lines of a striped tablecloth), saturation contrast (e.g., red strawberries on a gray plate), or sharpness contrast (e.g., a shallow depth of field). Contrast catches the viewer’s attention and leads it through the frame.
Food Photography Tips for Beginners
Starting Right: Simple Techniques for Impressive Results
Invest in a tripod that gets very low and has a 90-degree arm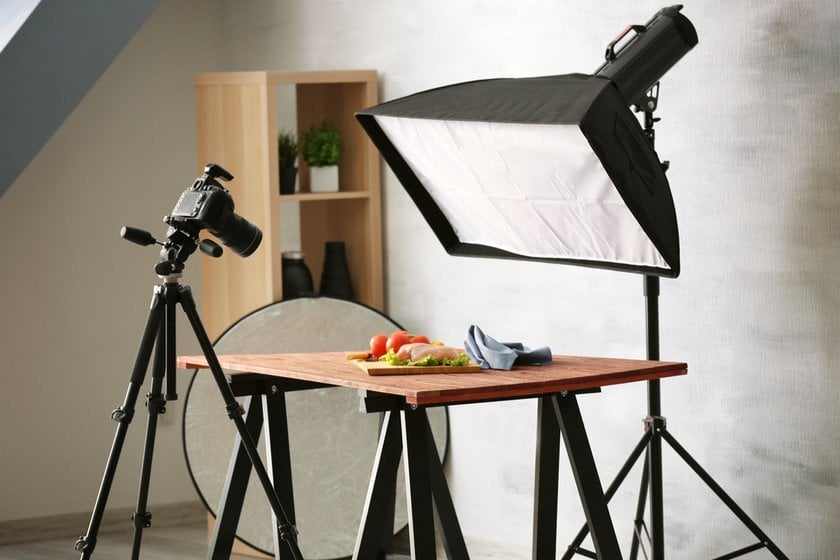

A tripod is a must for food photography. It allows you to take sharp photos even when the lighting isn’t perfect. But you need a versatile tripod that will enable you to place the camera near the food and rotate it as you wish. So don’t buy the cheapest tripod you can find. Choose a high-quality one from the beginning.
Learn to use the built-in flash in Manual mode and buy or make a diffuser
Flash also helps a lot when there isn’t enough light in the scene. But if you use it at full power, you may wash out the colors of the food and create flat images and strange reflections. Set the built-in flash in Manual mode and adjust its intensity. You can also buy or make a diffuser, a white cap that goes over the flash and makes the light smoother and more natural-looking.
Invest in an external flash unit
An external flash unit gives you full control over the intensity and direction of the light. You can place it anywhere around your subject and create the lighting system you need. Instead of the frontal unidirectional beam of light from the built-in flash, you’ll have a uniform light surrounding the subject. Don’t forget to adjust the white balance when you use Flash.
Choosing the Right Equipment: Cameras and Lenses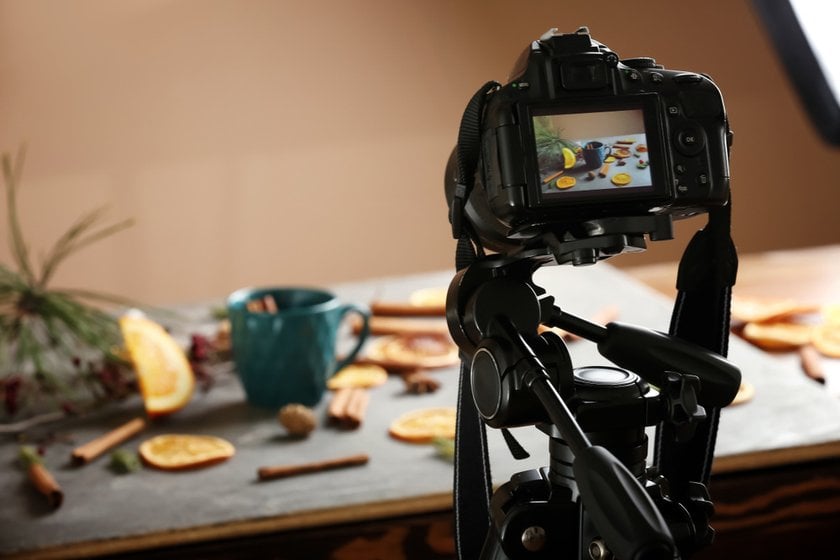

Use a professional camera for food photography and take photos in RAW format. Because it is a commercial genre, you should be able to take high-quality images. It means high resolution, color accuracy, and large pixel dimensions. Your photos should be prepared for post-processing and printing.
The easy start is to use a single lens, but it’s usually a good idea to have both wide and telephoto lenses. They give you more compositional freedom and allow you to manage in any condition.
Another way to create more interesting compositions is to use creative focus lenses such as Lensbaby. These lenses allow you to focus on a particular area and create an artistic contrast between sharp and blurred areas. They're a good solution to hide a busy background, an unappealing dressing, or a table full of crumbs.
Gather a set of helpful filters. Photo filters aren’t expensive and can make a real difference in food photography. A color intensifier filter can help to make the food more delicious. A polarizing filter reduces reflections from shiny surfaces.
Exclusive Tools of Endless Possibilities in One AI Editor
EXPLORE NOW!Understanding Basic Camera Settings: ISO, Shutter Speed, and Aperture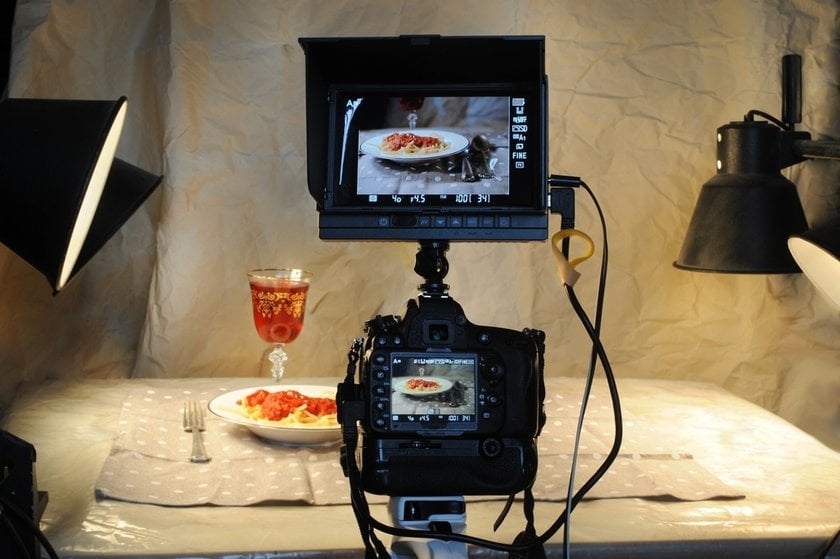

Start with low ISO values (such as ISO 100 or 200) to minimize digital noise and preserve image quality, especially in well-lit environments. Increase ISO only when shooting in low light.
Choose a shutter speed that complements the scene. A slower shutter speed captures more light and creates a soft, dreamy effect. Choose a slower shutter speed when shooting action to freeze the movement and keep it sharp.
Adjust the aperture to control the depth of field. A wide aperture creates a shallow depth of field, which is ideal for isolating the subject and blurring the background. Conversely, a narrow aperture increases the depth of field by keeping more of the scene in focus.
Creative Tricks for Food Photography
Regardless of what kind of food you shoot, the background will set the mood of the entire picture. Food can be filmed on a monochrome background and in the background of work processes.
Innovating with Props and Backgrounds

Gather a set of quality backgrounds for food photography. When you shoot at the client’s location, having some quality backgrounds with you is better. You don’t know what to expect and don’t want to work around a busy background all day. Plain, neutral, and colorful backgrounds will save the day.
Not everything has to have a neutral background. Don’t focus on the subject so much that you forget about the background. Aesthetic photos are good, but pictures with a story are better. Use natural backgrounds such as gardens, fields, and trees and invite the viewer to follow your narrative. Don’t forget that food comes from nature, and its story is bigger than a plate.
DIY Solutions for Eye-Catching Backgrounds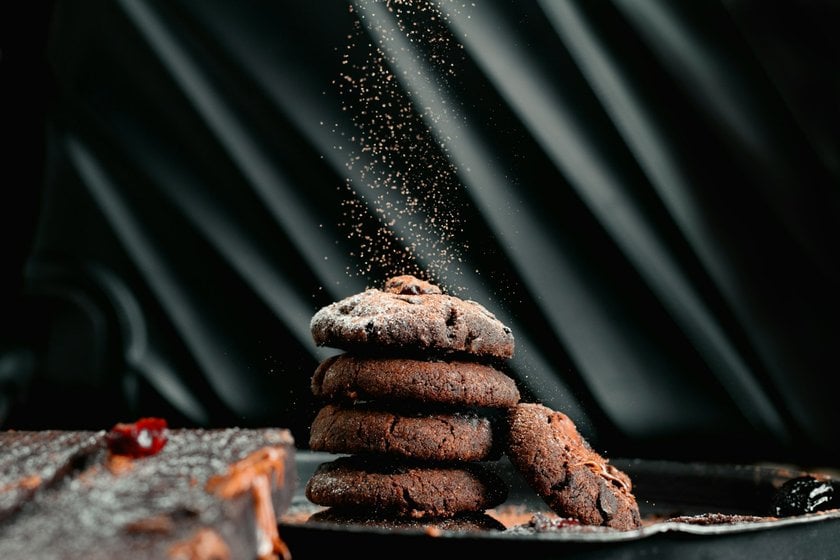

Create a background that complements the beauty of the dish. Remember the harmony of colors and the logic of the theme. If the available background options are unsuitable, you can also use Background Removal AI in post-processing.
The Secret Behind Photographing Food Tricks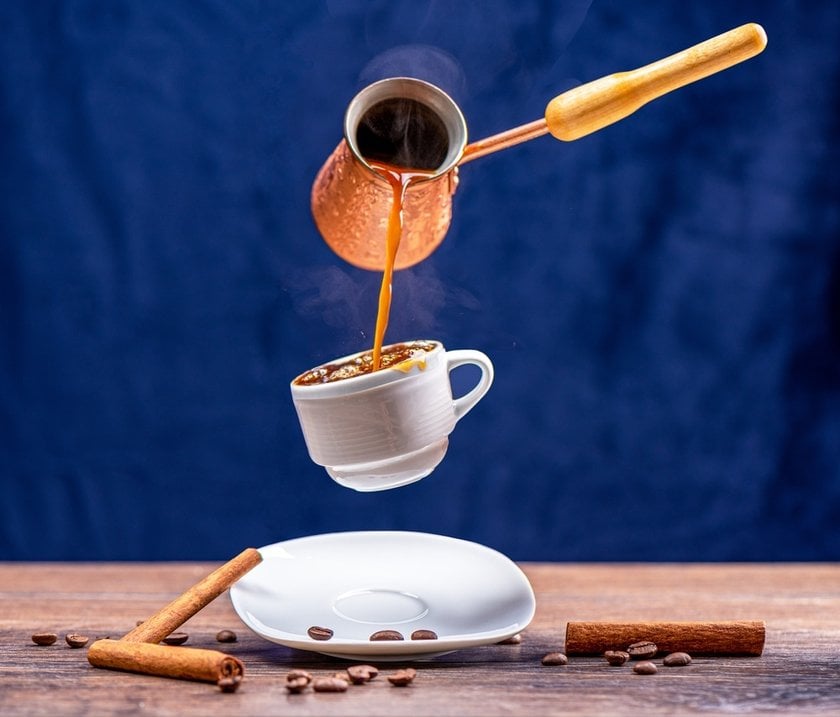

Successful food photos have accurate colors that reflect the freshness and flavor of the ingredients. Color makes food appealing and gives a visual clue about taste. If the product you photograph comes in multiple flavors and colors, don’t photograph just one. Take close-ups and environmental shots, mix colors, and show your playfulness and creativity.
Creating the Illusion of Heat and Freshness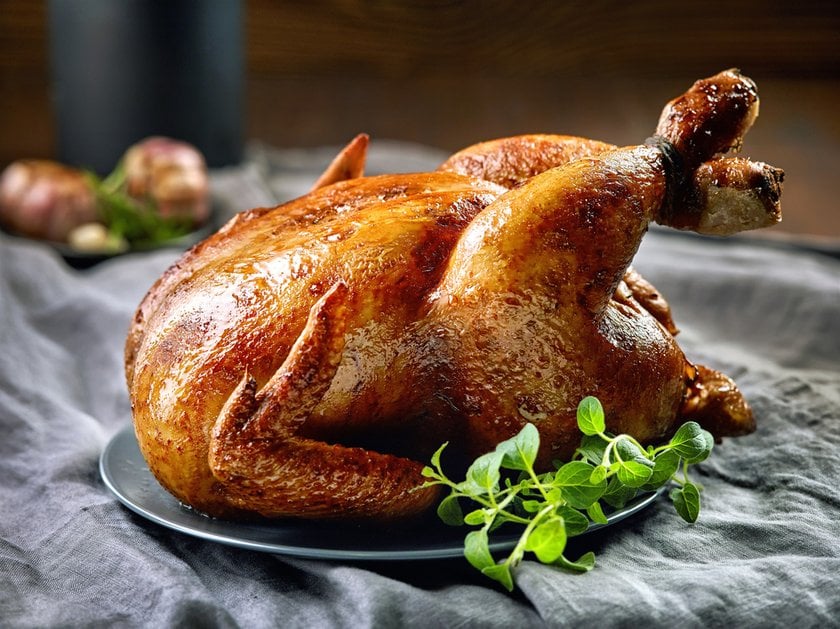

Engaging with your subject matter means tasting, in this case. Photographing complete dishes, desserts, or drinks helps to understand their flavors. It’s even better when you like the food. Many features aren’t visible, but you can include them in the story through the composition. For example, it’s possible to convey sweetness, acidity, spice, freshness, and food temperature, even if they aren’t visible features.
Post-Production in Food Photography
To process your images, choose the software that best suits your needs. From expensive photo editors to free photoshopping, you can find the most suitable option for you.
Editing Your Photos for Maximum Impact
Choose a photo editor that provides tethered shooting. It means you connect the camera to a laptop to see the pictures on a monitor immediately after taking them. It lets you preview your photos on a large screen and adjust the scene if something isn't right.
While it’s amazing to see colorful food, don’t overdo it. Editing is fine if you don’t transform a common soup into a science fiction item. Food is natural, and it should look natural. Furthermore, you don’t want to fool the viewer and provide an unrealistic product image.
An Introduction to Luminar Neo: The Ultimate Tool for Food Photographers
Why Choose Luminar Neo?
Luminar Neo has many features, including guided AI for quality professional editing. You can also use Luminar's online photo editor for quick editing.
Key Advantages of Luminar Neo for Food Photography
Luminary is a Food Photo Editor. Among the functions you will need, try an AI image sharpener to restore the sharpness of images and save compositionally successful shots. You can also try ready-made presets like Delicious Food to quickly edit many photos.
Conclusion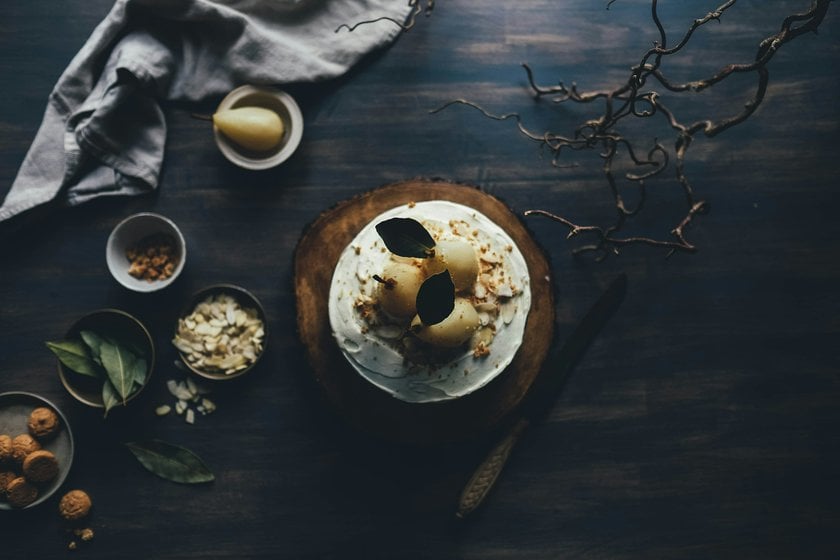

When discussing food photography, it is essential to learn the common tricks that help create stunning pictures. We hope our complete guide on photography tricks for food will help you find your photography style, grow your business, be more creative, and take pictures of any dishes, making them look mouth-watering. You can choose from various subgenres, such as editorial, rustic, still life, or fine-art food photography. Regardless of your approach, engaging with your subject matter and learning to create a visual story are the secrets to amazing food photos. Edit your food images with professional software like Luminar Neo and let your food photography journey be successful and the process full of joy! We hope you make your way from a beginner food photographer to a professional one very quickly and show your work to the world!
Elevating Your Food Photography: A Continuous Journey
Constantly look for inspiration by researching new products and trends in this field, viewing the work of your colleagues, discovering new dishes and cuisines of different countries, and trying to explore new techniques and novelties of photo editing. Use AI to help you with photo editing and create your unique image collections. Also, remember the power of social networks and pay special attention to maintaining your profile and constantly improving your portfolio.
FAQ: Enhancing Your Food Photography Skills
How to Make Food Look Appetizing in Photos?
Use natural light, thoughtful composition, and appealing styling to make food look more appetizing. Choose complementary colors, fresh ingredients, and balanced contrast to create mouthwatering images that entice viewers.
What makes good food photography stand out?
Attention to lighting, composition, and style can transform a food photograph from ordinary to exceptional. Try to capture textures, colors, and details that evoke feelings of appetite and desire.
How to become a professional food photographer?
First, focus on learning the basics, such as composition, lighting, and camera settings. Then, develop food styling skills, culinary knowledge, and business acumen. Networking with chefs, restaurateurs, and fellow photographers can also help build your reputation in the industry.
How to edit food photography for a natural yet enticing look?
Master enhancing colors, contrast, and textures while maintaining the dish's authenticity. Use editing software to adjust exposure, white balance, and saturation, and consider retouching minor imperfections while retaining the overall natural look of the food.