6 Tips to Get Started with Water Splash Photography
January 14, 2019

Today we will tell you how to photograph water splashes. See what’s behind successful water splash photography.
Many beginners spend lots of time to get a few photos of a drop of water that are worth viewing. Finally, they realize it’s not that simple. Achieving ideal water splashes requires practice, experimentation, and patience. It’s hard to get perfect water drops, but you can reach for the stars with these ultimate tips.
Choose the proper gear for splash photos
To get started, you can try to capture a drop of water using a medicine dropper and the built-in camera flash. If you already have a macro lens, it’s a bonus.
For the ultimate results, you’ll need at least a 100mm macro lens, a DSLR camera, off-camera flashguns with a wireless trigger or extension cable, and a programmable controller and intervalometer for special photo effects called the Mumford Time Machine. Using all of this together with Drip Kit, you’ll get desirable results more easily.
To make water splashes, you can use various containers. For instance, you can use a black tray that’s approximately 40 cm x 39 cm x 6 cm. The height of the pipe from the water should be around 50 cm, but you can adjust this each time you do a session. Put a black piece of plastic at the bottom of the container to get clear reflections. If you want to shoot multicolor drop collisions, you can pick up a Three Valve Drip Kit.
Set up the Time Machine for splash pictures
Using the Time Machine is simple. Just set the following parameters:
- Drop count – The number of drops to emit, from 1 to 255
- Interval – The time to wait between drops, from .001 to 9.999 seconds
- Drop size – The time the valve is open to form each drop of water, from .001 to .255 seconds
- Flash lag – The time to wait before the flash is fired, from .001 to 9.999 seconds
- Advance – The amount of time to add to the next drop sequence (subsequent shots are captured with a greater interval each time, from 0 to .9999 seconds)
When all settings are adjusted, activate the shutter button. This opens the shutter on your camera, drops the preset number of drops successively, lights the flashes, and then closes the shutter. Be sure to use the right splash photography setup.
It’s best to have your exposure set to 0.05 seconds to allow some time for the process. It’s the flash speed that freezes the motion. So the flashes should fire at around 1/20000–1/30000 of a second. Make sure you don’t have any other source of light except the flashes. This will prevent ambient light and make the drop of water clearer.
Splash photography: set the lighting
It’s critical to balance the lighting for an effective water splash photoshoot. Too little can produce noise. Too much will spoil the whole shoot. The recommended settings are ISO 100–200, an exposure of 0.05 seconds, and an aperture of f/14, which lets in enough light and provides enough depth of field.
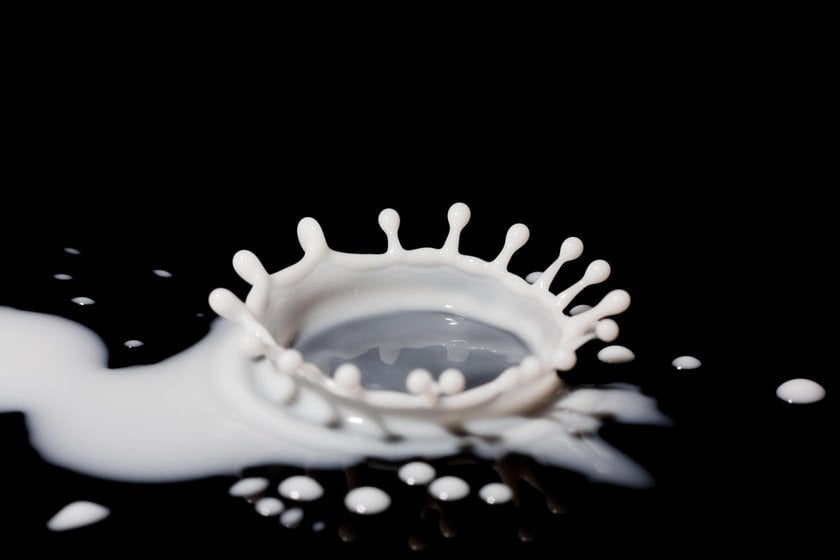
For a water splash, try three flashguns behind the acid-etched glass for even distribution of light. For milk drops, place your flashguns on either side of the drop and above it.
Use water or milk for stopped motion photography
If you’re using water, you can add glycerine or dissolved sugar to make it thicker. But it’s best to use guar gum – it will keep the water splashes clear, unlike glycerine or sugar. You can find guar gum at any grocery store. The recipe is simple: put about 1/8 of a teaspoon of guar gum in two cups of warm water, stir well, and strain thoroughly with a coffee filter, as it will be really lumpy. Alternatively, you can use xanthan gum, in which case you’ll need less and it will be easier to strain.
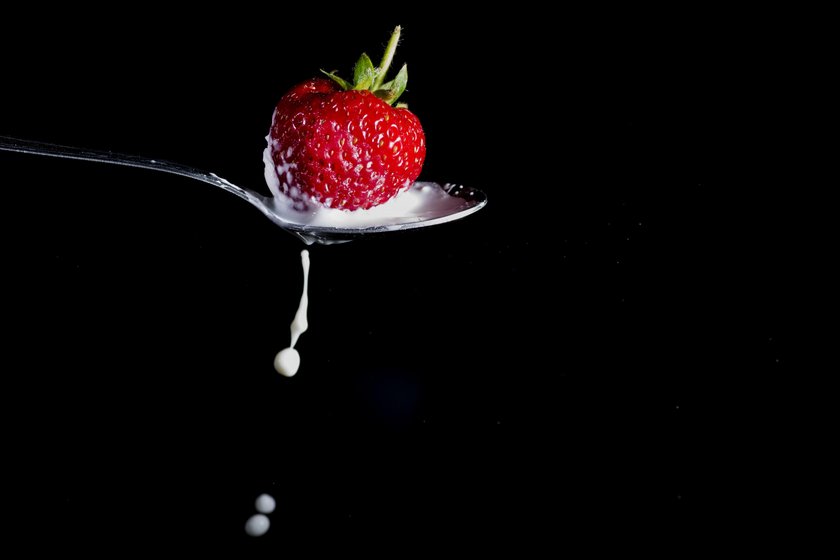
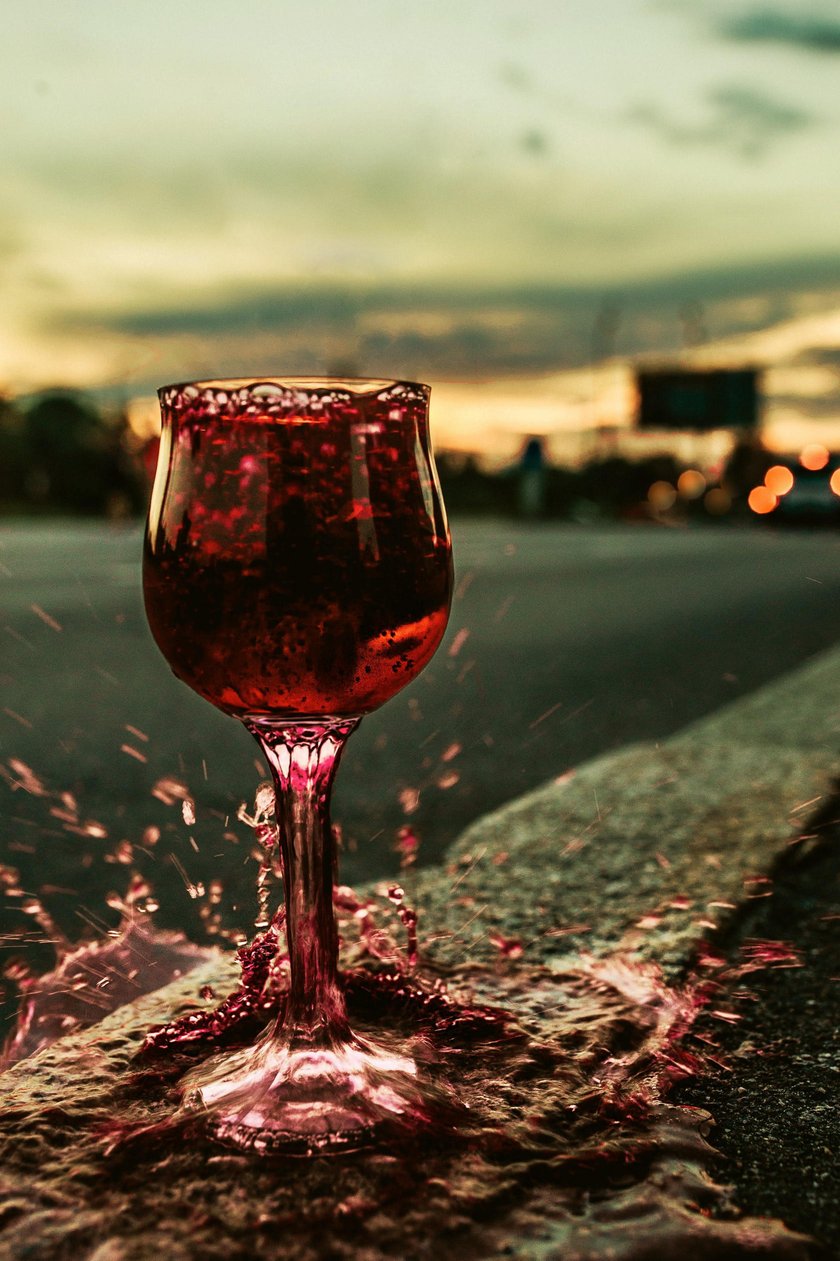
When it comes to milk, go for fat-free milk. You can add a few drops of cream to thicken it so that the drops get finely formed shapes. Using milk results in amazing photo effects. But decide what works better for you. Experiment and choose the most suitable liquid.
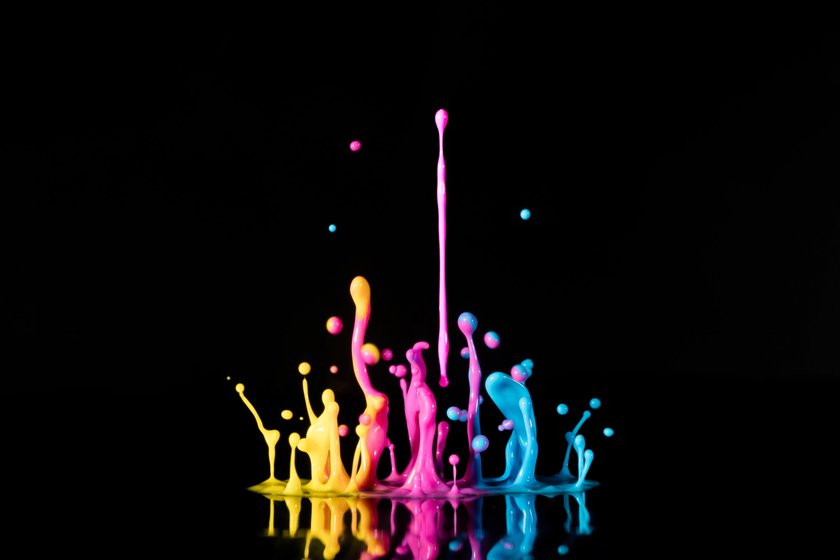
Make splashing water colorful on your splash photo
Drops are usually colored with food dye. The colors on the water drop background come from various plastic gels on the flashguns or else from colored overhead planes, which you can design and print yourself. You can also color milk with a bit of yellow food dye and have colored gels on the flashes to get multi-colored drops.
Water splash photography: post-processing tips
When you finally have your shots, put the icing on the cake. Choose the best water drop photographs and start the creative and essential part of the process. Despite the time and effort you took to get flawless snaps, your raw images will probably need retouching in photo editing software. Luminar and Aurora HDR can take your water droplet photography to the next level.
1. Clean up the water when taking photo splash
You’ll first need to clean up the water. We recommend setting blacks to -100 and applying the adjustments brush to avoid the subjects (if there are any – like fruits or berries). You can apply the brush even on the splash itself to make it cleaner and sharper. But be sure you don’t lose details while retouching the splash.
2. Clean up the background for the action photo with water
Add a new image layer with a totally black image. Apply it and use the brush to paint your background pure black. Be careful and paint precisely near the subjects to avoid painting them also. This way you can achieve a clean black background around your subject. You can even paint away small drops of water that you consider unnecessary. Try to preserve a little bit of the surface of the water, though.
3. Use professional filters in water splash photo
If you decide to make a color splash, Luminar is the perfect photo color editor for this. Luminar has a bunch of professional tools that allow you to turn an average photo into a picturesque story. To make a photograph that will arrest viewers’ attention, you can make a dramatic color splash with the B&W filter and masking. With the powerful HSL filter, you can color photos the way you like and establish your own style.
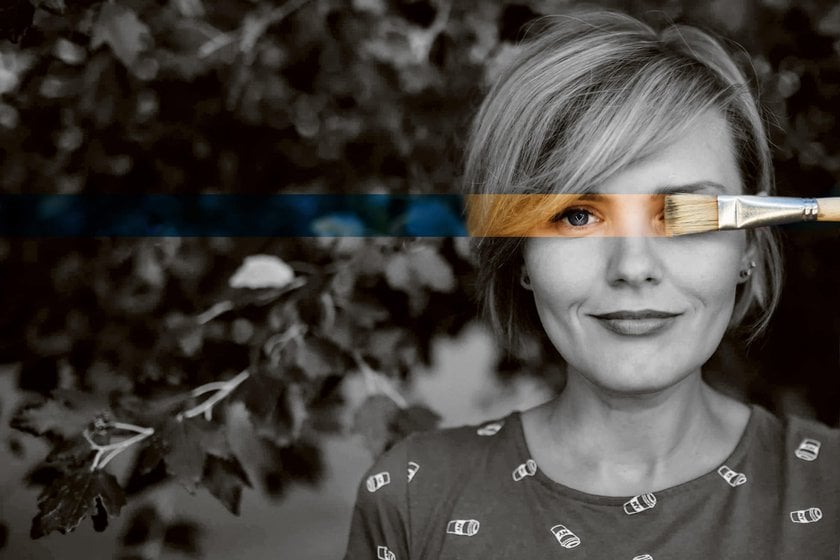 Photo by Sergey Yurlovsky
 To make a long story short for photos splashed with water:
- Get the Mumford Time Machine along with Drip Kit – this is 50% of your success.
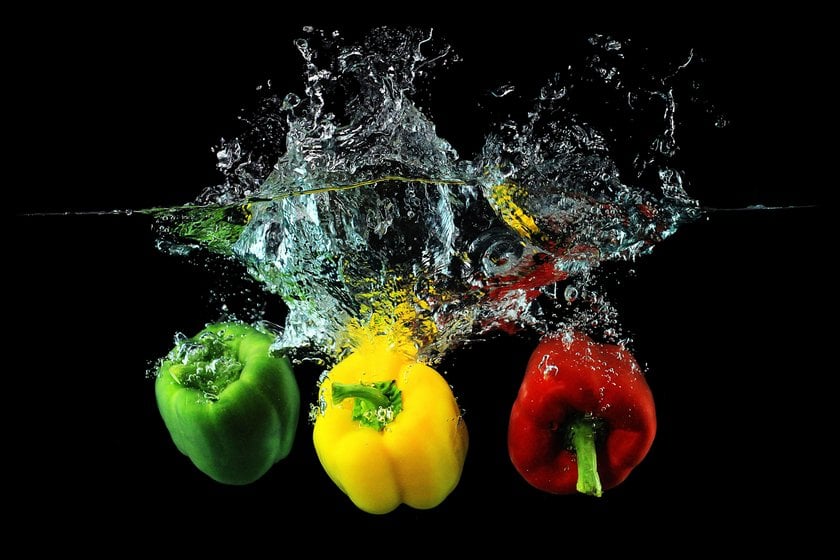
- Use subjects with rich colors to separate them from the black background and the splash. This will make your pictures really stand out.
- If you capture small subjects, use at least 5 to 10 items at a time.
- Experiment with sizes, colors, and shapes when choosing subjects.
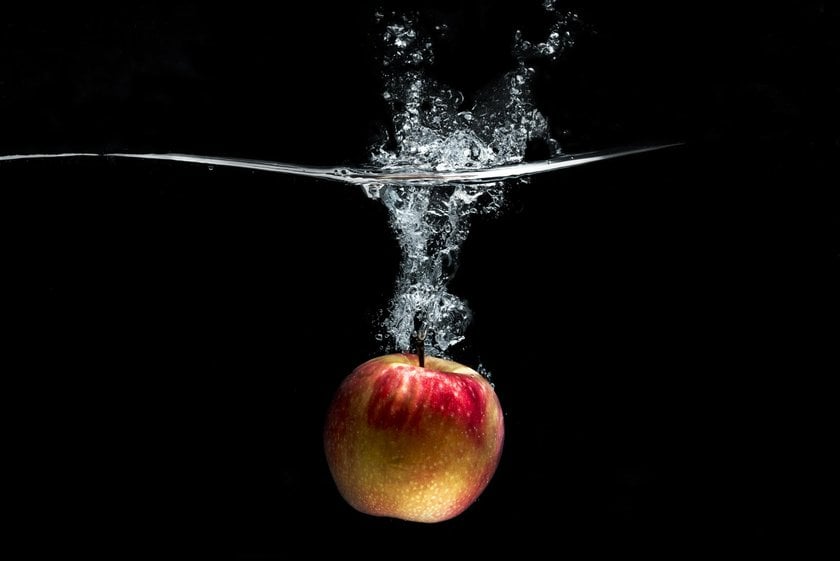
- Don’t use heavy subjects – they’ll fall faster, making it impossible to catch the right moment.
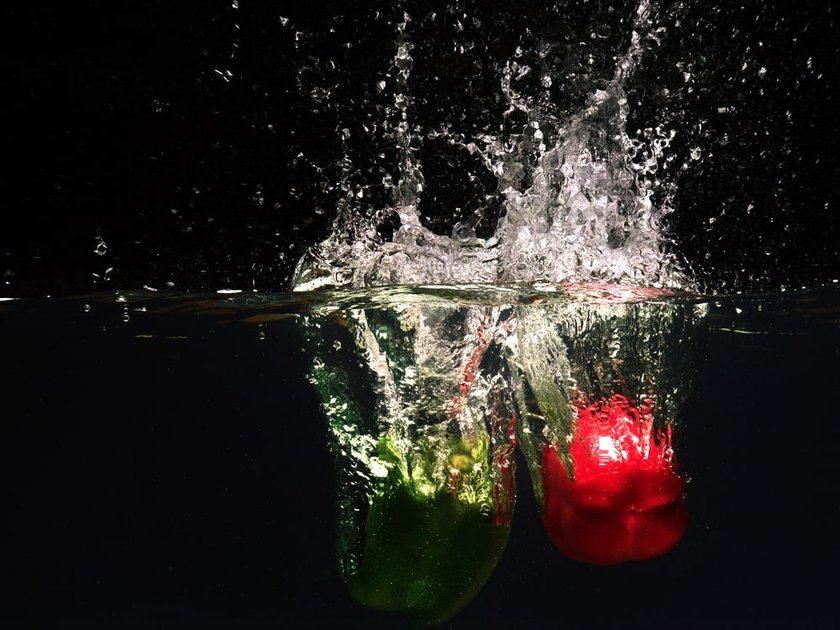
- To make splashes larger, choose a subject with a bigger surface area or let it fall from a higher position.
- Thoroughly rinse fruits and vegetables prior shooting to keep the water cleaner longer.
- If the water becomes dirty, change it. Doing so will reduce your efforts during post-processing while also allowing for sharper and brighter images.
- Wash the front glass of the container to get rid of water drops that accumulate on it.
Water splash photography: conclusion
If the photographer is working alone with water splashes photography, he or she needs to be prepared to run: from the subject to the camera. Often it is difficult to do it alone, which is why it is advisable to take an assistant and while the photographer works with the equipment, he works with the subject.
You will need to take countless shots to choose a decent photo because it is not always possible to catch movement the first time. If you try throwing objects of different shapes and sizes into the water, you can get a variety of results, and therefore get diverse and unique pictures!
The bottom line:
Water drop photography, like any other type of photography, is an art, not a science. Start with the basic mushroom shape for your drops and you’ll take a win. Be patient and persistent during shooting. This is critical for a water drop photographer. Creativity is also necessary. Make your pictures appealing, unique, and outstanding. If you get inspired by other photographers, reinvent rather than copy their work. We all follow somebody to get started, then create our own style.