Wildlife Photography Tips & Techniques
May 02, 2019

Wildlife photography is about shooting wild animals in their natural habitats. In addition to animal photography skills, wildlife photographers may need outdoor skills. So, right now you will learn how to get into wildlife photography.
What makes wildlife photography complicated? You can’t force animals to go where you want or do what you want. So the decisions you make will rely mostly on what your animal subjects are doing. If you don’t learn your subjects so you can read their behavior, you won’t get good shots. How to photograph wildlife? The best way to capture as many great shots as possible is to study animals and practice shooting.
What Is Wildlife Photography?
Nature is something that always fascinates and inspires. Beautiful photographs are an opportunity to feel the power of the environment, its breath in the early morning and fatigue at sunset. It is an additional chance to feel yourself a part of nature, a piece of wild, unspoiled subject’s environment.
Shooting animals, especially at first, does not require the help of assistants and a lot of equipment. A wildlife photographer can be a loner; he needs one camera, a lens, and a large camera bag to stow all the necessary equipment. Camera traps can also come in handy. The main useful character traits here are patience, attentiveness, and learnability.
Wildlife can give us so many ideas and subjects that you won't find repetitions in this genre. How can you competently reveal the splendor of our planet and its beautiful inhabitants? Read on to find out. Wildlife photography for beginners will be a very exciting genre.
Also, wildlife photography is considered one of the most difficult types of photography, because there are no takes, and there may not be a second chance to get a good shot. You won't ask a leopard to jump on the rocks again or an antelope to run in front of it a second time. Nature photography is a kind of reportage, in which you have to use every opportunity to the maximum in order to get an interesting shot.
Below you will find useful tips on nature photography for beginners that will help you reach a new high. All these recommendations are helpful not only for beginners in this genre but also for amateurs with a passion for wildlife photos. So, ready to move your photography to the next level?
The best wildlife cameras
In recent years, photographic equipment manufacturers have made a huge step forward, providing users with features that were previously only a dream. Thanks to this, more and more people are getting into photography and many of them are delving into genres that, until recently, were only available to a select few professionals with expensive equipment. That is why beginner wildlife photography will face fewer difficulties in choosing the right devices.
Choosing the best wildlife camera
There are many cameras out there, but not all are versatile enough for capturing wildlife. The best options for wildlife photography are DSLRs and mirrorless cameras. Mid-range and professional models are usually weather-sealed, have a manual mode, and take interchangeable lenses.
An average camera won’t last long if regularly exposed to adverse weather conditions, so you’ll need a weatherproof camera. And shooting outdoors can be tricky even for the most advanced cameras, so you’ll need to adjust the camera settings manually.
Learn more about the best hunting cameras.
So, there is a perception for beginner nature photography that in order to get good pictures, you, first of all, need an expensive camera body, but this is not entirely true. Using a mid-range camera and lens can achieve great results, but only if you can realize the full potential of the equipment. To be successful in wild life photography, you need to know exactly three things about your camera:
- What the minimum shutter speed is to produce an image of normal clarity?
- How quickly you can change the focus point and shooting mode?
- What the maximum ISO value is for acceptable image quality in low light?
You also need to be able to change all the necessary settings including depth of field without taking your eyes off the viewfinder. This is very important for wild animals photographs. Remember that most of the interesting things on safari happen in a matter of moments, and it is unacceptable to lose that time because you are not fluent in the tool at hand.
Use the right lens
The most common lenses for wildlife photography are telephoto because they let you shoot from far distances. Some of them have optical stabilization to reduce shaking, which is accentuated by extreme magnification. However, these models can also be quite pricey. Thankfully, there are also affordable plastic lenses for your first time in the field.
Start with a telephoto zoom for more flexibility. You can get an 18–300mm lens for a few hundred dollars and use it to take photos up close or at far distances.
If wildlife photography for you means shooting insects and other small animals, you’ll also need a macro lens for close-ups. What about the aperture? It all depends on how close you can get to catch a great shot. Consider a 100mm lens with a maximum aperture of at least f/2.8 — this should meet most of your macro needs.
Remember that you don't have to have only a telephoto lens and shoot close-ups to get good wild animals photography. It's not uncommon for photographers to get hung up on using telephoto lenses with the focal length as long as possible, trying to get as much detail as possible. As a result, in such photos we see an animal detached from the general background. Contrary to common opinion, you can take harmonious wildlife photography with a wide-angle lens, showing not only individual animals but also the nature around them.
The long lens is also a good way to get balanced photos with a good composition. The main rule is to try to get close to the subject, and only then use the possibilities of the technique to change the focal length.
Wildlife photography techniques
Follow these wildlife photography tips to easily get started, achieve awesome results, and become a genuine photography expert. If you have no idea of what to expect from this genre and need wildlife photography tips for beginners, read all of these points to the end.
1. Protect yourself and your camera
Before you start with animal photography, ensure you have protective equipment to keep you and your camera safe from harsh weather. A hat with a mosquito net is perfect because it will protect your face and entire head.
Also, bring a raincoat to cover you, your backpack, and your camera. You can even use it as a small tent to hide from torrential downpours.
When you shoot in winter, wear a thick jacket and gloves specially designed for photographers that expose your pointer finger when shooting. To protect your gear, buy a durable, water-resistant camera backpack.
Alternatively, bring a rain cover for your camera and lens. It will shield your equipment not only from the rain but also from mud and dust.
2. Use the right camera settings
The very first step to achieving success in wildlife photography is having the right camera settings. Start with ISO. It’s best to use an ISO of 100 or 200 to avoid digital noise in your photos. For low-light conditions, however, you can set a higher ISO as long as it doesn’t harm the image quality. When there’s poor lighting, use ISO 800 so you don’t allow too much noise.
Then you need to adjust your shutter speed. How to avoid the blur effect? If you’re photographing animals that move all the time, set a fast shutter speed to avoid motion blur. This will let you capture crucial moments. For capturing slow-moving animals, 1/1000 of a second should be enough. For speedy animals like birds, however, you’ll need 1/2000 or higher.
Perhaps the most challenging part of photographing wildlife is setting the right focus for different situations. When shooting animals in motion, the best option is continuous autofocus.
3. Use a sturdy tripod
To make sure your equipment is safe, you’ll need an aluminum or carbon fiber tripod. They’re rather expensive, but at least you won’t have to worry that your tripod will collapse under heavy weight. Plus, you may need a tripod with multi-angle legs (like a GorillaPod) that firmly stands on an uneven surface.
Moreover, don’t forget about the tripod head, which is essential for shooting wildlife. There are many types of tripods, but the most popular are the ball head and the gimbal head. If you shoot with a medium telephoto lens that’s not too heavy, use a ball head because it rotates smoothly and is easy to adjust. For larger telephoto lenses, use a gimbal head to keep the lens balanced while you’re holding the camera.
4. Know the animals you’re photographing
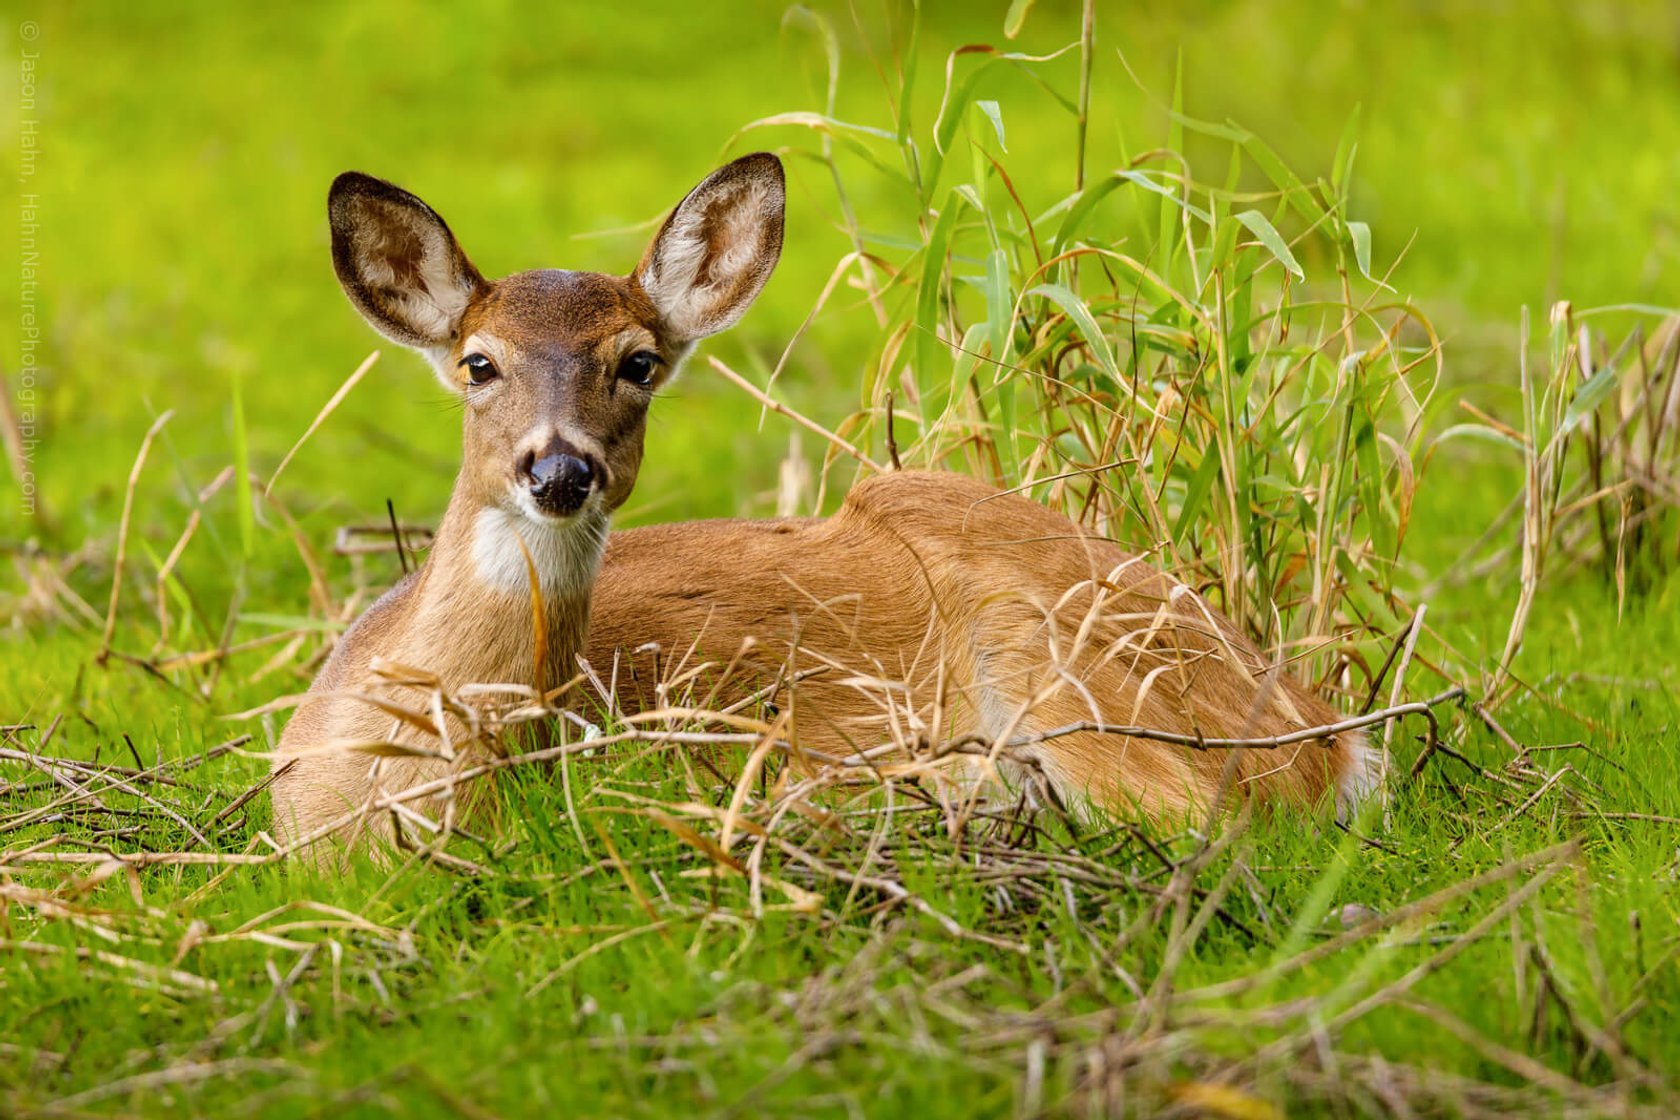
Before you go out, get familiar with the animals you want to photograph. Start by learning where they live and the time of day when they come out. The best time to find grazing deer, for example, is at twilight when they feed. Animals can be tough to see in the wild. Many of them hide, so you can’t find them unless you look for the clues they leave behind.
For starters, it’s best to follow local wildlife photographers and other nature lovers to learn some wildlife photography techniques, observe habits of animals, and learn how to remain unnoticed while shooting. If you follow a professional, you’ll know what to do once you start going out by yourself.
5. Practice shooting animal photography
This is probably the most useful of our photography techniques. If you’ve ever tried observing birds, squirrels, or even stray cats, you know they’re very alert and usually run away before you get close. This is the natural reaction of most wild animals. Before setting out into the woods with your camera, practice shooting animals in a more accessible location so you’ll be ready to catch more elusive creatures in the future.
A great place to hone your animal photography skills is at the zoo. It’s a safe place to shoot even potentially dangerous animals. What also may be beneficial is talking to animal experts at the zoo who can share helpful information about the animals. If you can't use all of the above tips effectively, it means that you'll probably not take enough pictures during practice.
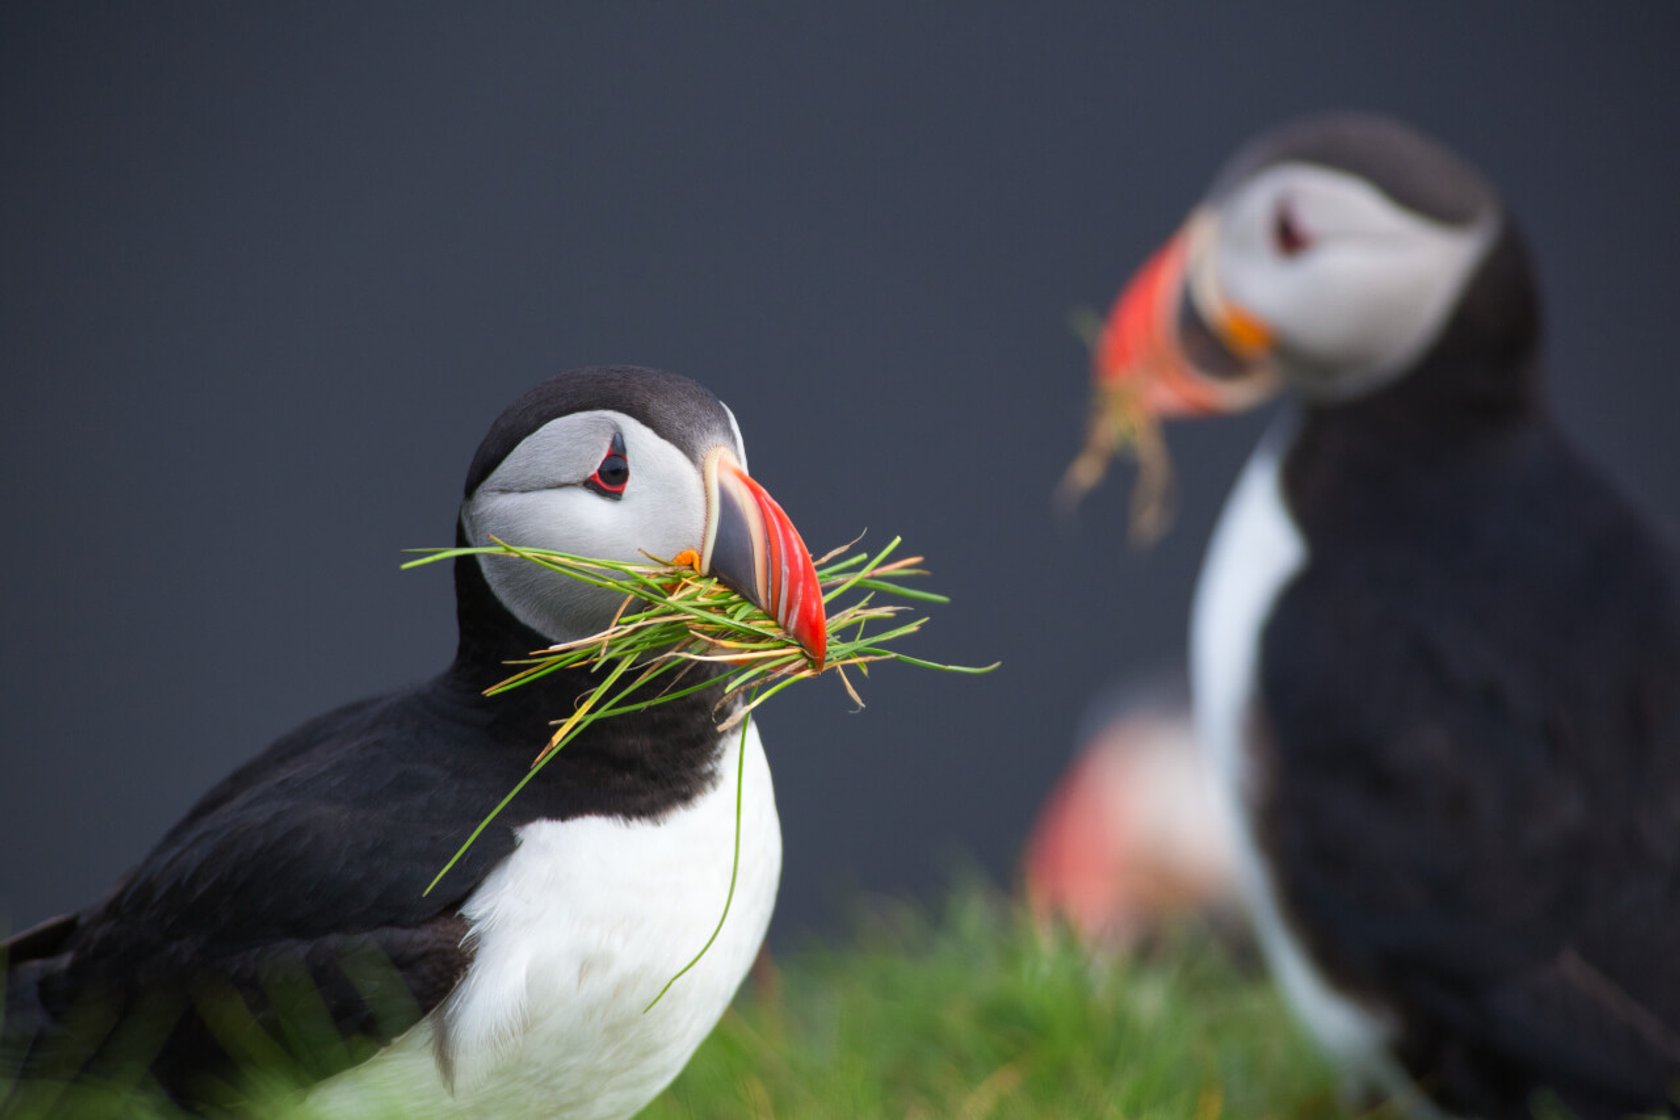
This advice for animal photographs should not be taken as a rule, but in some cases, a photo with several animals will be more interesting than one with only one model. More often than not, animals gather in company at a watering hole, while eating, on vacation, and during mating season. If you see that one of your models is joined by several others, wait a while and you might get a chance to take an interesting photo.
If you don't think the shot is good, don't take just one animal in the frame, try to capture at least a couple. If you're looking to take the best shot, you may have to wait. A sufficient level of patience instantly improves your animal's photography skills.
6. Get low while shooting
Animals are afraid of strange noises and motion, so you if produce too much noise you may end up chasing them away. Try to be calm to avoid scaring them off when taking photos. Slowly approach them when you’re sure they’re not looking at you. Once you’re at a safe distance for photography of wildlife and settle down below your eye level, gently press the shutter.
As the shutter button makes a sound that can spook an animal, consider using the silent shutter feature if your camera has one. Is burst mode useful here? You can also benefit from burst mode when shooting wildlife; it’s perfect for capturing running animals.
7. Use rules of composition
When you choose wildlife photographing, follow the rule of thirds. You can either use the grid on your camera or imagine a grid and divide the frame yourself. Then place your animal on one of the intersections to create a balanced photo.
A photo generally looks best when you provide space in the direction your subject’s head is pointed. For example, since this bear is looking to the right, you need to reframe your shot in the same direction to give it ample space. Otherwise, your photo might look boring or claustrophobic.
8. Stay calm
Be aware of what’s going on and pay attention to your animal’s movements. This is one of the main rules in all wildlife photography tutorials. Consider what they’re doing or what they intend to do. If you learn an animal well, you’ll know how to anticipate its actions. Stay calm and wait for the right situation.
Don’t get into the habit of always checking the viewfinder or the screen. Observe your surroundings with your naked eyes so you can see everything better. Look into the viewfinder only when you’re ready to shoot.
9. Scout good locations
Wildlife parks are the best places for beginners. They typically have a list of animals found on the premises, and many of them even show you exactly where and how you can find the animals.
Many of these parks are vast, so map out the spot for your photo shoot or you might end up getting lost. Once you get to your site, explore it first before setting up your equipment. Look for scenic areas and natural features such as mountains, trees, and fields of flowers you can incorporate into your animal photos. This is one of the best tips for wildlife photography.
10. Love the animals
This is probably the most important rule. Only passionate nature lovers achieve success in this field. Animals are living creatures who understand you better than you think. If you show impatience, cruelty, or ignorance, they won’t accept you and won’t let you approach them.
On top of that, wildlife photography is tough to master. It takes much time to become a pro. However, once you succeed, you’ll never stop reaping benefits from it.
Post-processing tips
Here are some photography tips for wildlife pictures. Fine-tuning your pictures of animals with Luminar Neo is very easy for both novice and professional. Even if you were a little off with your photography techniques, you have limitless opportunities to enhance your images with photo editing software. Whether you need to make primary adjustments, correct colors, recover contrast, or make a stylized photo, Luminar Neo has you covered.
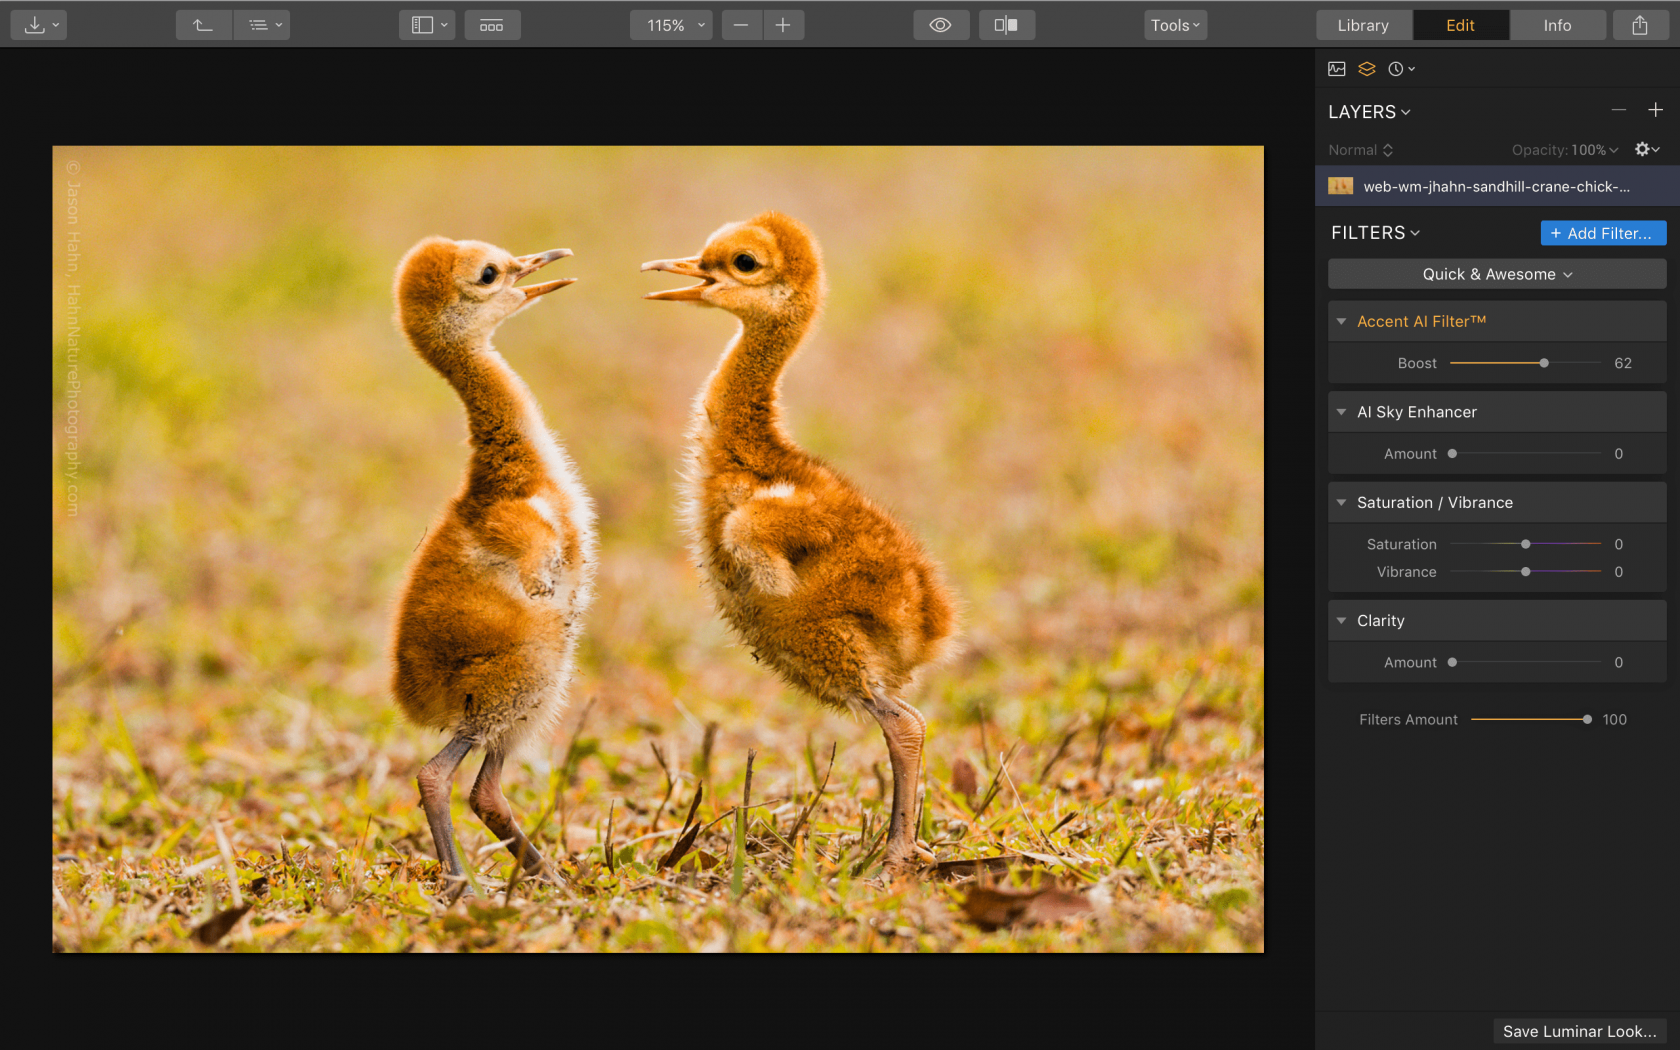
Enhance your images with one slider
As you have already realized, proper post-processing is also one of the wildlife photography tips. The Accent AI tool in the Luminar Neo automatically analyzes your pictures of animals and instantly corrects them. Under the hood, it uses more than a dozen controls. This tool gives you naturally beautiful results with one simple slider. The Accent AI tool can substitute for many traditional controls, including shadows, highlights, contrast, tone, saturation, exposure, and details.
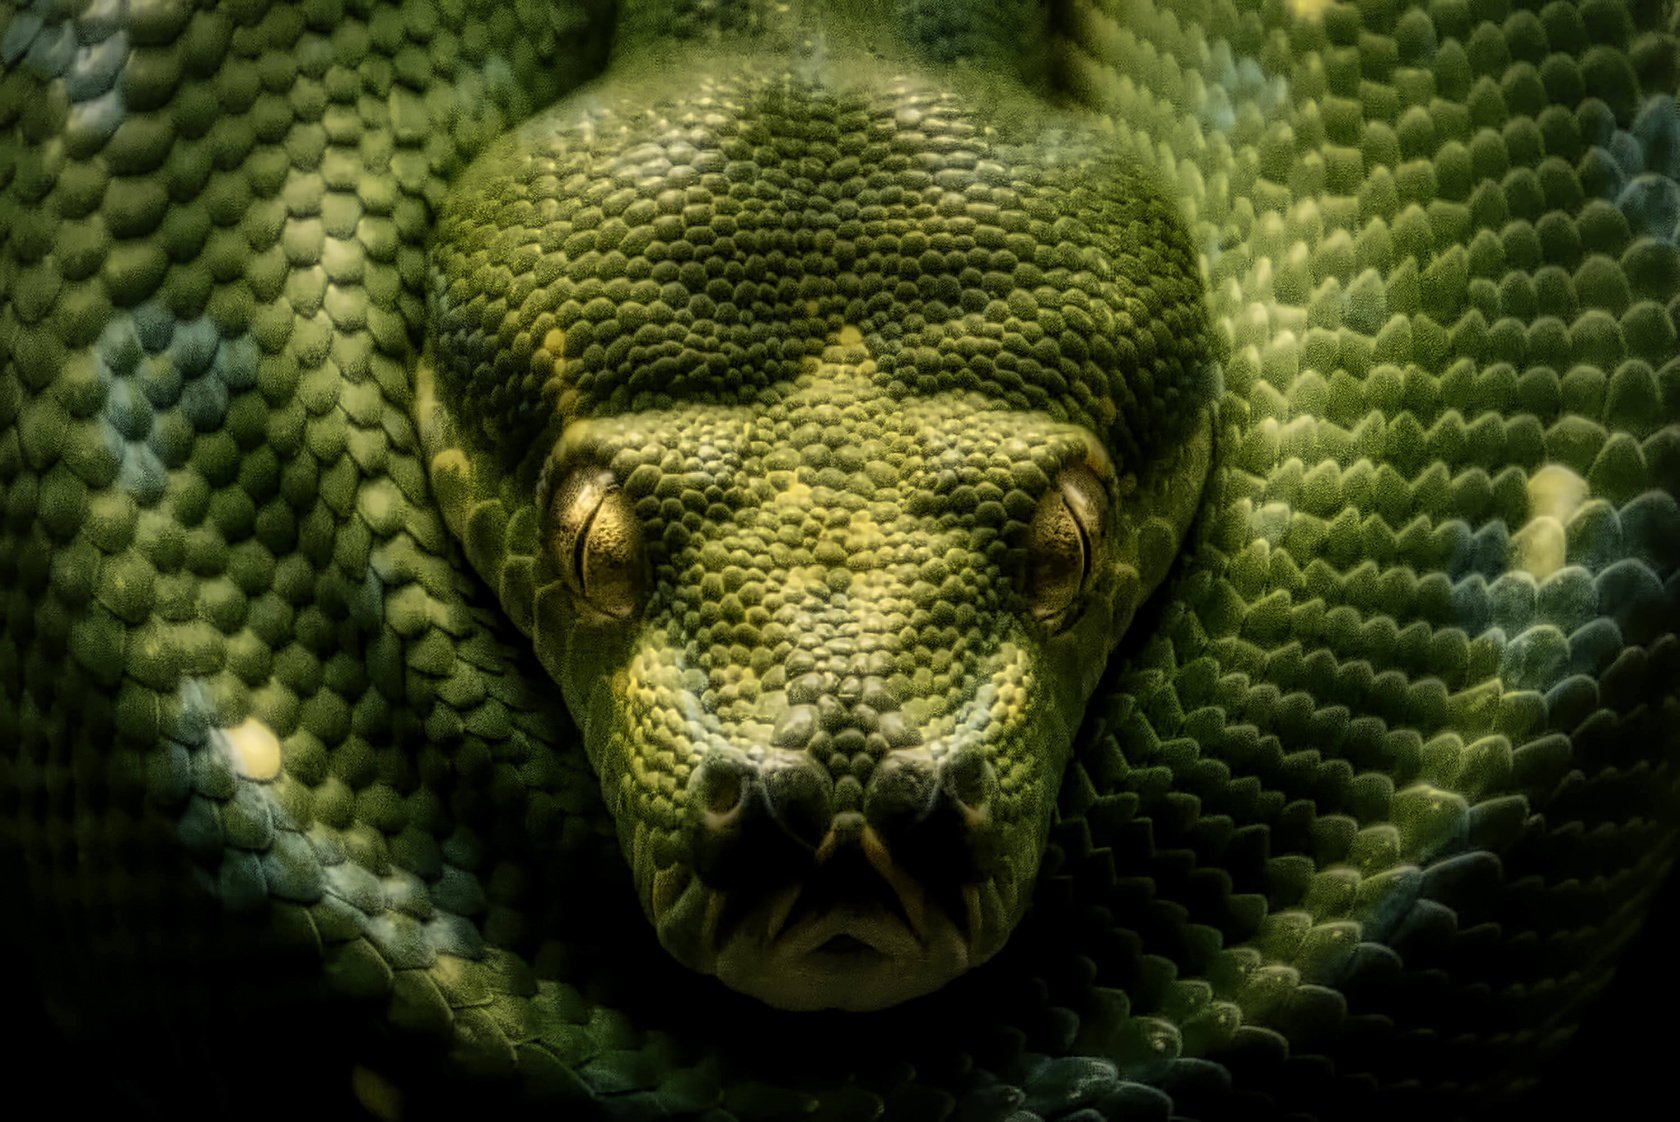
Create a dramatic wildlife photo
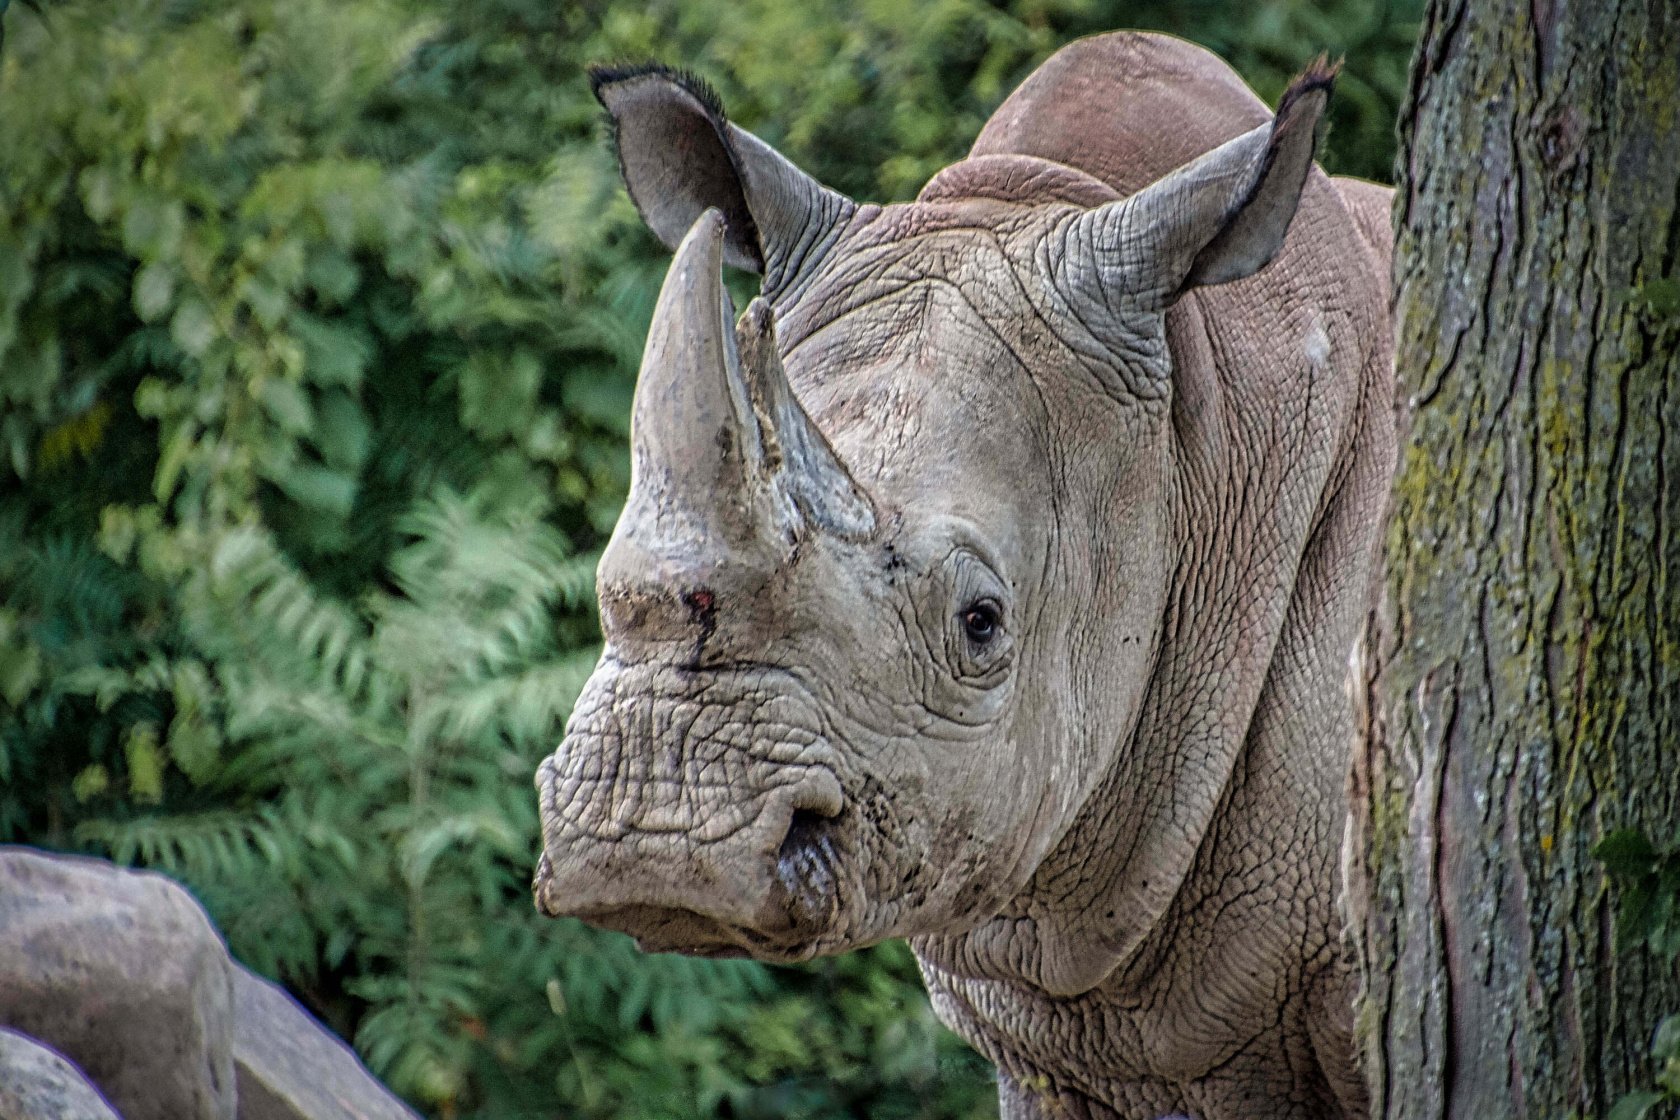
To add drama to your photos, use the B&W Conversion filter. You can also use the Dramatic filter — a creative filter that lowers saturation and increases contrast to achieve a gritty cinematic look for your animal photos.


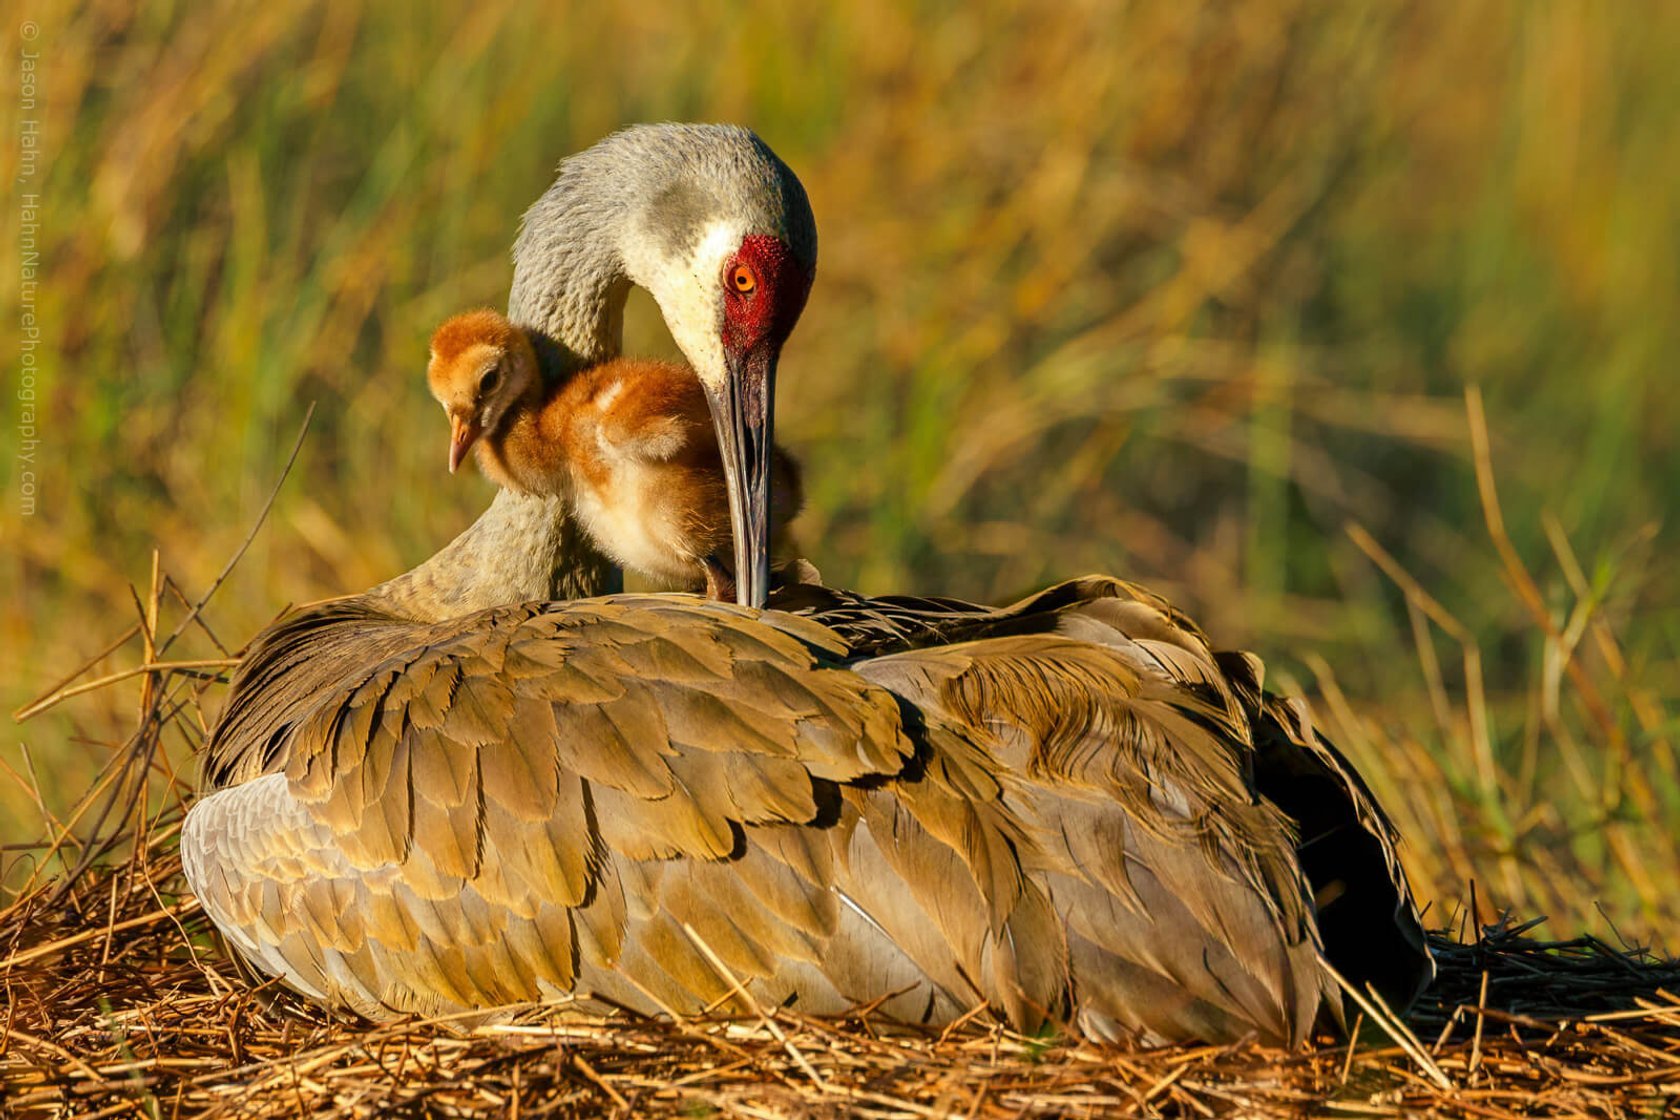
Photo by Jason Hahn
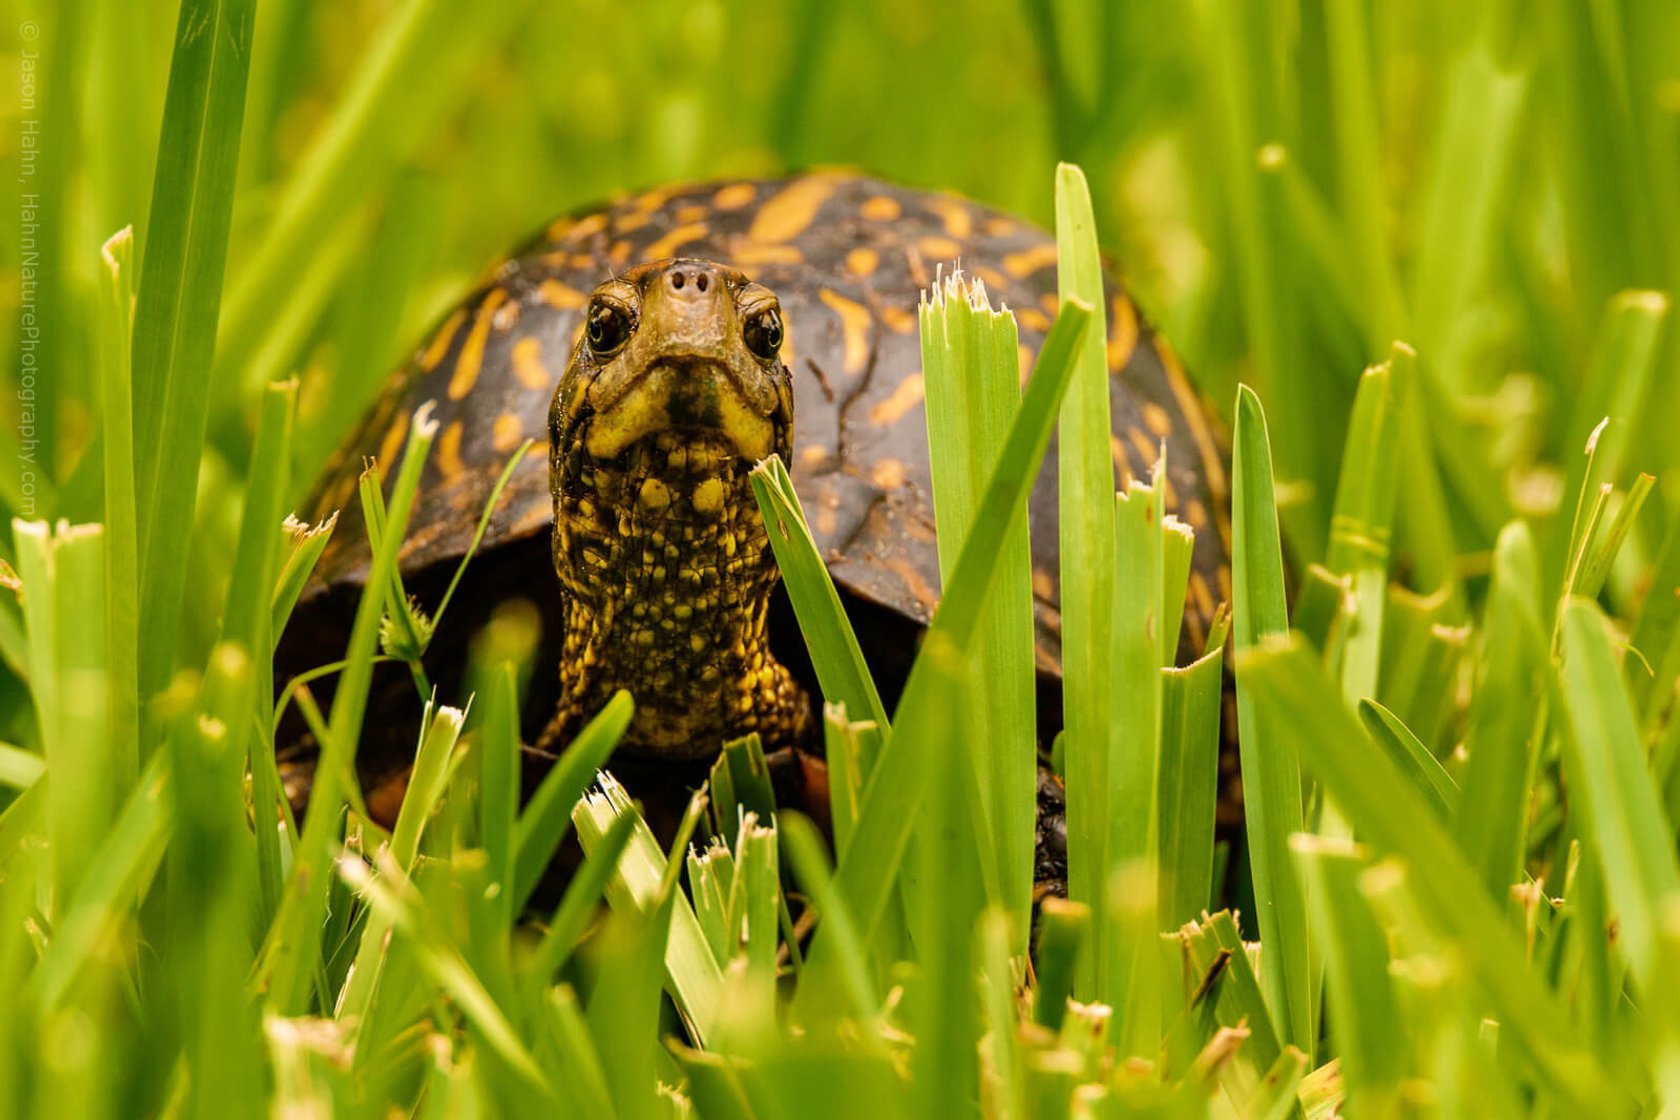
Boost the warmth with Golden Hour
Use the Golden Hour filter to bring warmth, softness, and a golden glow to all of your wildlife photos. Simply dial in the amount of warm toning using the Amount slider and use the Saturation slider to introduce more overall vibrancy. Quickly emulate the magic that happens just after sunrise and just before sunset.
Create a dreamy effect with Image Radiance
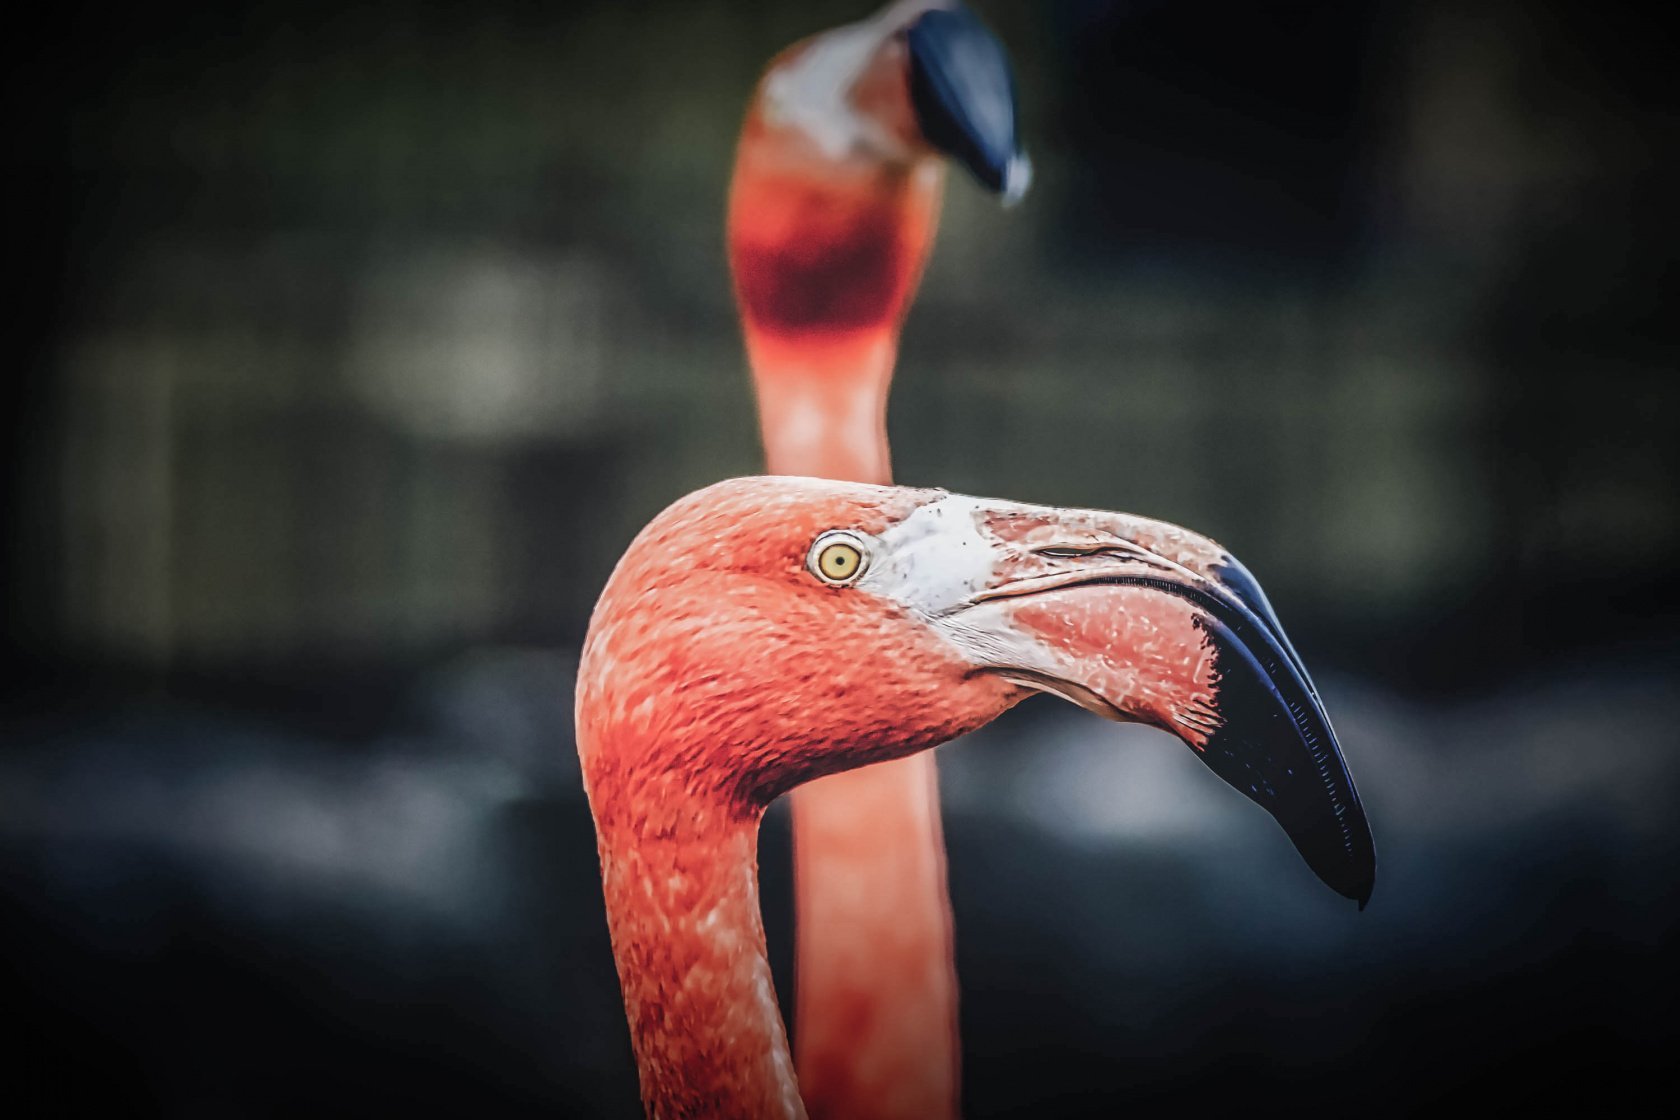
The Image Radiance filter provides a dreamy look to your pictures of animals by softening luminescence while increasing contrast and saturation. It can create a fantasy look by increasing contrast and adding a creative glow that’s prioritized to lighter areas of the image.


Photo by Jason Hahn
Apply a one-click Look
An extensive collection of Luminar Looks help you save time when editing your wildlife photos. Professional photographers from around the world have helped us create this collection, which can give your animal photos amazing enhancements in a single click.
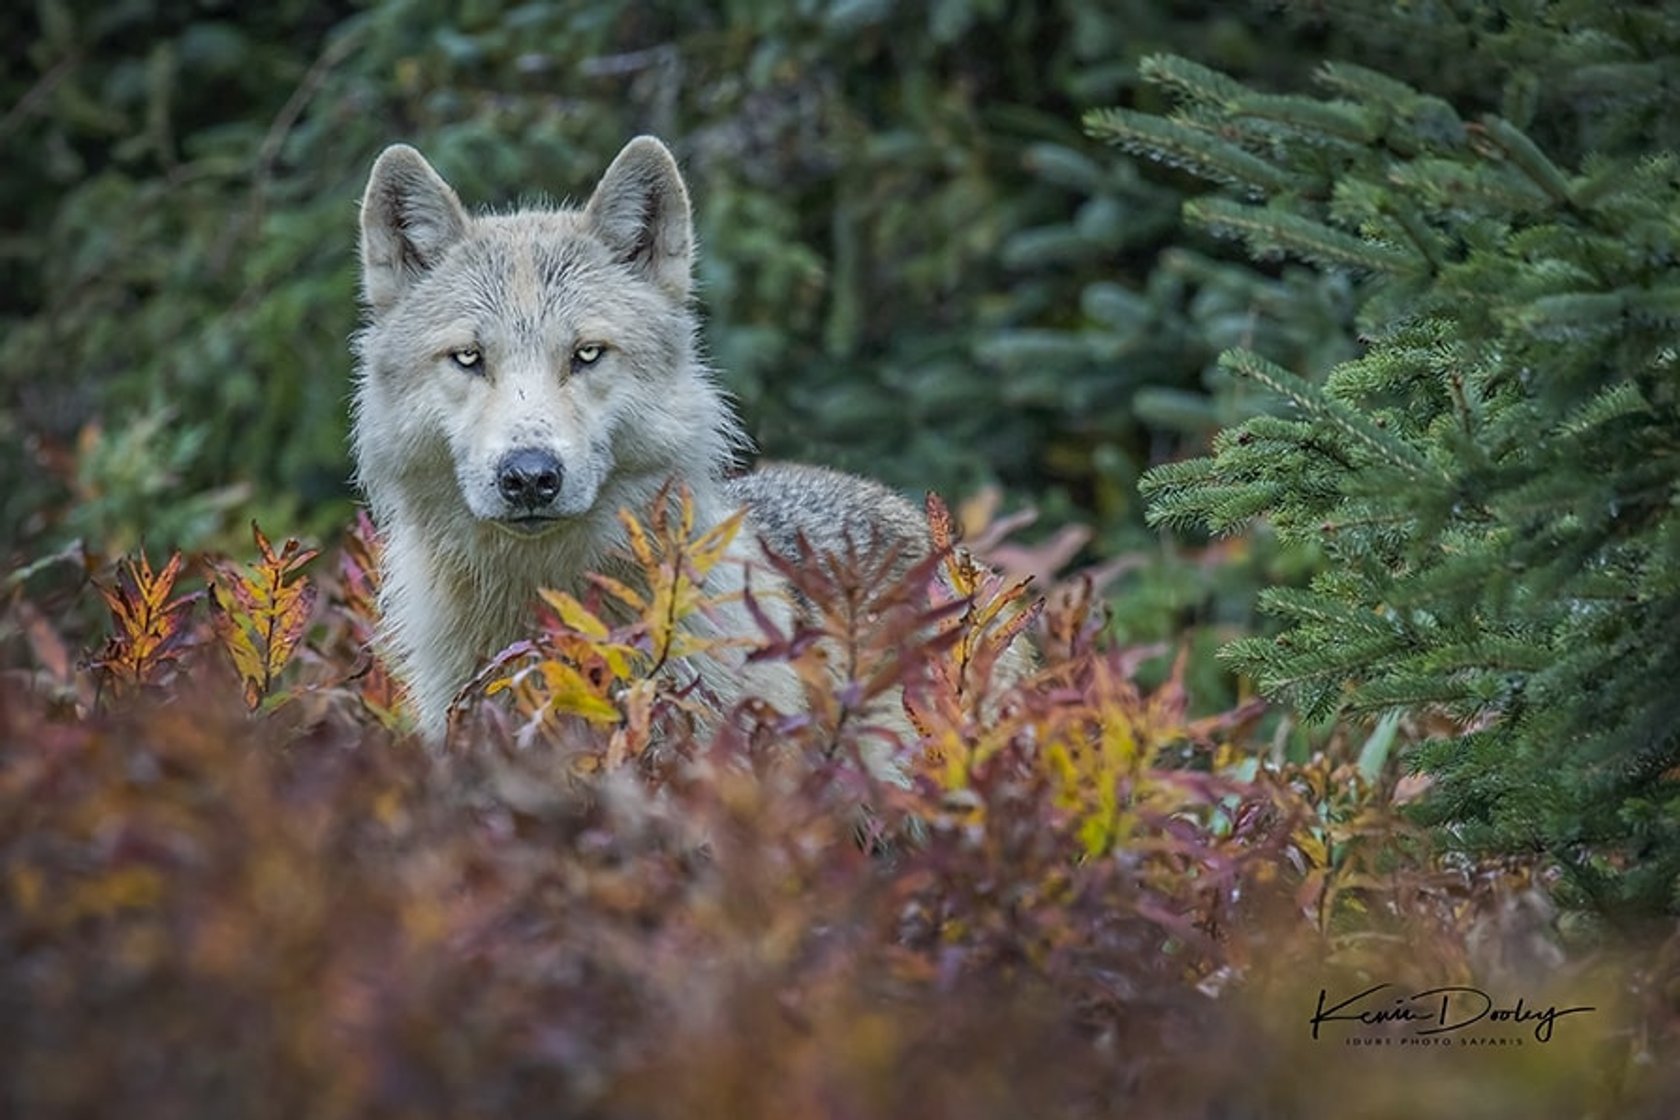
Tips from a world-renowned wildlife photographer
Kevin Dooley grew up in a photo studio watching his father work and at an early age resolved to become a professional photographer. Today, he’s a Skylum affiliate partner and a top-notch photographer with more than 36 years of experience and a never-ending love for wildlife. Everyone admires his gorgeous pictures of animals.

So what makes Kevin Dooley amazing at what he does? He lives and works in total harmony with nature, so much so that it seems wild animals are posing on their own. You’ll hardly find a person more passionate about and more dedicated to wildlife and nature, and his wildlife pictures are clear testaments to this.
Photography is my occupation; however, it’s way more than that. It’s my lifestyle, my passion, and my hobby. I love, live, and dream it.
What about animal photography tips? To take the best wildlife pictures, Kevin uses a Canon 5DS, 5D Mark IV and 1D X Mark II, Sigma 150–600mm sport, Sigma 14mm, Canon 28–300mm, Canon 600EX II flash, Hoodman lens cleaners, ProMediaGear carbon fiber tripod, and Katona gimbal head.
According to Kevin, the most important part of wildlife photography is having a lot of patience — remaining very quiet and still and waiting for the perfect expression and action. If you want more inspiration to create stunning images of animals, check out the best wildlife photographers of 2021.
Now you know how to take wildlife photos. Wildlife photography is more than an occupation. It’s a passion and a hobby; it’s an investigation, science, and art. Once you get into wildlife photography, you’ll be wandering through the unspoiled places of the world and enjoying their undiscovered beauty. It may take you years to master, but you’ll never stop learning from it. This kind of alliance with nature will make you a better photographer and a better person. Also, don't be afraid to experiment.
Experience the power of Luminar Neo
If you want to improve your wildlife photos, you have to use a photo editor. You don't have to use Photoshop, there are more modern solutions. Try Luminar Neo. This is a new photo editor with a large set of professional tools, powered by AI. A simple and intuitive interface is suitable for both beginners and professionals in the field of photography.
Check out Luminar Neo now
To get the Luminar Neo, follow the link to the official website of Skylum's developer. You can try it for free for 7 days, then buy a subscription or a lifetime license.