How to Shoot and Edit Forest Images: Magical Forests by Albert Dros
February 22, 2023
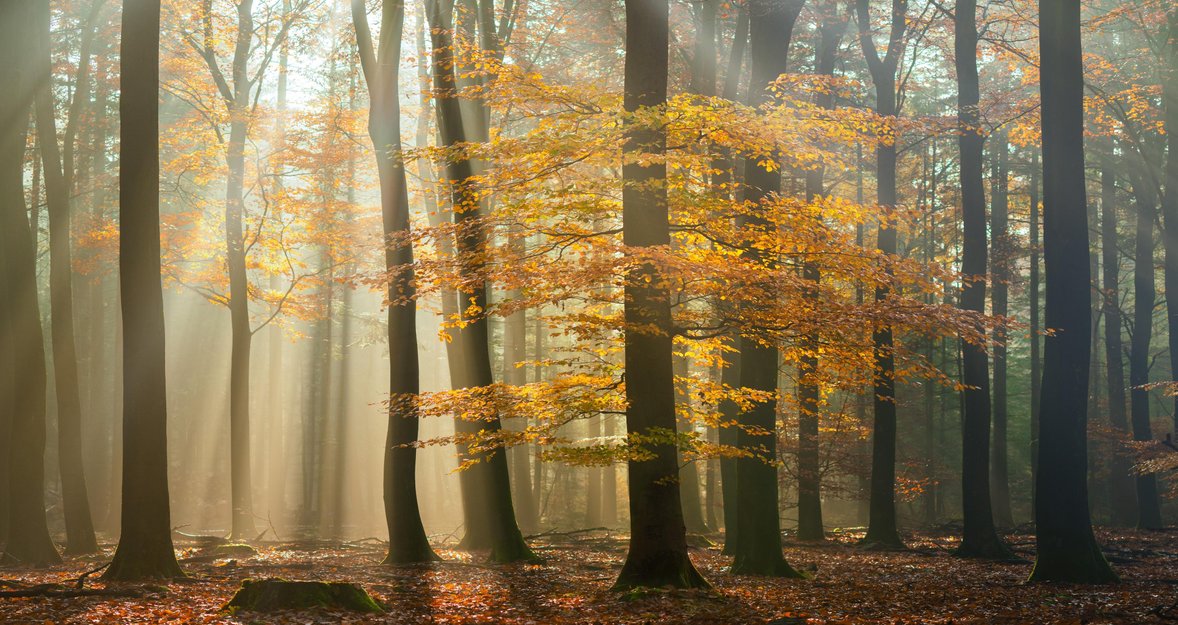
In this article Albert Dros, a Dutch landscape photographer, and Skylum Global Ambassador, shares the tips you need to know when photographing forests and editing them. Check it out if you want to know more about landscape forest photography!
Photographing forests is something I absolutely love! But it’s challenging. Finding the right compositions and constantly changing light can be hard work. On a beautiful morning, I can simply spend hours walking in my local forests and trying to find new angles. In this article, I’ll give you some tips on how to shoot in the forest and on how to use my newest Presetpack for Luminar Neo to help you out in getting the best forest images. Want to photograph the vastness of the forest? Be sure to read this article to the end!
What Are the Best Conditions for Shoot Forest Photography?
Sunny days are not at all ideal for pictures of forests, so make good use of days with overcast and gloomy weather. This may go against what you know about forest photography, but sunny days really don't make for such spectacular photos.
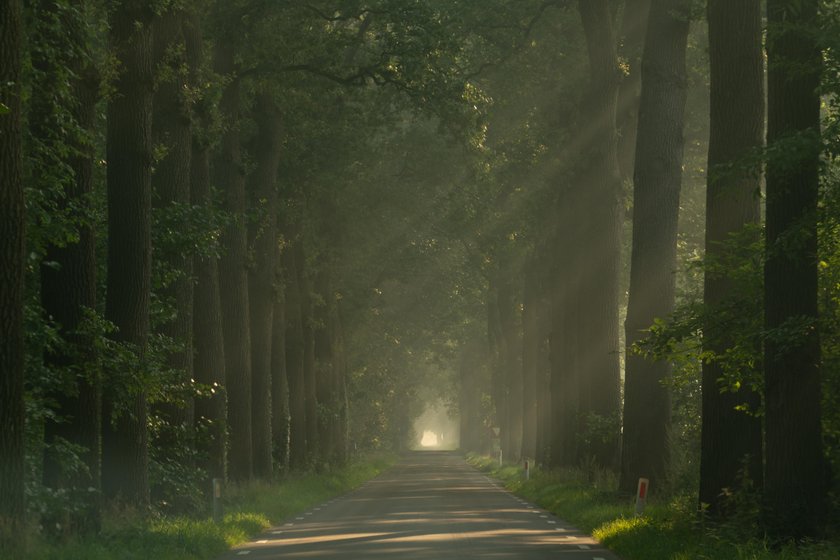
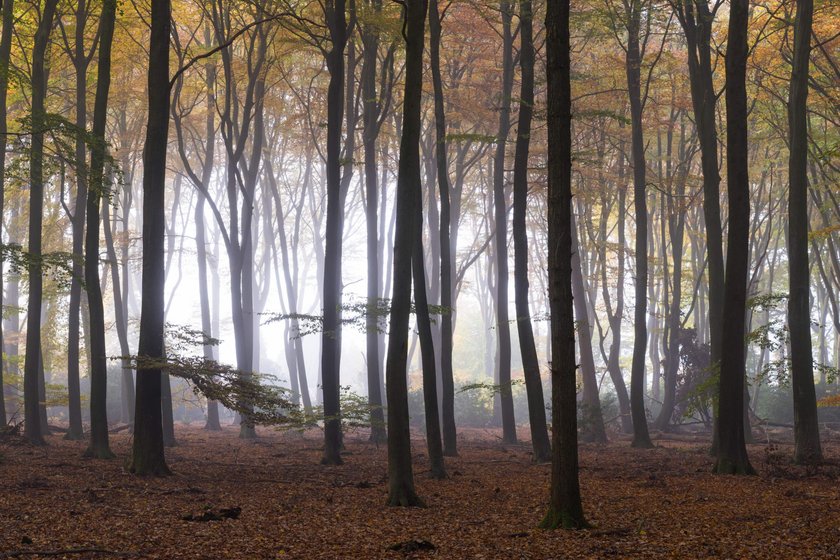
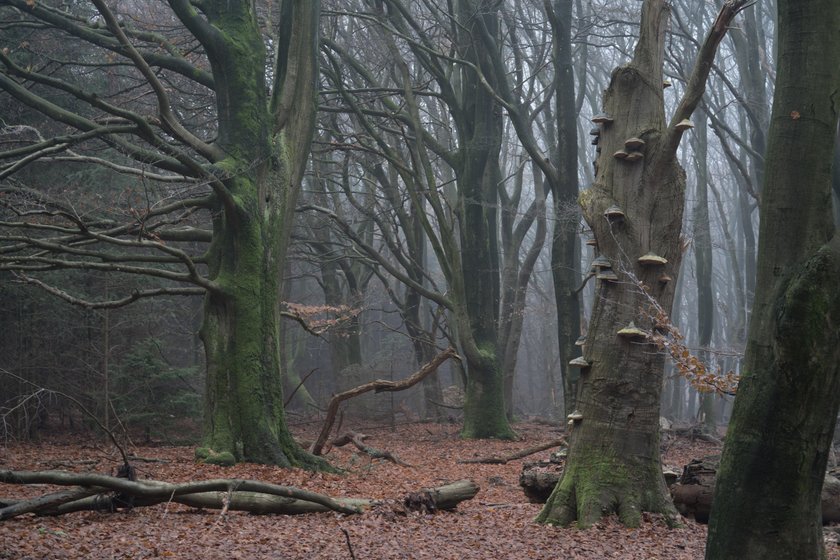
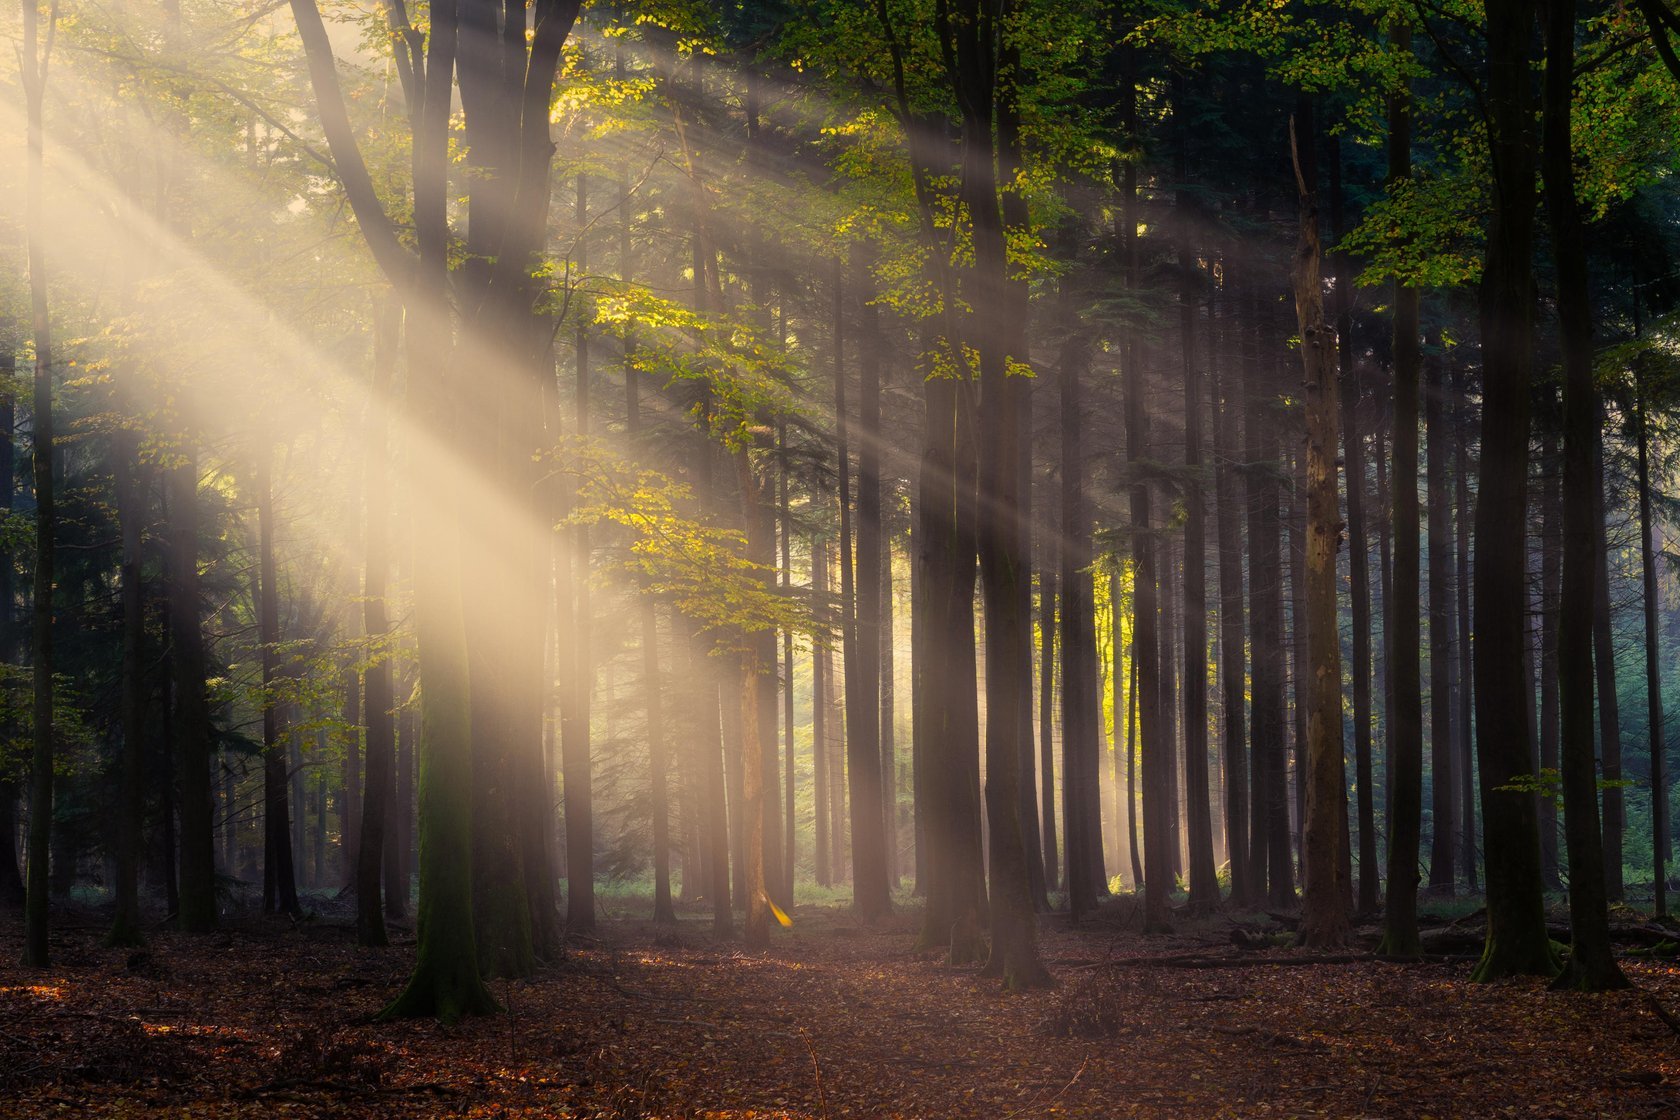
Want to soften your shoot? Fog is an element that most photographers hope for every time they go into the woods for a photo. Golden hour combined with fog is a very winning combination and a great way to take great pictures. The fog helps diffuse the background and even distracts from unnecessary elements in the frame.
The main thing is not to hurry and spend time in your location with the benefit. Forest nature photography doesn't like to be rushed at all.
Do I Need a Tripod for Forest Photography?
Of course, you need to use a tripod, and here's why. When looking for an interesting subject for a misty photography shoot, take extra time to look around and find the right compositional parts. First, mount the camera on a tripod and start fine-tuning. See if there are any distracting background elements in the frame. Try to get rid of them, just move around a bit.
Slowing down is one of the hardest things to do when photographing forests, especially when conditions in the woods are good. Sure, it's easy to run around and hope you stumble upon a better shot, but in the end, it doesn't work. Even if you don't get that particular shot, you'll know that you've worked on the composition and that you've fully committed to building the great forest scene.
Compositional Elements for Forest Photography
Leading lines across the forest floor are one of the most powerful compositional techniques in woodland photography. As a rule, leading lines created by paths or different ruts can certainly help you tell a story in the frame. Don't forget the water and reflections. Do you want the viewer's attention to focus on the end of the path? Or will it distract and take eyes away from the subject? The choice is yours.
Using a shallow depth of field often produces good results in beautiful forests, especially when photographing only tree trunks. A shallow depth of field helps to separate the trees from the background and make them more prominent objects in the image.
The forest is just the perfect place to develop your creativity and try things you haven't done yet. Try different shutter speeds, something that can prove very useful in the woods when using a narrow focal length.
Another interesting exercise when photographing trees and woods is to take only one lens with you. A good way to practice in these conditions is to leave the ultra-wide angle lens at home and choose something with lower focal lengths instead.
Low-angle will help you be more likely to notice details you wouldn't otherwise see. Take the time to find interesting elements like tree canopies with foliage or maybe a fallen tree. Look up at the tree, there may be some interesting moss on one of the sections, or maybe you'll even find a squirrel. Focus on the one most interesting element to best convey the overall picture of the forest. Dark shadows also look very impressive.
Try using a drone! The view from above is completely different from what we see below, and you will notice that there are many more patterns with treetops.
Shooting in the forest
When you’re walking in the forest everything can look very messy. It’s important to look for things that stand out. This can be an interesting tree, a bunch of interesting trees together, mushrooms, interesting branches, contrast, it can basically be anything as long as it stands out of the mass. These things are not that easy to spot in the beginning and walking around in the forest can be overwhelming regarding photography. First, try to use your telephoto lens. I recommend a 70-200 or 100-400 in the forest. By using your telephoto lens you can zone out details and make it easier to find a composition. Just look through your viewfinder while slowly going from left to right with your camera and you’ll notice it gets easier.
I love photographing the forest with all kinds of lenses. Wide-angle lenses can be amazing too. Try to get an interesting foreground with leaves or mushrooms. Or an interesting branch. And try to look up sometimes as well! You’ll get entirely different views by looking up from time to time. These can also be great abstracts.
Follow the light
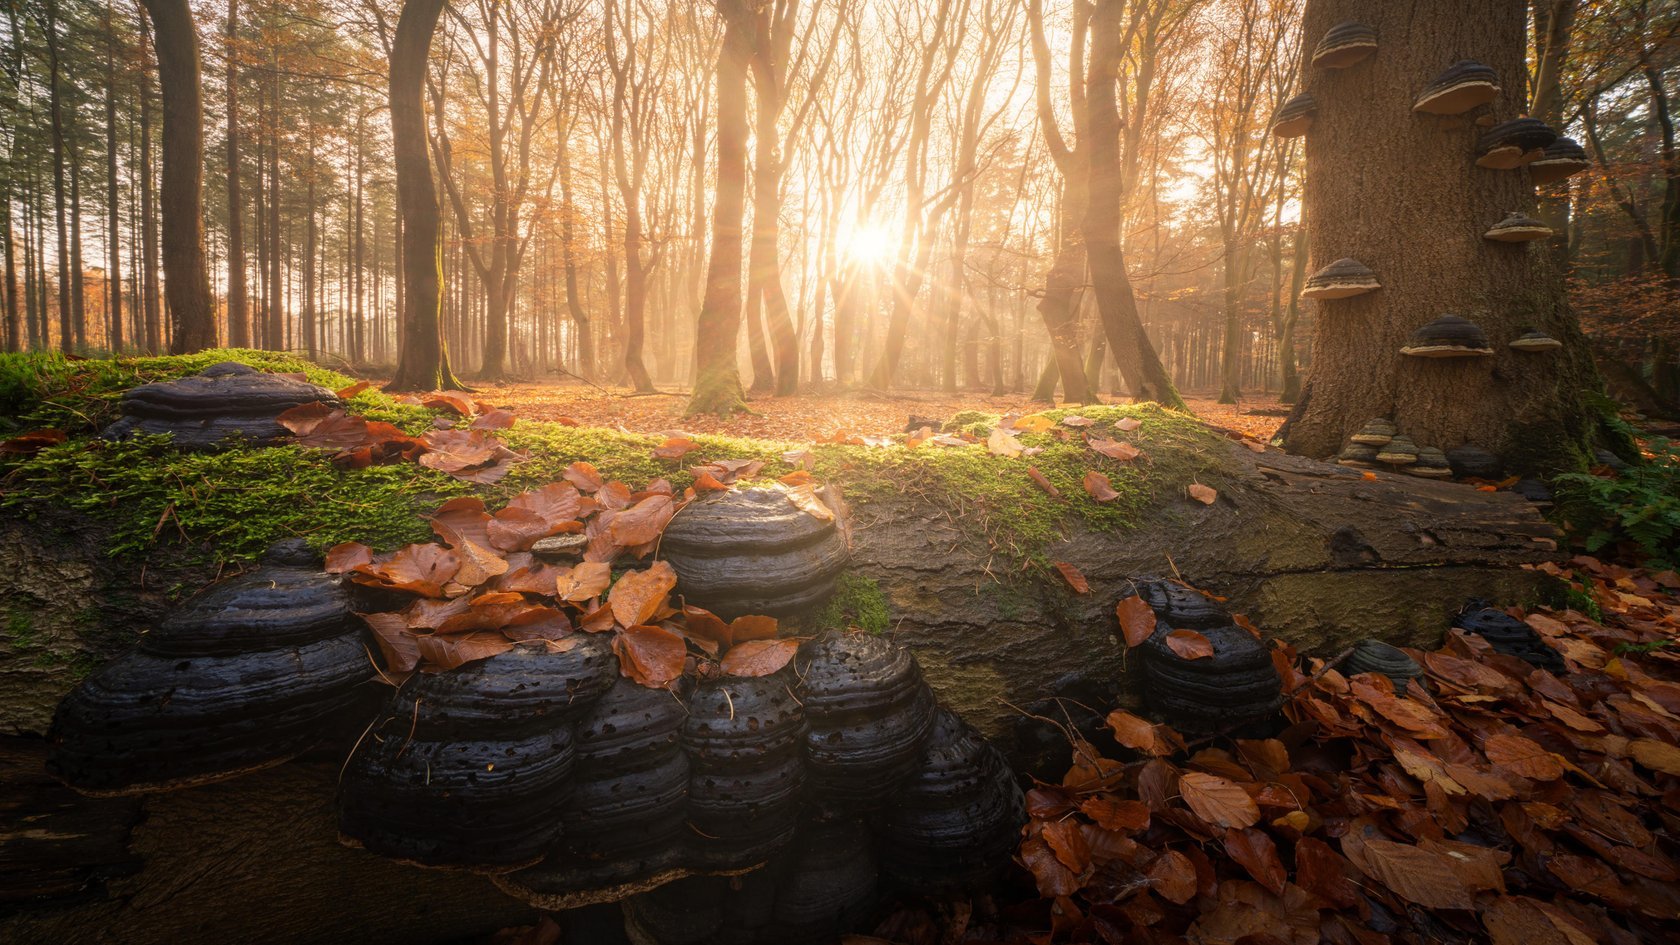
When the sun is shining it’s important to follow the light in the forest. The light keeps changing as it peaks through different tree branches. So you only have a short time to shoot that particular light or composition. Walk towards the light, and not away from it. If you walk away from the incoming light you just see a complete mess with shadows everywhere. If you walk towards the sun you’ll get separation and good contrast with incoming light, and the darkness from the trees.
The base of your images
When using my Looks pack for your forest images you’ll want the base of your image already looking nice. It’s very important to keep this in mind when you want to achieve the best results. And always shoot in RAW so you have as much data available to work with. The Looks will push the light in your images, make tones and contrast stronger (or sometimes less) and add glowing effect to image to specific parts and color ranges. Therefore it will not work if the base if your image does not contain anything interesting. You will not suddenly get an amazing image if the base of your image lacks composition, light or a nice subject.
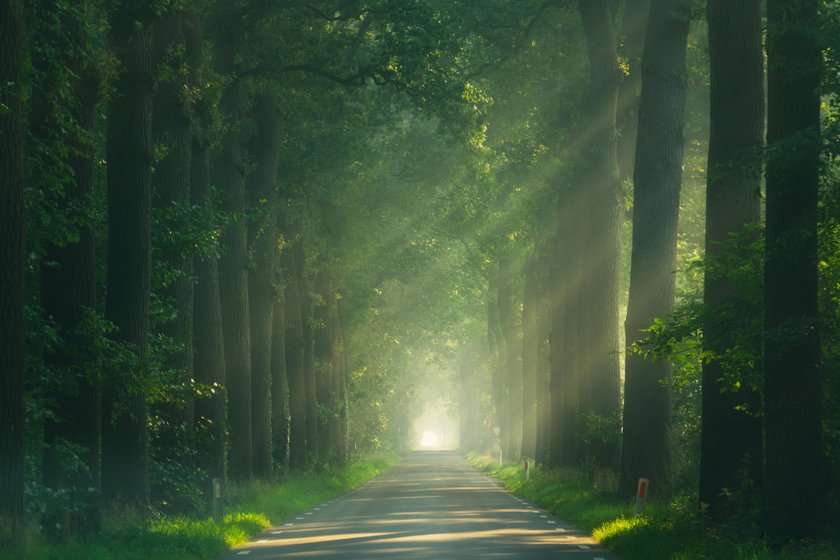
Getting a proper base often requires nice light. For forest photos, I recommend going out early when the sun is just up. Humid mornings work best, as this will require light rays that look great in photographs. Super foggy days look also amazing as they make for amazing separation between trees and make it very easy to shoot. You’ll have to keep an eye on the local weather predictions and learn to ‘know the weather’ to get the highest possibility of a successful forest photo shoot.
The Presets
I created this Forests Looks for the use in my own images first, and then tweaked them and cleaned them a bit to offer them for the general public, you! I figured it would be a good time to release them during or right before autumn as autumn really invites people to photograph forests. However, forests can always look great. I love shooting them in winter when they look very mysterious, or in summer when everything looks beautifully green. Basically, a forest is always nice.
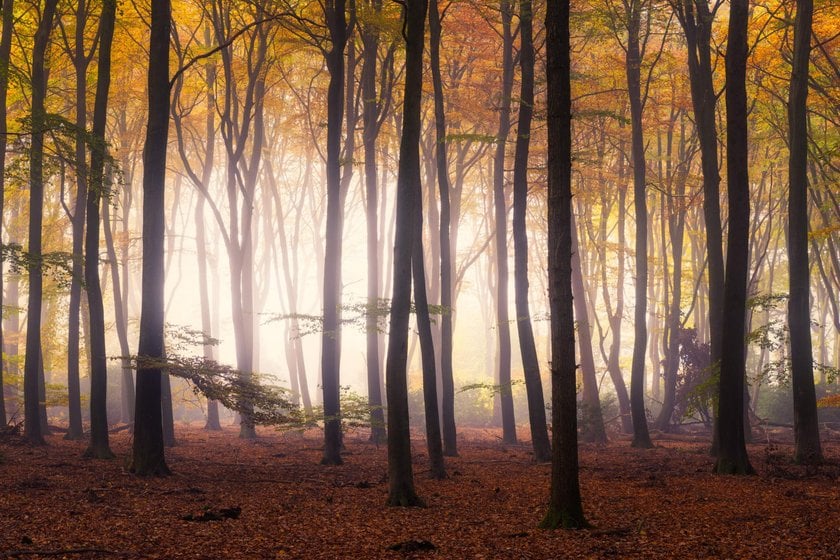
Because forests look different in different seasons, I created a bunch of Presets that are suited for a lot of different forests and light. Included in the Presetsare also some creative Presetsthat are changing color for forest photography. The trick to creating magic forest images is mainly to use effective split toning and add glow in the right places. This is what this Prresets pack does. Here are some of my favorite Presets— check them out!
Forest Enhancer:
This is one of my most used Presets for photoshoots in the woods. Sometimes it works great as a base to work from, and sometimes it just works in 1 click. This Presetmakes the image a little bit cooler and strengthens the image in the right places. It just works on a lot of forest images to give them that so-called ‘mood’ that is often very pleasing in an image.
Golden Autumn:
This Preset is great when you’re photographing forests in autumn. It slightly shifts the hue making everything look gold, adds glow to the highlights, and changes the highlights to a warmer color for forest photoshoots. This just looks magical on a lot of autumn images, especially if you shot them in the right light.
Mystical:
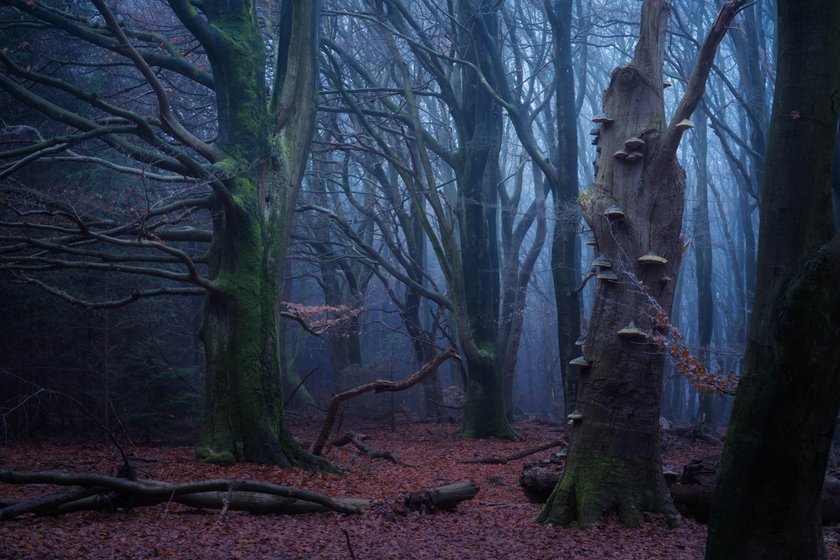
I use this Preset mostly when I am shooting very foggy forests. It gives the image of a very cold atmosphere for pictures of the forest which works very well when everything is completely foggy and looking a bit ‘scary’ already. It just adds that extra touch that makes it look very mysterious.
I would like to emphasize that these looks are sometimes ‘too much’ when applying them to some images. I did that intentionally so you can simply drag back the ‘amount’ slider a little bit and get the desired result.
Video tutorial!
These looks also include a 15-minute video tutorial where I explain how to use Presets for forest images and how you can tweak/build your own!
If you decide to buy these Presets, make sure to let me know if you like them and show me some images created with them. I’m always happy to take a look and give feedback :)
Be sure to try some forest photoshoot ideas. Happy shooting!
Albert
Check out Albert's Ultimate Guide to Forest Photography
Download Magical Forests Looks at Luminar Marketplace

