Photo Makeup Mastery: Techniques to Enhance Your Beauty in Photoshoots
June 05, 2023

When it comes to booking a photo session and having the ideal outfit ready, the question of the best makeup for pictures often arises. While the instinct may be to stick with your everyday style for a natural look in the shots, this may not give the best results. On the other hand, opting for heavy coverage isn't the ideal solution either.
How to apply makeup for a photoshoot? When it comes to photography, this is often overlooked as we strive to achieve a lifelike yet stunning appearance. Of course, if we are not talking about creative photo sessions when the photographer needs to get an unusual style for the model. Balancing the desire to look both natural and gorgeous is crucial when considering our photoshoot makeup choices.
Sure, you want to look as beautiful and charming as possible in the photo shot, because it's a memory for years to come! On the other hand, there's the added expense and fear that the makeup artist (MUA) won't get it right. So, imagine if you could get a professional look at home without having to hire a skilled MUA. It may sound too good to be true, but we assure you it's possible. In the following sections, we will guide you through invaluable tips to help you achieve the best makeup for professional photos without the need for a cosmetic artist. You'll appreciate these tricks because they'll save you money!
And by the way, with Luminar Neo photography editing software, you can always create the perfect portrait photos. Give it a try!
Photoshoot Checklist To Enhance Your Results
Learn moreCreating a Great Basis: Skincare and Foundation Essentials
Before applying any cosmetics, make sure your skin is well-prepared. The basis of any successful product application is proper face care. So, if you don't know how to do makeup for photoshoots and thought you had to immediately take a beauty bag, you're wrong.
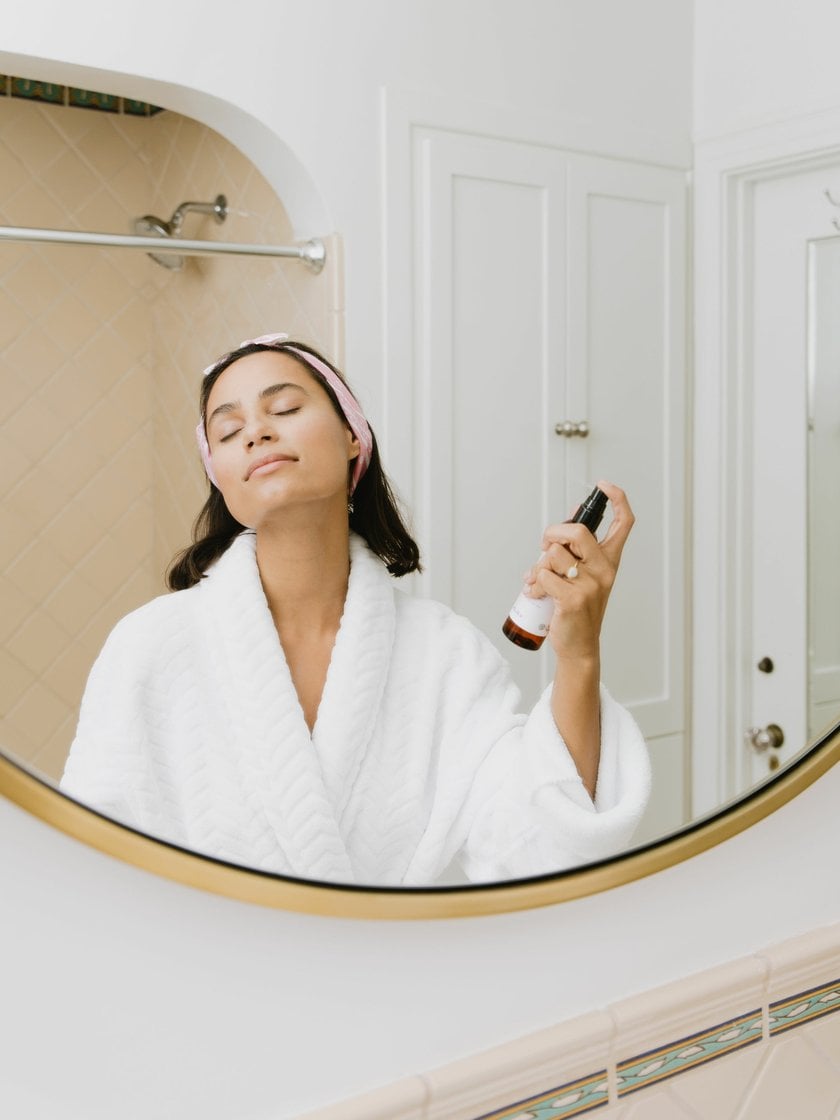 Whether it's a special occasion or not, it's important to cleanse and moisturize your skin beforehand. This routine not only improves the long-term texture of your face but also provides a fresh and pure canvas for your makeup routine. But how to do your makeup for pictures in this way? Let's review a few key points:
- Start by cleansing your face to remove dirt, oil, and impurities. Choose a gentle cleanser that is appropriate for your skin type.
- Exfoliation helps remove dead skin cells, unclog pores, and promote a softer complexion.
- So, how to do makeup for pictures? Hydrated skin is essential for smooth cosmetics application. Look for moisturizers with ingredients like hyaluronic acid for intense hydration.
- Use a special cream to hydrate the delicate skin around the eyes, reduce puffiness and diminish the appearance of fine lines.
Once you have properly prepared your skin, use a primer to help your foundation last longer and create a great finish. This way you can look your best on camera! You can also use the Luminar Neo AI photo editor for quick skin retouching and perfect results.
Applying Face Essentials: Powder and Foundation
When choosing a foundation, it is important to find a shade that closely matches your natural skin tone to ensure a seamless and natural appearance on camera. Using a base that is either too dark or too light can create an awkward and unnatural look. If you have seen makeup tips with pictures, you have noticed that the foundation fits perfectly to the models' faces and doesn't differ in color from the neck. By the way, for oily type skin, a powder foundation can be the best choice.
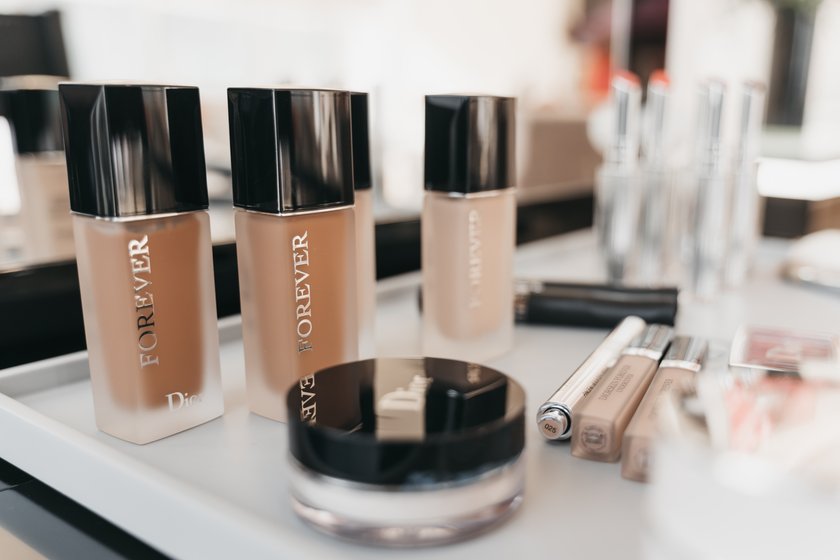 Want to learn how to create natural makeup looks for photoshoots? Then you should know that concealer and translucent powder are essential tools in any MUA routine, helping to hide imperfections, brighten the under-eye area, and set your look for a long-lasting finish. But how to do makeup for photos? Also use a creamy concealer to hide dark circles, blemishes, or redness. Gently dab the product onto the problem areas and blend with a brush or your fingertips.
Remember that in photography, cameras tend to emphasize shine, so it's ideal to create a complexion with a slightly more matte finish than usual. For a photo session, a subtle and natural glow is the most flattering choice that will make your makeup stunning.
By the way, if you get a great photo shot but it's a little dark, you can always lighten photos with Luminar Neo. It will give you the perfect result with the most accurate colors.
Sculpting Your Face: Contouring and Highlighting
This step should never be skipped, even if you want to create the most natural makeup for a photoshoot. So, sculpting your face with contouring and highlighting add dimension and definition for a stunning look in a photo session. This type of makeup will help enhance your facial structure and create a captivating portrait:
- First, determine the areas of your face that you want to sculpt and define. Common options include the hollows of the cheeks, the temples, the jawline, and the sides of the nose.
- Use a small, angled contour brush or a narrow blending tool to apply the sculpting base. Also, add makeup with a light hand and build up the intensity gradually for a natural-looking effect.
- Using circular motions, buff the product into your skin until it blends seamlessly with your foundation, creating a subtle shadow effect.
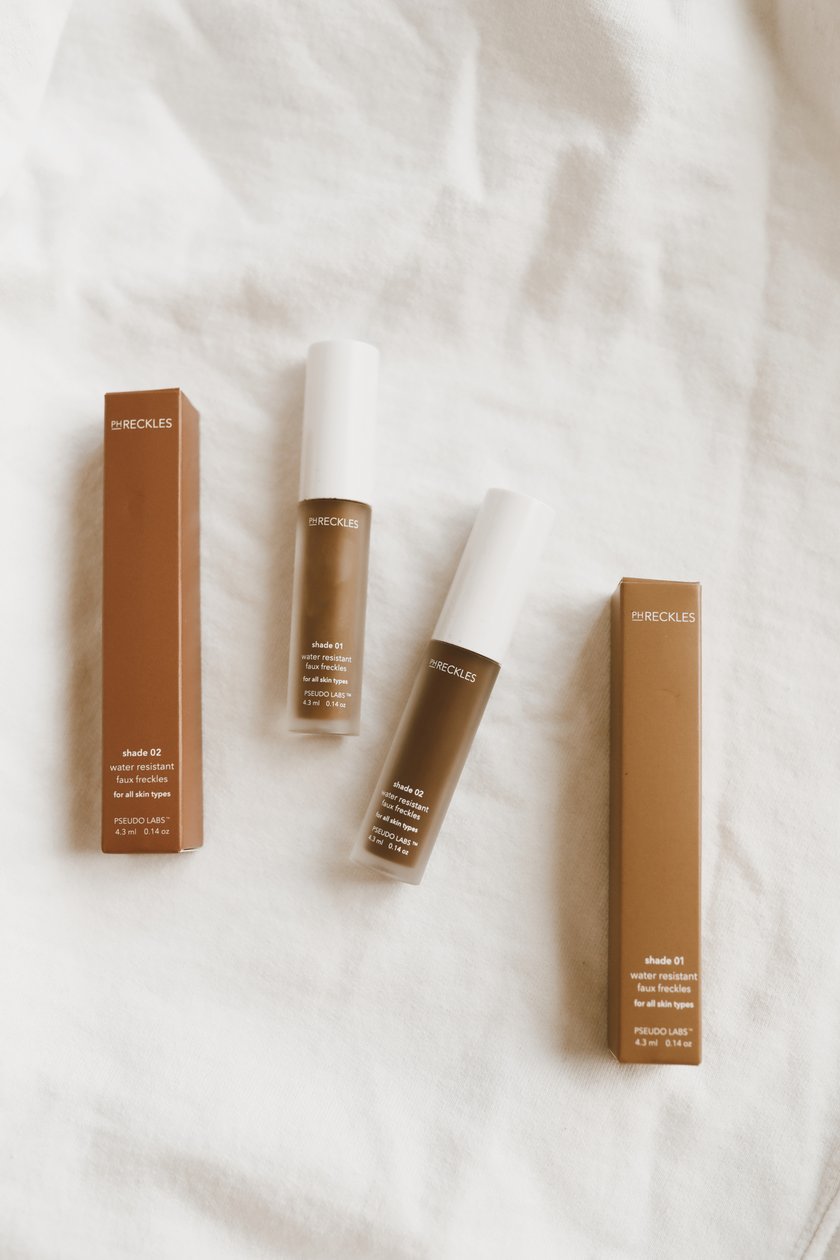 After applying the sculpting product, accentuate your features by applying a highlighter to areas where sunlight naturally falls on the face, such as the cheekbone, cupid's arch, and other areas that catch the light. This way you can create the best makeup for a photoshoot!
Enhancing Your Look for Photo Session: Brows and Eye Makeup
You have probably noticed that well-groomed eyebrows frame your face and enhance your features, so this is a very important step. Simply fill in any sparse areas with a brow pencil or powder, following the natural shape of your brows. Also, remember to brush and blend through the eyebrows for a natural look. In fact, it's not that difficult and you don't need to make an appointment with a brow master.
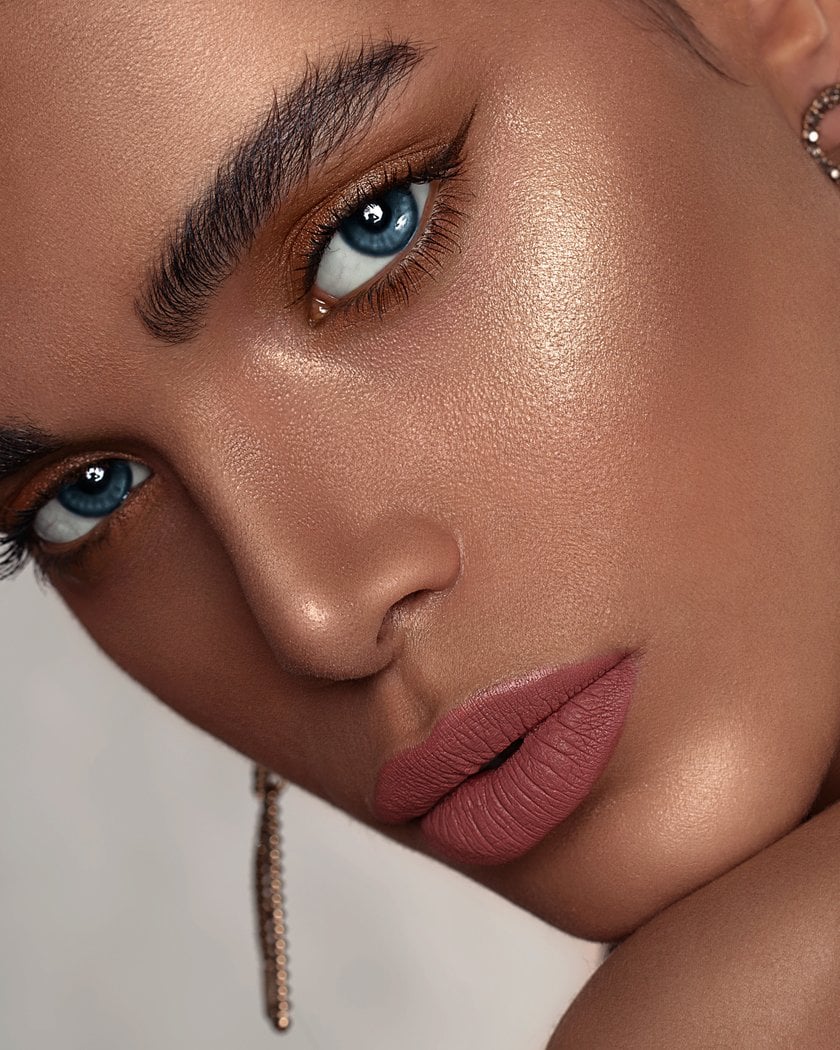 The next step will be a little more complicated, you may even need to look at some eye makeup tips with pictures. When it comes to a photo session, your eyes are often the center of attention, so it's important to enhance their beauty. To make them more prominent, choose eye shadow colors that complement the hue of your iris. For example, if you're a green-eyed person, warm shades like golden brown work best.
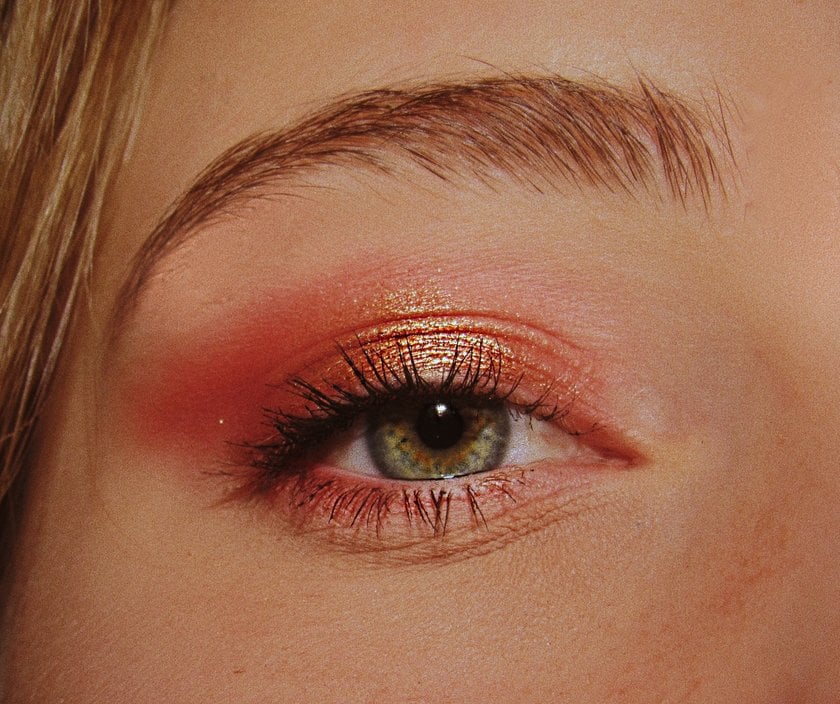 If you want natural makeup for pictures, apply a neutral shade over the entire lid as a base, then add depth with a darker tone in the crease. Use an eyeliner to define your eyes, opting for a thin line or a winged liner depending on the desired effect. Always finish with mascara to add volume and length to your eyelashes. There you go, you look beautiful!
And if you want to make your photo shots look even better, you don't have to use complicated software. Check out our blog for the best alternatives to Photoshop!
Boost Your Glow: Blush and Lip Makeup Options
Adding color and glow to the face with blush and lip makeup really helps to create stunning makeup looks for a photoshoot. By simply applying blushes to your cheeks and enhancing your lips, you bring vibrancy and radiance to your photos. But keep in mind that professional studio lighting and cameras can often reduce the impact of makeup by about one-half. To compensate, it's a good idea to apply more color than usual to your cheeks/lips for a photo session.
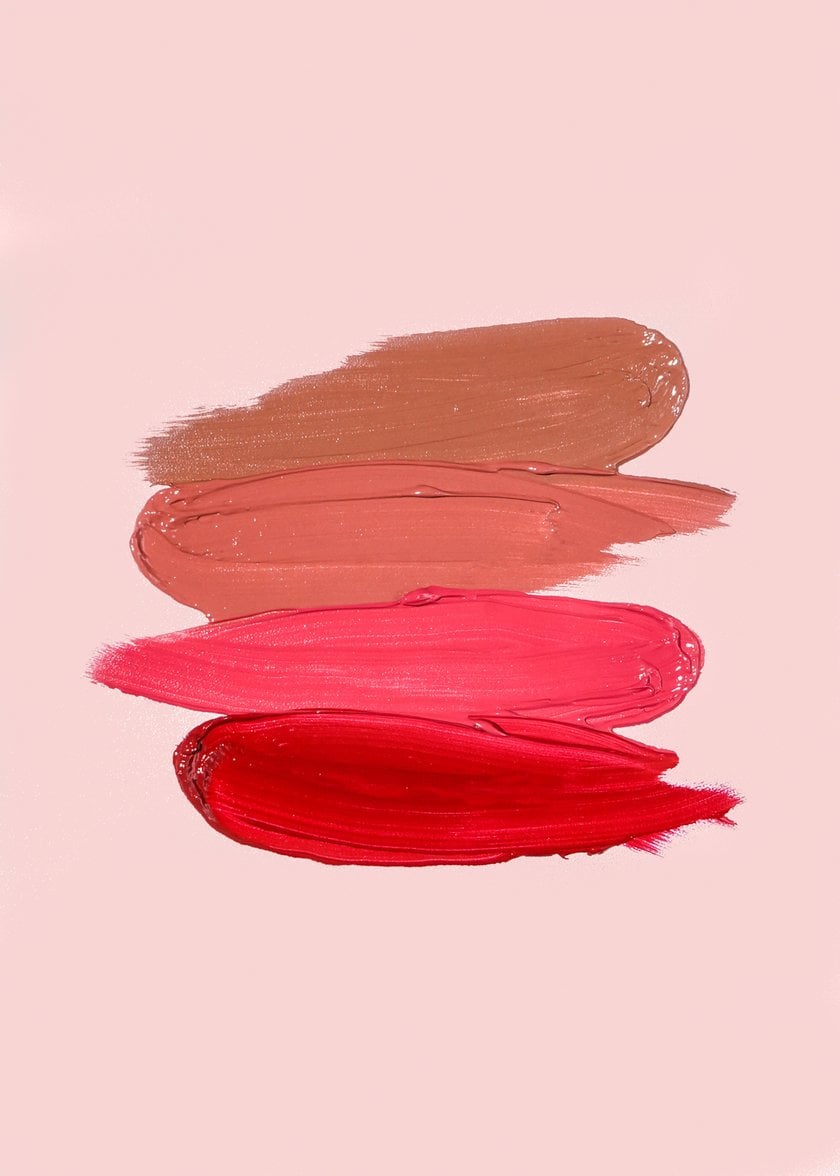 Choose a shade that complements your skin tone and the overall look you want to achieve. For a natural effect, opt for shades that mimic a flushed or sun-kissed glow. Also, try vibrant and bold lipsticks, as natural and nude shades can be difficult to capture effectively on camera. Enhance your look by using a gloss to make your lips look fuller or plumper. Additionally, consider using a pencil in a matching hue to define and accentuate the shape of your lips.
The Final Step: Setting Spray and Touch-Ups
This is the last step, but it's incredibly important if you want to get the best makeup for photos! By using a setting spray to lock in all products and performing minor touch-ups throughout the session, you can maintain a fresh and polished look. Here are some helpful tips:
- After finishing your makeup routine, mist a setting spray at arm's length from your face in a circular motion (choose a product that suits your skin and provides a long-lasting hold).
- Also, carry a small translucent powder, and keep blotting paper handy to quickly remove excess shine or oil throughout the photo session.
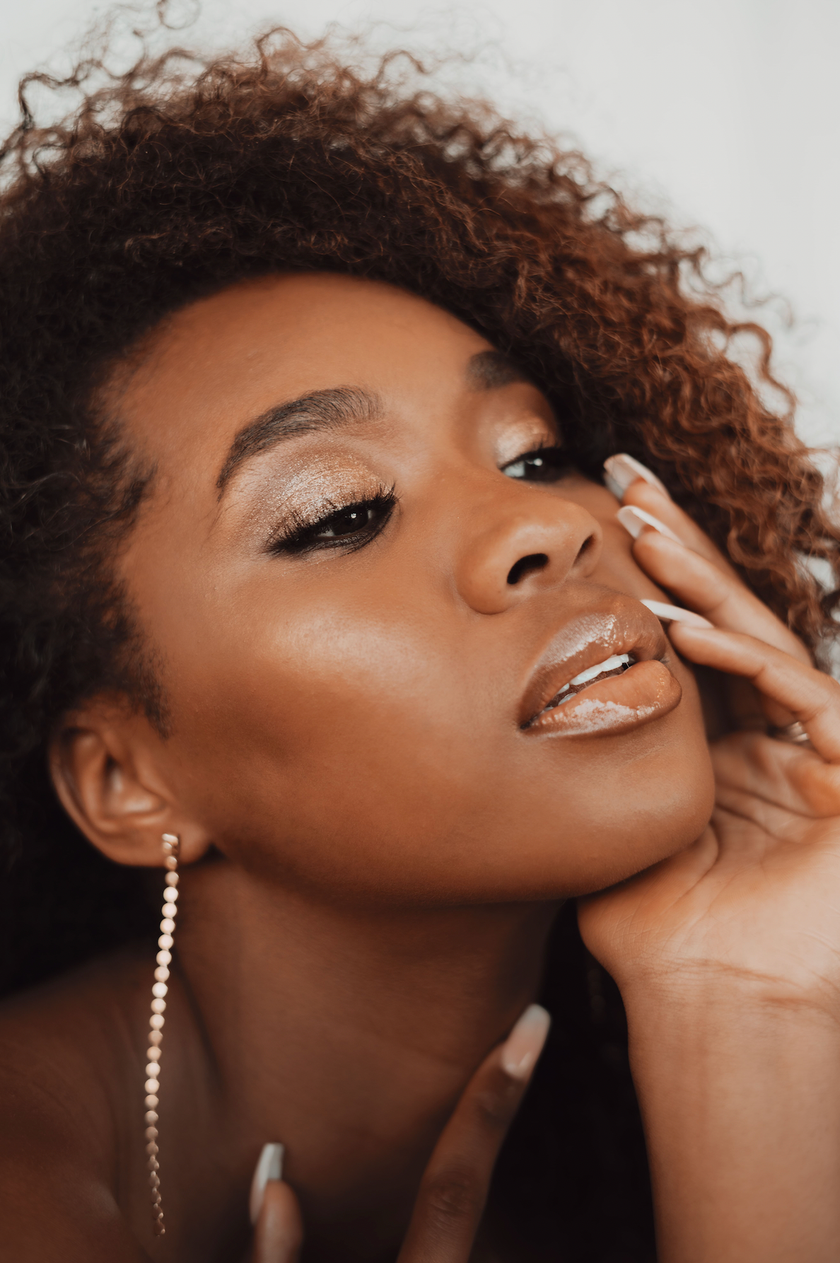 These final steps will help ensure that the best makeup for photoshoots stays intact and camera-ready, allowing you to capture stunning photos with confidence. Don't be afraid to experiment with different shades and colors to find the combinations that enhance your features!
Conclusion
Creating a natural makeup look for a photo shoot means emphasizing your features while maintaining a fresh and effortless look. By following the steps outlined above, you can achieve a gorgeous makeover that photographs well. The key is to focus on enhancing your natural beauty and keeping the overall look subtle and true to your own features.
Plus, you can enhance your best shots, even if you have no experience in post-processing and retouching. Try AI-based Luminar Neo or find the easiest photo editing software in our blog!
FAQ
What Type of Foundation Works Best for Photoshoots?
While the trend for glowing skin is popular, it's important to note that luminous makeup can cause unwanted reflections when photographed with flash. To avoid this problem, choose a matte foundation that provides a smooth finish.
How Can I Make My Makeup Look Natural in Photos?
Remember that less is often more when it comes to achieving natural makeup in photos. Aim for a balanced and effortless look that enhances your features without overpowering them. Also, take test shots and adjust as needed to make sure you look good in different lighting conditions.
How Do I Prevent Makeup from Creasing or Smudging during a Photoshoot?
It is best to finish your makeup application with a setting spray to hold everything in place. This will help your look last longer and prevent your cosmetic products from smudging. Also, apply makeup in thin layers rather than thick coats, as heavy layers are more likely to smudge, especially under studio lights or in warmer conditions.


