The 5 Essential Steps to Retouching Skin in Beauty Photos
August 30, 2023
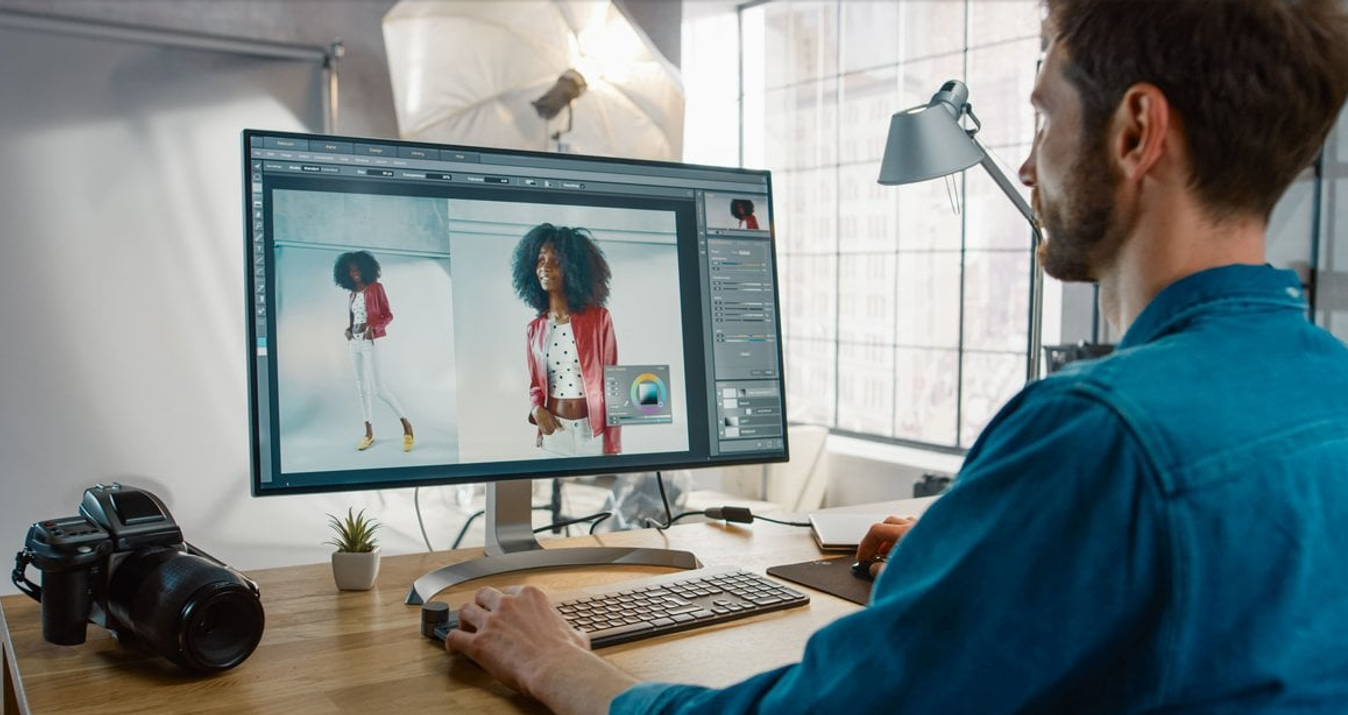
Welcome to the world of beauty retouching! Think of it as the magic touch every photo can benefit from. It isn't about erasing what's real but about shining a spotlight on genuine beauty.
In this post, we're going to simplify the magic for you, breaking down three easy-to-follow steps. Whether you're a newbie or just looking to refresh your skills, this guide will help you make your photos truly stand out, all while keeping things authentic.
Ready to elevate your photos from good to stunning? Let’s dive in!
The importance of skillful retouching in preserving natural beauty in photos.
 The art of knowing how to touch up photos is crucial in today's visual era.
Skillful retouching does more than just add a sprinkle of polish; it has the power to preserve and accentuate the natural beauty in photos. Rather than morphing images into unrecognizable versions, it fine-tunes them, allowing the original essence to shine through. It's a delicate balance of enhancement without overdoing, ensuring every photo tells an authentic story!
Step 1: Prepping & Initial Cleanup:
 The first steps in fashion photo retouching are akin to prepping a canvas for a masterpiece. Before delving into advanced techniques and detailed edits, you need a solid foundation. This ensures that further retouching layers naturally onto the image, highlighting its best features.
So, what do we do at this stage of image editing?
- Import your image: Start by bringing your photo into your chosen editing software. This is the raw material you'll be working with, so ensure it's of the highest quality possible.
- Adjust color and contrast: This isn't just about getting the right look but also about ensuring that the colors and contrasts are balanced. Setting the right tone (literally) at this stage paves the way for a smoother retouching journey, where edits enhance the image rather than overcompensate for imbalances.
- Crop and straighten if necessary: A slight crop or alignment can drastically improve composition. This step is about honing in on the main subject of your fashion photo, ensuring it's positioned for maximum impact.
- Use Spot Healing Brush or Clone Stamp: Even the best photos might have some unwanted blemishes or distractions. This tool is perfect for making those imperfections vanish, giving you a clean slate. It's essential to approach this step with a keen eye and a light touch, ensuring the natural texture and essence of the image remain intact.
Building a strong foundation during this initial phase is pivotal. It not only sets the aesthetic direction but also dictates how seamlessly advanced retouching techniques will integrate into the image in the next steps. Investing time and precision here will undoubtedly yield better results as you progress.
Step 2: Frequency Separation & Depth Enhancement:
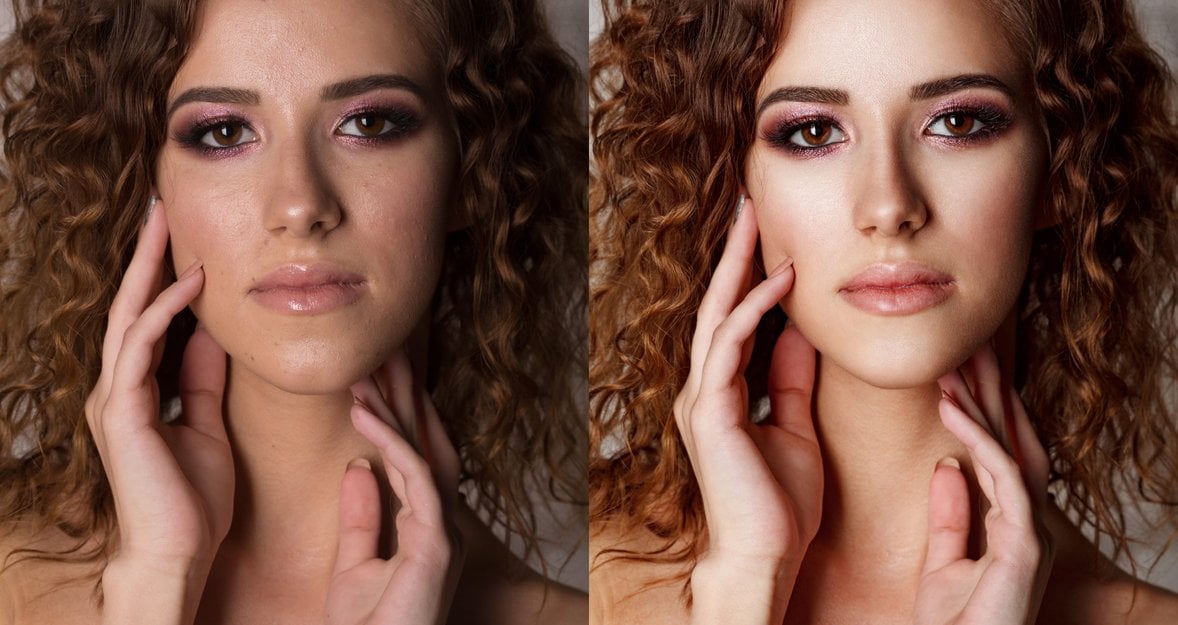
 When it comes to high-end beauty retouching, achieving a pristine finish without compromising the skin's authentic texture is paramount. Frequency separation and depth enhancement are at the heart of this process. They allow you to work on texture and tone separately, ensuring that every aspect of the image receives its due attention, leading to a flawless yet incredibly natural result.
So what do you need to do next?
- Separate skin textures from tones using frequency separation: This is a game-changer in high-end retouching. Frequency separation lets you split the image's details (like pores and fine lines) from broader tonal areas (like skin color). This way, you can make specific edits to one without affecting the other. For instance, you can smooth out skin tones without blurring out the unique texture of the skin.
- Use Dodge & Burn techniques to bring out facial dimensions: After you've perfected the skin's texture and tone, it's time to focus on depth. The Dodge & Burn tools are all about adding highlights (dodging) and shadows (burning) to emphasize and contour facial features. It's the touch that brings depth and dimension to a face, making it pop and giving it a more three-dimensional look in photos.
Mastering these techniques is central to high-end beauty retouching. It allows photographers and editors to bring out the best in their subjects without sacrificing authenticity. The goal is to enhance, not mask, ensuring the final image is a refined version of reality, not a departure from it.
Step 3: Final Color Adjustments & Mood Setting:
 After mastering how to edit skin, it's crucial not to overlook the final touches that bring the whole image together. The concluding stage is about perfecting the visual symphony of your photo, ensuring all elements harmonize and convey the mood you're aiming for.
So, what are the final touches?
- Fine-tune overall brightness, contrast, and color balance: Having worked meticulously on the skin, now shift focus to the entire image. Adjust the brightness so the subject stands out, balance the contrast to add depth, and perfect the color balance to ensure skin tones and background hues complement each other.
- Apply subtle filters or grades to achieve the desired mood with Accent AI: A photo doesn't just capture a look but also a feeling. Depending on what emotion or vibe you wish to convey - be it vintage, ethereal, vibrant, or moody - apply filters or color grading sparingly. The key is subtlety; you want the effect to enhance the mood, not overshadow the subject.
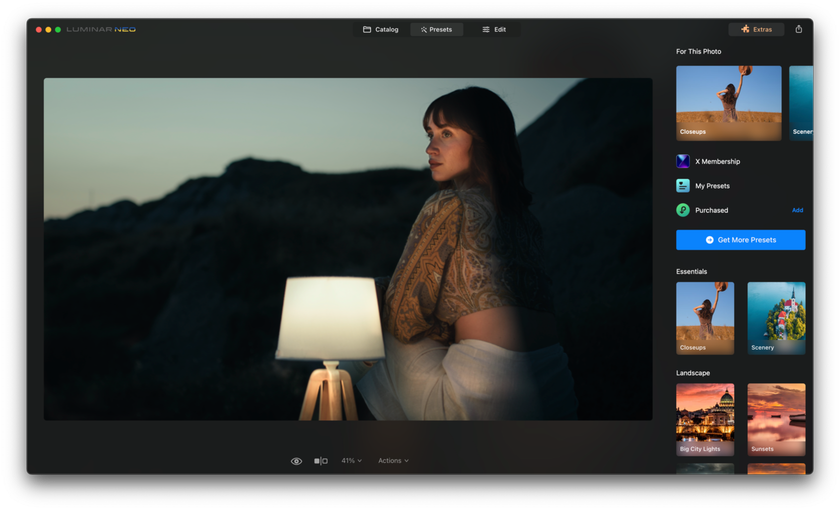
Luminar Neo—Your Go-To for Flawless Portraits
 Luminar Neo is a cutting-edge photo editing software developed by Skylum, designed to bring creativity and AI-powered technologies into the hands of photographers and editors. Whether you're venturing into high-end beauty retouching or just starting with basic edits, Luminar Neo offers an array of tools to elevate your work.
Features and Benefits:
- AI-driven Editing: Luminar Neo harnesses the power of artificial intelligence to automate common tasks, such as skin smoothing, blemish removal, and sky replacement, allowing for faster and more consistent results.
- Layer-based Editing: This feature provides the flexibility to work non-destructively, letting you stack adjustments and experiment without permanently altering your original image.
- Customizable Workspace: Depending on your project – be it portrait, landscape, or anything in between – you can .tailor the workspace to display only the tools you need, thereby reducing clutter and enhancing workflow.
- Powerful Color Grading: Dive deep into color adjustments with tools that let you manipulate color balance, saturation, and luminance. Perfect for setting the mood in your images.
- Integrated Presets & Looks: If you're pressed for time or seeking inspiration, Luminar Neo comes packed with a variety of presets and "looks" that can be applied with a single click and further tweaked to your preference.
Why Luminar Neo for Skin Retouching?
Equipped with revolutionary AI-powered tools, 'Face AI' and 'Skin AI', Luminar Neo automatically identifies and enhances facial and skin features in photos, making the retouching process seamless and effective. 'Face AI' quickly detects facial characteristics, whereas 'Skin AI' expertly smooths out blemishes. Together, they simplify the editing journey, enabling users to enhance their photos with ease and accuracy.
Keeping It Authentic in Photo Retouching
 In the vast landscape of photo editing, there's a golden rule: less is often more. Think of retouching as the subtle seasoning that elevates a dish. It's not about overhauling the entire picture but making those small, precise adjustments that amplify the picture's inherent beauty.
Luminar Neo stands out from the crowd by delivering incredibly natural results. Its 'Skin AI' tool is engineered to smooth the skin while preserving its natural texture, a key factor in achieving realistic and authentic results. Unlike other software that can render the skin looking artificial or plastic-like, Luminar Neo ensures the skin looks naturally radiant and healthy. This makes Luminar Neo the preferred choice for both professional photographers and hobbyists.
Advanced yet easy-to-use photo editor
Get Luminar Neo NowWrapping It Up
Diving into the world of beauty retouching can be an exciting journey. It isn’t about transforming a photo into something it's not; it's about enhancing and illuminating its inherent charm.
Through the three key steps we've discussed - setting a solid foundation, refining skin details, and setting the perfect mood - you can achieve magazine-worthy results. With tools like Luminar Neo in your arsenal, even complex edits become a breeze. But always remember the golden rule: strive for authenticity. It's the subtle touches, those minute details, that often bring out the magic in an image.
Keep it real, keep it simple, and watch as your photos come to life with renewed brilliance. Whether you're a seasoned pro or just starting out, the world of photo retouching awaits your unique touch.
Happy editing!