The Best Camera Settings for Indoor Photography with Tips and Tricks
February 15, 2023
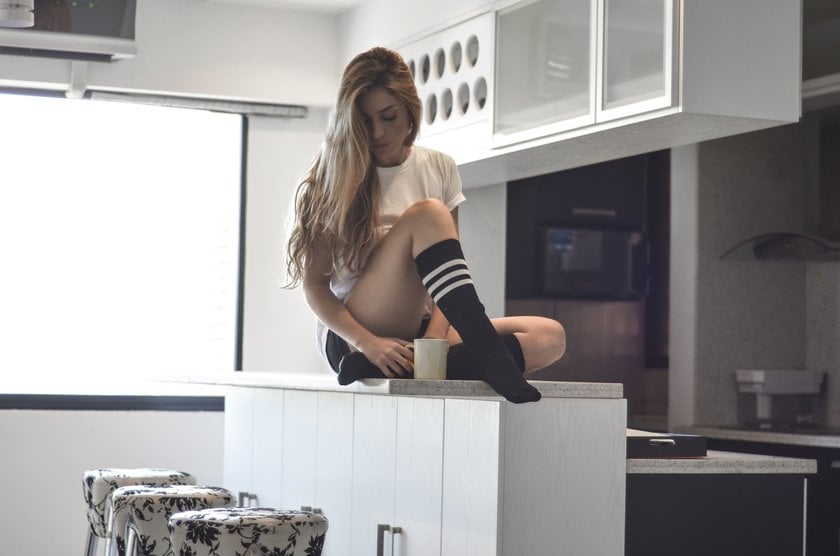
Planning to shoot indoors and want to get the best possible pictures? Here are some tips to improve your photography and help you achieve stunning results!
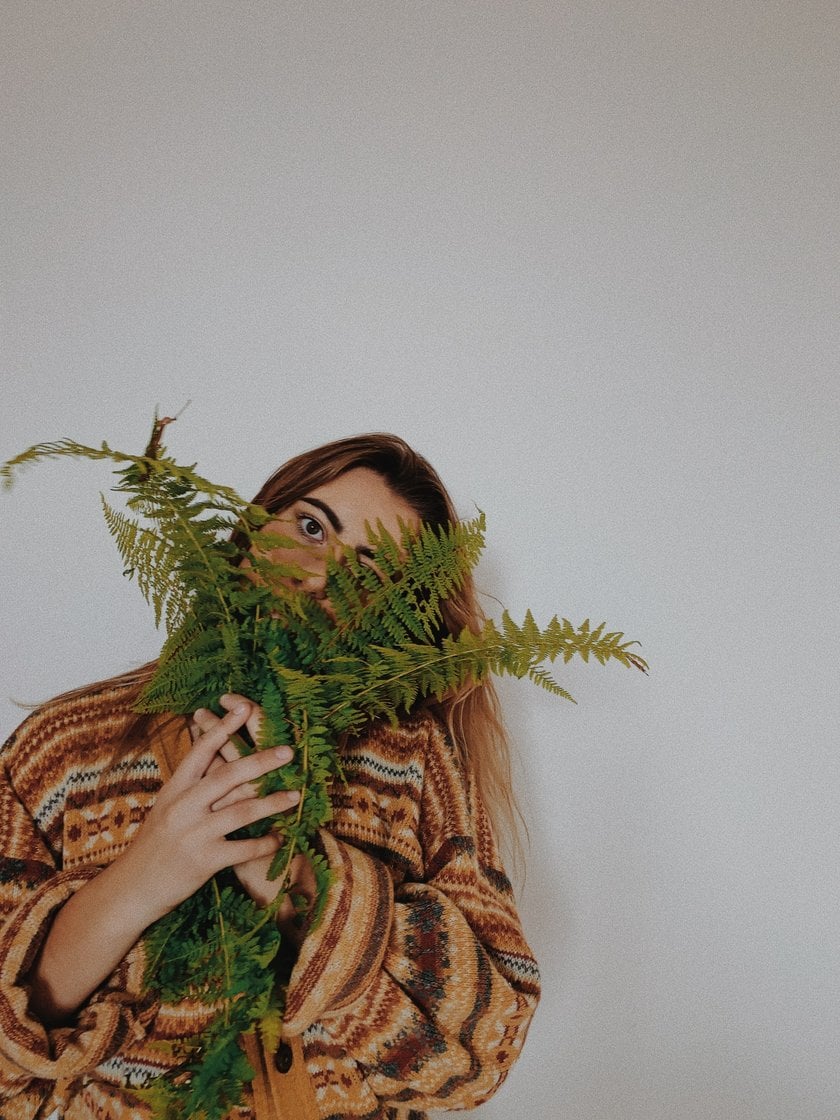
Taking quality indoor photos can be a daunting task not only for the beginner but also for the professional photographer. If there isn't a proper amount of light in the room, the camera in auto mode tends to decrease the shutter speed and increase the ISO, which in turn leads to blurry images and noise. In order to take good shots, you should use manual settings for indoor photography. They will allow you to achieve clear images, minimize noise and create the desired effect. Yes, it is not easy to choose the right adjustments, the first time the result can be unsatisfying. You will need to practice in order to get good shots. In this article, however, you will find useful tips and tricks for taking photos indoors, with which you can significantly improve your skills!
Setting up your gear for getting the desired results
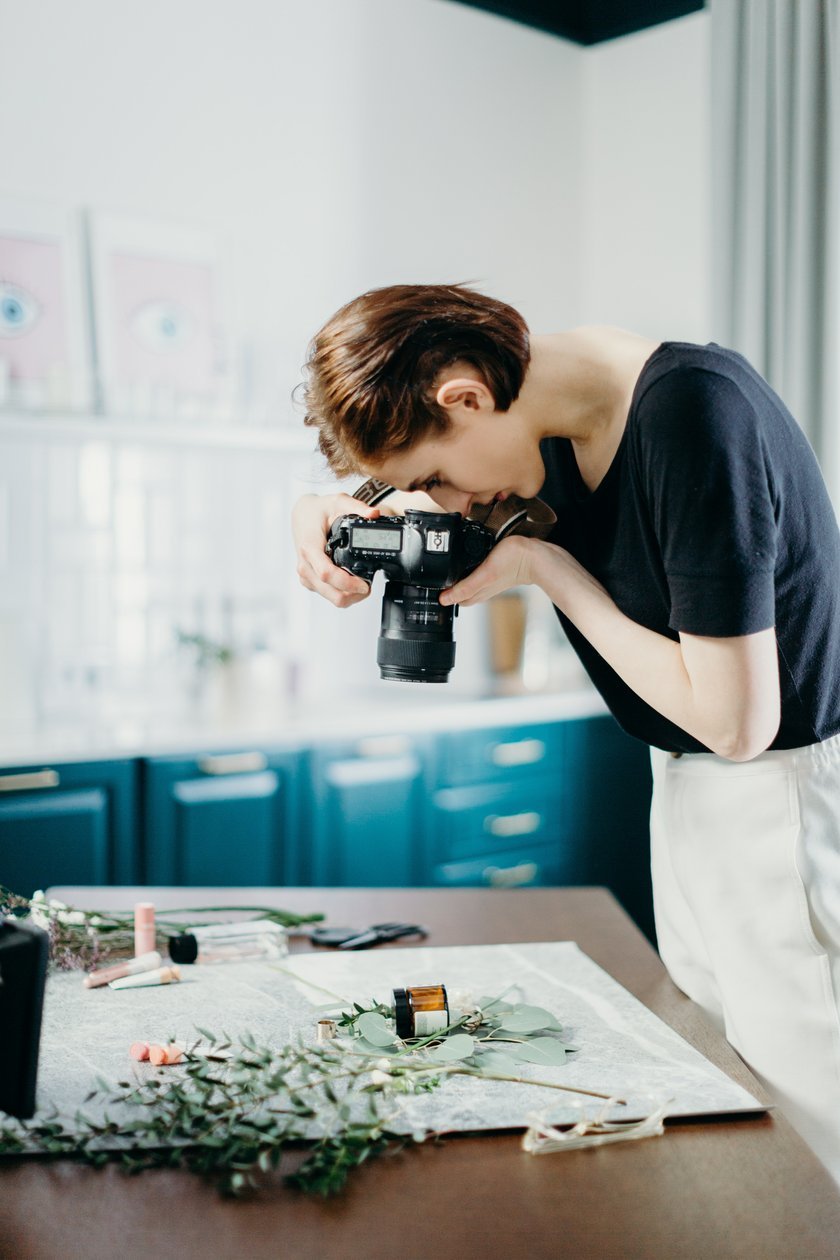
What are the best camera settings for indoor photography? In this part, we offer you some tips that will help to set your camera to get wonderful pictures even in low light conditions. Of course, the main thing is to use the ISO, shutter speed, and aperture correctly, but that is not all. Let's look at this topic in more detail.
Also read: Photography Prices for Beginners – How Much Do Photographers Charge
1. Don't underestimate the importance of lighting

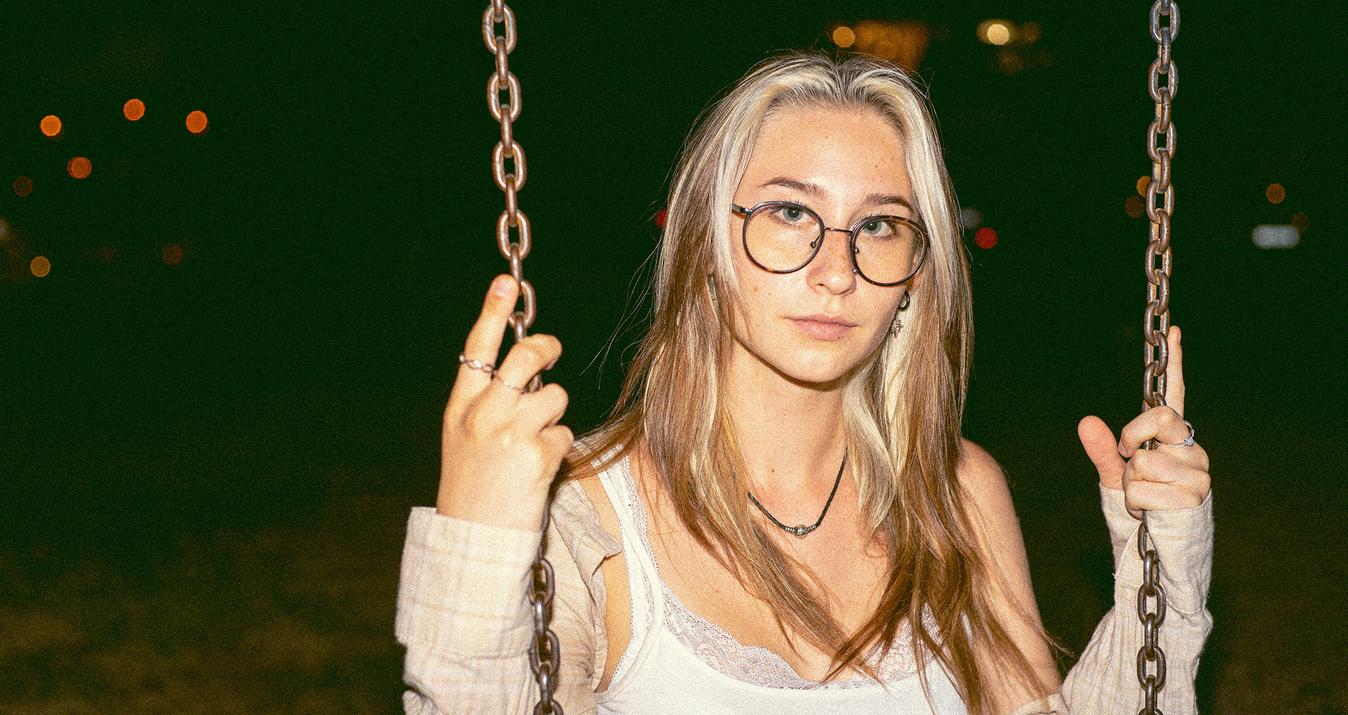
It is great if there is a window light during shooting, but don't rely on it too much. Professional indoor photographers know that this can be far from enough. What's more, even working with good artificial light sources is no guarantee of high-quality, clear images. So what is the best way to handle the problem and choose the best camera settings for indoor portraits? Increase the lens aperture! That's how you get as much light as possible into the camera sensor.
If the term aperture isn't too familiar, it's worth clarifying. Basically, it's a hole in the camera lens, and the wider it is, the more light hits the sensor and the brighter picture becomes. It is represented by f/ values, such as f/4, f/8, etc. Remember, as the number gets smaller, the aperture gets wider.
Speaking about the camera settings for indoor photography, we advise you to start with the widest aperture option that is possible on your lens. Depending on the model that you have, that could be f/1.8, f/1.4, and so on. You also can try aperture priority mode for indoor locations. This will allow your device's sensor to get enough light, and the overall brightness won't suffer despite the increased shutter speed. But more about that we'll talk a little later.
Important detail: Do not forget that a wide aperture affects the depth of field. It means that only a certain part of the scene will be in focus, not the whole picture. We can't call it a complete disadvantage, because often photographers intentionally achieve this effect. This is an almost unavoidable situation in low-light indoor areas, so if yotu can, you should adjust your settings and choose a shallow depth of field.
2. Selecting a slow shutter speed to capture sharp images
So now we know how important enough light is for great indoor photography. We've looked at the way of using expansion of the aperture as much as possible. Another option for indoor photography camera settings is to use longer shutter speeds. This method will work in two cases at once:
- the widest aperture of your lens doesn't suit you or isn't optimal in your particular situation;
- you want to get rid of the effect of focusing on only one part of the picture.
Photographers use shutter speeds of several minutes and sometimes even hours to get a good indoor image when there is less light than necessary. The best camera settings for indoor portraits are 1/60s or 1/80s, but there are factors to consider as well:
- the camera's steadiness;
- length of the lens;
- how fast your subject is moving.
Speaking more about the stability of the photography equipment, try to organize your shooting process in a way that avoids camera shake. You can use a tripod or turn on lens stabilization. Holding the camera steady, you can use shutter speed to capture well-exposed images, but still sharp enough!
3. Increase your ISO correctly
What is the best ISO for indoor photography? Before answering this question, let’s look at the definition.
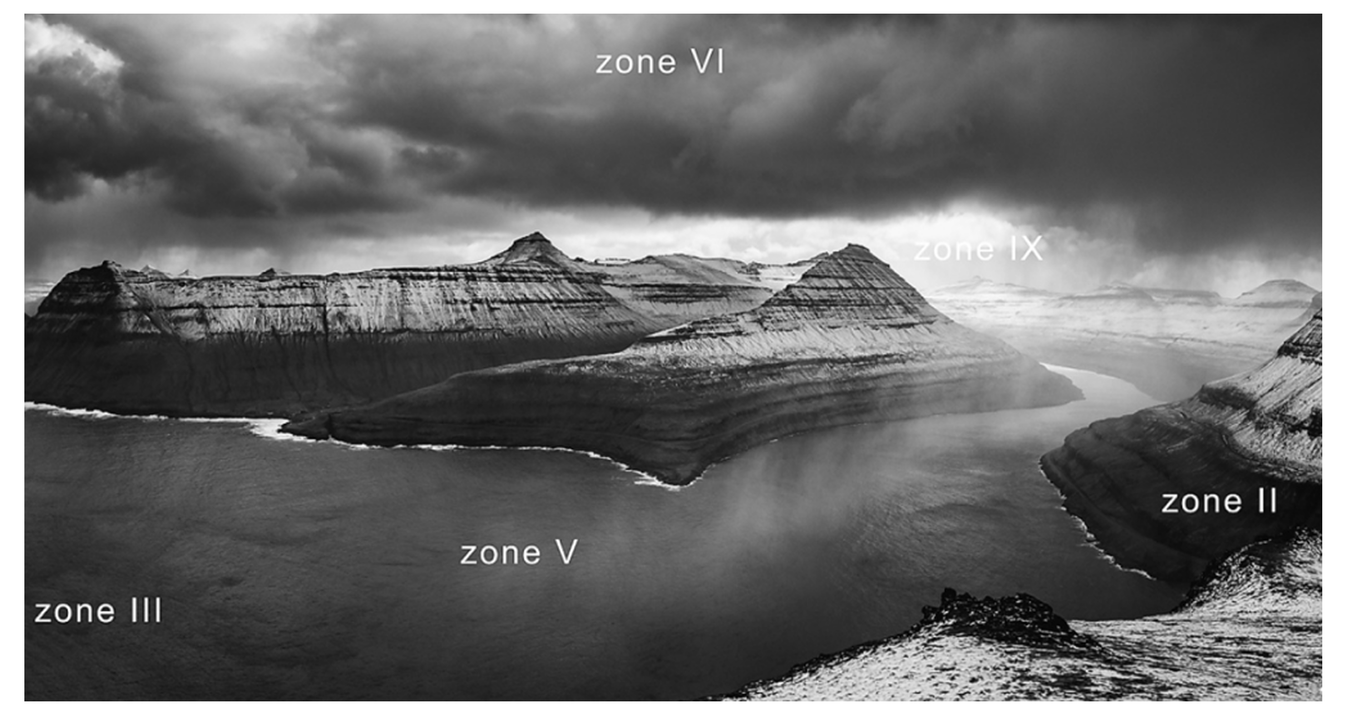
ISO is the sensitivity of the sensor to the light that comes through the aperture. By increasing it, you can significantly improve the picture when there is little light in the room. But as you higher the ISO value, color noise increases, which can ruin a beautiful shot. In this case, adjusting the sensitivity is a balance between the light and sharpness of the picture. Modern cameras have settings of ISO 25, 50, 100, 200, 400, 800, 1600, 3200, 6400, 12800, and 25600.
Almost every camera model has the ISO Auto mode that can be used to set the range and the camera selects the right settings of sensitivity. For inexperienced photographers, this option will be good as they can look at the value set on the picture and evaluate the results. In a dark room, the amount of light hitting the matrix can be corrected by the shutter speed.
4. White balance settings for indoor photography

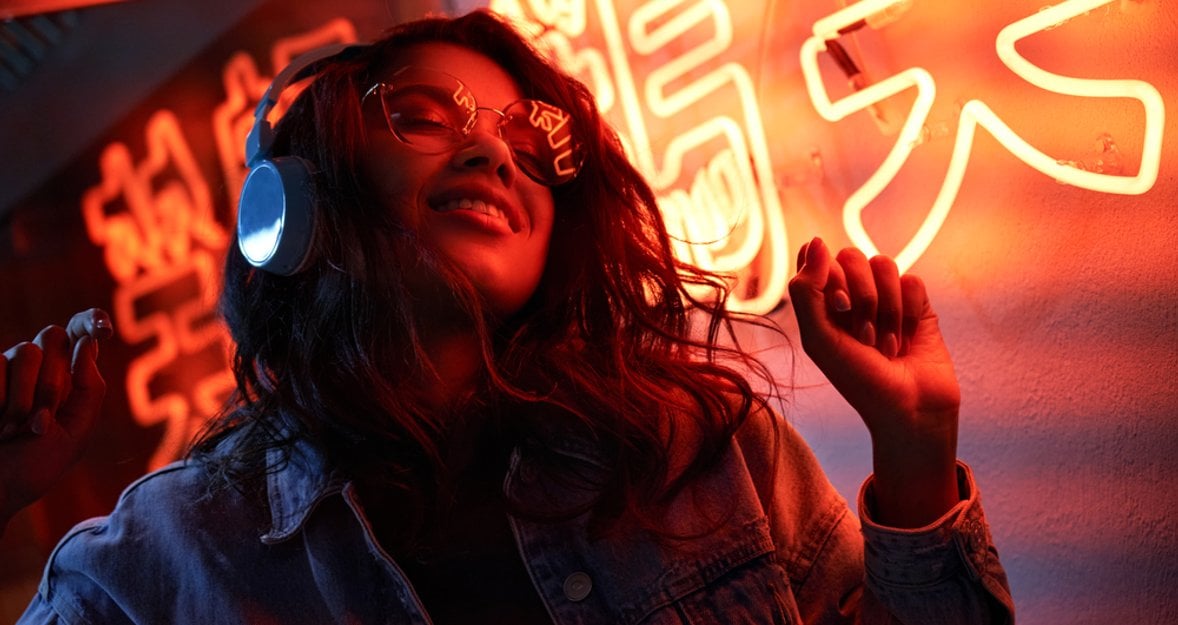
While choosing the best settings for indoor photography, you should remember that artificial lighting is different from natural light. It is considered wrong to mix these types because the color reproduction in the picture is significantly degraded. Automatics are able to analyze the scene and adjust the white balance correctly, but the more complex the lighting, the more likely the picture will be unsuccessful. Often, a slight orange/yellow tint will appear in pictures. This can easily be removed in a photo editor if you are shooting in RAW. But by adjusting the white balance correctly during shooting inside, you can avoid the long work of correcting all your photos.
There are different manual white balance tools, but the general principle of indoor camera settings is the same for all:
- Find a white or gray subject. It should take up most of the frame and be in the same lighting conditions you plan to shoot in.
- Select the manual mode and capture the scene. The camera will analyze what's in the frame (our reference subject) and adjust the lighting of the photo so that our subject turns out white or gray.
- Also, some cameras allow you to manually select a numerical value for light temperature, which you can use if necessary.
5. Is the built-in flash necessary for indoor photography?
It's definitely not the best camera setting for indoor photography. Leave the built-in flash for street shooting. There are several good reasons to turn it off in indoor locations:
- When triggered, the flash creates a powerful harsh stream of light perpendicular to the lens, which can produce an unnecessary glare on the surface of the photographed subject. In some environments, such as sports competitions, the flash should not be used in order to avoid distracting the players. This also applies to working with animals, and shooting theatrical performances, and concerts.
- A transparent surface, the glass of museum pieces or paintings, can bounce the flash which creates a large white spot, greatly spoiling the frame. This also includes shooting through windows.
- The flash creates over-exposed and very dark areas in the picture. You can direct flash towards the ceiling, a reflector, or the background to create volume, but it's better to use other techniques. If the ceiling and walls are not white, the photo will have colored highlights that are difficult to remove with an editor.
Now we know the best indoor photography settings, it's time to move on to practice! But before that, we advise you to read the following section.
Advanced yet easy-to-use photo editor
Get Luminar Neo NowBest camera setting for indoor photography: practical tips
 To start, let's determine the best camera settings for a high-quality outdoor shot. If you're using a tripod, follow these recommendations:
Keep the ISO as low as possible, ideally around 100, to minimize noise.
For portraits, opt for an aperture of f/4 or lower to blur the background, and for wide shots, use around f/11 to keep more of the scene in focus.
Adjust the white balance based on the lighting conditions, either by selecting a preset or using a custom setting.
Without a tripod, preventing blur from camera shake is key:
Maintain a shutter speed of at least 1/100.
Be prepared to increase your ISO to around 800 or higher to enable a faster shutter speed in low-light conditions.
Now, let's dive deeper with some additional tips to enhance your outdoor photography:
Shoot in RAW, then you can correct the noise and imperfections in the editor during processing. Photo graininess is normal in the right amount. Find a balance between sharpness and lightness.
Sometimes it is impossible to take a picture without a flash, then you need to use it as accurately as possible. In that case, an external flash will be the best variant. It can be moved away from the subject and directed the other way to make a reflective light. Even using the best camera settings for indoor portraits and subject photography, it is important to get the best lighting. An external flash can help in this situation. You can brighten or darken the shot as needed.
If you use high ISO, the noise in the picture goes up. Find the point where there is enough light and the quality is not yet diminished. Practice is important here, you just have to shoot and see what happens.
Using manual focus makes it easier to find the right balance of different settings and parameters. If you can not zoom, just walk closer to the subject, this will help you increase the sharpness without changing the parameters.
Every camera has a night mode, sometimes you can take advantage of it. The essence of this is finding the brightest area and focusing on it. However, it is not the best camera setting for indoor portraits, as it could overlight your face and make the background too dark.
Choose the equipment and shooting modes to suit the event. Capturing indoor shots at a wedding, in a restaurant, where there are a lot of people, and they move quickly, suggests using a wide-angle lens. ISO in this case is as high as possible, it is better to get noise than colored bands or darkened faces in the finished image.
And the most important tip – don't be afraid to try, adjust, and experiment with indoor camera settings. Here's the thing about being a photographer: sometimes you have to take several hundred shots before finding the right camera settings and achieving the desired result.
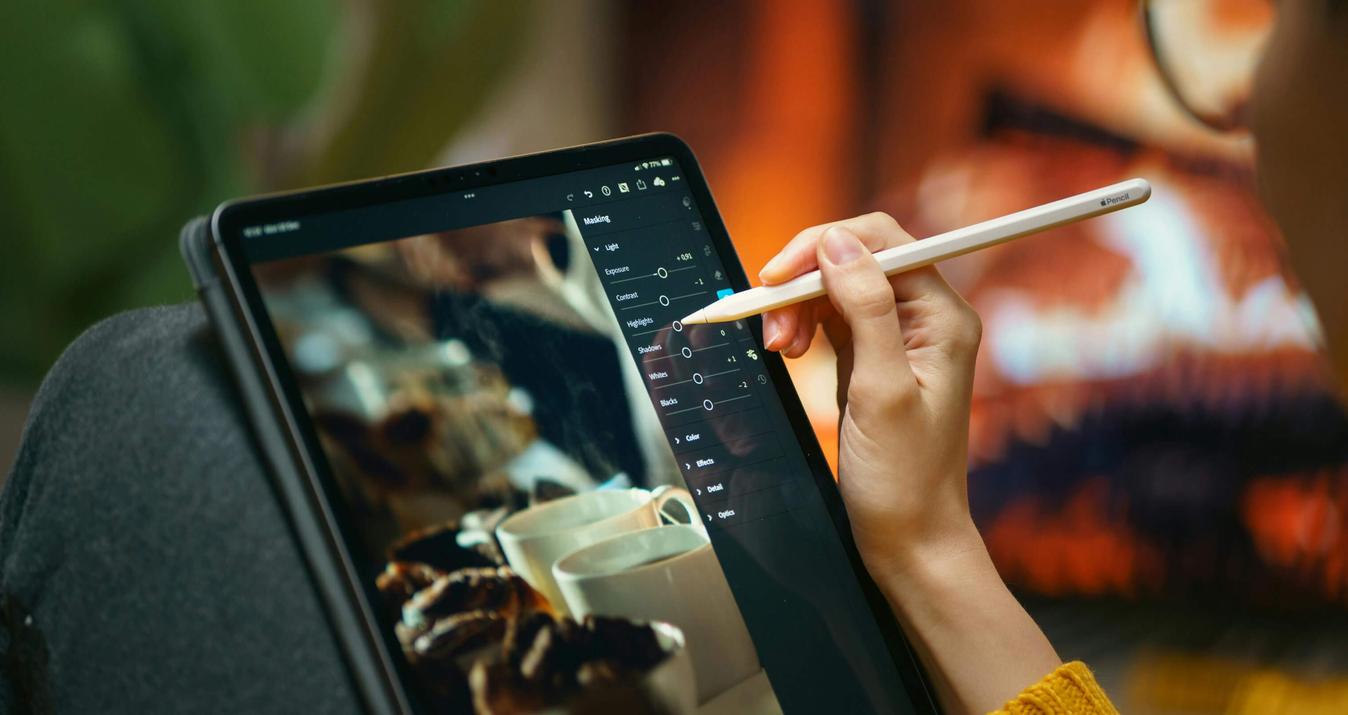
Indoor photo editing in Luminar Neo
So you have chosen the best settings for indoor photography, but don't forget one more important thing. Whether you are capturing portraits or doing a reportage shoot, post-processing is important in any case. It is best to use a multifunctional application that can handle all of your tasks. Luminar Neo is an incredible software with unique AI tools that will turn your picture into a real work of art! With the Structure AI tool, you can adjust details and the portrait retouching instruments will easily remove all imperfections. Adjust the focus, sharpen the image, change the background – these and many other features are waiting for you in Luminar Neo! The app is available to all Windows and Mac users. Unleash your creativity and take your photos to the next level!
Final thoughts about indoor camera settings
A photographer is an artist, but he doesn't paint with paints and brushes, he paints with light and shadow. And in a situation where there is not enough light, you need to know how to work with lighting equipment or how to set up your camera in the right way. An experienced photographer can shoot in any condition, but no one becomes a professional at once, practice is a prerequisite for achieving the goal. So what are the best indoor photography camera settings? It all depends on many factors such as lighting, subject, equipment, etc. You need to know the specifics of how your camera works. By changing the parameters of shutter speed, ISO, aperture, and focus, you can create great pictures even in a darkened room. Don't forget about the flash and the nuances of using it since a spot of light can completely ruin even a perfect photo. Do not be afraid to try and experiment, and you will definitely succeed. We wish you good luck and great shots!