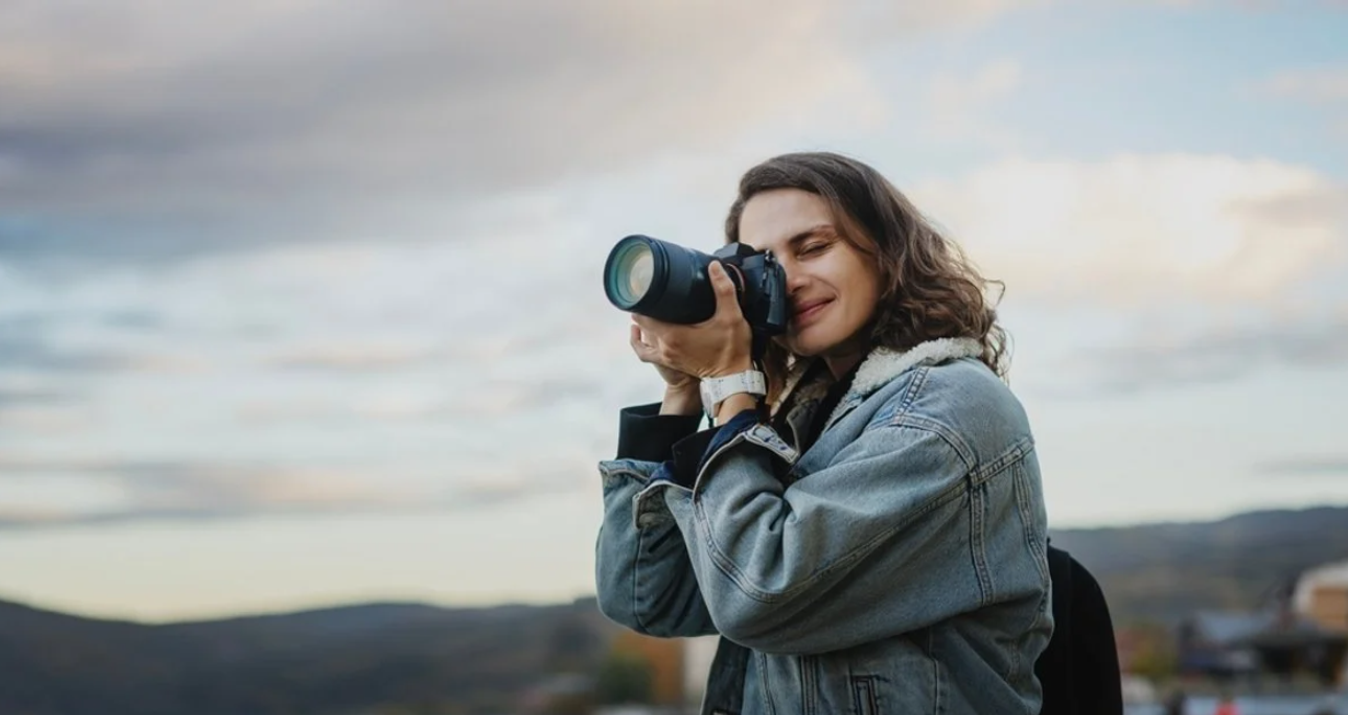
Make it tasty! Food photography lighting guide for newbies
January 17, 2023

All the magic in photographs comes from light. It is the way the food is lit during the shooting that is reflected in the mood you’re going to convey. The wrong lighting can make food look dull and lifeless, while the proper lighting for your subject will make your photos truly beautiful.
In this article, I focus on a few most common lighting for food photography schemes. I will try to express my thoughts in the most straightforward language so that even a person far from photography will understand everything.
The best light for food photography: artificial or natural?
To begin with, the light sources used for shooting are divided into natural and artificial. The natural light source is, of course, sunlight. Penetrating through the window and hitting the subject from the side, it lights out the food gently, emphasizing its texture.
But the Sun can also create a hard light for food photography if the composition is lit by or close to direct sunlight. As a result, we get hard shadows with well-defined edges. Such light is sometimes used in some photo projects. It gives the feeling of eating outdoors (even if the shot is taken indoors).
But in most cases, food photographers and bloggers prefer the subject to be lit with soft, diffused light. To achieve this is very simple: remove the food, placing it away from direct sunlight. You can also scatter the light with parchment paper attached to the glass or professional diffusers.
While shooting for your food blog, you can get by with natural light because shootings are most likely not as frequent and not as long as commercial photographers do. In fact, with the light from the window, you can get gorgeous pictures. But still, a few problems come with shooting even in the best artificial light for food photography.
First, they are challenging to manage. Light intensity and color temperature change throughout the day. It becomes cloudy, and you need to change the camera settings (open the aperture or increase the ISO) so that the composition is lit correctly.
Secondly, there is no need to talk about any filming in the evening. A photographer who shoots with natural light has only daylight at his disposal. Of course, this is not acceptable for most commercial shoots, which often start late in the evening or early in the morning. And sometimes they pass at night.
Choosing the best food photography lighting equipment kit
All artificial light sources are usually divided into constant and pulsed.
Continuous light
Permanent sources constantly shine. It might be simple table lamps or special LED sources. If we talk about any severe shooting approach, it is best to choose an illuminator with a fluorescent lamp as a source of artificial light. It can be one lamp or several.
Of course, such sources can only be accompanied by lighting modifiers: stands on which the illuminator is mounted and softboxes designed to scatter light and soften it. I advise you to use a rectangular softbox since it makes the glare on the subject being shot look more attractive, especially when it comes to shooting drinks or oblong objects/food.
Rectangular softboxes can be found in different sizes: 90x120, 50x70, or 60x90. I would recommend taking the latter option. For shooting with continuous light, in principle, one source on the stand may be enough if, in addition, a reflector is used on the other side of the food. But buying two sources is the best solution if you want to be sure you can light large compositions. If you take the most straightforward option, then on Aliexpress, you can buy two illuminators in a kit for about $ 100.
Food photography does not use constant light sources, in which the light comes from halogen lamps - they heat up quickly, heating the air in the room, which is detrimental to most food photography. Greens wither faster, and food is covered with a dried crust.
A significant advantage of using the constant type of light in photography is that you can see what lighting pattern will result from shooting. If you want to shoot with flashes, this may be much more difficult to do (sometimes the so-called pilot light helps; these are constant light lamps that studio flashes are equipped with).
And another benefit of constant light is that you can use it to shoot videos.
But food photographers often work not with constant but with pulsed light sources. These include studio flashes or on-camera flashes (of course, you need to put them on stands and not in the camera's hot shoe).
Pulsed light
Here are a few benefits of working with pulsed light:
- impulse source is more powerful, even if it's smaller;
- it is believed that pulsed sources have better color reproduction.
Like constant light sources, using pulsed light is impossible without racks and softboxes. All the tips for choosing softboxes above apply here.
Three hundred joules is the power of a studio flash, enough to capture food. It is better to have not one but two studio flashes; this will allow you to highlight shadows and illuminate the background in large compositions.
Perhaps the only significant disadvantage of cheap studio flashes is that they cannot freeze motion in the frame. If you don't need to freeze motion (such as water splashing or powdered sugar or flour), you can buy cheap impulse sources from manufacturers such as Falcon Eyes, Godox, or Jinbei.
Basic food photography lighting techniques
Well, you've got everything you need, and now it's time to explore how to light food photography. When photographers talk about light scheme, they mean the position of the light source relative to the thing you shoot. Let's take a look at some basic techniques.
Sidelight
One of the basic schemes assumes that the light source (for example, a window) is on the side of the object. This light looks good in most cases. It uses such side light that you can achieve the maximum volume of things in the frame.
However, there are times when using this DIY food photography lighting scheme that part of the subject in the shadow looks underexposed, i.e., inadequately lit. This often happens if the shooting subject is dark objects or food. To illuminate the dark part, it is not necessary to use a different light source, especially since it is unlikely that your kitchen has two windows located opposite each other. A reflector will help lighten the shadow area of the object slightly. A white reflector will give a soft highlight and highlight the shadow. A silver reflector will illuminate a thing more than a white one.
At the same time, there are times when you want the shadows to deepen, thereby enhancing the sense of volume in the photo. Often this happens when food is shot using intense lighting, as well as white or light-colored dishes and backgrounds. In this case, darken the object using black light absorbers.
Backlit
Another widely used food photography lighting setup scheme is the backlight. This technique assumes that the light source will be behind the subject. If we are talking about shooting with sunlight, then the photographed food in this light scheme will be on the table between the photographer and the window.
The advantage of shooting with a backlight is that volume appears on the food and a beautiful highlight from above. Therefore, such a lighting scheme is often used to shoot drinks.
Note that the light may not illuminate the front of the dish you photograph. This effect is especially clearly visible if the food is in a dark dish. You can also use reflectors to solve this problem. Just put it in front of the object. With such light, the volume is still the same.
Something in between
The third standard option is the combination of back and side lights. With this technique, the rays illuminate the object diagonally, which allows you to get a beautiful highlight of the object from above. In addition, the front of the food will be better lit than with backlight.
Of course, there are plenty of other food photography set-up light schemes besides those described here, especially when using multiple light sources. However, once you master these three, you will create magic in the frame: your food will look more appetizing and closer to the viewer due to the beautiful lighting pattern.
It is impossible not to say that, when shooting food, one should also follow the principles of building a composition, angles, using suitable props for shooting, and many other points.
DIY Food photography setup: Extras
Here are a few more food photography lighting tips that will help you make pics incredibly appetizing.
Use a tripod
A good photographer should be able to take pictures handheld. However, using a tripod makes shooting much easier and gives you more chances to experiment with light and all sorts of effects. Since your "model" isn't running away, mount your camera on a tripod and pay more attention to the dish, lamps, modifiers, etc.
Manual mode is everything
I always try to shoot in manual mode. Firstly, it educates you as a photographer. Secondly, it's interesting, and thirdly, it gives you complete control over the picture's exposure. Modern cameras can do a lot for you, but they always do the right thing... sometimes too right. Not every photo is taken strictly by canon (erm... did I really write that? I guess so). For example, you can raise your ISO and not worry about graininess as long as it gives you great light. Or you can experiment with depth of field by opening and closing your aperture.
Give more white
I have already said that using a white background or glassware can weaken your shadows. But this is easily corrected by a dark light absorber. However, a white napkin or plate in the frame can be a great starting point for adjusting the white balance when post-processing your photos. This works great with both artificial and natural light. So if you want some real magazine shots, use this trick to help guide you when you're editing.
Post-processing in Luminar Neo
You are undoubtedly used to your photo editor. What is it? Photoshop? Lightroom? I think some of that. Of course, these are excellent programs, but I want to offer you something more interesting.
Luminar Neo is software based on artificial intelligence to save you as much time as possible. Forget about hours of brushwork and tone leveling.
Of course, you can do post-processing with Luminar Neo, which has a set of tools to get the best lights for food photography. The program will open up a vast field of creative experiments for you. There are many exciting tools here that allow you to correct shortcomings and radically change the photo, giving free rein to your imagination.
In conclusion
Well, congratulations, dear readers! You've just mastered the food photography lighting kit (the theoretical part, at least). I hope this post will also help you easily master it in practice. Finishing the article, I want to add that to feel the light, it is important always to pay attention to its slightest changes and fix them in memory. See where the shadows fall, how the highlights fall, and how pleasant the dish looks on the whole, illuminated by one or another light. Only then will you be able to use the light to reveal all the advantages of the dish and hide all its shortcomings, if any.