July 18
11 min. to read
How to Crop an Image Like a Pro: A Step-by-Step Guide
Cropping photos is a powerful technique for improving the composition and visual impact of your images. By selecting and removing unwanted or distracting elements, you can emphasize the main subject, adjust the framing, and create a more engaging visual narrative. This is especially useful when the original image contains unwanted objects and unnecessary background elements that break the overall aesthetics.
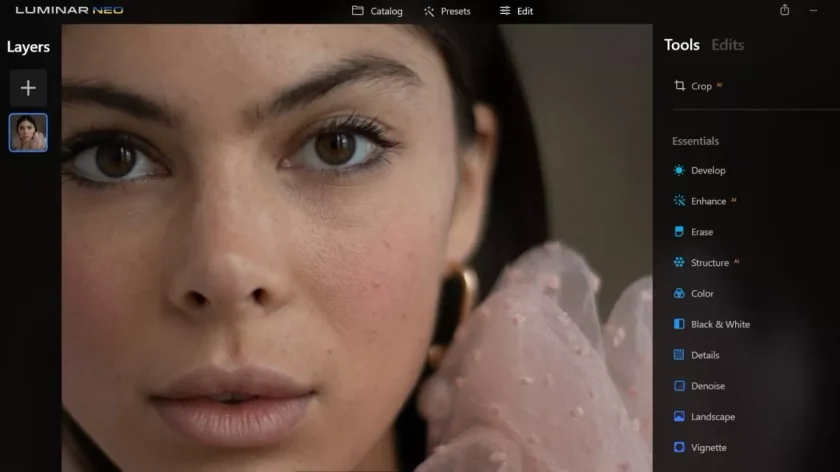
So, how do I crop photos? There are many options. You can use free photo editing software like Lightroom. It's quick, easy, and convenient. Online photo editors can also help. However, one of the best solutions would be to use AI photography editing software like Luminar Neo.
Using the crop tool to edit a photo can improve the image dramatically. By selecting the area that has the greatest impact, or cropping, your photos will have more appeal for viewers.

How To Crop a Picture: Basic Steps of Cropping
If you want to crop a picture, you have several basic steps at your disposal:
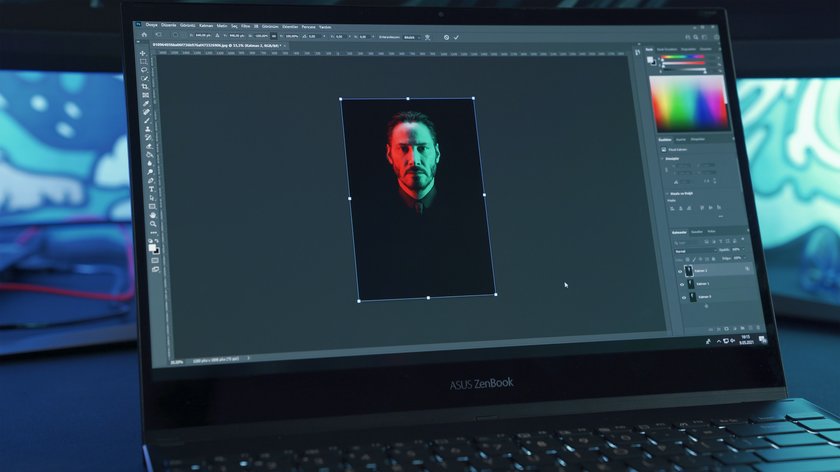
- Use image editing software. Most apps, such as Luminar Neo, GIMP, or Adobe Photoshop, offer a built-in tool that allows you to select the area you want to crop and remove unwanted parts of the image. These instruments often provide additional options, such as aspect ratio selection, rotation, and resizing, to give you more control over the final result.
- Before thinking about how to crop an image, it's always a good idea to save a copy of the original. This ensures that you have a backup in case you want to return to the original composition or make further adjustments later.
- Consider the file format. When saving your cropped image, you have the option to choose the format of your file. The most common are JPG and PNG. JPG files are suitable for photographs and images with complex color gradients, while PNG files are ideal for graphics and images with transparent backgrounds.
- How to crop images correctly? Consider the final size and pixel resolution. Too much crop or excessive enlargement can lead to a loss of picture quality. It is important to find a balance between the desired composition and the overall resolution of the image.
- Explore specialized software. In addition to general image editing apps, there are specialized ones available for specific cropping needs. For example, photo stitch software allows you to combine multiple photos into a panoramic picture by blending them together. Similarly, denoising software can help reduce noise in low-light images by cropping out desired areas.
As you can see, the question of how to crop photos is not that complicated. However, keep in mind that this creative process requires careful consideration of composition, focus, and overall aesthetics. Experiment with different techniques and explore the various features and options provided by your chosen editor to achieve the desired result.

How To Crop in Photo: Tools for Cropping
Begin by deciding which part of the photo is most interesting. Then select that area to be cropped. For most photos, you'll want to set the crop to "unconstrained," allowing your to use any proportions that best suit the composition. Unconstrained is the default setting for crop photo tool in most editors.
If you have a specific use for the photo, such as making a print or including it in a slideshow, the your may want to constrain crop to specific proportions, such as "5x7" for an inkjet print or 16:9 for a slideshow.
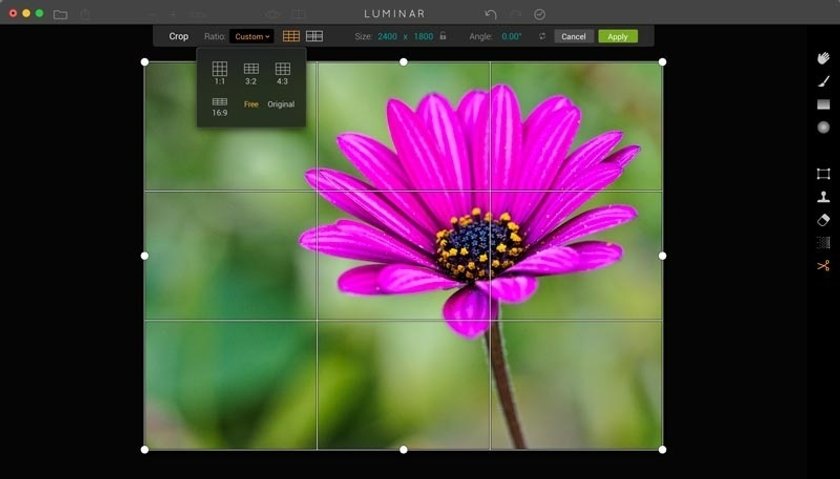
So, how can I crop a picture? In Luminar, for example, click on the Ratio setting to reveal the popup menu offering you options for Free (unconstrained), Original (keeping the crop to the original proportions of the picture), and then preset ratios, such as 1:1 (popular for Instagram) and 3:2.
 When a ratio setting is used, the crop tool will only draw to those dimensions. After your first attempt to select an area in the photo with the crop adjustment, you can finetune your selection by grabbing a handle on any corner of the cropping frame and dragging inward or out to change photo sizes.
You can also move the frame around the composition, or move the subject inside the frame depending on the software, to perfect the composition. Once everything is set to your liking, then click on the Apply button (or OK) to set the crop for the photo and complete the adjustment.
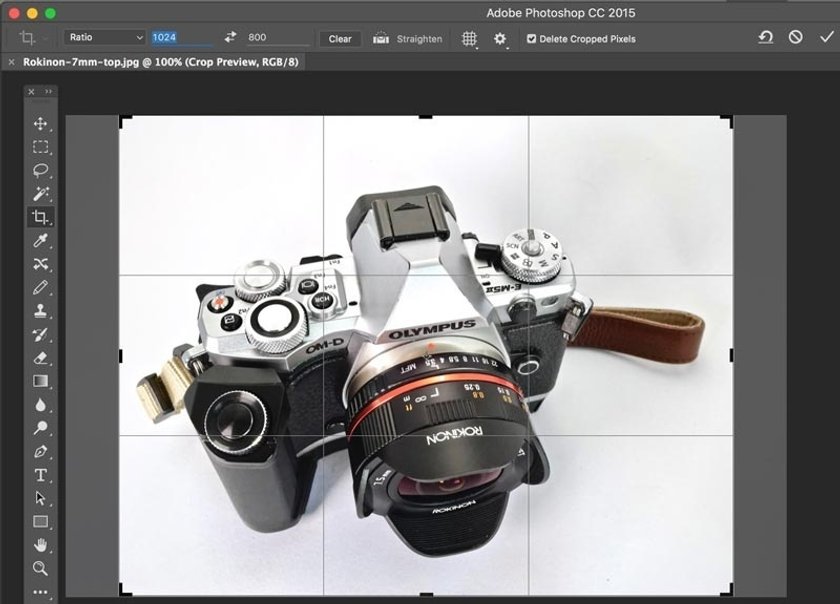
Some applications, such as Photoshop and Luminar, also allow you to crop to size. So, for example, if you know that you want the dimensions to be 1200 pixels by 800 pixels, you can enter those measurements in the size fields for cropping.
 Doing this not only sets the pixel dimensions of your cropped photo, but also constrains its proportions. So you are actually accomplishing two tasks at once.
Another feature that has become more common in the crop adjustment is Straighten. Lightroom, Photos for macOS, and Luminar all include this adjustment. So if your horizon is slightly off kilter in the photo, you can correct it by applying straighten in the crop settings.
Advanced yet easy-to-use photo editor
Get Luminar Neo NowHow Do You Crop a Picture With Luminar Neo?
The crop tool in Luminar Neo, an advanced AI photo editor, offers a seamless and intuitive way to use this technique with precision and creative flexibility. With the powerful features of this app, you can easily navigate through the cropping process. You can choose from a variety of aspect ratios or customize your own. Moreover, Luminar Neo goes beyond basic editing capabilities, offering advanced features. It is also a photo stacking software. This allows you to merge multiple images seamlessly, creating stunning compositions. With Luminar Neo's wide range of editing options, you have everything you need to turn your photos into artistic masterpieces.

Conclusion: How Do You Crop Photos?
Cropping your photos is a fundamental technique that can greatly improve the visual appeal and composition of your images. Selectively removing unnecessary elements and focusing on the key subject, allows you to create more attractive pictures.
And finally, before learning how to crop pictures, be aware of whether your application is non-destructive or a destructive editor. Non-destructive editors such as Lightroom, Luminar Neo, and Photos for macOS, allow you to change your mind and go back and re-crop, or even restore the file to its original dimensions.

Photoshop, on the other hand, is a destructive image editor. So if you want to retain all the information from the original photo before cropping, it's best to duplicate it first, then use crop.
You'll be happily surprised at how much your pictures improve by adding crop to your standard editing workflow.
FAQ
How Do I Crop a Picture Using a Graphic Editor?
To do this, open the image in the editor, select the Crop tool, adjust the desired area, and apply changes to get the result.
Are There Built-In Tools for Cropping Images in Popular Photo Editing Programs?
Yes, popular editing apps such as Luminar Neo, GIMP, and Adobe Photoshop provide built-in tools specifically designed for cropping images. They allow you to select the desired area, adjust the aspect ratio, and remove unwanted parts of the image with ease.
What Criteria Should I Consider When Cropping an Image To Achieve the Best Result?
If you want to know how to crop a pic in the best possible way, consider the composition, balance, aspect ratio, resolution, and storytelling elements.

 >
>

