Full Guide to Working with Different Photo Sizes
May 12, 2023
Want to know more about different sizes of photos? Then be sure to read this article to the end! We provide a complete list of common photo sizes – with insights on how to choose, where to post, why to convert, and in which software to resize.
While working on images, you inevitably have to adjust their width and height to make them look good in various places both in digital and physical space. To make sure your photos look great everywhere, you should understand what picture frame sizes are available and how to choose the best among them. Simply because there are no photo sizes that work well everywhere.
So, it's important to consider the appropriate print sizes for your photos to ensure they look their best. If you’re a perfectionist, this guide is for you. It talks about standard photo sizes for printing, social media pages, and the standard frame sizes for posting there, and the painless conversion of pixels to inches. And of course, you’ll see some useful techniques for adjusting picture sizes in Photoshop and Luminar Neo.
Standard Photo Sizes – Where Do You Can Run into Them?
Mostly, the question of adjusting picture sizes arises when you decide to print your precious photo memories.
No matter which print shop you enter, you’ll realize that most of their standard print sizes differ from the sizes of the images you keep on your computer. Or on the other hand, a print shop may show you so many options for photo print sizes that you feel confused. In both cases, it can be hard to decide which size will work best to preserve image quality and satisfy your taste.
But don’t let these numerous options for printing disappoint you – all of these photo sizes exist to provide the best experience and satisfy any demand.

How to Choose an Aspect Ratio to Fit Common Picture Sizes
When choosing a standard frame for your artwork or photo, it's important to consider its orientation and make sure the frame matches the horizontal or vertical layout of your image.
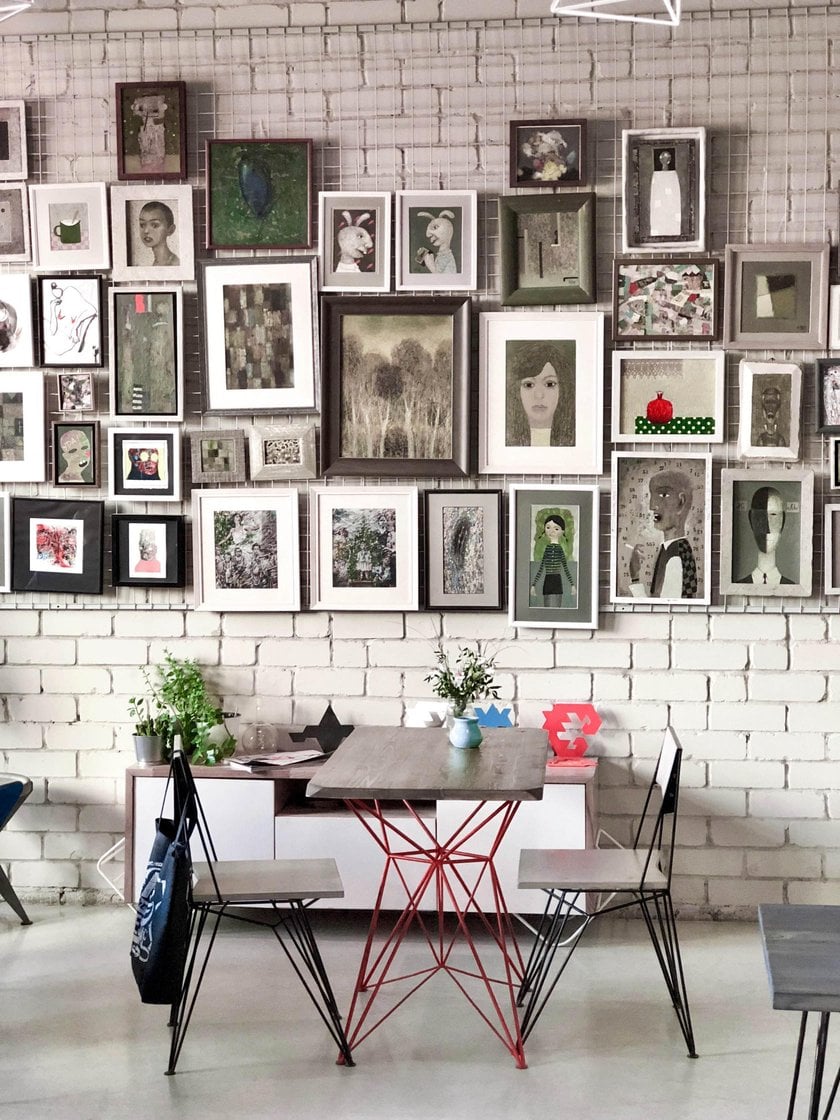
Our basic advice is: feel free to be creative when selecting photo print sizes! For instance, there are various ways to create a photo wall. As one of the possible choices, you can make a grid with images at standard picture frame sizes. Or you can combine small, medium, and large photos for a creative collage of your best memories. Some people hang just a single poster of a large standard photo size with their favorite photograph.
There are just as many choices when it comes to picture frame sizes! Feel free to go beyond a single standard print size - there’s such a huge space to reveal your creativity. There are no good or bad standard picture sizes – only those that work and don’t work for you.
How to Change Different Picture Sizes Quickly in Photoshop
So you need to resize a photo and you want to do it quickly and easily. In most guides (like this research guide from the University of Michigan Library and this guide from Photoshop Café), resizing a picture in Photoshop is considered the best solution.
It’s really not that complicated:
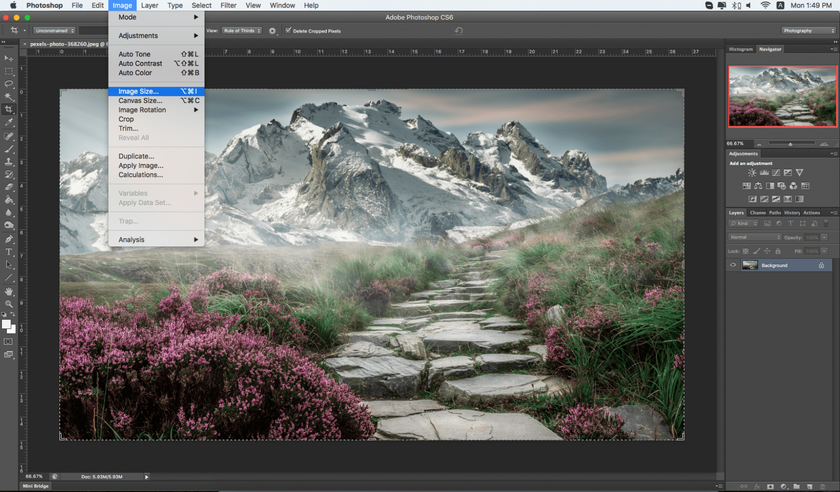
- Open Photoshop and select an Image in the Open menu
- Select Image -> Image Size
- Enter the new dimensions in pixels and adjust the document type and resolution
- Choose the resampling type: Bicubic (for gradients) or Bicubic Smoother (for enlargements)
- Accept the changes

For those who don’t have Photoshop but still need quick help resizing images, make sure to check out Luminar Neo. It has the same features, but simpler!
What are the standard image sizes for print?
There are a few standard photo sizes compatible with all home printers. Here are some crucial details about them:
4 x 6 inches.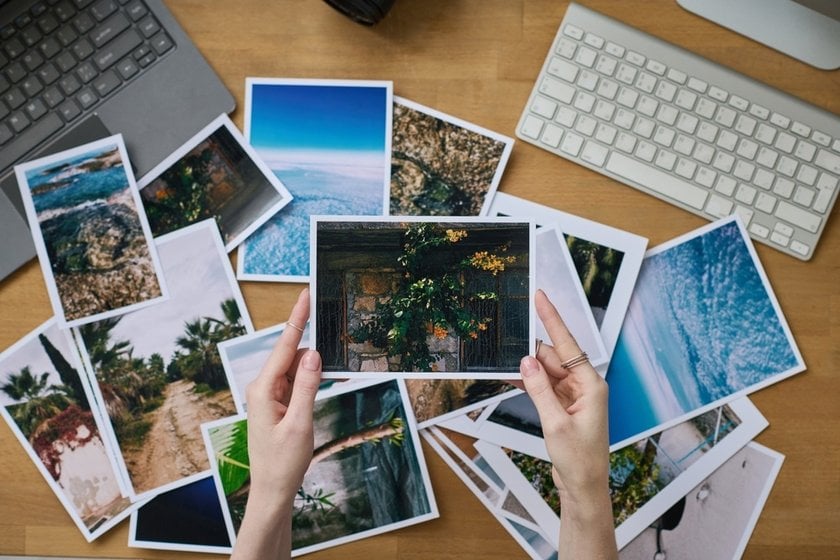

This size is very popular for everyday photo printing. It copies the aspect ratio of most digital cameras’ viewfinders, making it a perfect choice for printing your photos without any additional cropping.
5 x 7 inches.
A medium-sized option, this format is larger than 4x6 and provides more space for the image. However, it might require careful cropping depending on the original aspect ratio of your photograph.
8 x 10 inches.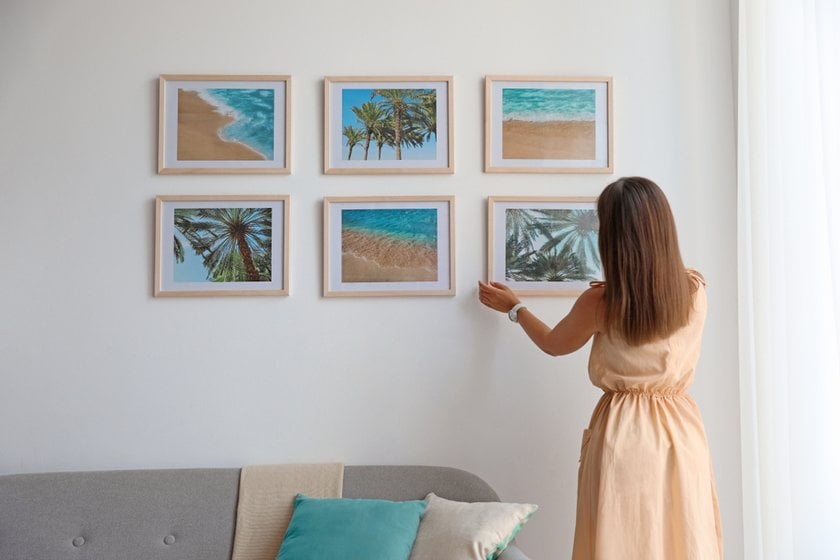

This size is excellent for posters and larger prints of photographs. It's also a common size for framing and displaying photos around the house.
8.5 x 11 inches.
This is a standard paper size in the United States, making it a convenient choice for printing at home. It's slightly larger than 8x10 and is ideal for printing documents with images.
12 x 18 inches.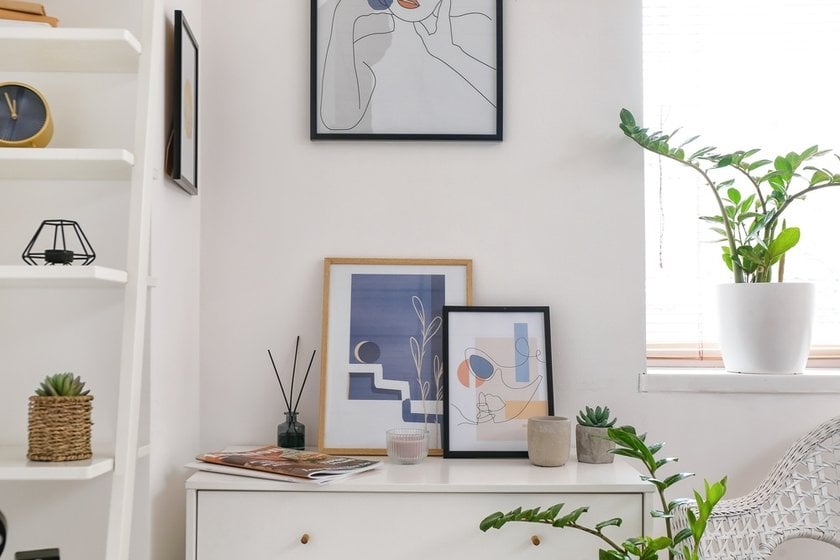

Perfect for larger prints, this size is popular for printing high-quality images, especially if you want to frame and hang them in your home.
18 x 24 inches.
This is a standard size for posters and larger prints. It's ideal for images that have a lot of detail or for photographs that you want to make a big impact with.
24 x 36 inches.

This is one of the largest standard sizes for printing and is commonly used for posters, large-scale advertisements, and photographic prints for exhibitions.
In addition to these standard sizes…
There are also larger options for printing, such as 14x22, 16x20, and 20x30 inches. These are great for making a statement with a single large image or creating a collage of photos.
Panoramic views are another popular choice, especially for landscapes or group photos. Common panorama options include 5x15, 8x24, and 12x36 inches.
Square picture sizes have also gained popularity, particularly for social media prints and modern photo displays. Standard square print sizes include 5x5, 10x10, and 12x12 inches.
There is another important point. When you decide to print a photo or simply post a good shot to a social networking site, you need to edit it. Use the AI tools in Luminar Neo to get a better result. For example, you can denoise an image in a matter of seconds.
Popular Photo Sizes for Social Media Platforms
Before uploading your photos to the web or social media, you should always consider optimizing the image size to strike a balance between quality and loading speed. And there is another important point. Social media in general has had a real influence on standard photo sizes - making some of them more popular and complicating the criteria for images. And, of course, your photos should fit the frame provided on each social network.
Here are some useful tips on optimal photo sizes on social media (in pixels).
- Best size for a photo in a post – 1200x900
- Standard photo sizes for profile pictures – 170x170
- Cover picture sizes – 800x300 or 825x310
- Story image photo sizes – 1080x1920
To avoid mistakes or adjust any photo to these formats use facebook cover photo size online tool.
- Profile photo sizes: 400x400
- Standard photo sizes for a cover: 1500x1500
- Picture sizes of a photo preview in a tweet: 800x320 and 280x150 (for a summary)
- Standard picture sizes for posts: 1080x1080 (square), 1080x1350 (portrait), and 1200x628 (landscape)
- Stories photo sizes: 1080x1920 (the story itself) and 320x320 (supporting profile picture)
- Standard photo sizes for a profile: 1536x768 (cover image) and 300x300 (profile picture)
- Picture sizes for company icons: 900x600
- Photo sizes for posts: 1200x628 (link image) and 1128x376 (hero image)
- Standard photo sizes for profiles: 280x280 (profile picture) and 200x200 (cover picture)
- Photo sizes for the dashboard: 222x150 (extended display) and 735x1102 (pin size)

Convert Inches to Pixels (and Pixels to Inches) Challenge
As you may have noticed, all the numbers mentioned in the previous section are in pixels, while standard picture frame sizes are measured in inches. This difference creates problems in practice. Because if you want to hang a cover photo from Facebook on your wall, for example, the print shop workers will ask you to change it on your computer. And you’ll need to create the needed aspect ratio digitally - which means the need to convert pixels to inches that fit standard print sizes.
After several attempts to crop the photo, all that’s left to do is raise your hands and wonder what these different scales were invented for.
We’ll answer that question and reduce the stress of your next image resizing.

Basically, the distinction between pixels and inches reflects the differences in appearance of the same image when stored on a computer and when printed in the physical world. In other words, digital images are presented in pixels, while printing photos that fit picture frame sizes requires you to convert pixels to inches.
If these metrics are from such different worlds, is it possible to convert px to inches (and vice versa)? Sure it is!
Here are the formulas to do it:
- Basic formula to convert pixels to inches: Pixels / DPI = Inches
- Basic formula to convert inches to pixels: Inches x DPI = Pixels
Let’s see the logic behind this.
Though it’s possible to do this conversion, the simple transformation from inches to pixels won’t be accurate, unfortunately. The problem is with the essence of a pixel. Basically, it’s just a dot on a map. And because of that, it has no size – and affects photo sizes as part of a bigger group of pixels only. Consequently, there are specifics rules for dealing with photo print sizes.
The variable DPI, or dots per inch, was invented to make these two equations work accurately. It helps to overcome the differences between the pixel dots of digital images and the inches of photo paper sizes. In practice, the variable enables both making accurate conventions and expecting slight changes - because, depending on the DPI at which an image will be printed, it may be taller after changing pixels to inches. Notwithstanding these slight inconveniences, introduction of DPI enabled the overall conversion.
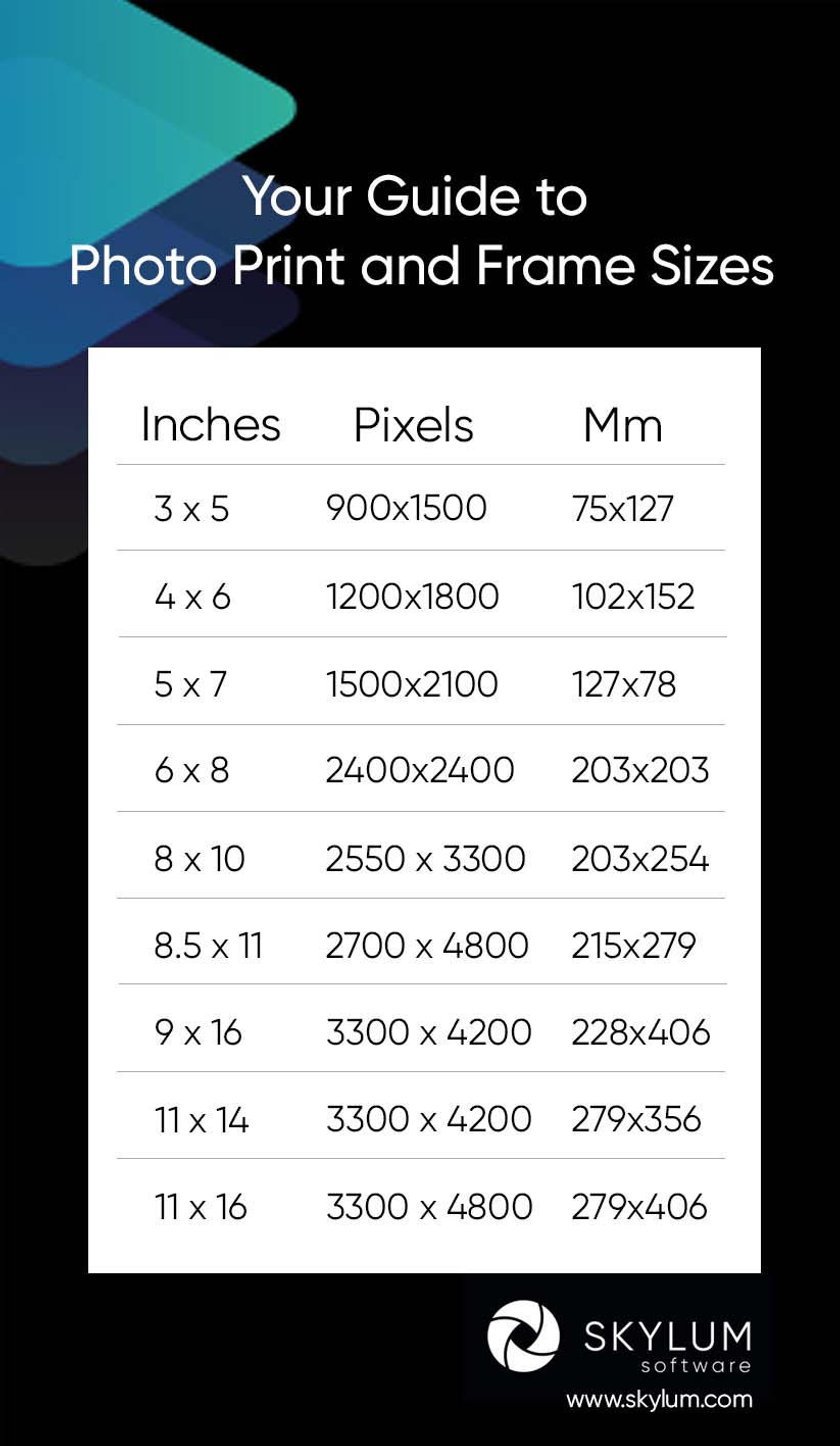
Finally, instead of searching for a corresponding DPI number, just use this infographic! It will help you change inches to pixels and pixels to inches.
How Luminar Neo Helps You Create Typical Picture Sizes
We’ve got a detailed guide that leads you through all the stages of resizing images in Luminar Neo. This is one of the best software for photography. And there you can find plenty of useful ideas for fitting photo frame sizes. And in this section, you will enrich this knowledge with some tips for adjusting digital images.
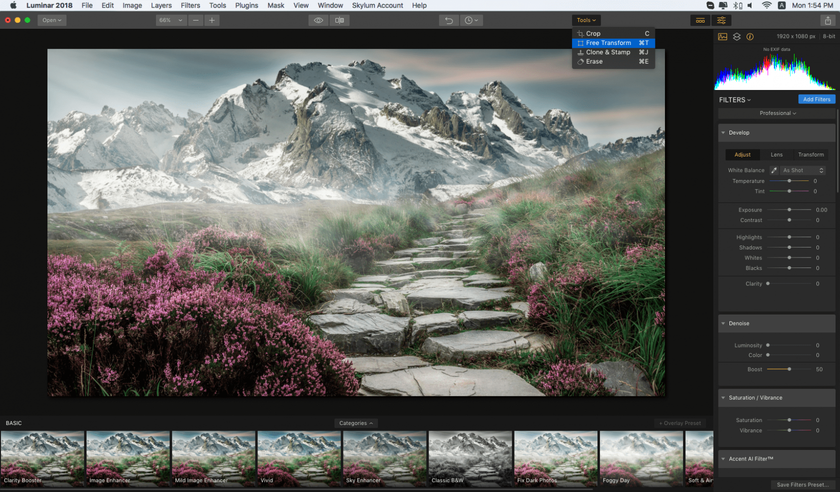
One of this year’s leading photo editing softwares, photo editor Luminar Neo expands on the simple procedure for changing photo sizes found in Photoshop. Luminar Neo offers three options for resizing. First, you can use a resize image method similar to the one found in Photoshop – but in Luminar Neo, you can resize multiple images at once. You can also choose between long-edge and short-edge resizing so the program will resize an image proportionally.
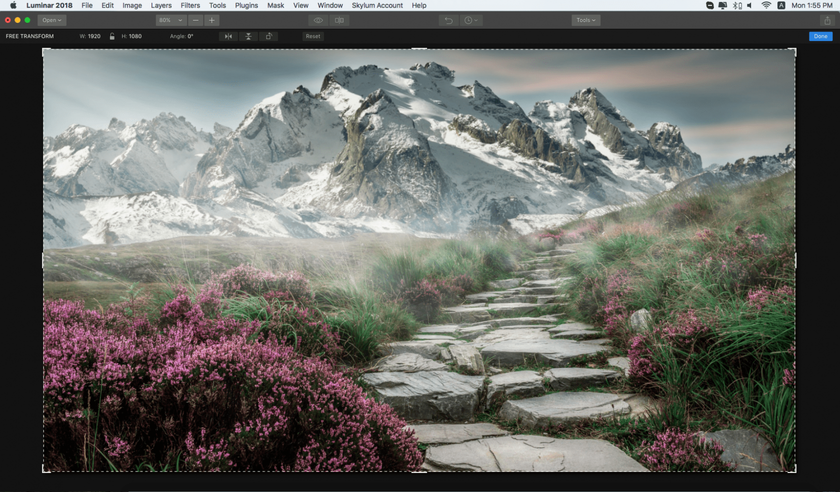
Additionally, Luminar Neo has an awesome smart crop tool that enables you to make professional, fast, and easy adjustments to photo sizes.
Conclusion

Resizing your standard pictures can be an essential skill for making sure your photos are displayed in a way that best showcases the subject and fits the platform you're publishing on. Whether you're preparing images for print, web, or social media, knowing how to resize them can be incredibly helpful. With Luminar Neo, you can easily resize and crop your photos without sacrificing image quality to meet your specific needs and create stunning visuals. Now you know what are normal picture sizes, so why not take advantage of this powerful tool and start experimenting with photo editing today?
FAQ
What Are the Most Common Sizes of the Photo?
The most common and standard sizes for photo printing are 4x6 inches, 5x7 inches, and 8x10 inches. These formats are commonly used for glossy photo albums, frame prints, and other art print products. For digital pictures, the file size can vary depending on the resolution and aspect ratio of the image. However, some common options include 800x600 pixels (4:3) and 1920x1080 pixels (16:9).
What Are the Different Picture Sizes?
There are many different sizes available, depending on the medium you're using to view or print the picture. Some common formats you may encounter include rectangular options like 4x6 inches or square as 8x8 inches. There are also aspect ratio-based standard photo sizes and panoramic options such as 4x10 inches and 8x20 inches. And one more thing. Poster sizes can range from 11x17 inches to 30x40 inches (you can also customize it).
What Are Common Aspect Ratio Sizes?
An aspect ratio is a numerical expression of the proportional relationship between the width and height of an image. It provides information about the shape of the picture and how its dimensions are distributed. For example, an aspect ratio of 1:1 indicates that the width and height of the image are equal. The most common frame sizes based on this value are 1:1, 3:2, 4:3, and 16:9.