Backlight Photography: All You Wanted to Know About
January 13, 2023
The backlighting technique is a great way to emphasize the shape of a model or object. Using lighting from behind the thing, you can create stunning expressive photos.
But like any other type of lighting, contra-jour requires a specific skill to do it well. I will tell you how to take fantastic backlit pictures in this article. Let's start with the backlighting photography definition.
What Is Backlighting Photography, and How to Master It
Every professional photographer knows that if the sun shines directly in your eyes, it does not mean that you can forget about the shooting. After all, you can turn it in a favorable direction. This is what they call backlit lighting: such a lighting situation when the source of light is from behind the subject. Backlighting photography is when the light source is positioned behind the subject. It creates more depth and shape in the subject.
Note that when I say "light behind," I don't mean that the photographer, subject, reflector, and main light source must be on the same line. Rays can also fall at an angle, but the primary condition for backlit portrait photography is the position of your subject between you and the light.
This is logical since such lighting is risky and, if misused, can completely spoil the shooting. Therefore, it is better to start using such a technique if you already have experience in photography. Not knowing all the nuances of backlight photography, you can get not a luxurious and exciting picture but an ordinary dark spot.
But you should not be afraid to use such a light. After all, everything happens for the first time. And without mistakes, the creative process does not exist, right? If you use back light in photography correctly, it can make photos genuinely magical and bring them to life.
In addition, if you are a beginner and have made a mistake, you can always fix the exposure settings with photo editing tools like photo light adjustment online. One of the best ways is to use Luminar Neo.
At the same time, you have complete control over the shot's exposure thanks to the Relight AI tool, which forms a 3D model of the space to achieve even better results. This way, you can perfectly balance the background and foreground and set different light sources to make your backlight pictures look as realistic as possible.
Backlit Photography: Natural or Artificial Light
Usually speaking of contra-jour lighting, they mean shooting outdoors in bright sunlight. However, many photographers use backlighting in the studio. Yes, the backlight can be not only a natural source but also an artificial one. In the event that when shooting, you use four light sources, then the backlight will need to be placed directly behind the model.
NB! In no case do not confuse backlight with background light in photography. These are entirely different things. A backlight is needed to highlight the background, and the backlight is required to make photography look dramatic. It is a full-fledged artistic medium of the picture.
Indoor backlit photography is often used to convey the tenderness of the image. And this is understandable because even if you light up the girl’s hair a little from behind, it will shine and seem more magnificent. By the way, remember that when using a backlight, it is imperative to ensure that the primary light source is not in the frame. If this happens, unaesthetic highlights will be present in the picture. Unless you intend to use them as some creative technique, they will be wholly unnecessary and unattractive in the frame.
The studio backlight in photography can also be helpful if you need to highlight some objects in the background. For example, direct light on a theater stage gives the impression that the actors and sets are flat. At the same time, lighting behind the back creates an entirely different effect. In studio photography, it works the same way.
How to Use Backlighting in Photography: Tips and Tricks
You probably already know that shadows provide volume in photographs. If the subject is directly in front of the source, then there will be almost no shadows in the picture, and when lit from the side, the shadows in the photographs become very difficult to control. And when the main light source is behind the subject, you can control the shadows in the picture with ease. To lengthen the shadows or vice versa to make them shorter, you can change your position relative to the subject just a little bit: sit down, move away, or tilt the camera.
You can take really decent pictures using a backlight when you understand all the tricks of using it. The easiest option would be to use a flash. In this case, the face of your model will be as bright as the background. And you can use all the advantages of such a technique. But most importantly, it will be necessary to ensure that the backlit portrait does not turn out overexposed. To avoid this, set the impulse to a lower power.
In addition, you can slightly cover the flash with a sheet of white paper. This will act as a diffuser. When you do everything written above, you will be able to avoid the appearance of flare on your model's face, lead the light in the photo in the best possible way, and make it softer and smoother.
But flash may not always be at hand. To get high-quality back light photos without using a flash, you need the specific camera settings:
- First, set the spot metering mode on your camera so that the light calculation is based on the object in focus and not on the illumination of the entire sensor area. This will avoid silhouettes in cases where they are not needed.
- Second, choose a positive exposure compensation. If you do this, you will be able to get sharp details in the picture that are in the shadows. A more accurate value should be chosen already on the spot, take test photos with various corrective settings and choose the most successful one.
Of course, you should not think about a bright background if you shoot with a backlight. Defects will appear on the photo, you will get an overexposed and blurry background, and sometimes details may not be visible. But in some cases, this phenomenon is an absolute norm. These are the specifics of shots using backlight.
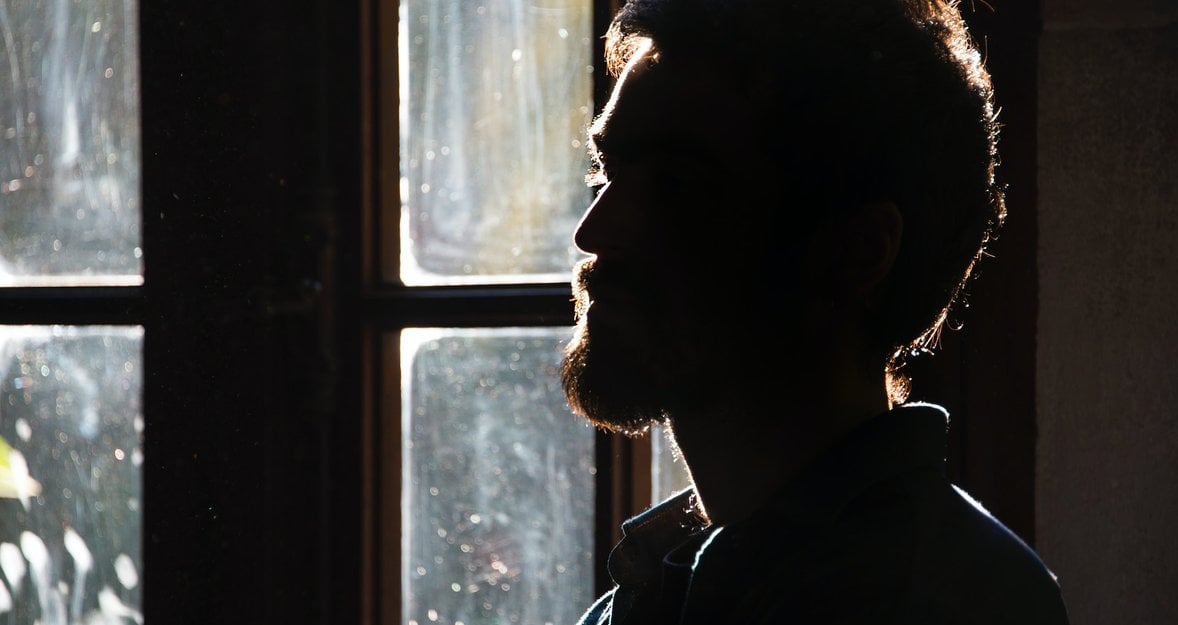
Another case of using backlight is if you need to achieve clear and aesthetically defined silhouettes in the picture. If you want to create this effect, you must darken the subject you are shooting as much as possible. Small details, in this case, will not play an important role. For this reason, when creating a silhouette, you do not have to think about exposure compensation settings.
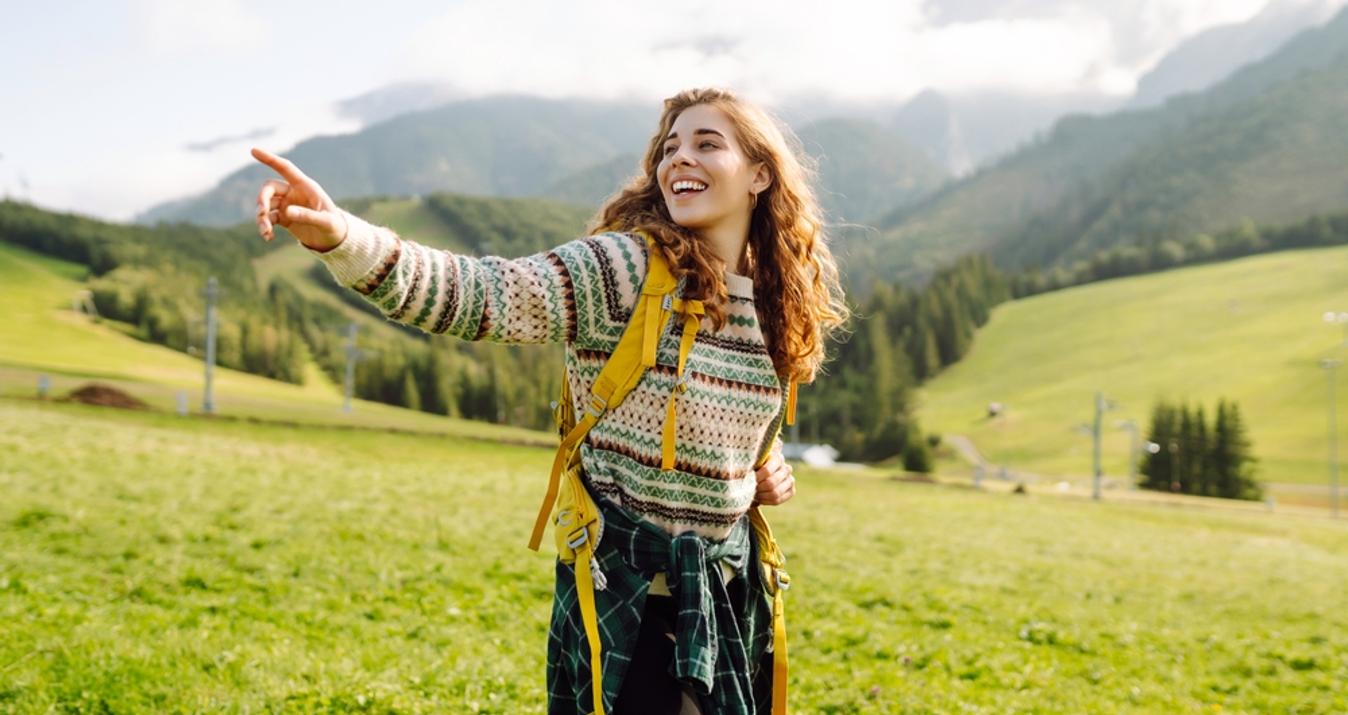
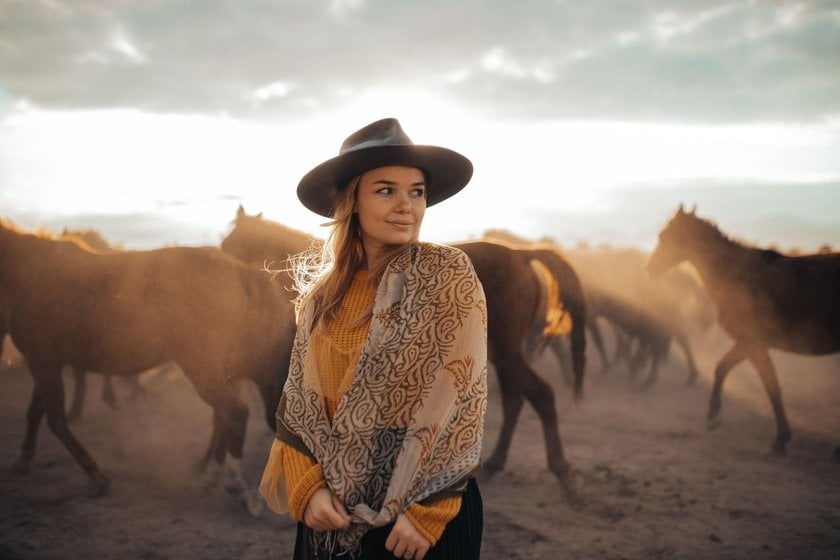
Backlit Portraits Photography
To shoot backlighting portraits in natural light, the best time is the golden hour: early morning or sunset. It is during these time intervals that sunlight falls at a slight angle, and therefore the light will be gentle and will not dazzle.
If the model has long hair and there is strong wind when shooting, then you need to choose the position in which the wind will blow in the face. In this case, sunlight should illuminate the girl from behind or slightly from the side.
To achieve the even distribution of light, it is necessary that the sun is entirely behind the girl or slightly to the side of her. Here you only need to experiment and choose the best location for the light source.
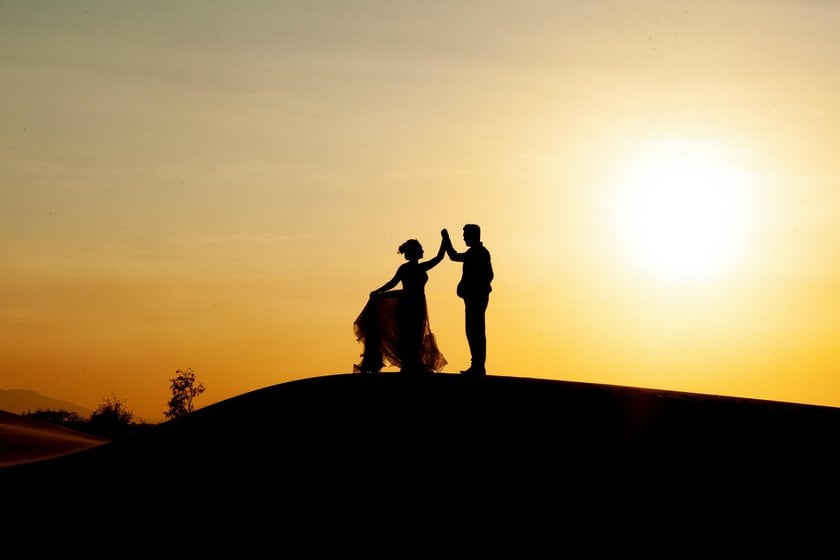
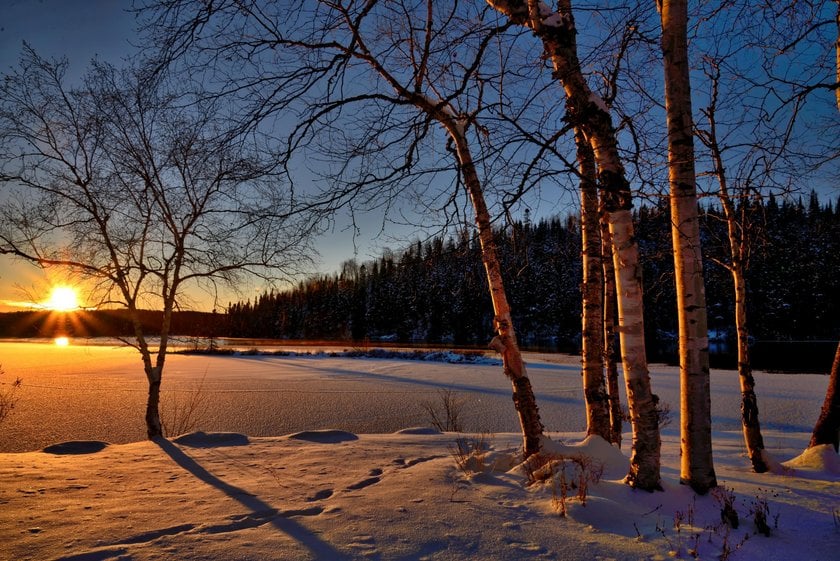
Backlight When Shooting at Sunset
The setting sun can be a great source of backlight and a grand color scheme for shooting. The sun's light at sunset is not as bright as, for example, at noon. Therefore, such light can be neutralized with even the weakest flash power. It is this technique when shooting that can perfectly highlight the details and objects that are in the foreground of the picture.
There is another option that is more complicated than the first one. It gives the model's face the same shade as the sky at sunset. To do this, you will need an external flash, which must be controlled using the camera. This flash should be placed as close to the model as possible, attach a diffuser, screw on the desired shade's light filter, and take a series of shots. It must be stunning!
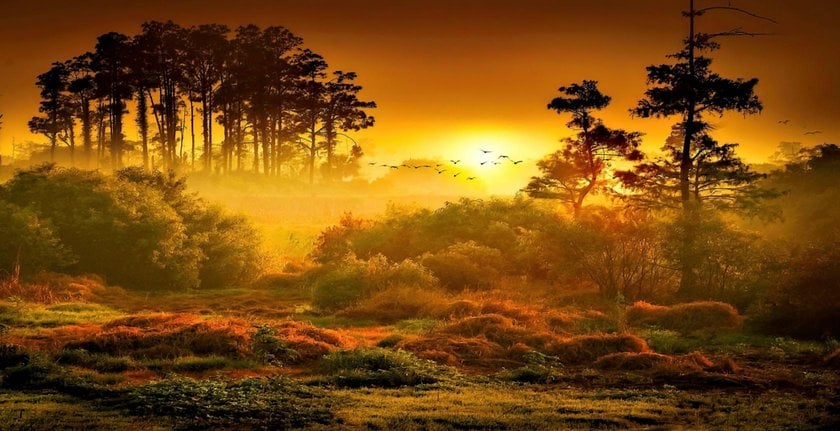
Backlight for Landscape Photography
The backlight type can be used not only when shooting portraits but also when photographing landscapes. The entire surrounding space becomes enchanting when sunlight shines directly into the lens. Especially luxurious pictures can be taken when the sunlight comes from the clouds.
With the help of a backlight, you can photograph the model's silhouette and any object of nature. In this case, the thing will be darkened to the maximum extent and surrounded by a luminous halo. When shooting objects of nature, this technique will add a magical effect.
You can also narrow the field of view by pushing the sunlight out of the frame. In this way, you can take beautiful pictures of the web because it can be completely invisible without lighting from behind.
Another exciting idea is shooting in the fog against sunlight. With this shooting, the mist will seem to be illuminated from the inside.
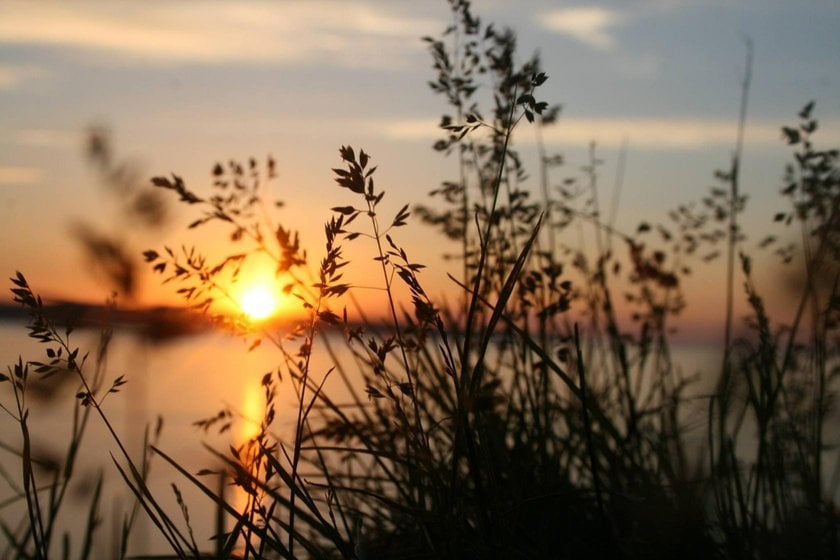
Backlight for Macro Photography
It is this mode that is the easiest to work with backlighting images. All details, such as blades of grass, leaves, and flowers, will look magical if they are illuminated from behind when shooting. A backlight can be created artificially if there is no suitable natural light. This is where an external flash comes in handy. It only needs to be placed behind the subject and controlled by the camera.
Back Lighting Photography: The Main Difficulties of Shooting
One of the common problems when creating backlighting pictures even in manual mode is the limited dynamic range of the camera. Because of this, the photos are overexposed. Luckily, this is an easy fix in Luminar Neo. I recommend shooting in RAW format to give you more room for manipulation when processing photos.
Unaesthetic color spots may also appear in the pictures. They come in the event that too bright light falls directly into the camera lens. The solution to the problem is to move the sun out of the frame or correct the direction of the artificial light. I also recommend using a hood that prevents flare.
Master Light in Your Photos with Relight AI
Explore Now!But this is also not always possible. The sun can also be the main subject of photography. And it is even more difficult to beautifully photograph the clouds through which the sun breaks through because they make the glow even stronger. To solve this problem, I recommend using negative exposure compensation. You can also rebalance it with Luminar Neo if necessary. This is a great app to help you create incredible pictures.
Backlighting Photography Examples
Now let's take a look at some fantastic backlighting examples:
 As you can see, there are a lot of opportunities to use this technique to take truly gorgeous pictures. I hope here you've found all the info you'd like to know about backlighting photography. So I wish you inexhaustible inspiration and say Goodbye for now. See you (write you) in the following articles!