iPhone Street Photography Tips For Busy City Dwellers
June 17, 2024
Check out our essential tips and tricks for iPhone street photography and learn how to unlock the full potential of your camera today!
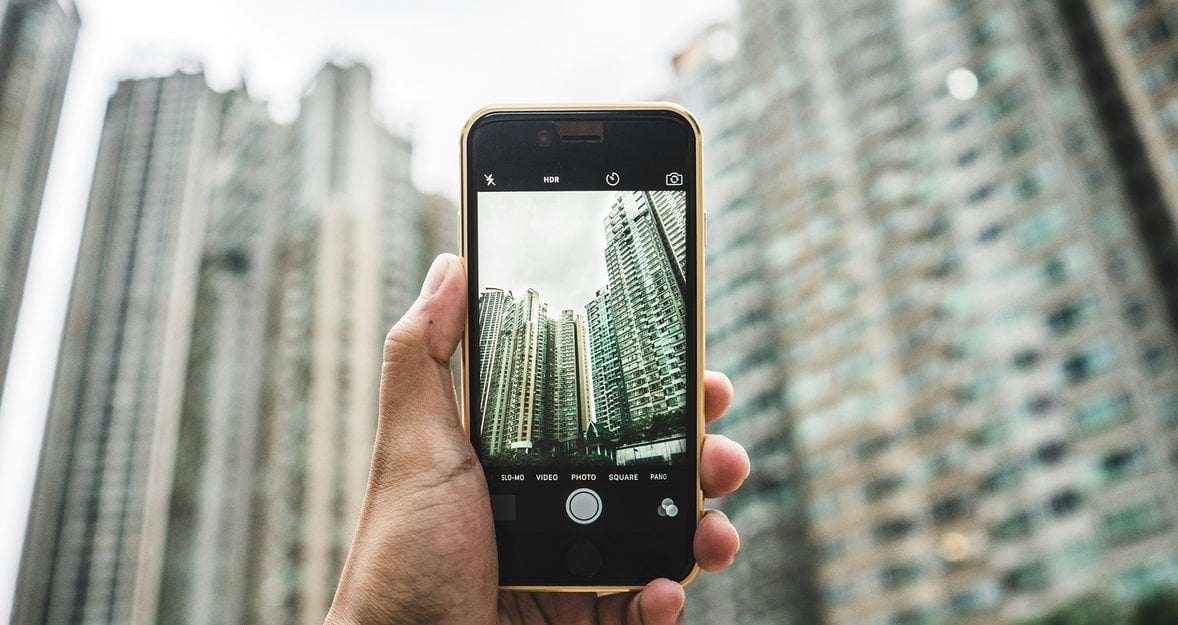
It's often said that the best camera is the one you have with you. As technology progresses, the phone in your pocket is increasingly capable of capturing stunning photos and videos. Modern iPhones, equipped with features like a 48-megapixel sensor, telephoto zoom lenses, and the ability to shoot in RAW, are a testament to this advancement. They are also ideal for those who find inspiration striking during their commutes or simply don’t have access to a full camera set-up.
If you're looking to harness the full potential of your iPhone to create captivating images whilst on the go, keep reading to discover essential tips and tricks for iPhone street photography.
Understanding iPhone Photography Basics
Mastering iPhone street photography starts by familiarising yourself with the various settings that can elevate the quality of your images. Here are some essential aspects to consider:
Aspect | Description |
Exposure Control | Adjust exposure by tapping and dragging on your screen. Crucial for night scenes to prevent highlights from blowing out and preserve detail in light sources. |
Focus | Tap on the screen to focus on a specific area. Adjust the aperture for a shallow depth of field to create portraits with a blurred background. |
Camera Modes | Explore built-in modes like Photo, Portrait, and Panorama. Each mode helps achieve specific effects and styles in street photography. |
High Dynamic Range (HDR) | Activate HDR to enhance detail in both shadows and highlights. Essential for high-contrast street environments to ensure no detail is lost in dark or bright areas. |
Live Photos and Burst Mode | Use Burst Mode to capture multiple shots quickly, perfect for action shots. Live Photos capture a few seconds of movement, adding life to your photos. |
RAW Mode | Shoot in RAW for more post-processing flexibility. Retains more data, allowing for extensive adjustments to exposure and colors without losing image quality. |
Optical Zoom | Use optical zoom (e.g., 0.5x, 1x, 2x) instead of digital zoom to maintain image quality. Essential for capturing crisp details from a distance. |
Spend time experimenting with these settings to become adept at quickly adjusting them. Familiarity with your iPhone’s capabilities will significantly enhance your ability to capture dynamic street scenes effectively.
Advanced iPhone Photography Tools
As iPhone cameras have advanced, a variety of tools have been developed to elevate their capabilities even further. While not essential for capturing great shots, these tools can enhance your creativity and streamline the photography process.
Pro Camera Apps
Numerous third-party camera apps provide enhanced control over your photography settings. These apps offer features not available in the native iPhone camera app, such as adjustable shutter speed, ISO, white balance, and focus. They also support RAW images and include powerful editing tools, giving photographers greater creative freedom. These apps are often paid, so consider your budget when choosing the right one for you.
Also read: Best Instagram Username Examples For A Standout Profile
External Lenses
Attachable lenses can significantly improve the versatility of your iPhone’s camera. Although recent models have improved zoom capabilities, external lenses provide superior quality at longer focal lengths and enable ultra-wide shots, detailed macro photography, or cinematic video recording.
Grips and Handles
To improve handling and safety, grips and handles can be attached to your iPhone. Adding a grip or handle provides a more secure hold and mimics the feel of a traditional camera.
Remote Shutter Controls
Especially useful for long exposures, remote shutter controls minimise the need to touch your phone during shooting. They connect via Bluetooth and are also handy for creative self-portraits, allowing you to trigger the shutter remotely.
These tools, while not mandatory, can push the limits of what’s possible with smartphone photography, helping you achieve results that may rival those of traditional cameras.
Composition Techniques to Consider
If you're adept at composing shots with a camera, you'll likely find the transition to using your iPhone fairly smooth. However, there are unique aspects of smartphone photography that, when leveraged correctly, can enhance your images significantly. Here are some tips to help you get the best compositions with your smartphone camera.
Grid View
Utilising the grid view on your iPhone can aid in applying composition rules like the rule of thirds. Many seasoned photographers keep this feature enabled to refine their compositions, so don’t hesitate to use it to enhance your iPhone shots.
Exploring Perspectives
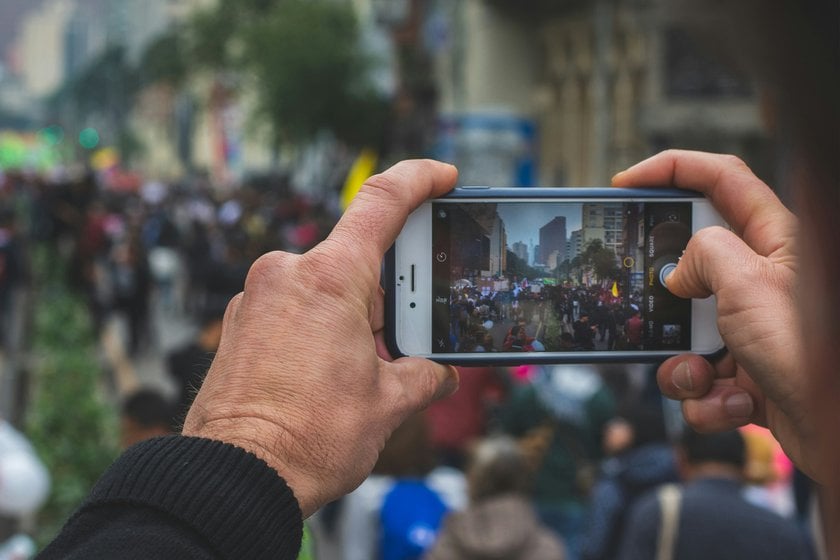
The compact and lightweight nature of the iPhone offers distinct advantages over traditional cameras, particularly in how you can achieve unique perspectives. You can easily take low-angle shots by placing your phone close to the ground, made easier to view by its large screen. Additionally, its slim profile allows you to insert it into tight spaces—like through fence gaps—where a regular camera wouldn't fit. The iPhone’s portability also means you can quickly capture fleeting moments without the strain of holding a heavier camera for long periods.
Live View Screen
The live view screen on your iPhone is a double-edged sword. It provides a clear, direct view of your composition, making it easier to adjust and review on the go. You can pinch to zoom into details right after taking a shot to check focus and composition immediately. However, in bright sunlight, the screen can be difficult to see, which is a disadvantage compared to traditional viewfinders. Make the most of your screen when conditions allow and take a moment to review your shots to ensure they meet your standards.
Wide-Angle Lens
Recent iPhone models include a built-in wide-angle lens, which is invaluable in tight urban spaces or crowded scenes. This feature lets you capture more of your environment without needing to step back. Use the focal length options available (like 0.5x, 1x, etc.) at the bottom of your camera app to choose the best perspective for your scene, keeping in mind that optical zoom will provide better image quality than digital zoom.
By embracing these iPhone-specific features and techniques, you can elevate your street photography, capturing compelling and high-quality images that stand out.
Creative Approaches to iPhone Street Photography
Using your iPhone for street photography opens up endless creative possibilities. Leveraging the urban environment can transform ordinary street scenes into captivating visual narratives. Here are some techniques to explore on your next outing:
- Reflections: Reflections from windows or puddles can add a dramatic effect to your photographs. An interesting technique is to turn your iPhone upside down near a puddle to capture a unique mirrored view, or align it against a window to split your image between the reflection and the scene outside.
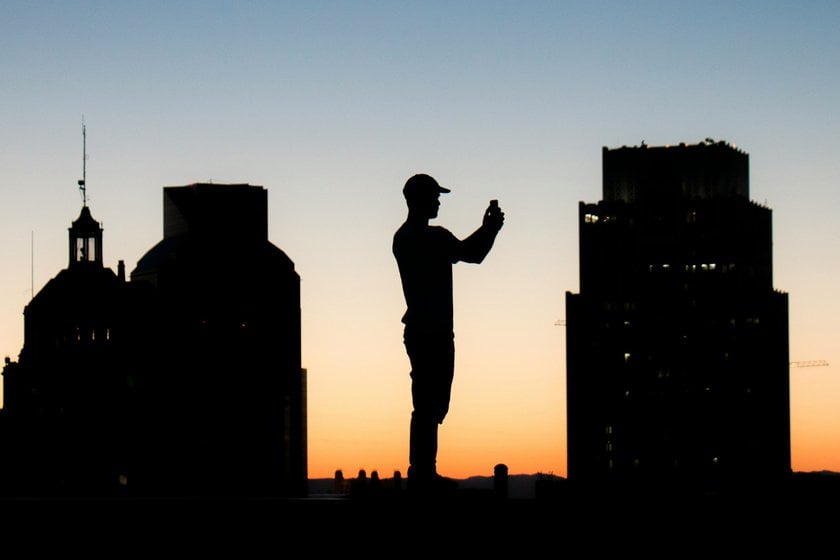
- Silhouettes: Capturing silhouettes against bright backgrounds can produce striking images. The touchscreen functionality of the iPhone allows you to tap and focus effortlessly on your subject, ensuring they are perfectly silhouetted.
- Focal Length: Modern iPhones offer a variety of focal lengths at the touch of a button, a significant advantage over changing lenses on traditional cameras. Experiment with everything from ultra-wide to telephoto to see how it changes the storytelling of your scene.
- Presets: Take advantage of built-in presets to enhance your photos quickly. Whether you want to amplify colours or create a moody atmosphere, these presets can transform your shots instantly, making them share-worthy for social media.
- Motion Blur: Employ the long exposure feature to capture motion blur. This technique infuses your photos with a sense of movement and energy, adding a dynamic layer to your street photography.
- Close-Up Street Portraits: Use the iPhone’s portrait mode to achieve a blurred background, mimicking the effect of a wide aperture. This feature is excellent for street portraits, giving them a polished, professional look.
These methods not only enhance the visual appeal of your photos but also harness the full potential of your iPhone, allowing you to create sophisticated and engaging street photography.
iPhone Night Photography: Overcoming Common Challenges
Low-light photography with an iPhone can be challenging due to the phone's smaller sensor size. Even though the latest models have made significant improvements, achieving high-quality night shots still requires some finesse. Here are several strategies to enhance your night photography and minimise unwanted noise.
Also read: 5 Ways to Make Blurry Image Clear
Tip #1: Shoot in RAW Mode
Shooting in RAW mode is crucial for night photography. This format retains a broader dynamic range, which is particularly beneficial for bringing out details in shadowed areas during post-processing. It also improves the effectiveness of noise reduction techniques.
Tip #2: Use Additional Lighting
When photographing subjects such as models at night, consider using portable lights. These can drastically reduce noise by evenly illuminating your subject. For more tips on using portable lights, refer to our detailed guide on the subject.
Tip #3: Experiment with Long Exposure
For challenging low-light environments, take advantage of your iPhone’s long exposure capabilities through the Live Photos mode. Setting a longer exposure can capture more light, but be sure to use a tripod to prevent blurring.
Tip #4: Avoid Digital Zoom
Digital zoom can degrade image quality, especially in low light. Instead, use the preset zoom levels (e.g., 1x, 2x) that make use of the phone's optical lenses for better clarity.
Tip #5: Adjust Manual Settings
Use your iPhone’s advanced manual settings to achieve a well-balanced exposure. Automatic settings might overcompensate for darkness and spoil the natural lighting of the scene. Manually adjusting ISO and exposure settings can yield more controlled and pleasing results.
Remember, mastering low-light conditions with an iPhone, like with any camera, often involves trial and error. Continuously experiment with different settings and techniques to find what best suits your photographic style and the specific conditions of your scene. For more in-depth guidance on night photography, consider exploring our comprehensive night photography tutorial.
The Bottom Line
These days, distinguishing between a photo taken with a phone and one captured on a traditional camera is becoming increasingly difficult. Having a slim, lightweight, and compact camera that fits right in your pocket allows you to engage in street photography daily. This means that even during your commute, you can snap shots on the go without the burden of carrying around a bulky camera. The ease of switching between different focal lengths is another substantial advantage, minimising the need to carry around a collection of lenses.
While photographers may traditionally prefer using a camera, the convenience of a high-quality smartphone camera always at your disposal is undeniable. So, whether you’re just starting with iPhone photography or you’re on your way to work, take a moment to experiment—you might be pleasantly surprised by the results.