A Guide To The Perfect Product Photography Setup
June 20, 2024

Ready to take your product photography to the next level? Our comprehensive guide reveals the secrets to setting up the perfect photo studio and achieving flawless visuals. Stay tuned!
When it comes to setting up your first product photography studio, knowing where to start can be overwhelming. With a huge range of equipment, tools, and props required for a successful operation, it's tricky to figure out what's essential and what you might only need occasionally.
Fortunately, the demand for product photography is soaring, fueled by e-commerce and social media advertising. If you’re eager to dive into product photography and are planning to set up your first studio, you’re in the right place. Here's a little checklist I've put together with all the essential items you need to take the perfect product photo. Let's get started!
Understanding the Basics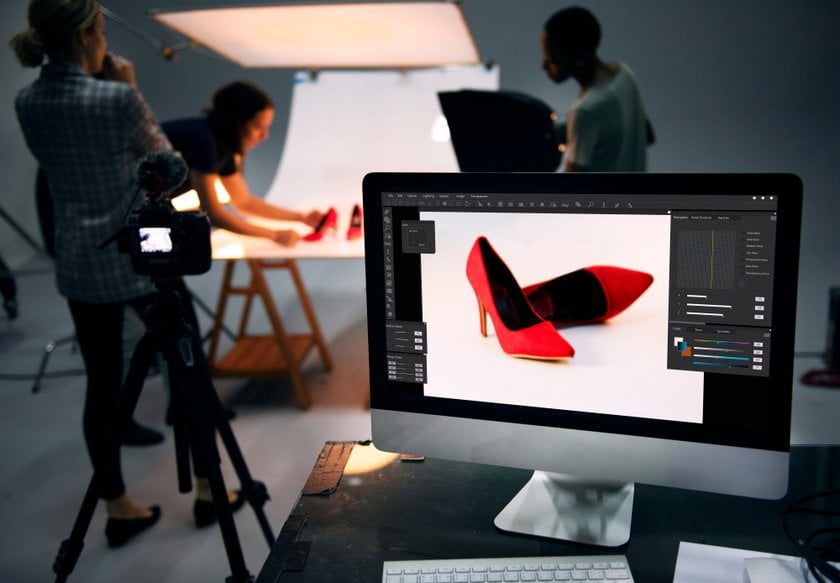

Your Space
Before diving into gear, let’s consider your workspace. Many product photography studios start at home—in spare bedrooms, garages, or even outdoor workspaces. You might even be setting up in a dedicated studio space. No matter your starting point, having enough room is crucial. My first product photography setup was on the floor of my old tiny one-room apartment, where I was constantly tripping over wires and bumping into my setup. It was far from ideal and often restricted what I could do. If possible, ensure you have enough space to move freely and create without constraints.
Essential Gear
Equipping yourself with the right gear is essential for launching your product photography studio. Let's discuss the tools you'll need:
Camera
A high-end camera isn't necessary to start in product photography, but you should aim for the best quality within your budget. Familiarity with manual settings is beneficial, as it will significantly enhance the quality of your images. If you're new to manual settings, we have a guide to help you get started.
Lens
The quality of your lens is paramount; it allows you to capture the intricate details of your products, which is your primary job as a photographer. When starting out, some may invest heavily in the camera and rely on the kit lens. However, as you gain experience, you'll realise the importance of investing in high-quality lenses. Consider searching for good deals or exploring second-hand marketplaces for quality equipment.
Tripod
A tripod is essential, especially if you’re working alone. It offers stability, allows for consistent angles, and frees up your hands to adjust your setup. Tripods are also vital for techniques like focus stacking, which you can learn more about in our focus stacking guide.
Lighting
Starting with natural light is an excellent option if you're on a tight budget. However, this limits you to one light source and makes you dependent on the weather, so investing in studio lights as you progress is advisable.
With just this basic gear, you can begin shooting immediately using whatever you have around your home for backdrops and props. But to truly elevate your work, you’ll eventually need to invest in additional equipment, which we’ll explore next.
Lighting Setup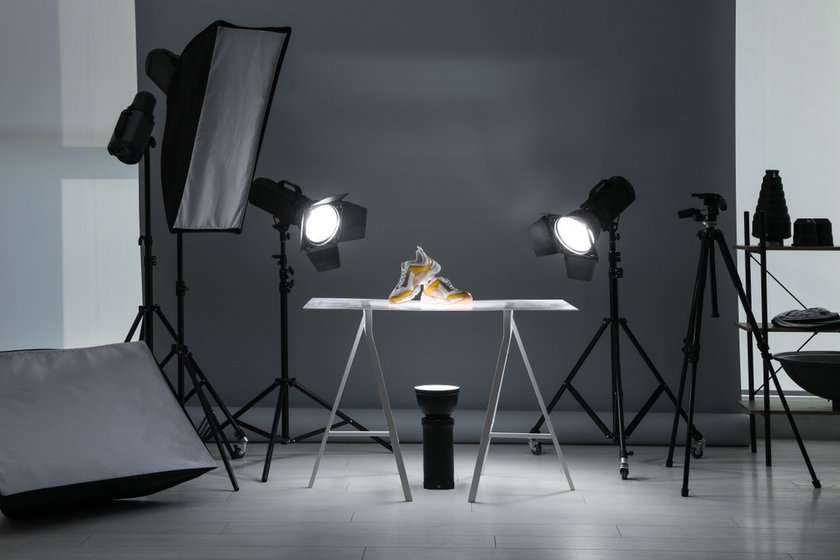

Light is the cornerstone of product photography. Understanding lighting dynamics enhances the quality of your photos by ensuring they are sharp and crisp.
Key Light Equipment
Starting with a single light source is an excellent way for beginners to become accustomed to artificial lighting. The primary decision you'll face is choosing between continuous and strobe lighting:
Continuous Light | Strobe Lighting |
This is an ideal starting point. Unlike strobe lighting, which flashes in sync with the camera shutter, continuous lighting remains on constantly. This visibility makes it easier to adjust your camera settings and understand the impact of your lighting setup on the scene. However, its lower brightness can result in noisier images. | Professional studios predominantly use strobe lighting because it delivers high-quality, consistent results. While strobe lighting might seem daunting to beginners, mastering it can significantly enhance the quality of your photographs. |
Other Essential Equipment
Softboxes: A softbox diffuses the light from your source, providing even illumination and softer shadows across your scene. A bare bulb, in contrast, produces a very bright light that can cast harsh, defined shadows. While some brands may prefer this look, having the option to soften your light allows for greater versatility in your photography.
Bounce Boards: Bounce boards are crucial, especially if you're working with a single light source. They reflect light back onto your scene, helping to fill in shadows. You can use simple materials like large white cards or foam boards as effective bounce boards. These tools are particularly useful for managing lighting ratios and enhancing the overall quality of your images without needing multiple lights.
Props and Backgrounds 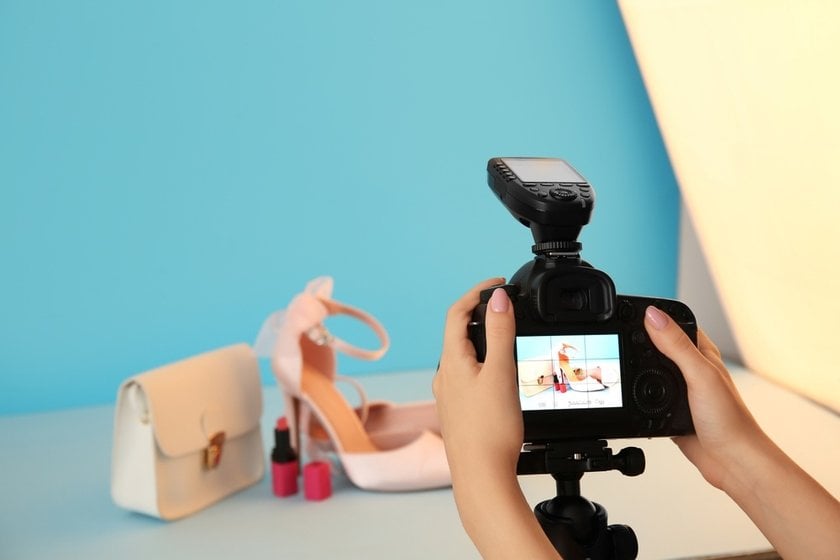

Product photography truly shines when you start experimenting with various props and backgrounds. These elements not only make your images eye-catching but also set the theme and provide context. Here are some ideas for props and backgrounds to include in your studio setup.
Prop Cupboard
Consider dedicating space to safely store your props. I use a shelving unit with categorised boxes to keep everything secure and organised—for example, one box for rocks, another for foam blocks, and another for mirrors. Organising your props like this saves time and reduces frustration during shoots, allowing you to access what you need quickly without digging through a cluttered box.
Backgrounds
The range of backgrounds you can use to elevate your shots is vast. Since we're dealing with products, you don't need to store large rolls like those needed in portrait studios. Consider compact storage solutions for paper background rolls, such as dedicated trollies. You can also use foam boards that mimic textures like wood or tiles, or various fabrics for backdrops. The key is to keep your backgrounds organised and protected from scratches and creases, as repairing these defects post-shoot can be time-consuming.
Advanced yet easy-to-use photo editor
Get Luminar Neo NowProps
Here's a list of our top 10 decorative props that can enhance your product photography:
Foam Blocks — Useful for adding height and dimension to your setups.
Mirrors — Great for creating reflections and doubling the visual elements.
Rustic Wood — Adds a natural, earthy texture to your background or can be used as a platform.
Rocks, Stones, and Pebbles — Perfect for creating organic scenes or for adding texture.
Artificial Plants and Flowers — Bring a touch of nature indoors without the hassle of wilting.
Black Ceramic Glass — Provides a sleek and modern surface that reflects light beautifully.
Ceramic Pots and Figures — Adds elegance and a fine art feel to your photographs.
Ornate Trays — Useful for organising products and adding a sophisticated touch.
Vintage Books — Ideal for creating a nostalgic backdrop.
Fabrics — Use different textures and patterns to add depth and interest to your compositions.
Other Essentials
While not absolutely necessary to begin with, these items will become indispensable as you advance in studio photography, and you’ll wonder how you ever managed without them:
Monitor Viewing
Tethering your camera to a desktop or laptop allows you to review your images live, ensuring every detail is sharp and in focus. If mobility is a concern, a laptop on a trolley offers flexibility, though long tether cables can also provide sufficient movement around your desktop setup.
Masking Tape & Clamps
Essential for every shoot, masking tape and clamps can secure backdrops, hold props in place, or mark positions when rearranging scenes. Opt for tapes in various colours for easy removal and to prevent unwanted reflections on your products.
Cleaning Products / Duster
Keeping your set clean is crucial, especially with props that may leave a residue. A duster or microfibre cloth is essential for gently removing dust without having to constantly handle the products, which could disrupt your setup.
Cloth Gloves
To prevent fingerprints and smudges on your products, especially visible when zoomed in during post-processing, consider using cloth gloves. They allow you to handle products without leaving marks and are nimble enough not to hinder placement adjustments.
While these items aren't mandatory from the start, having them will save you considerable time in post-processing, freeing you up to focus more on the creative aspects of product photography.
How To Do Your Best Work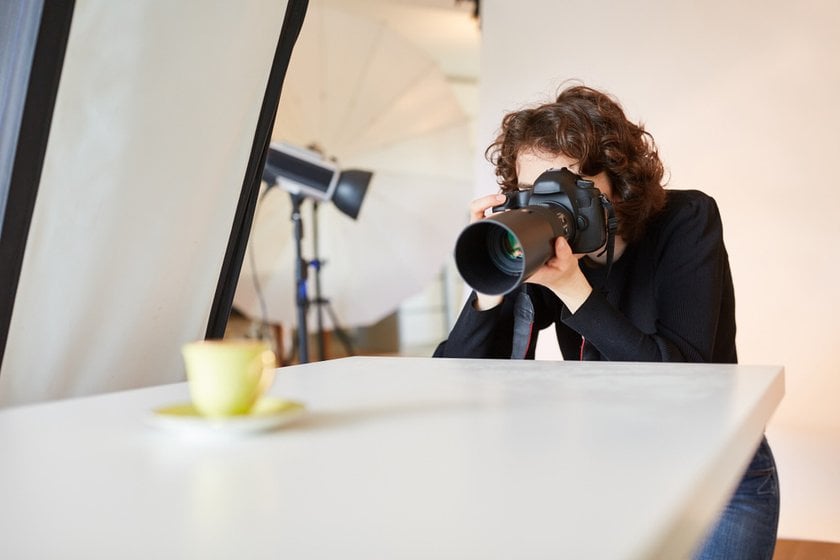

Creating an organised and inspiring studio environment is essential for producing your best work. The space where you shoot should energise and motivate you as soon as you step into it. If your studio is currently in a multi-purpose space like a garage filled with unrelated items such as sports equipment and gardening tools, it might be challenging to focus and feel creatively inspired. Whilst it's not always possible to have the perfect setup—like my first 'studio' on my floor—it's beneficial to strive for a space dedicated solely to your photography.
Exclusive Tools of Endless Possibilities in One AI Editor
EXPLORE NOW!Photography, especially in a studio setting, can be physically demanding. You'll find yourself on your feet most of the day, moving around the set or fetching props from storage. It's surprising how many steps you might log in just one shoot! To make these sessions more comfortable consider acquiring the following:
Comfortable Seating: Include a comfortable area where you can sit and rest between shots. A small sofa or a comfy chair can make a big difference, allowing you to take brief breaks and return to your work refreshed.
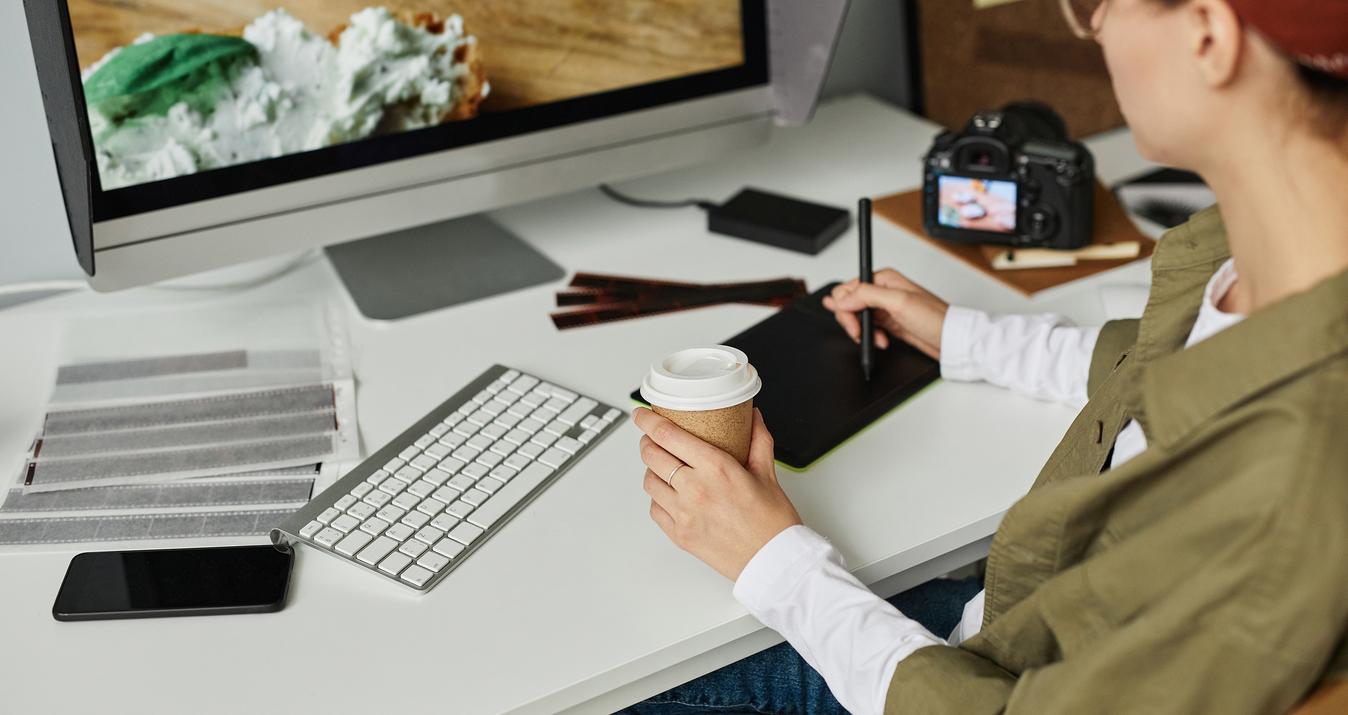
Refreshment Station: Set up a small area for refreshments away from your working space. I learned the hard way about the risks of balancing a coffee cup on the same table as my set. It's safer and smarter to have a designated spot to hydrate or grab a snack without risking your setup.
Ambient Conditions: Consider the lighting and atmosphere of your studio. Working for long periods in dim lighting isn't ideal for everyone, so if possible, incorporate natural light or well-designed artificial lighting that keeps the space bright and cheerful.
Background Music: Music, podcasts, or audiobooks can keep your energy up and your mind engaged. Set up a sound system or use a portable speaker to play background audio that helps maintain your focus and boosts your mood.
By transforming your studio into a place that's solely dedicated to photography and creativity, you ensure it’s a space where you’re excited to work. Tailor it to your needs and make it a sanctuary for creativity, ensuring it’s equipped not just with the tools of your craft but also with comforts that make spending long hours there a pleasure. This way, every time you enter your studio, you're inspired to create and experiment with new ideas.
The Bottom Line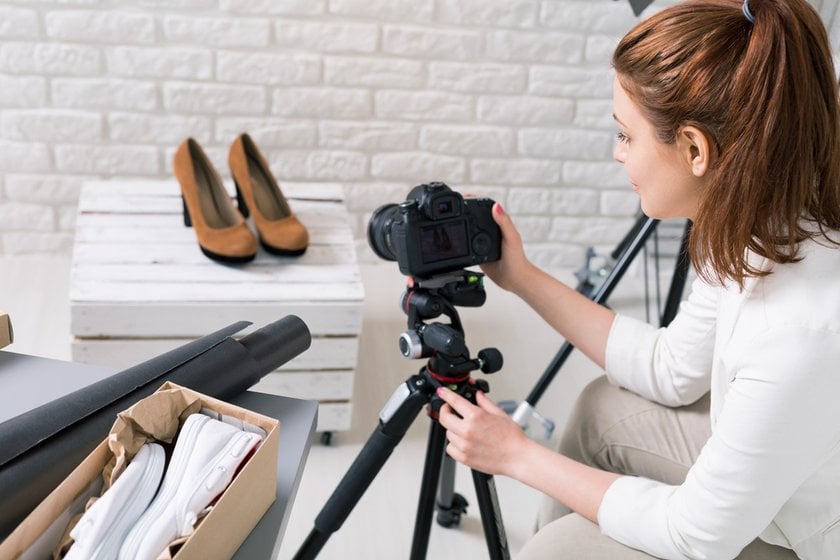

Your product photography studio deserves as much attention as you devote to your shoots and editing. A well-planned and maintained studio enables the creation of superior, high-quality work, primarily through meticulous organisation. Knowing exactly where all your props are and having the ability to move freely around your set saves time and prevents frustration when you can’t find the right items for a scene.
Organisation is crucial—implement a storage system that works for you, where all props are categorised and stored safely. Delicate items like foam blocks should be kept away from heavier, potentially damaging items like rocks. Similarly, backgrounds are prone to scratches and should be stored carefully, perhaps on specially designed trolleys.
While it’s tempting to invest heavily in props, focus on securing the essentials first. Gradually expand your collection of props and backdrops as your budget allows. Remember, your studio is a reflection of your professional pride and creativity—personalise it to inspire your best work and enjoy the process of building and evolving your creative space.