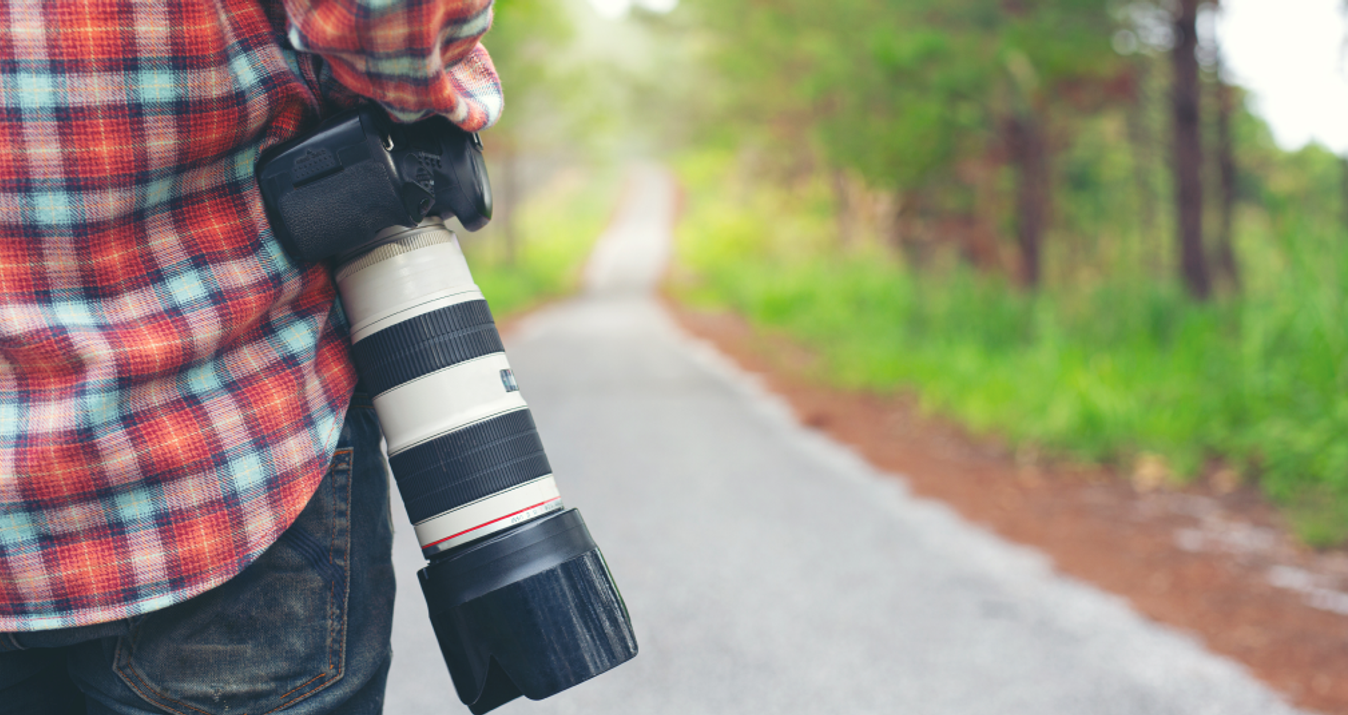
What Is Bracketing and When Should I Use It?
March 12, 2023

Whether you're shooting in HDR, focus stacking, or simply want to ensure that you come out with the right image, bracketing is a technique worth knowing.
Of course, nobody forbids shooting with auto exposure bracketing, but you can get the best results only by using manual bracketing settings in photography. You can and should experiment with them. How exactly? Try different ISO settings, exposures, shutter speeds, and focus settings. Take a few pictures and compare the results. Explore your best options, play with settings, and get a feel for what your images will look like. Pick your settings situationally without blindly following guides.
Back in the film days, you never knew whether you landed a shot until the film was developed. There wasn’t any way to know for sure whether the settings you entered were the right ones, so if you didn’t take multiple shots with different settings, you risked losing out if something was off. And so the concept of “bracketing” was born: taking several shots of the same subject using different camera settings. Back then, there were a number of different settings that needed to be bracketed: exposure, white balance, flash power, depth of field, focus, and even ISO. These days there are only two that make much of a difference with digital photography—exposure bracketing and focus bracketing.

What Is Bracketing?
The technique of photo bracketing is constantly working with your camera settings to get the best results. Instead of a single shot, you'll need to take multiple photos, trying to adjust the exposure, shutter speed, etc. This will probably take more time than taking a picture using the camera's automatic settings. But trust us, it will be worth it.
Types of Bracketing Photography
There are 5 common types of bracketing that affect the quality of the final photo:
- Depth of focus. You need to take several pictures focusing on different objects. This is especially useful in landscape photography, where the quality of the background is even more important than the subject in the foreground.
- Focus. By focusing on the details of the scene and taking photos of objects, you get a series of photos that you can use for composition in post-processing. You can use them to pull out invisible details in the main image.
- Flash bracketing. Even in perfect lighting conditions, some objects (in the foreground) may appear too faint or dark. This is where the camera flash comes in. You can use the flash to highlight your subject without over-lighting it.
- White balance bracketing. Normally, camera and smartphone software automatically adjust the color balance according to preset standards. But sometimes, this is not enough, and you have to manually adjust it to get the correct tones of the photo.
- Bracketing exposure. This includes aperture, shutter speed, and ISO settings. You can use these settings to take a series of shots, examining the results on underexpose and overexpose, looking for the ideal outcome. You can also use AEB or auto exposure bracketing mode, which will produce an optimal image.
If you want high-quality photos or RAW images for further processing, use bracketing for the best results. Combine modes and experiment with the settings. Fortunately, almost all modern smartphones and cameras have a manual mode that supports these parameters.
How to Use Exposure Bracketing in Photography
In the digital age we still come upon times when we’re not sure whether our image will turn up properly exposed. And while it’s true that if we shoot in RAW we can usually recover from an exposure blunder, it’s much less time consuming to get it right in-camera. That’s when exposure bracketing comes in handy. You not only take a photo with the exposure you think you want, you also take one just a little darker and one a little brighter. That way, if your original exposure setting was off, you’ll have a fall back in either direction.
Most modern DSLRs come with Automatic Exposure Bracketing (AEB) and will automatically take three or more different exposures for you. (You’ll need to have your camera set to continuous shooting.) If you want more control over the exact exposure amounts, you can do it manually with the exposure compensation (+/- ) button.
 Photo credit Teryani Riggs
HDR Bracketing
Stacking the deck in case of a mistake isn’t the only reason for using exposure bracketing. In fact, one of the most compelling reasons for using it is the ability to shoot in High Dynamic Range (HDR). HDR allows the camera sensor to pick up a much fuller range of detail by combining three or more different exposures into one image. The method of bracketing is the same (just make sure you use full stops — AEB is best), and the results can be fantastic. Just make sure to use a tripod so the frames will line up when you’re ready for post-processing.

You’ll need editing software that is designed to work with HDR, like Aurora HDR. The software will combine the images and allow you to refine them to the exact look you were going for. You can make it realistic, reflecting exactly what you saw. Or fantastically intense. There are many, many different options for how an HDR photo can look, and once you’ve tried it, you’ll probably have a hard time going back to normal single-exposure photography.
 Photo credit Teryani Riggs
Focus Bracketing
Another type of bracketing that’s still relevant today is focus bracketing. Used primarily in shallow depth-of-field circumstances (like macro photography), taking multiple shots while minutely changing the focus will make it much more likely that at least one has the focus you want. You’ll need to use manual focus and start by focusing not on the subject but slightly behind it. Then slowly turn the focus ring to make the rear of the subject in focus, the middle of the subject in focus, and so on.
If you’re shooting with a wide open aperture and want the entire subject in focus, you can do something a little similar to HDR—take shots with each different part of the subject in focus and then combine them into a whole. (Remember, with a very shallow depth of field it’s very hard to get every bit in focus.) This is called “focus stacking” and needs an editing program that includes Unsharp Masking, which removes any portions of the images that are out of focus. But as you can see in the image to the far right below, it can yield fantastic results: everything in focus without having to narrow your aperture.
 Caption: The image on the far right is a combination of 6 incrementally focused shots.
How to Bracket Your Photos
Use bracketing to get the best shots or just a series of images to which you can later apply software processing. To get the most out of your camera, you must put it into manual mode by activating it in the device menu.
Once you enable manual mode, you'll see a variety of camera bracketing settings, among them: HDR, shutter speed, aperture, ISO, and focal length (better adjusted mechanically with the lens). You can and should change them while you are shooting, trying to get the best exposure, detail, and proper focus in your shots.
Also, don't forget to use RAW mode, which saves "raw" images for further processing through Photoshop, Lightroom, and other similar software.
Bracketing Photography Technique
Every experienced photographer encounters bracketing techniques throughout their career. Those who ignore it and conduct photo shoots with automatic settings risk never learning how to make high-quality bracketed images.
How to get the best shots in 5 steps?
- Set your camera on a tripod.
- Select a manual mode in the device settings.
- Adjust the shooting settings.
- Take a series of photos.
- Study the results, and repeat the process with other settings.
Adjust the settings based on the best results by comparing bracketed shots and identifying the best images. This is the best way to capture landscapes, complex scenes, and portraits where there are no dynamic objects and there is time to experiment.
Final Words
The quality and style of a photo do not depend on the camera's algorithms but on the creativity and persistence of the photographer. Never take a single shot hoping that post-processing will correct possible flaws. This is especially important when working with HDR photography, where you need a series of images and compose them. In such scenes, you need to use all bracketing settings and work with different modes, getting maximum options for further processing.
So that’s the skinny on bracketing. You can use it to make sure you always get the right shot, or, even better, use it to create a composite whole that looks so much more like you’d see your subject in real life.