AirMagic Now Available For Pre-order
March 10, 2019
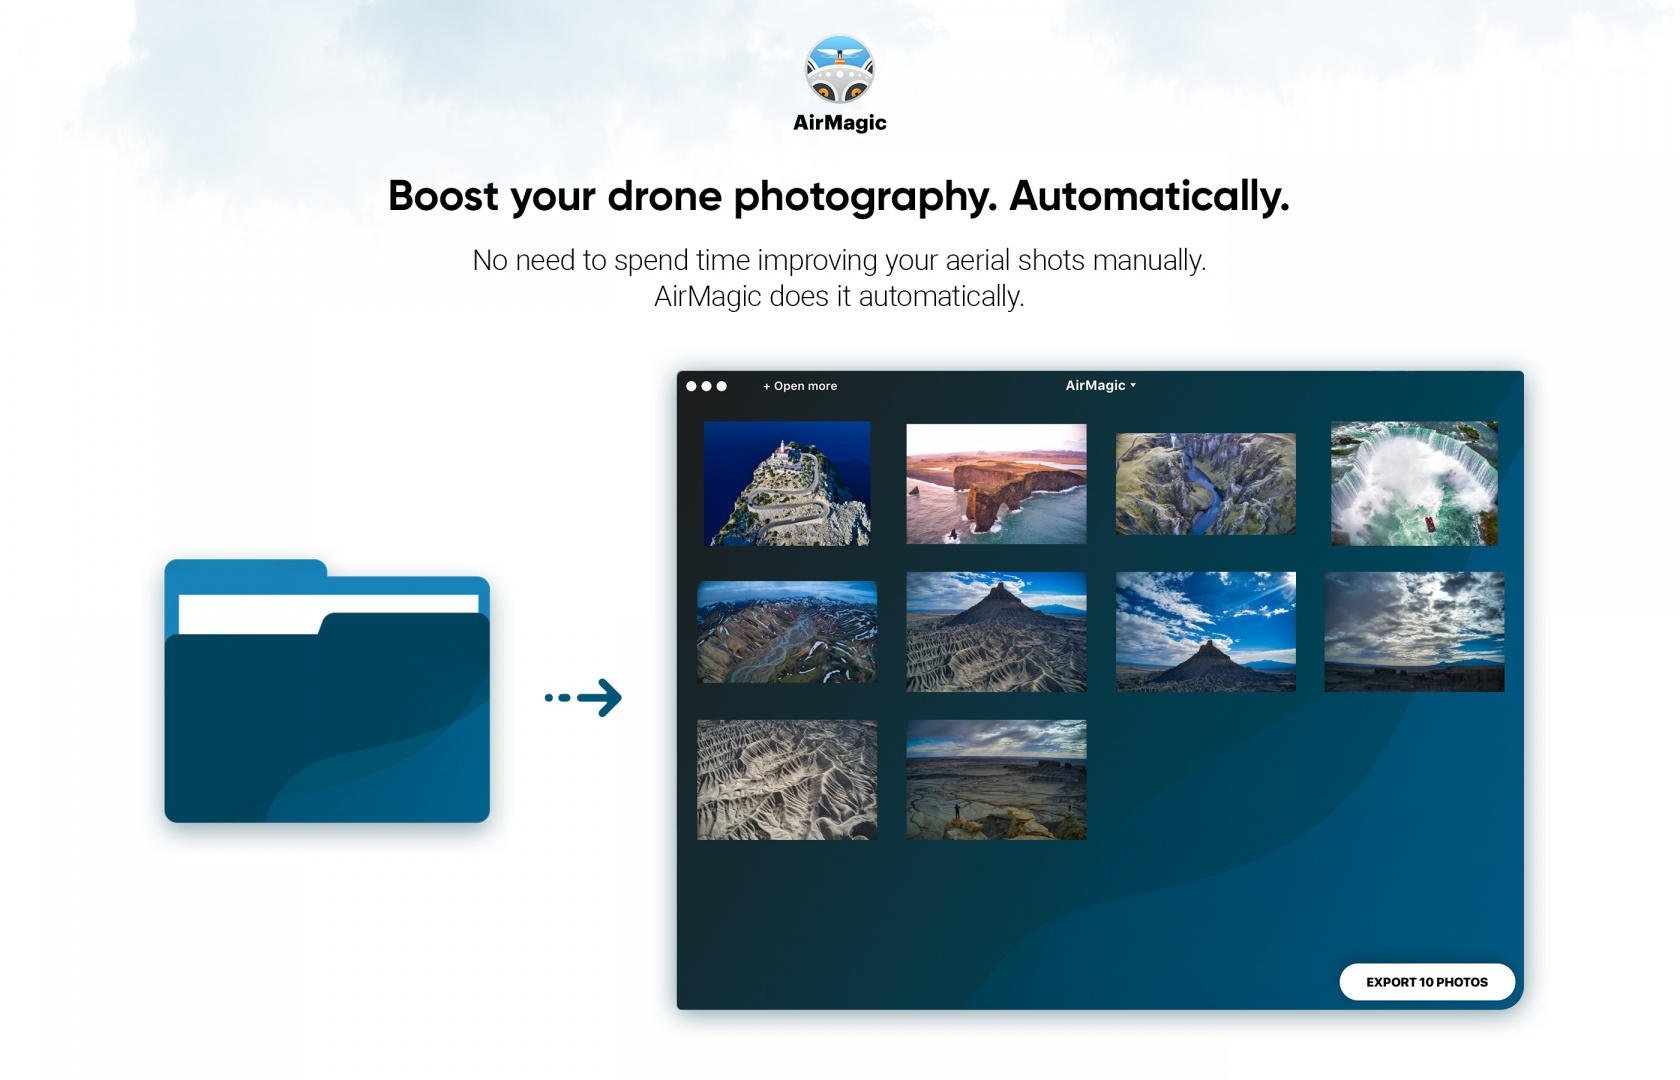
Meet the brand-new Skylum’s product AirMagic – the world’s first fully automated AI-powered enhancer for Mac & PC, specifically designed for drone and aerial photography.
Before you read the article…
Welcome to our blog, buddy! We've got some important news to share. Sadly, the AirMagic app is no longer available on the Mac App Store. But don't worry, we're not leaving you in the lurch.
Enter Luminar Neo—a powerful photo processing alternative. While AirMagic is known for its automated lens correction profiles, Luminar Neo introduces a manual lens correction for Mac and Windows users. This feature is a must-have for photography enthusiasts, granting greater control and ensuring each photo is adjusted to perfection.
Though Luminar Neo's lens correction is manual and doesn't automate the process as AirMagic did, it still offers significant advantages. Most notably, its suite of AI-enhanced features. From Enhance AI to Sky Replacement and Portrait Background Remover, this software is crafted to make your images shine effortlessly.
Advanced yet easy-to-use photo editor
Get Luminar Neo NowWhy we created AirMagic
While drones let us shoot incredible images from previously unreachable places, the photos themselves often lack quality, making for a lot of manual post-processing work to fix issues like haze, low or extreme contrast, lack of sharpness, undersaturation and chromatic aberration. This tedious editing process required time, specific knowledge and pricey software.
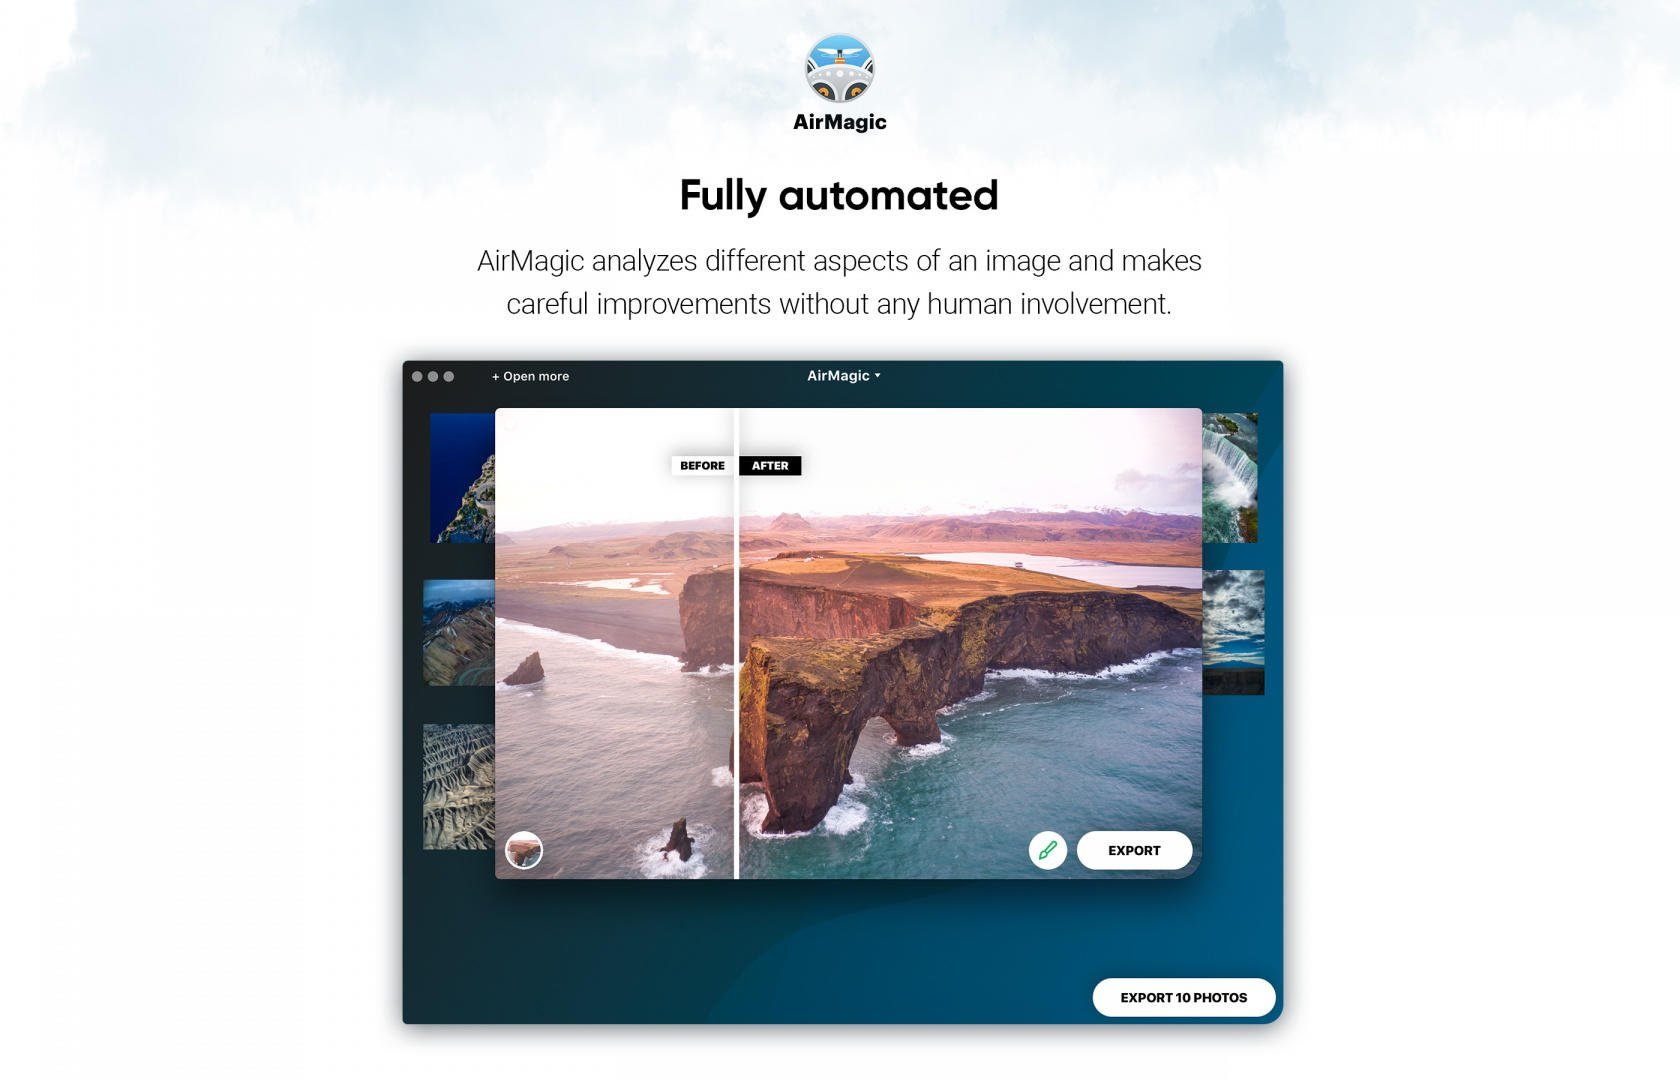
With AirMagic, these problems are a thing of the past. AirMagic was created to resolve issues inherent to aerial photography automatically. It lets photographers process their images without major involvement — all you need to do is drop all your aerial photos into the app, and AirMagic takes care of the rest to make each photo look its best.
What’s under the hood
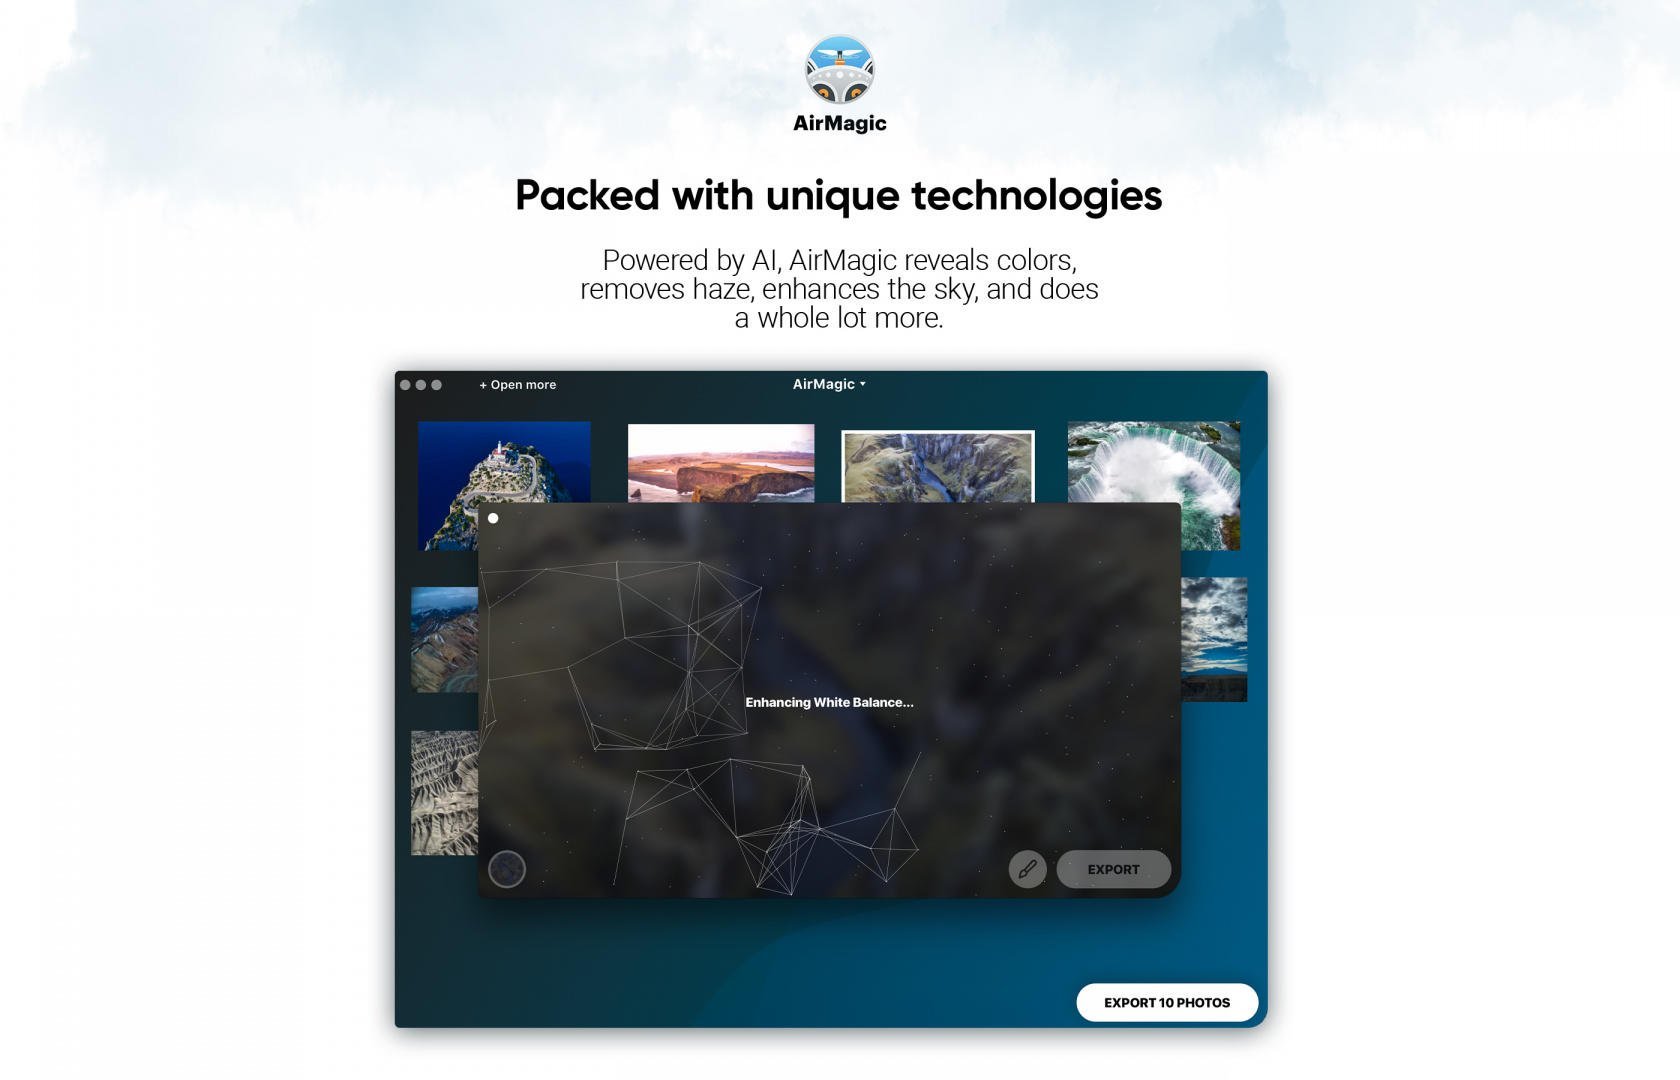
AirMagic works by first detecting the drone camera used to produce an image, and analyzing its lens and color profile. From there, it makes automatic lens corrections and other camera-specific optimizations. AirMagic uses smart algorithms and Artificial Intelligence to enhance each photograph, applying adjustments such as color reveal, haze removal, sky enhancement and other finely-tuned adjustments to make each photo look just as it was intended.
Key features of AirMagic
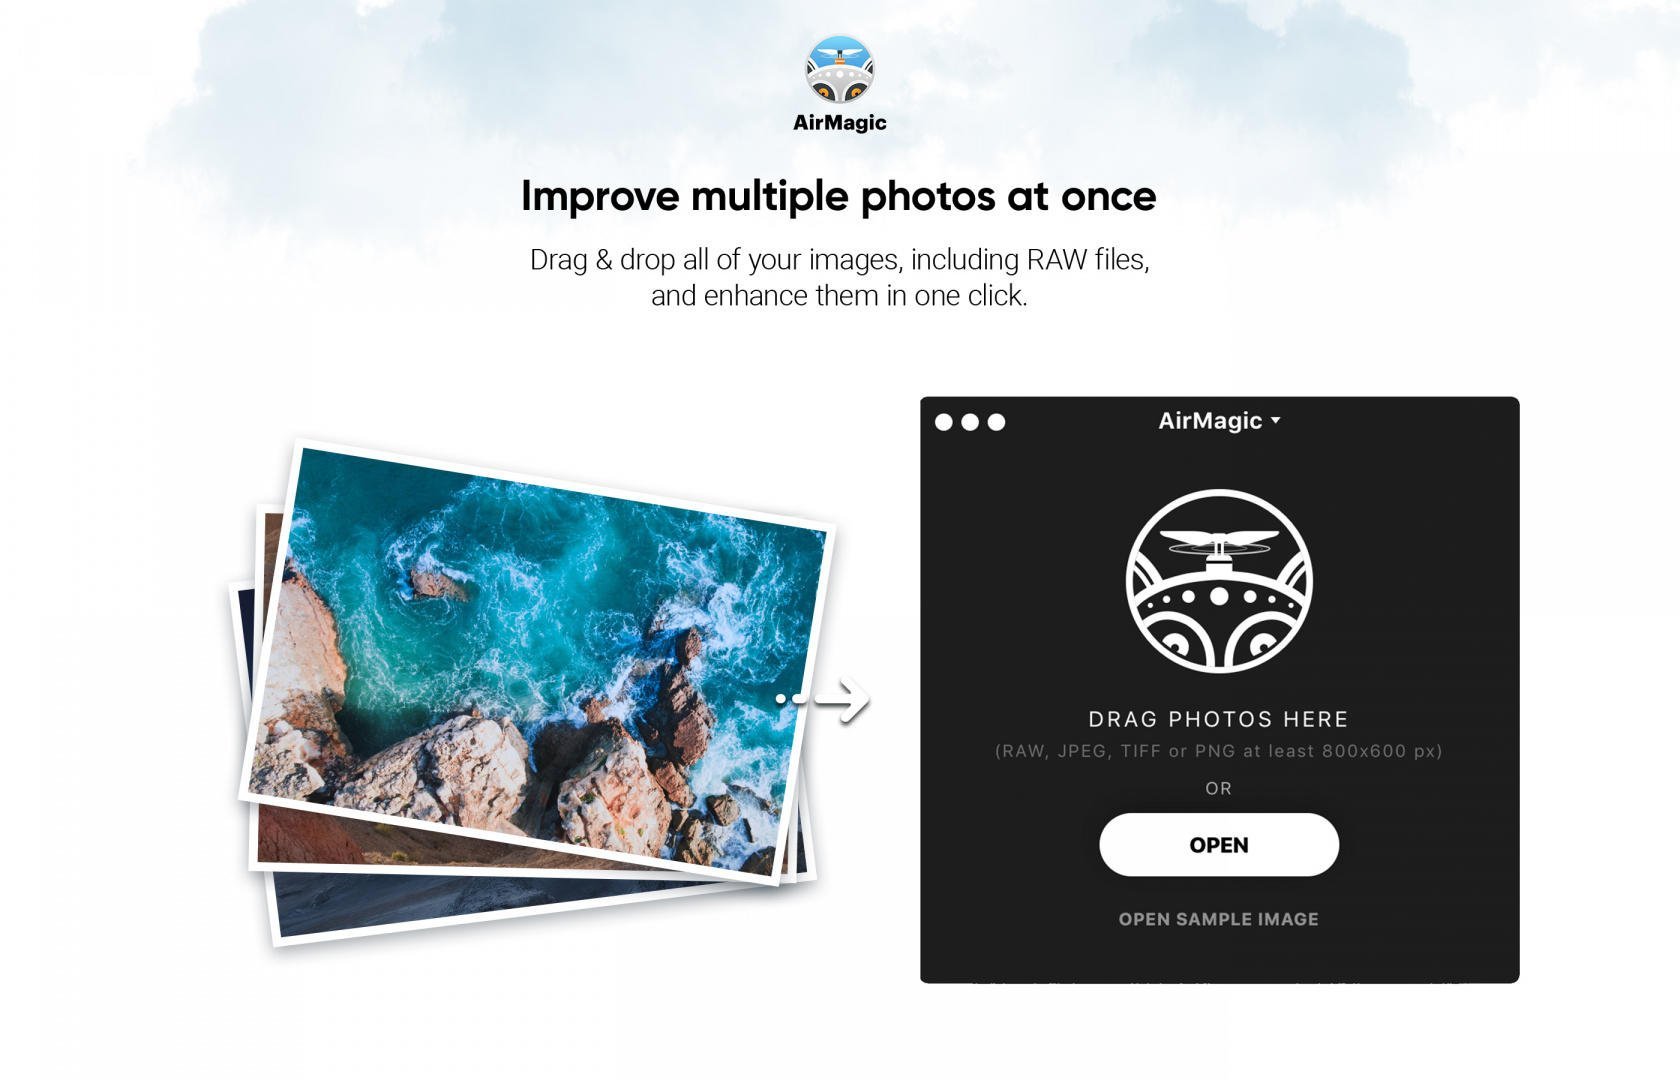
AirMagic supports batch processing, enabling photographers to improve multiple photos at a time. Depending on the size of photos and the power of your computer, it can process up to 4 GB of photos simultaneously.
Based upon the same clear interface and simplicity of use that earned another Skylum product, Photolemur, the 2018 Red Dot Award, photographers now have access to a quick, one-click interface available in AirMagic.
It allows photographers to put a unique spin on images with five different creative Styles to choose from. The software supports all popular image formats, including RAW files, and can also be used as a plugin for both Photoshop and Lightroom.
“We see our mission in creating easy-to-use yet powerful solutions for those who take photos. As experts in photo editing and AI technologies, we’ve created a unique, automated photo editing tool for aerial and drone photography. While drones are used by hobbyist and professional photographers alike, they’re also in growing usage in various fields ranging from safety and real estate to industrial and agricultural. I believe AirMagic will completely change the landscape for how aerial images are processed,”
said Alex Tsepko, CEO of Skylum.
Pre-order AirMagic for US$39 now and get amazing bonuses worth US$145:
- The Drone Photography Guide eBook – Created by industry leaders, this book reveals tricks for both beginners and advanced users.
- Shoot Professional Photos With Any Drone – Video course by Dale McManus. During this 2-hour course, you'll get all of the best drone photography tips you need to get shooting immediately.
- AirMagic premium style – Add this style to AirMagic, and enjoy the new incredible looks of your photos.
- US$40 discount on Lume Cube lighting kit for your drone – With Lume Cube lightning kit, illuminate your subject from above giving your photo or video a completely unique perspective.
Pre-order of AirMagic ends on the release day – March 21, 2019.