Beach Photography Tips — How to Take Great Shots
May 17, 2023
Do you want to capture the best beach photo? Then this article is for you! Learn how to enhance your beach photographs with this all-encompassing guide to beach photography.
Beach photography can be a lot of fun. There’s something about the ocean that brings peace of mind to humans. Something unspoken, something magical. The sea at any point in the day provides a sense of relaxation. The type of beach photography you’re interested in will determine the time of day and time of year when you go out to photograph. If you’re interested in lifestyle photography, a busy beach in the middle of a summer day will be perfect. If you’re more interested in a moody, dreamy beach image, sunrise or sunset during the off-season will be better for you. Beach family photos offer a unique take on the traditional vacation snapshot.
So, how to take photos at the beach? In fact, it is not as complicated as it may seem at first glance. Taking successful beach photos isn’t as simple as clicking the shutter. You must always be on the lookout for changes in light, weather, and tide. Knowing what to look out for and being ready to photograph it when it comes is one of the most important aspects of beach photography. In this article, you’ll learn everything you need to take beautiful beach pictures.
There is much more interesting material on our blog. For example, we can help you find the best easy photo editing software.
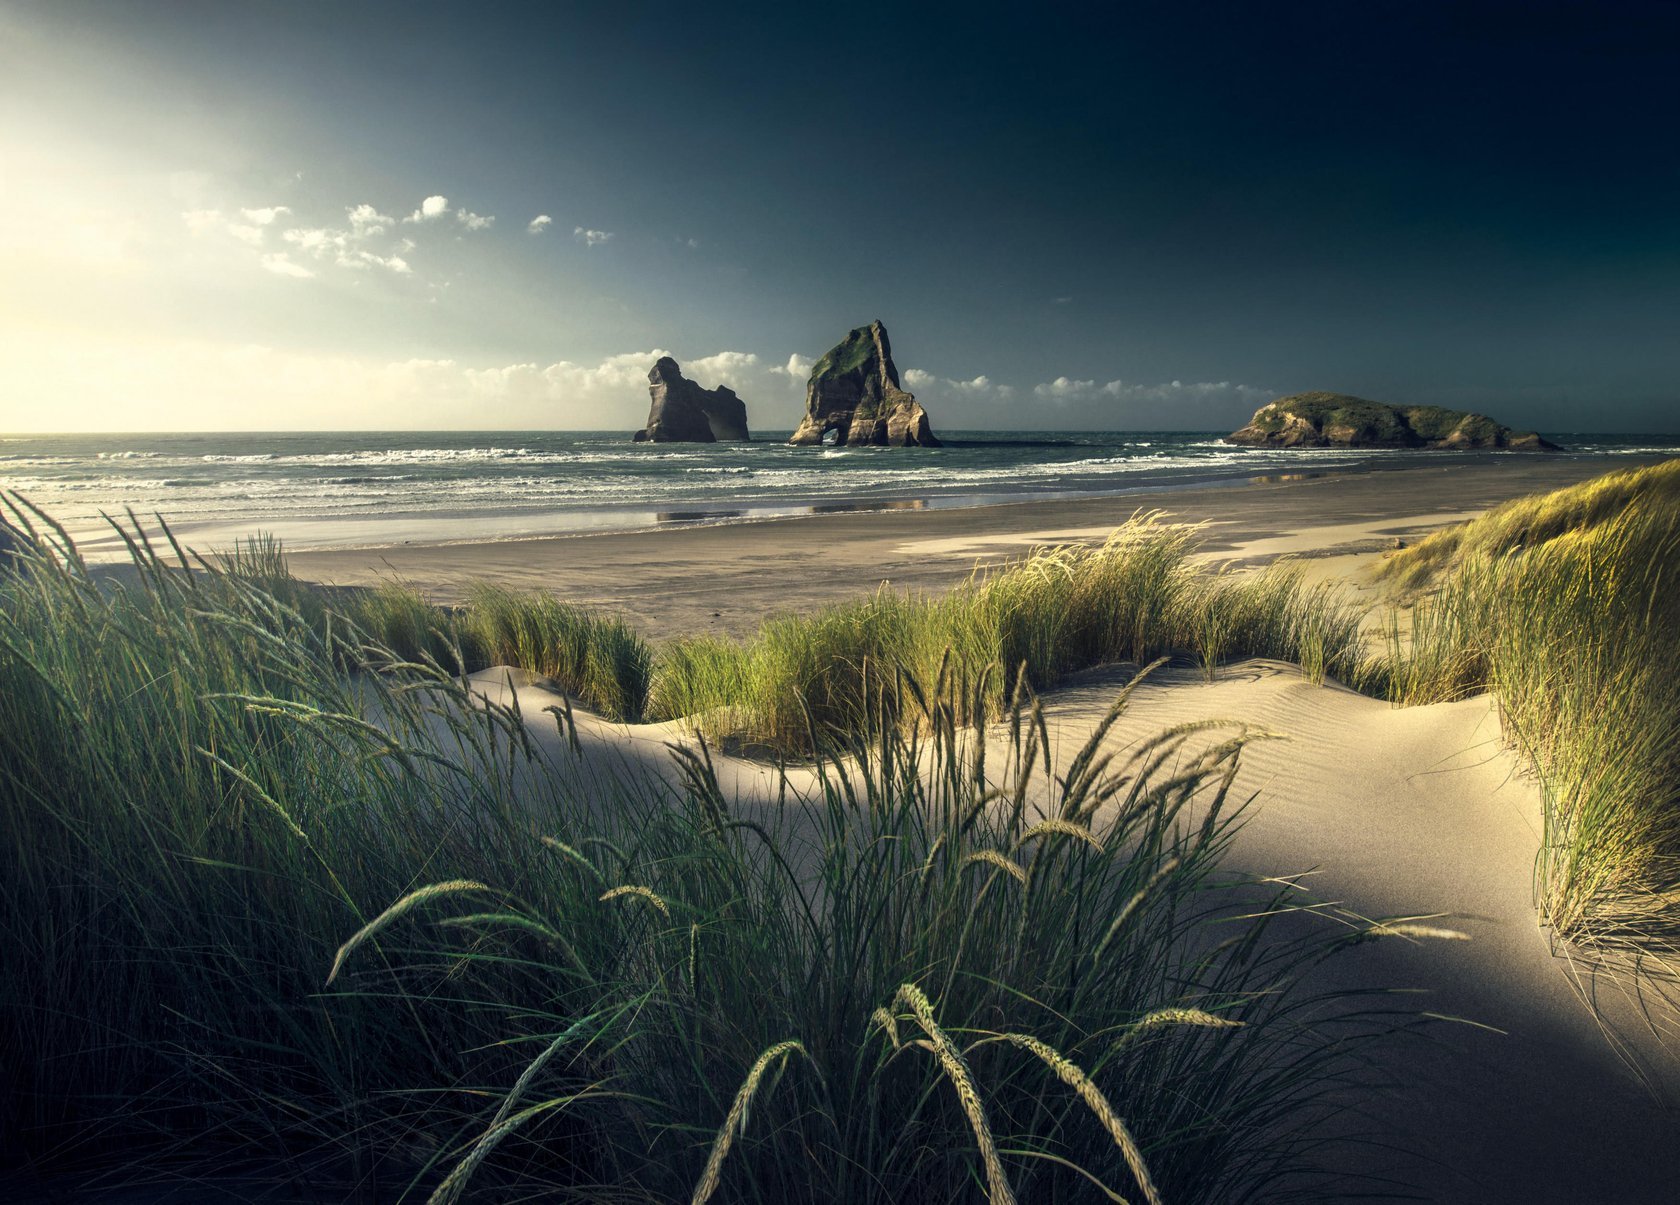
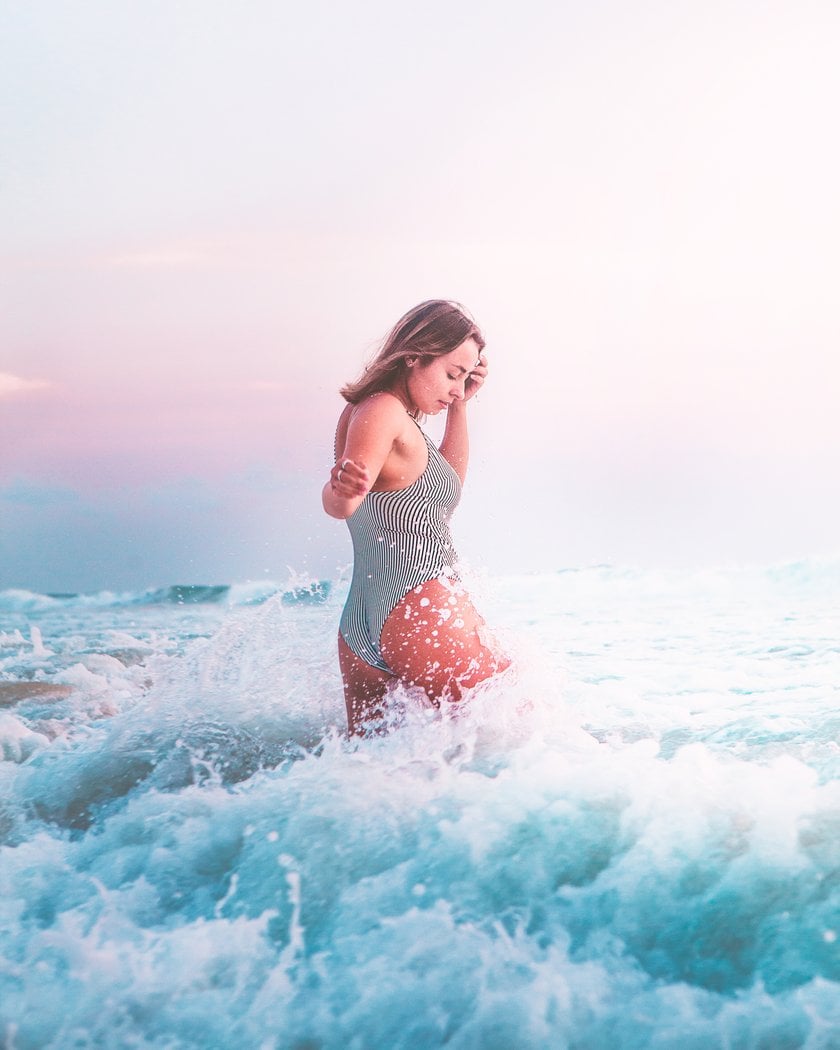
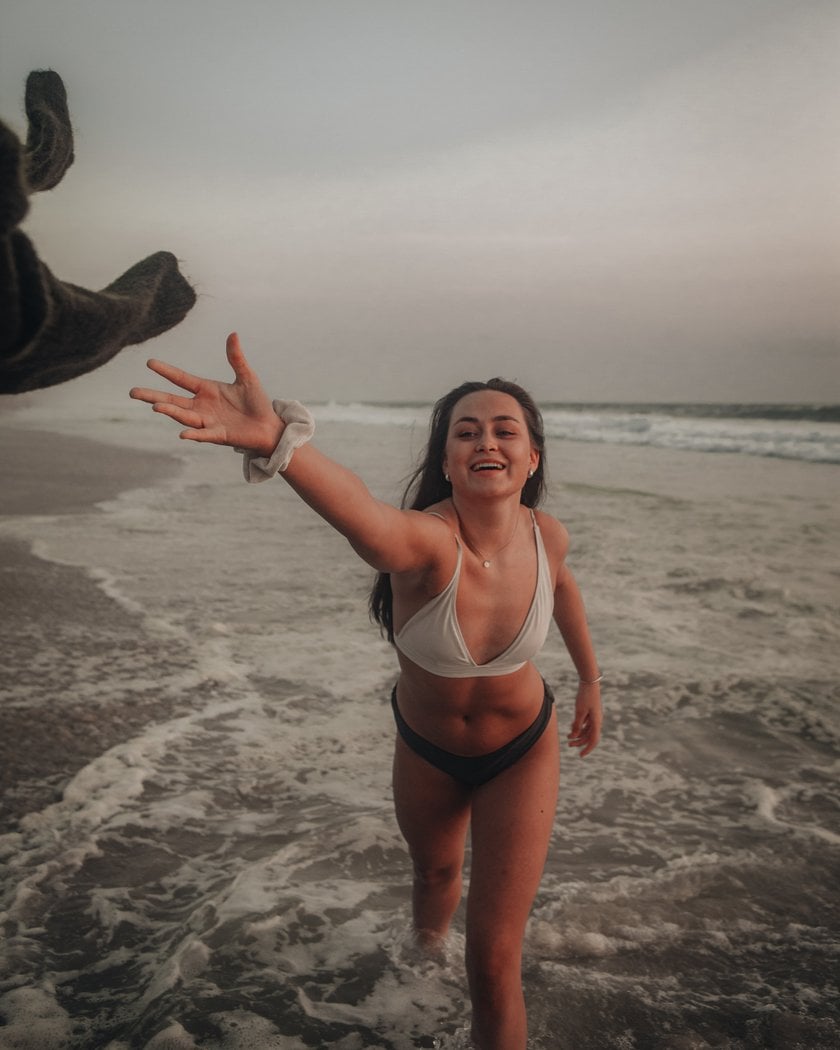
Photo by Max Rive

Photo by Max Rive
Beach Photography Tips: Landscape or Portrait?
If you’re more interested in photographing the beach landscape rather than the people visiting, you’ll need to choose a time when the beach isn’t covered by tourists. You’ll also need to consider if you want the unique colors of sunrise or sunset if you’d prefer a nice sunny day, or if you’re more interested in the moody weather of a storm. All types of weather can result in beautiful beach background images.
What Do You Need to Take Photos of a Beach Scene?
- A digital camera.
- A tripod.
- For landscapes, a wide-angle lens, though not so wide as to cause distortion.
- For beach portraits, a typical zoom lens is fine, but prime lenses (50mm, 85mm, etc.) with a wider aperture take beautiful portraits.
- A neutral density filter (not necessary but very helpful).
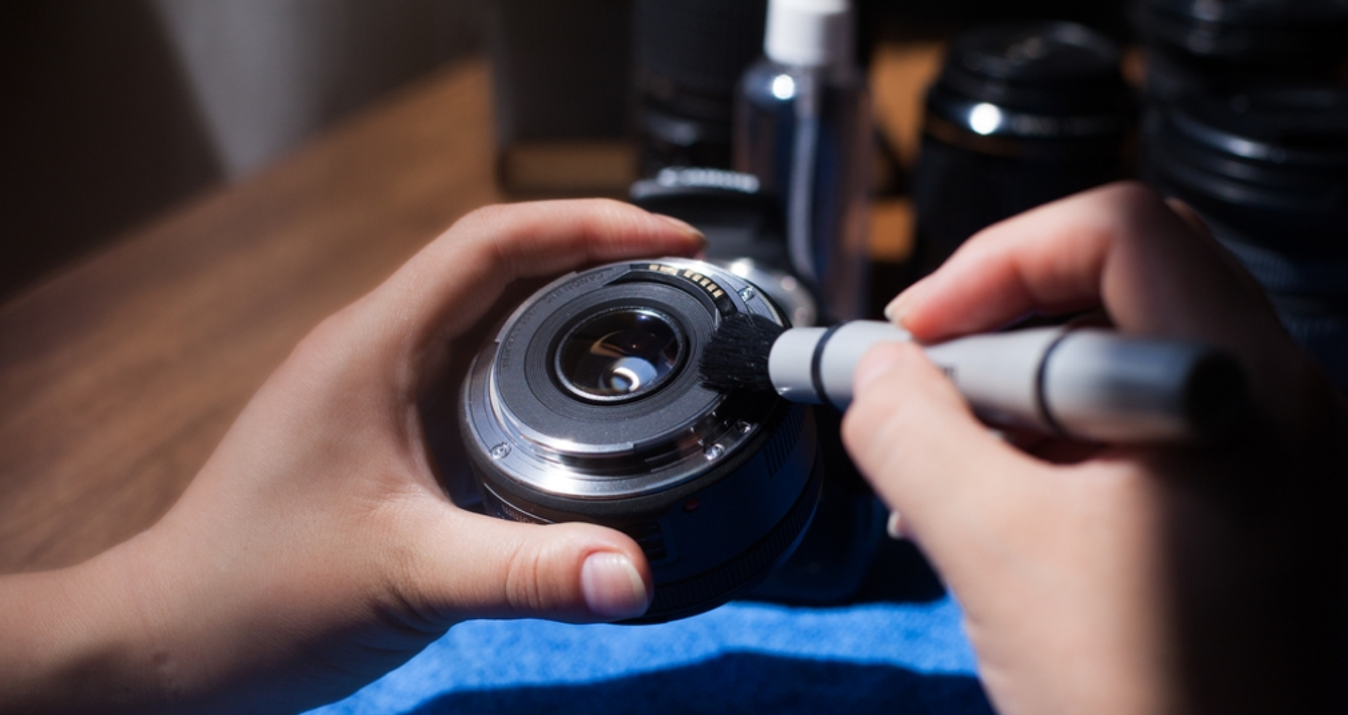
- Photo editing software such as Luminar Neo.
Best Settings for Beach Photography
Camera settings for your beach pictures will vary depending on the time of day, the weather, and what you want your final beach image to look like.
Shooting at a low ISO such as 100 or 200 will ensure that you don’t get any unwanted noise. Any ISO under 400 will reduce the chance of noise. By the way, if you need to denoise the image, just use Luminar Neo.
A slower shutter speed (sometimes up to 30 seconds) in addition to a neutral density filter will create the beautiful, velvety look of water that you see in many successful beach photos. If there are people in your photograph, you’ll want to shoot at a faster shutter speed (1/60 or faster) to ensure you don’t get any unwanted motion blur.
So, what are the best camera settings for beach photography? Shooting at an aperture of f/11 or smaller will ensure that the entire beach is in focus. If you’re photographing a person or other subject in front of the ocean, you may want to shoot at a wider aperture to isolate the main subject of the photograph. For example, a beach portrait taken at f/1.8 camera's settings will have the subject in focus while the background is beautifully blurred.
You should always shoot your beach images in RAW format. This ensures that any mistakes in exposure or white balance, or other beach photography settings can be easily fixed during post-processing.
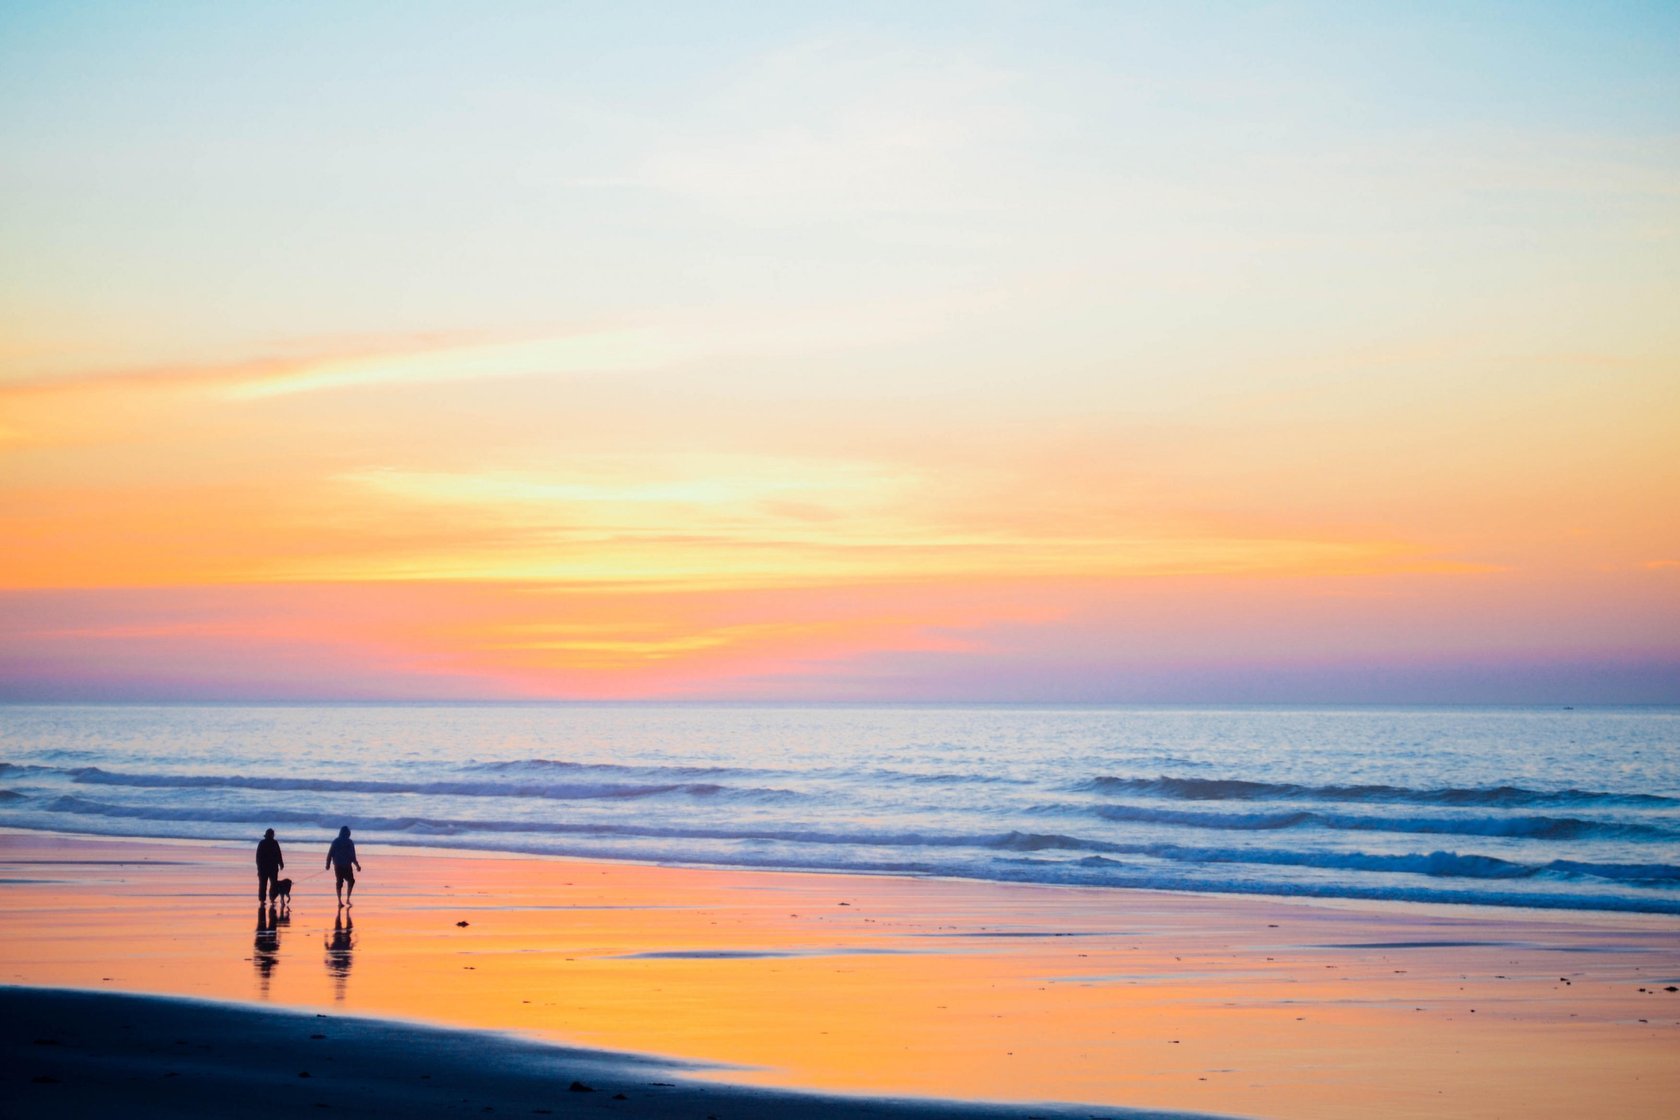
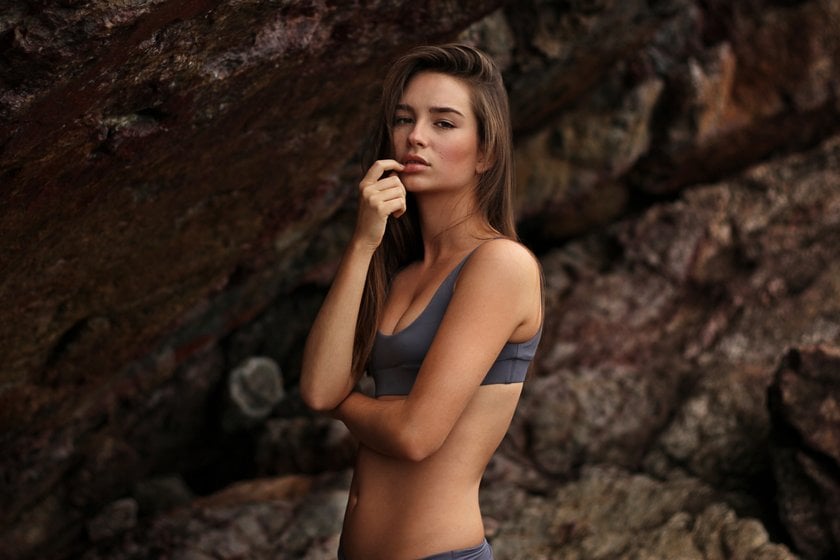
Photo by David Straight
Using a Neutral Density Filter for Beach Photography
What exactly is a neutral density filter? This filter reduces the amount of light that hits the lens, allowing your camera to use a slower shutter speed even if it’s the middle of the afternoon and the sun is shining brightly. It’s essentially a darker piece of glass that you place over your lens, acting as sunglasses for your camera.
This is especially helpful when you want to take beach pictures in the middle of the day yet you want that dreamy, soft look to your water. You can pay anywhere from $20 to $150 for a neutral-density filter, but make sure you read reviews before you purchase to ensure that the filter you buy will do what you need.
Make sure you don’t mistake a graduated neutral density filter for an actual neutral density filter. A graduated filter is used when you don’t want your sky overexposed, but it won’t darken the entire image enough for long exposures.
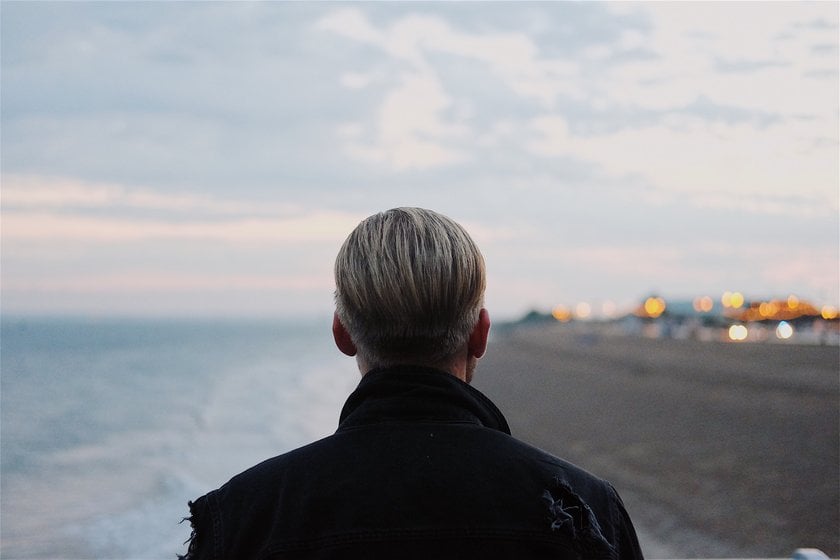
When Should You Shoot Your Beach Photos: Sunrise or Sunset?
Knowing what time of day to shoot and under what conditions will separate your beach photos from the millions of snapshots of family vacations.
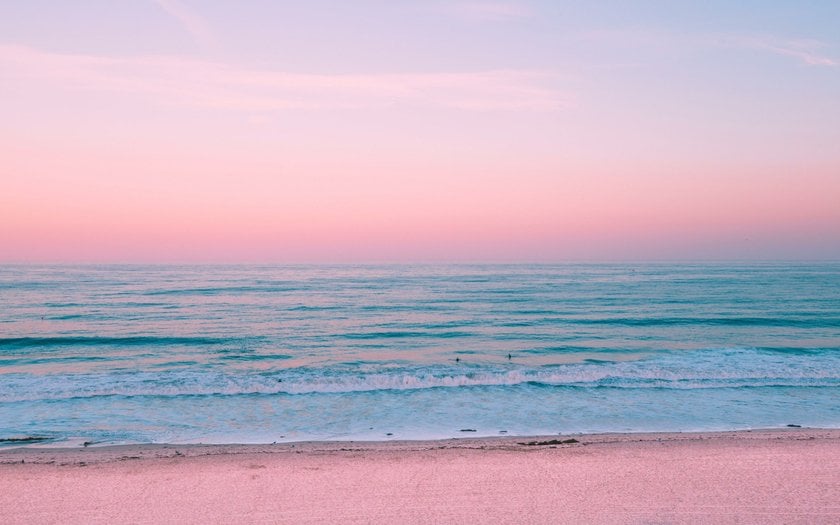
Photo by Marion Michele
Beach Pictures at the Blue Hour
Absolutely the best time to take pictures at the beach! The blue hour is the hour right before sunrise (as well as right after sunset) when the world has an eerie bluish cast to it. Since light is scarce during this time, your beach pictures will benefit greatly from a long exposure on a tripod — no neutral density filter is needed! The long shutter speed allows the camera to pick up on blue tones that the eye can’t see, and the movement of the water is blurred while keeping the rest of the scene in focus.
To further intensify the blue tones of your beach pictures, shoot with a tungsten-white balance. Tungsten attempts to cancel out the warm, orange glow of tungsten lights by adding in more blue tones.
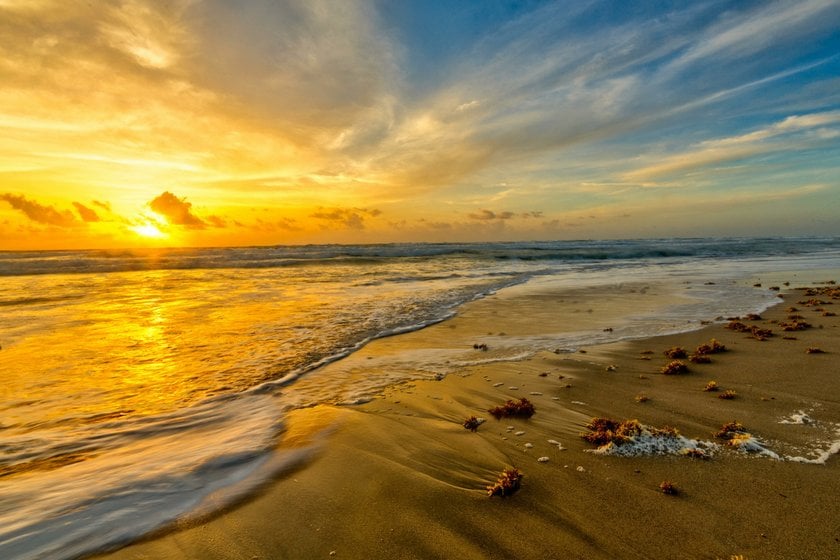
Photo by John Hahn
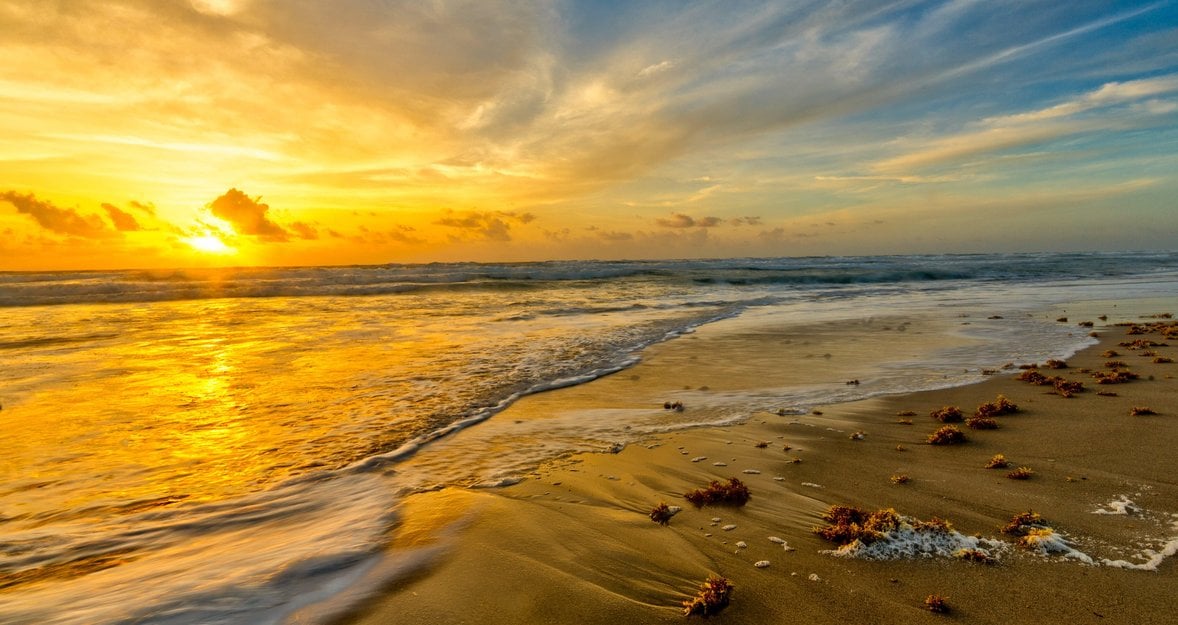
Beach Images at Sunrise
The light of sunrise provides beautiful, warm tones. Since the sun hasn’t risen completely yet, you still have the ability to shoot at a slower shutter speed, blurring the water to create a dreamy atmosphere in your beach images. The sun rising on the horizon creates a beautiful gradient in the sky that’s reflected in the tones of the water. This is one of the best times for landscape photographers. By the way, if you're into nature photography, you can't go wrong with HDR photo software, so be sure to check out Luminar Neo and its Extensions.
Beach Photos at the Golden Hour
The golden hour is the hour right before sunset when the world becomes beautifully hazy and covered in a layer of golden light. Silhouettes benefit greatly during this hour, and the overall feel is romantic. The golden hour is the perfect time for a beach photoshoot, especially when taking couple's beach portraits.
In order to further intensify the golden tones of your beach photos, shoot with shadow white balance. Shadow white balance attempts to cancel out the cool tones of shadows by adding in warmer, comforting tones.

Photo by Nico Sircas
Beach Photography at Sunset
The changing colors of sunset allow a different photographic opportunity every single evening. So it is the best time to take beach pictures! The varying shades of orange, red, pink, and purple create beautiful reflections on the water. Silhouettes also benefit from this type of light, making sunset one of the best times of day to photograph romantic beach portraits.
Avoiding Crowds for a Beach Photoshoot
If you’ve ever been to the beach at the peak of summer, you know how difficult it is to get a photograph without any tourists. To avoid this problem, go during the off-season. A beach right when winter turns to spring or when summer turns to fall has considerably fewer people. All the same, go early or late in the day to avoid the afternoon crowd.
Know the beaches around you. The most popular ones will surely be filled with people, but what about the lesser-known ones? These will have fewer people, and may also end up having even better beach photo opportunities since they’re left mostly untouched. Do your research on locations around you.
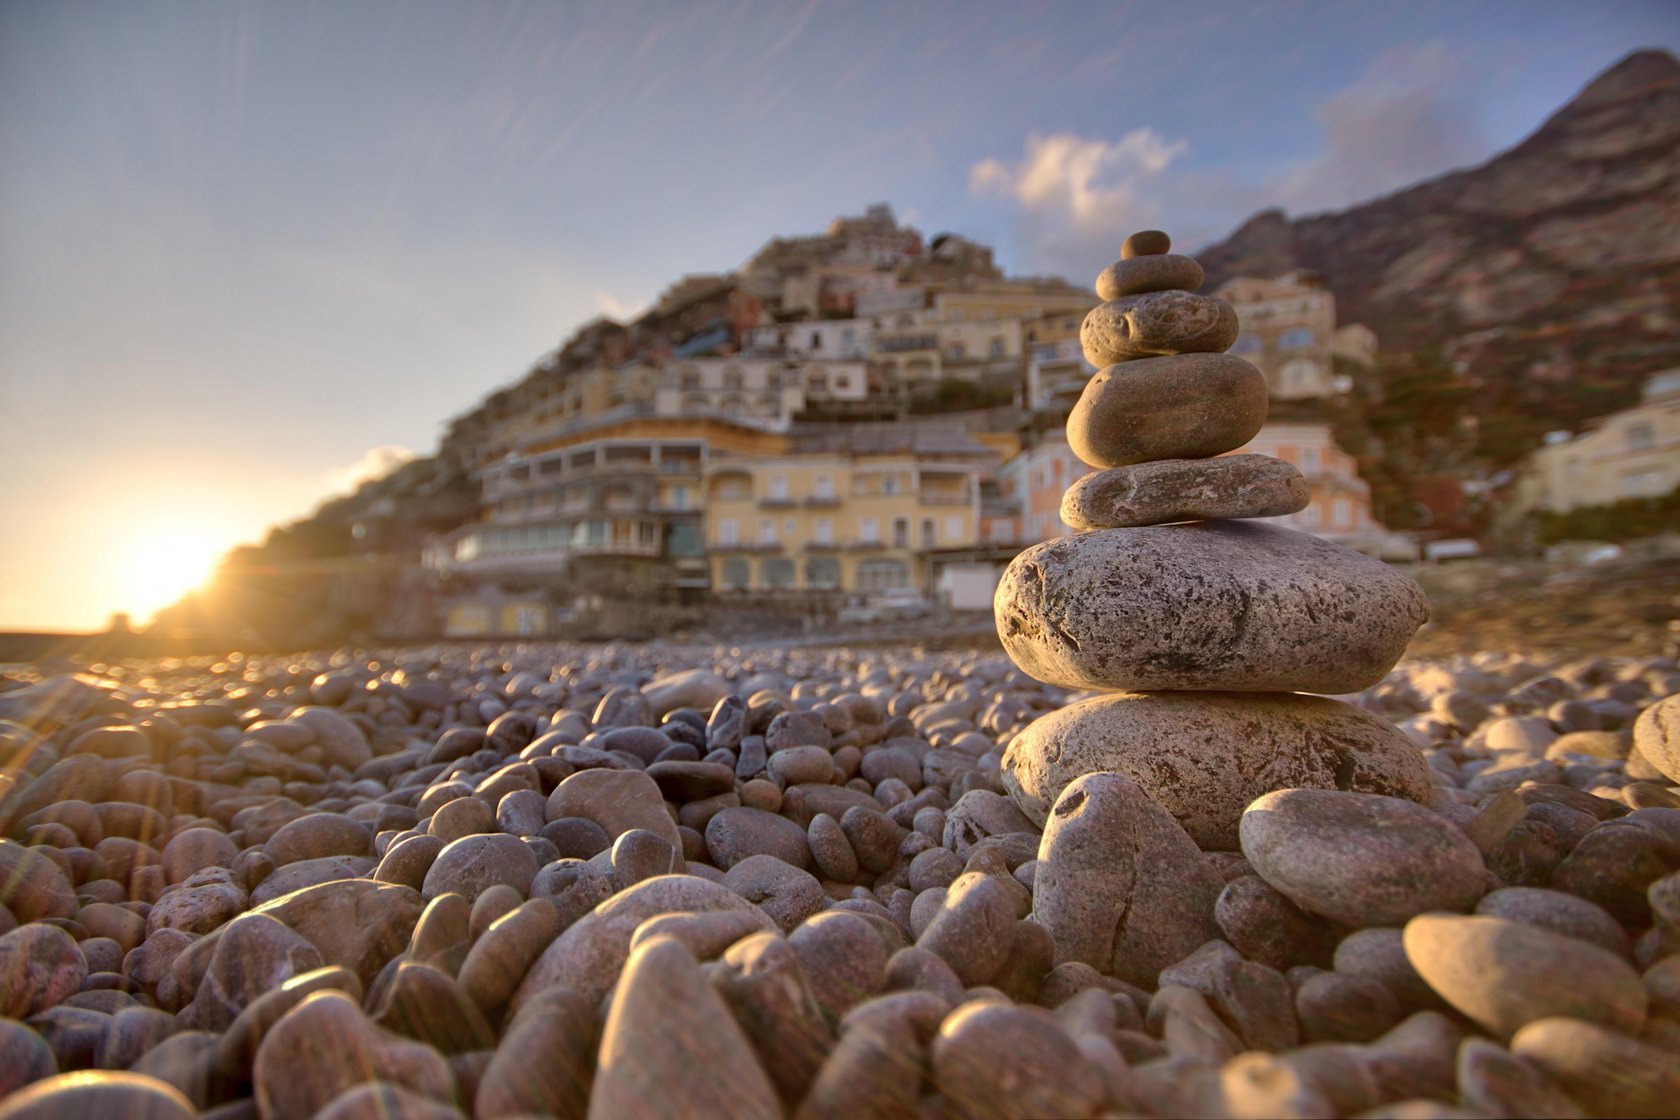
Photo by Phillip Glombik

Photo by Phillip Glombik
Getting Creative with Beach Photography
Don’t feel as though you have to photograph the water. Think about what’s around: are there interesting rocks or structures you can use in the foreground? Are there any human subjects with you whom you could photograph in front of the seascape? You don’t need to point your camera at the horizon and shoot from there. Walk around for a bit; take a look at the tidal pools, climb on top of rocks, and walk directly into the water (just make sure you keep your camera safe!). Many wonderful shots can be missed because you’re too busy watching the waves crash ashore. If you still want to shoot the horizon, try shooting from different angles to get more interesting results. A simple change in angle can really enhance your beach photography.

Don’t be put off by stormy days. Some of the best beach pictures have been taken in less-than-perfect weather. Just be sure to protect your camera properly in these situations.
Focusing on Details in Your Beach Photoshoot
Summer photography offers a lot of options. Sometimes a photograph of sandals on the beach, a small collection of shells, or a sandcastle can be more memorable than a simple landscape shot. Even small details such as a plant or a starfish can add dimension to your travel album. Try focusing on the small details around you to really capture your day. Using a wider aperture (f/4 or wider) can help the subject really pop.

Summer photography also offers some challenges. Shooting in the midday sun can cause unwanted contrast in your beach photos. To avoid this, create some shadow for your subject with an umbrella, your body, or a simple piece of cloth.
Photo Editing in Luminar Neo for Unique Beach Photography
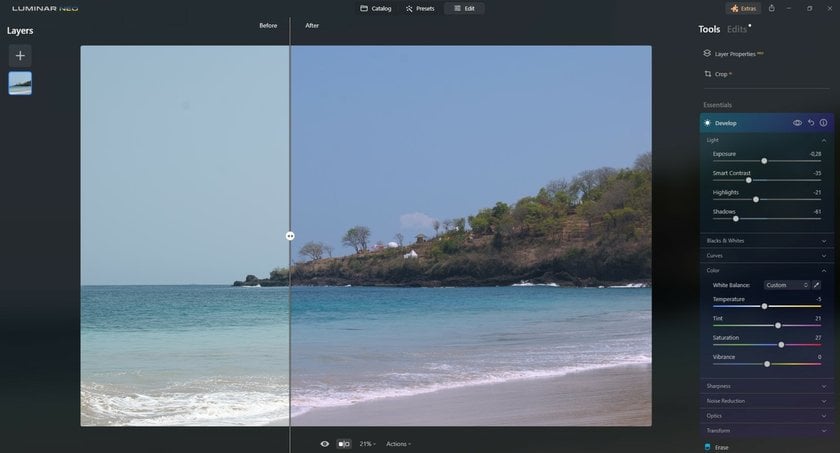
To make your beach pictures really pop, you’ll need to edit them in a photo editor such as Luminar Neo. Let’s say you’ve taken a photograph of a beach.
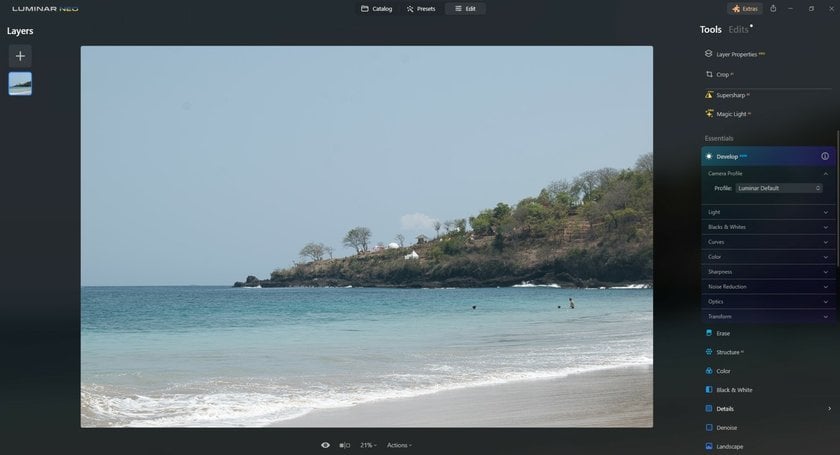
Straight out of the camera, the exposure and contrast are alright. If the exposure was too low or too high, you could easily adjust it using the Exposure slider. You could also easily boost the contrast using the Contrast slider. If the sky is too blown out, you can drag the Highlight slider to the left. If the shadows are too dark, you can drag the Shadow slider to the right.
Now that you have a good base, you can start to play around with filters and AI photo editing.
The Accent AI slider under Enhance AI instantly improves color, tone, depth, and detail. The screenshot above shows the slider pulled up to 65%, but you can increase or decrease this based on your preferences. With a simple click, the colors instantly begin to pop.
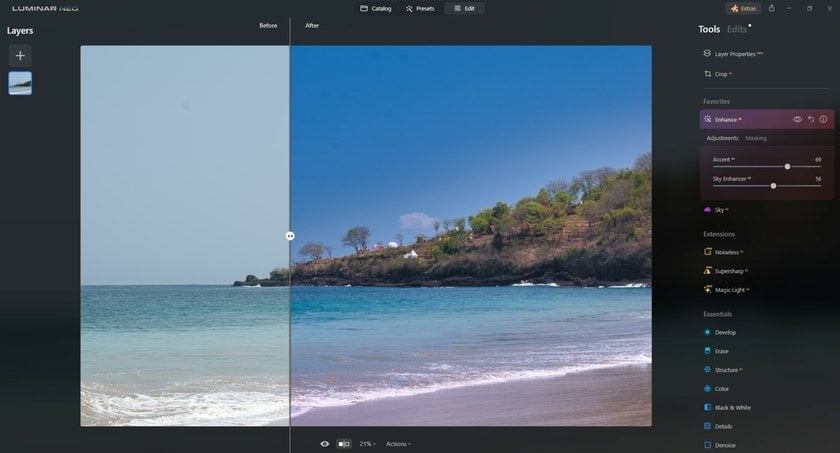
If you’re looking for more of a basic adjustment, check the Essentials category. With these basic filters, you can easily adjust contrast, sharpness, and color. Here you can see the Sky Enhancer filter in use. This filter adds depth to the sky, creating an even more moody look overall. The contrast is also gently boosted.
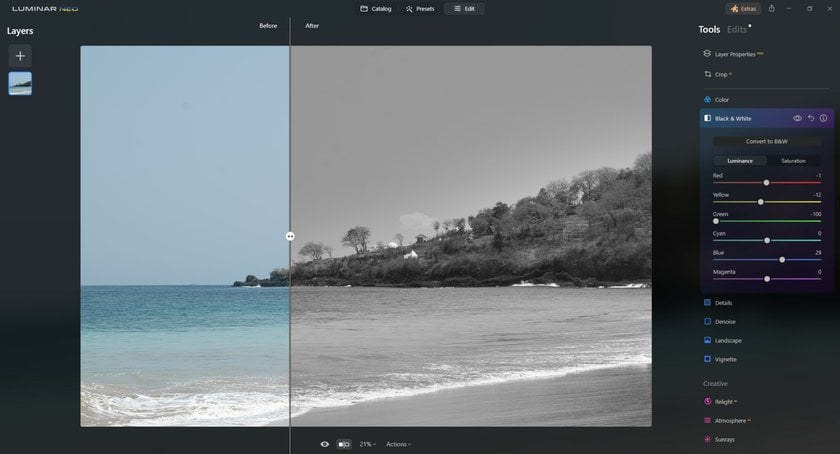
Sometimes a classic black-and-white photograph is what you’re looking for. Luminar Neo has a handful of different monochrome filters. The Mono filter is shown here. The Mono filter adds a stunning, almost otherworldly effect to the landscape. The Classic B&W filter adds slightly less depth and contrast.
Regardless of what you aspire to do with your photographs, Luminar Neo has a filter that can help you. The ability to adjust the intensity of each filter as well as the ability to further adjust the image in the editing panel means you can get perfect results every time. Try Luminar Neo now to get consistently beautiful photographs!
Mastering Beach Portraits
Maybe you’re more interested in lifestyle portraits and don’t mind the beach being covered in tourists. Perhaps a bright, sunny day is exactly what you’re aiming for. A beach photoshoot during your vacation can leave you with wonderful memories you’ll cherish for years. However, harsh midday sun can be difficult to work with.
If a perfect portrait is ruined by an unwanted object in the background, don't feel bad. You can easily fix it. Just use an Ai-based editor like Luminar Neo to erase the object from the photo.
Enhance Your Beach Photography: Shoot Away from the Sun
If you’ve ever tried to take a beach portrait directly into the sun, you’ll know that your subject ends up underexposed while the background is horribly overexposed. This is especially true in summer when the sun is bright and harsh. To avoid this, be sure that the sun is always in front of your subject. If the subject is still too dark, you can always use a fill flash to add light to your subject’s face. When shooting in RAW, you’ll be able to adjust the highlights and shadows later.
And if you need to find the best software for photo editing, then follow this link and read more material in our blog.
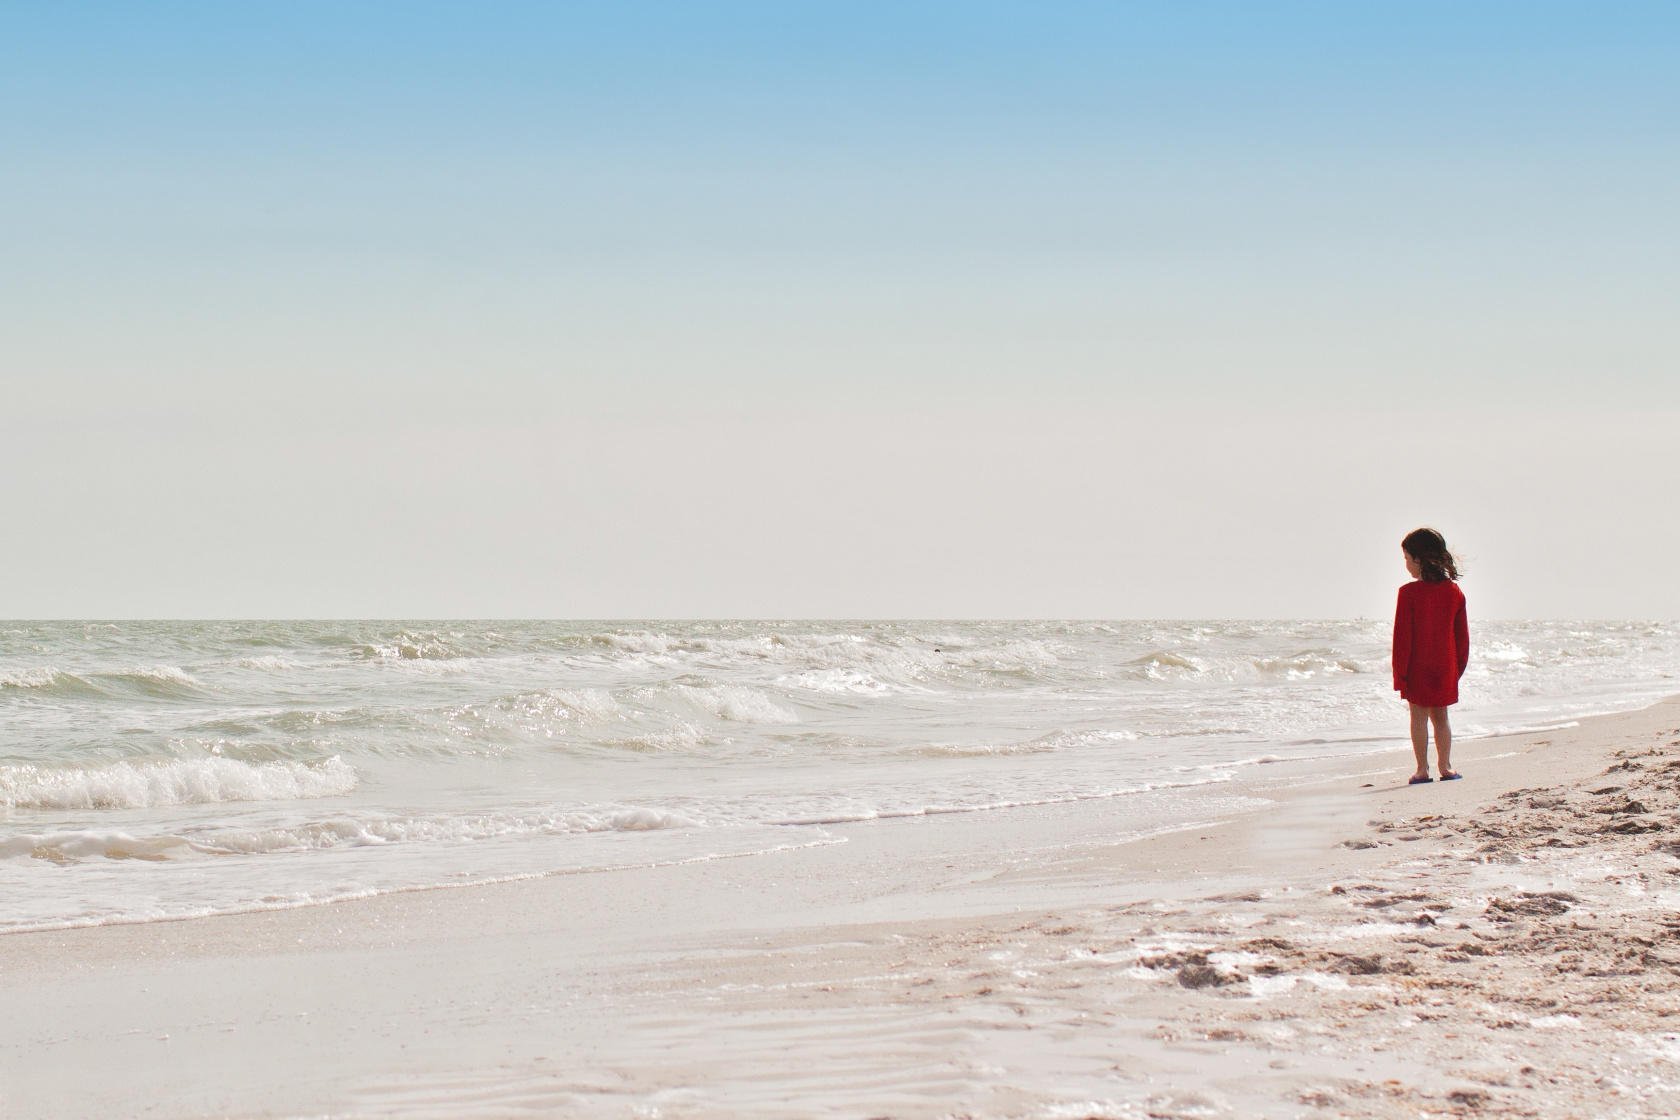
Photo by Danielle MacInnes
Taking Beach Photos of Children, Couples, and Families
It’s difficult to get children to stop moving, so a sunny day at the beach is the perfect time to take beautiful beach portraits. The excess of sunlight allows you to shoot with a fast shutter speed, making it easier to freeze motion.
Family beach photos are fun on the shore. Instead of simply posing your subjects as you would in a studio, you can show them truly interacting with each other. Family photography at the beach allows your subjects to show off their playful side. The parents can be holding hands while strolling down the beach while the children build a sand castle. Siblings can be splashing water at each other while their parents share a kiss. Everyone can be involved in finding seashells and playing in the waves.
A beach photoshoot allows everyone in the family to be carefree and let their true selves shine. The same is true for couples photography. Get your subjects to run down the beach, jump up and down, and throw sand in the air.

Photo by Cody Black
Posing for Beach Pictures
If you want something a little more posed, there are ways of positioning your subjects to still look natural. Some go-to female poses include your subject looking over her shoulder, crossing her arms casually, and lying down on the beach. Couple poses can include kissing, having arms around each other, holding hands, and gazing into each other’s eyes. If you’re taking family portraits, try to get everyone in the scene, then tell a joke or ask the family to interact with each other normally. This will ensure good composition while making your beach photos seem candid.
Conclusion
Thinking about the time of day, the weather, the position of the sun, and the placement of your subject can seem incredibly overwhelming! Not to mention trying to figure out the manual mode on your camera and getting everything exposed correctly. Beautiful beach pictures come with a lot of practice. If you aren’t comfortable with manual mode yet, try shooting in aperture or shutter priority mode.
Throw away everything you thought you knew about beach photography, and don’t be afraid to get creative! Experiment with different camera angles, subjects, times of day, and weather. Pictures of beaches can be incredibly interesting. You may just find that the most unlikely circumstances produce the best results.
For summer photography, beach photos, beach portraits, and other types of photography, Luminar Neo is a fast and easy way to get consistently beautiful results. Try it now to see everything this software has to offer.
FAQ
What Is the Best Setting for Beach Photography?
Play around with your camera settings, such as ISO, aperture, and shutter speed, to get the effect you want. For example, a low f-stop can create a shallow depth of field, blur the background, and bring out your subject in the foreground. Also, a polarizing filter for your lens can help reduce glare and reflections from the water and sand. And remember that the best time of the day to take pictures of the beach is during the golden hour, which is the hour before sunset or after sunrise.
How Do You Photograph the Beach?
Just try to find an interesting focal point, such as a pier, rock formation, or group of people on the beach, to create a compelling composition and experiment with manual mode. Professionals choose to use a tripod because it can also help keep your camera gear steady. There is one more thing. Always be aware of sand and salt water, which can damage your lenses.
What Shutter Speed for Beach Photos?
You'll find that it's important to use a faster shutter speed of at least 1/60th of a second to avoid unwanted motion blur. To ensure that the entire beach is in focus, choose a narrower option of f/11 or smaller. This will increase the depth of field and help keep both the foreground and background in focus when you photograph.
What Camera Filter Is Best for Beach Photos?
A polarizing filter is perhaps the most popular option for beach photography. It helps reduce glare and reflections on the water and sand, makes colors more vibrant, and deepens the blue of the sky. It can also increase contrast and improve the overall look of your images.
What Colors to Wear for a Beach Photo Shoot?
I've found that a snow-white color scheme complements the natural tones of the sand, water, and sky, creating a stunning and cohesive look for your photos. By wearing white clothing, you can create a bright and clean aesthetic that stands out against the natural shades of the beach.