How To Create A 2026 Trendy Effect Like Monochrome On Your Photos
Last Updated on January 22, 2025
Photography has always been a dynamic art form, constantly evolving with new trends and styles. As we move into 2025, a resurgence of classic and timeless effects is taking center stage. One such effect that's making a strong comeback is monochrome photography. The elegance and simplicity of black and white imagery have a timeless appeal and are reimagined in exciting ways to fit modern aesthetics.
In this article, we'll explore how to create a trendy monochrome effect on your photos in 2025, incorporating the classic charm of black and white with a contemporary twist. We'll also reveal what types of photo editing effects will trend in 2025 and what photo color effects you'll need to create monochrome stories.
So, without further ado, let's get started!
Why Monochrome is Trending Again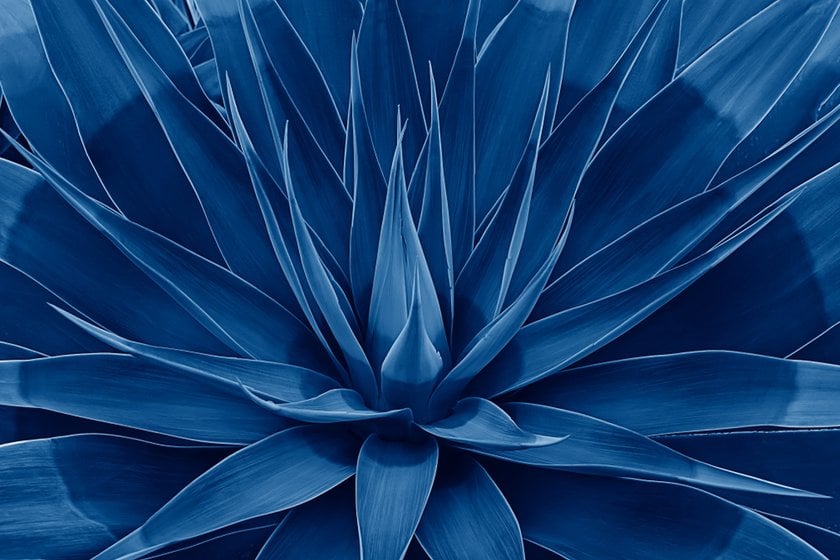

Before we delve into the steps involved in achieving the monochrome effect of 2025, let's understand why this classic style is making a comeback in photography. The style is characterized by timeless elegance, focus on composition, emotional impact, and versatility. It is one of the most unusual photography effects you can use in your creativity.
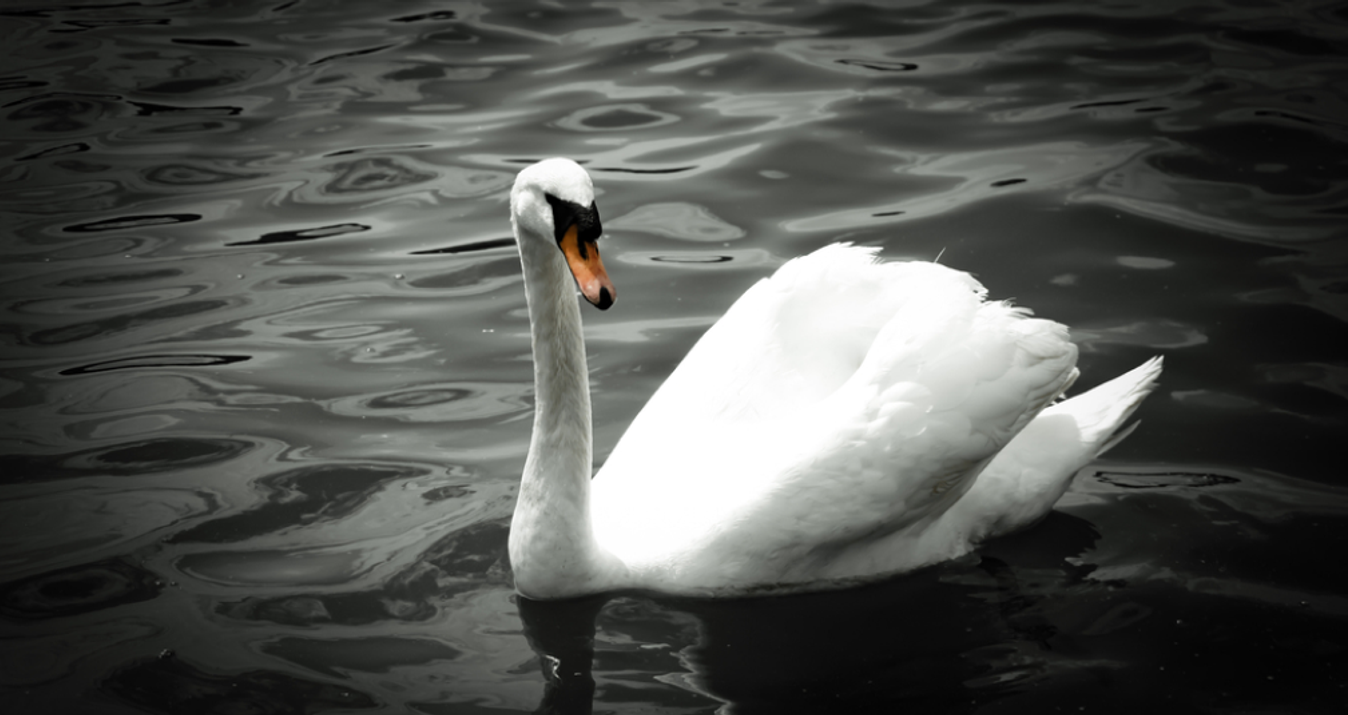
It is easiest to imagine monochrome in black and white. Such photos have an elegance that never goes out of style. The simplicity of monochrome allows the subject to shine without distractions, making it the choice of many photographers. However, many opportunities exist to show creativity and create a monochrome of any color. You need to use one color and fill the image exclusively with various shades.
Monochrome photography strongly emphasizes composition, lighting, and contrast. It encourages photographers to focus on the essential elements. You can underline the desired object in a new way. Such photos often evoke strong emotions and nostalgia. They can add depth and drama to a scene, making it a great choice for storytelling.
The monochrome mode works well in various photography genres, including portraits, landscapes, street photography, and architecture. It adapts to different themes and styles. In 2025, the monochrome trend gets a modern update with creative editing techniques that allow photographers to experiment and use their unique style in a timeless classic.
Explore the Power of AI with Luminar Neo
Try it for free!Creating the 2025 Monochrome Effect
Now, let's explore how to create a trendy monochrome effect on your photos in 2025. We'll use photo editing software to achieve this look. You can use popular tools like Adobe Photoshop, Lightroom, or even free alternatives like GIMP or online editors like Pixlr. We will show you the process using the Luminar Neo software as an example.
Advanced yet easy-to-use photo editor
GET LUMINAR NEO NOWStep One: Start with the Right Photo
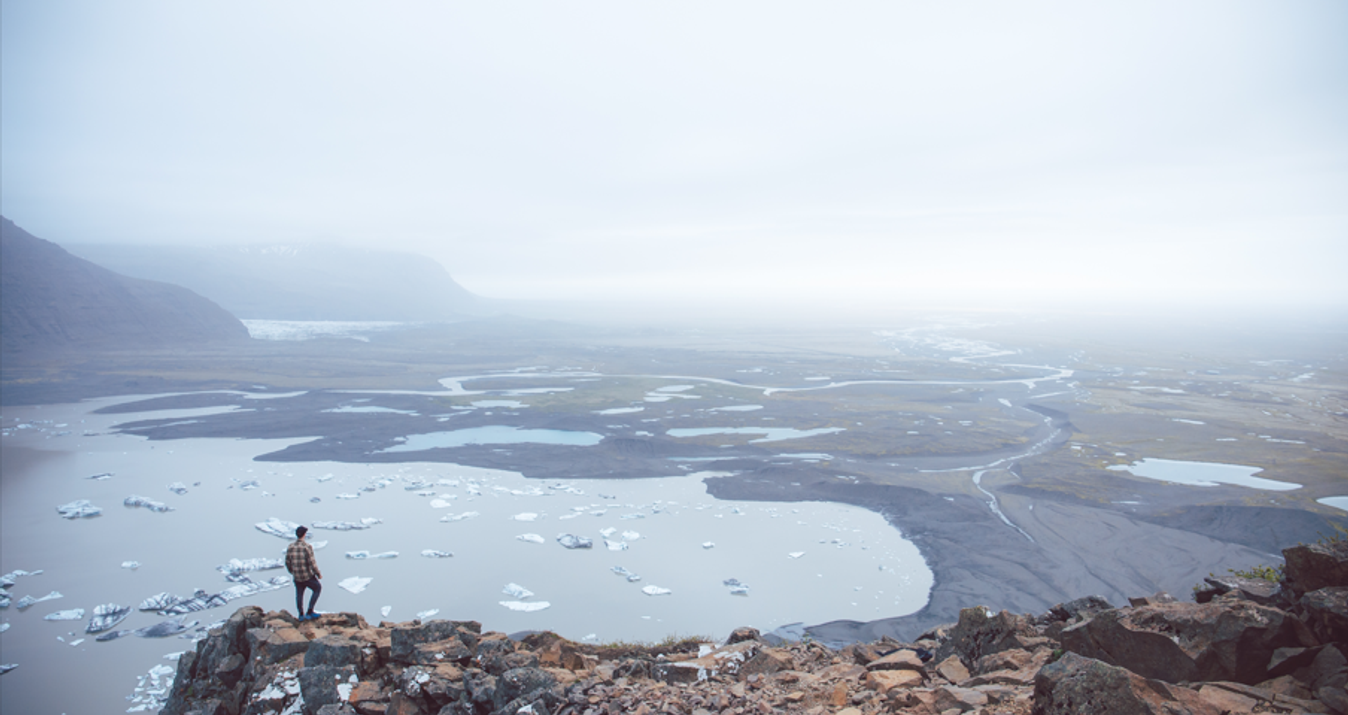
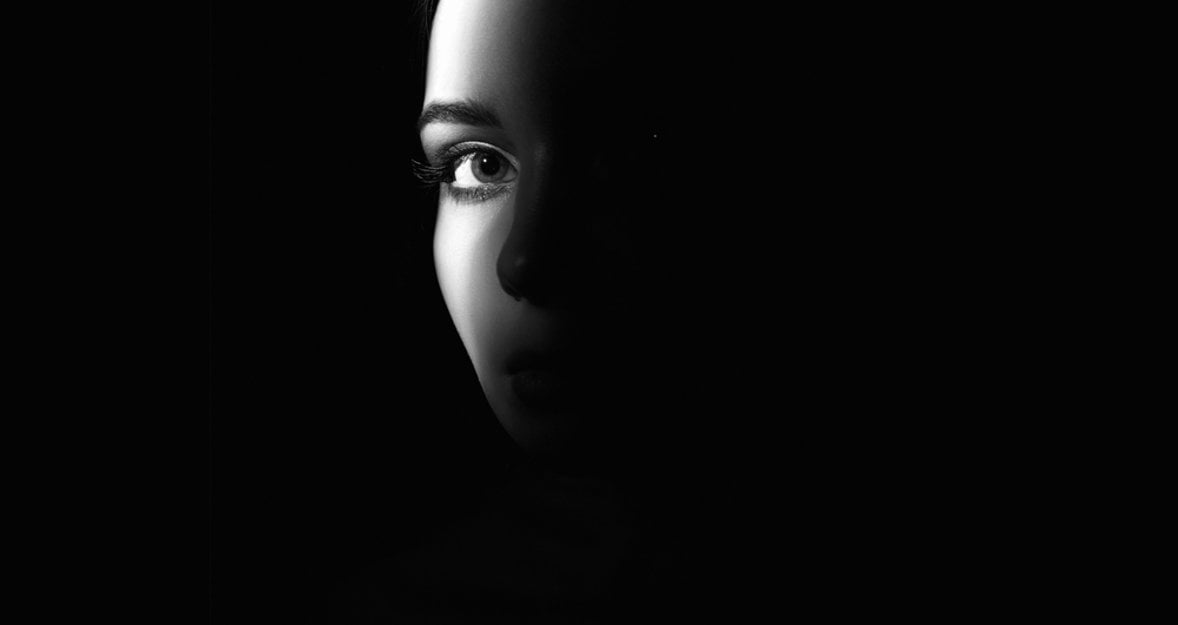
Choose a photo that will work well in monochrome. Portraits with strong expressions, architectural shots with interesting lines and textures, or landscapes with dramatic lighting can be excellent candidates. Keep in mind that not all photos are equally suited for this effect, so select one that has the potential to shine in various shades of one color.
Drag the image to the Luminar Neo window or upload it via the "add file" button in the upper left menu.
Step Two: Adjust the Exposure and Contrast
Begin by adjusting the exposure and contrast of your photo. You'll find exposure, brightness, and contrast sliders in most editing software. The goal is to create a balanced tonal range with rich blacks and bright whites. You want the image to have a good contrast level to make it visually striking.
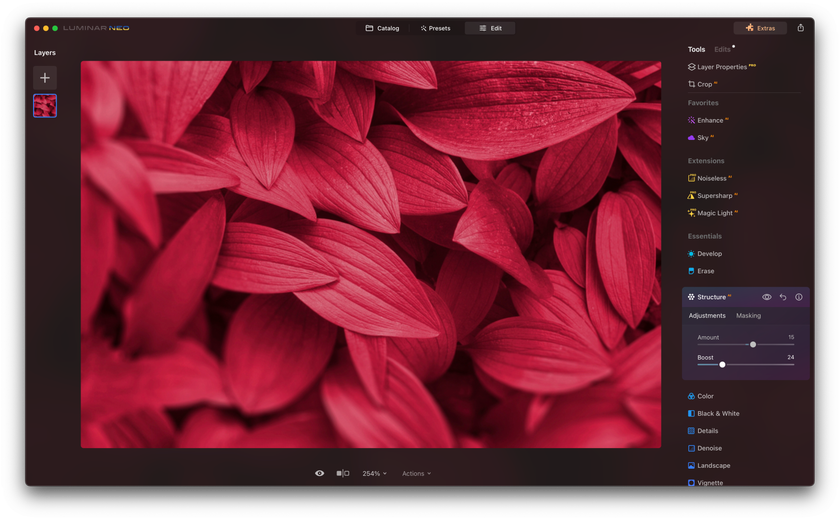
Use the Develop tool on the right-hand side inside of Essentials.
Step Three: Convert to Color
For making a colored monochrome, check what colors you have already in the photo and choose the one you have the most in the image. It could be the sky, ground, buildings, trees, etc. It will give you the most natural option to monochrome the picture.
You need to remove other colors from the image to achieve this effect. Find a "Desaturate" or "Black and White" option. Check if your picture still looks good. It will strip the image of color, leaving you with a grayscale photo. While this is a basic conversion, we'll enhance it further in the following steps.
Try to move the Red, Blue, Yellow, Violet, and Green sliders to improve halftones in black and white images.
Step Four: Adjust Tones and Highlights
Now, focus on fine-tuning the tones and highlights of your photo. Use "Curves" (Levels) to adjust the brightness and contrast of specific tonal areas. Experiment with Amount, Saturation, Hue, and Balance to achieve your image's desired balance and mood. Remember to keep shades in the same color scheme.
You can also use the Color Harmony Tool on the Professional Panel, which helps you to make the above settings faster. Here, you can edit contrast to add energy to your photo.
Make the image color warmer or cooler, depending on the atmosphere you want to show.
Step Five: Enhance Texture and Detail
You can enhance the texture and detail to make your monochrome photo stand out. Use the "Clarity" or "Texture" sliders to add depth to the image. Be careful not to overdo it; subtle adjustments can go a long way in enhancing the overall feel of the photo. If you want to make a vintage effect, use the Sepia or Film Grain on top. You can find more about how to make photos look vintage in our blog and use this knowledge in your editing adventure.
Step Six: Final Touches
Before you finish, take a step back and assess your image. Are there any distracting elements that need to be removed or minimized? Do you need to make any additional adjustments to the exposure, contrast, or sharpness? Make sure every aspect of the photo contributes to the overall composition.
Save your photo and share it with your audience!
Best Photo Effects for Being in Trend in 2025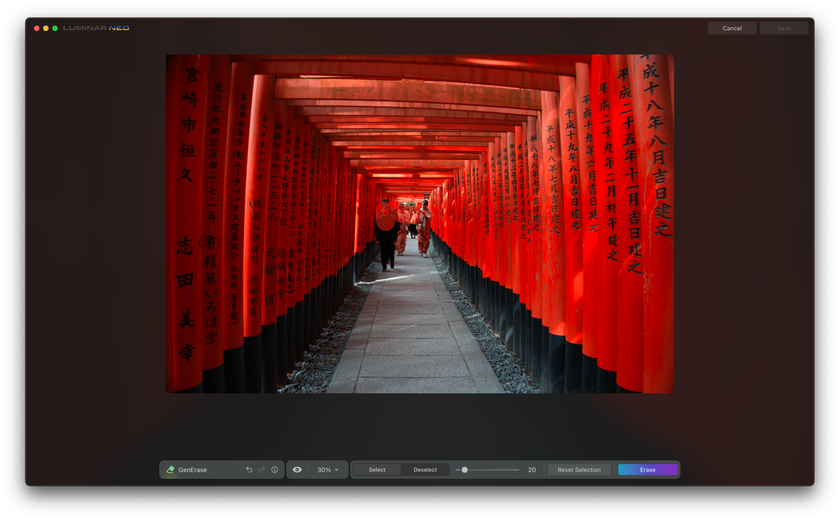

Among the trends in 2023 were Neon Lights, Sky Replacement, and the Enhance AI tool. They will not lose their popularity in the future, but in addition to them, new AI functions appear, which complete the collection of indispensable assistants.
Recently, Luminar Neo presented two new AI-based functions that will make it easier for you to process photos. You can quickly and qualitatively change the image with these two tools. These features are sure to become indispensable for photographers of all levels:
GenErase will allow you to remove unnecessary objects and textures from the image while preserving the overall composition. This function qualitatively removes unnecessary details, filling the gaps with appropriate elements. Create clean and visually appealing photos without clutter and people in the background to avoid distracting attention from the main scene. Focus only on what matters.
GenSwap will remove unwanted objects, replace the color, or add new elements to your picture. Add an extra element to your landscape, such as a tree, structure, or animal. This function allows you to improve the composition, remove crowds of people, create crystal water in lakes, replace the color of leaves on trees, reveal new faces of portraits, and replace the color of lips, hair, clothes, props, and background elements.
With these features, you can easily turn ordinary photos into extraordinary stories that will put the focus where you want it to be. These and many other features you can find on Luminar Marketplace. Get inspired with all the helpful tools for better results in your images.
Bottom Line
The monochrome trend in 2025 is all about embracing the classic elegance of black and white photography while infusing it with a contemporary twist. By following these steps and experimenting with techniques like split toning, you can create stunning monochrome images that capture the essence of this timeless style while staying on-trend with the latest innovations in photography. Use the new GenSwap and GenErase AI tools to improve the composition of your monochrome stories. Discover new styles and experiment with colors. Let your creativity flow as you embark on your monochromatic photography journey in 2025.