Easy 5 Step Photo Editing Workflow + Luminar Neo Noiseless AI
November 30, 2023
Have you ever taken a picture and wished it looked a little better? Maybe it was too dark, too noisy, or just needed some extra sparkle. That's where photo editing comes in – it's like giving your pictures a makeover! But, let's be honest, editing pictures can sometimes feel tricky. That's why we're here to talk about something really cool: Luminar Neo’s Noiseless AI. This tool is like a magic wand for your images, making editing super simple and fun.
So, are you ready to give your photographs an amazing makeover with just a few clicks? Let's dive into these five simple steps and start turning your pictures into works of art!
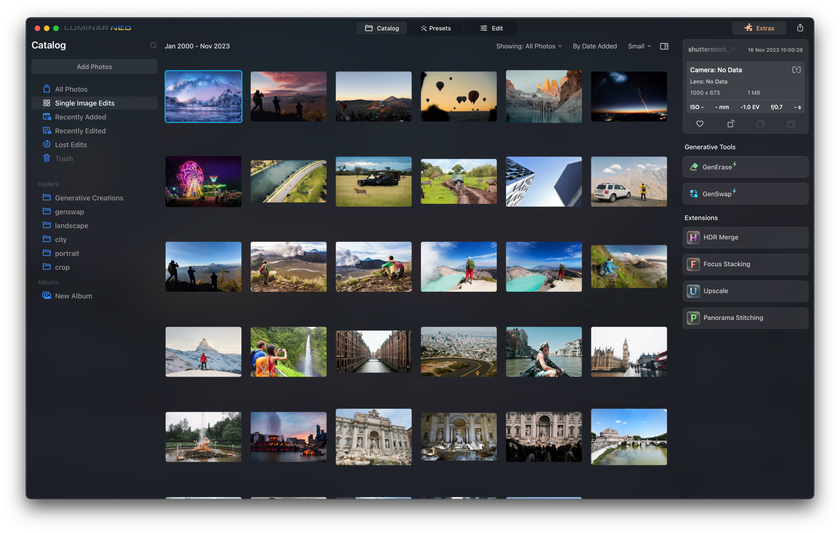
Navigating the Luminar Neo Interface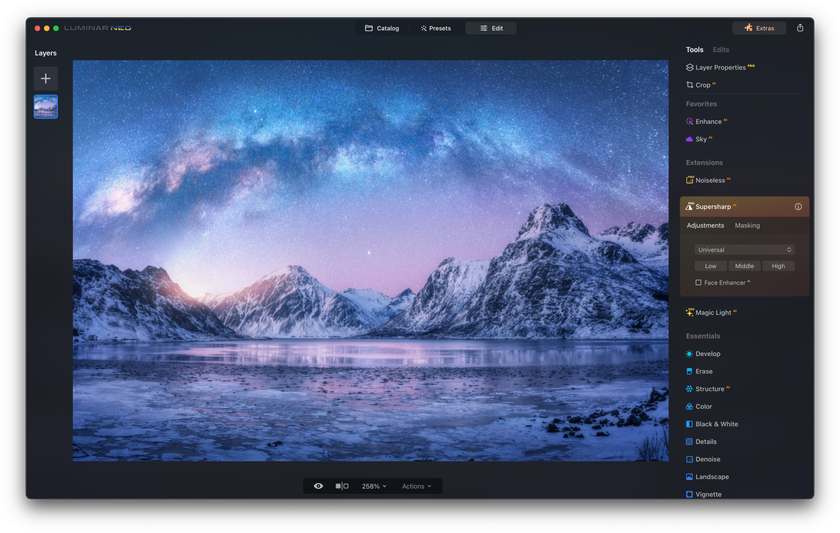

When you start using Luminar Neo, you'll notice that it's really easy to get around. The main parts of the software are the Catalog, Presets, and Edit, and you can switch between them at the top of the screen.
You can pick photos from your computer to work on in the Catalog section. It's like your photo library where all your images are kept.
Then, in the Edit section, you have a bunch of tools with various settings to tweak your photos. This section also includes Edits, where you can find extensions you've bought for more advanced editing options.
And if you're looking for quick changes, the Presets section has ready-to-use presets that can instantly change the look of your photos with just one click.
With this quick tour, you’re set to start your photo editing workflow with Luminar Neo. Let’s dive into the first step of our editing workflow!
Step 1: Importing and Organizing Photos in Luminar Neo

Getting your images into Luminar Neo and keeping them organized is easy and helps you edit more smoothly.
Importing Photos
First, click the Open Button Menu in Luminar Neo.
Choose 'Import Images' and select where you want to get your photos from - like your computer or a memory card.
You can pick specific images or entire folders to import. If you have pictures in lots of subfolders and want them all, just click the 'Include Subfolders' box.
Organizing Photos
Luminar Neo gives you several ways to sort your photos. You can put them all in one big folder, use the folders they're already in, or let Luminar sort them by year and month.
To make a new folder for your photos, go to the Library Panel and click 'Add Folder,' then import your pictures there.
You can also move photos around between folders easily in Luminar Neo.
With your photos imported and organized, you're all set to start making them look great. Up next, we'll look at how to do some basic adjustments to your photos.
Step 2: Basic Adjustments
In the second step of our photography post-processing workflow with Luminar Neo, we focus on making basic adjustments to enhance your photos quickly and effectively. As you navigate to the Edit view, you'll find user-friendly tools that allow you to easily modify the exposure, making your picture lighter or darker as needed. This is coupled with contrast adjustments to make the colors in your image stand out.
The process doesn't stop there. You also have the flexibility to adjust the temperature of your photo using the warmth slider, adding a cozy orange hue or a calm blue tone, depending on your preference. For a touch of subtlety, the vibrance control is your go-to tool, enhancing specific colors in your work without altering the entire color palette.
But the real game-changer in Luminar Neo is its Enhance AI tool. It has two main settings: Accent AI and Sky Enhancer AI. These advanced features simplify your workflow significantly.
The Accent AI is particularly impressive, smartly balancing light and color across your photo with just a single slider.
And for those sky-filled landscapes, the Sky Enhancer AI subtly improves the sky's appearance, ensuring it's impactful without overwhelming the rest of your image.
With these basic adjustments, Luminar Neo enables you to elevate the quality of your photos effortlessly, setting the stage for more advanced editing techniques to refine your images further!
Slide into Superior Edits with Enhance AI
Try It Now!Step 3: Mastering Contrast with Supercontrast AI
Adjusting contrast is an essential step in making your photos more vibrant and eye-catching. It can elevate your images, adding depth and dimension without extra effects. Also, good contrast brings your subjects to life, highlighting details and creating a visual impact that draws the viewer in.
Supercontrast AI allows you to increase the contrast in your photos quickly. It gives you control over different areas of your image: highlights, midtones, and shadows. This means you can adjust each part separately for precise contrast.
The tool includes three balance sliders - Highlights Balance, Midtones Balance, and Shadows Balance. These let you fine-tune the midpoint for each zone, ensuring a balanced and professional look.
Step 4: Getting Creative and Efficient with Luminar Neo
Get ready to elevate your photos from good to breathtaking with Luminar Neo's creative suite! It's time to dive into the fun part, where your images come alive! Add a spark of creativity to your pictures with our AI tools!
Here are some of them to try:
Sky AI: Instantly swap dull skies for dramatic scenes.
Relight AI: Like a virtual lighting crew, it finetunes your photo’s ambiance.
Skin AI: Effortlessly perfects skin tones in portraits.
GenErase: A generative tool based on AI that not only removes unnecessary elements from a photo but also intelligently adds objects to the free space
Effortless Style with Presets:
Presets are your quick fix to a stylish, consistent look across your photos.
Whether you create your own or explore our unique presets, they're a game-changer for photographers’ workflow.
Dive into these features and watch your photos transform with that creative edge, all while keeping your editing process smooth and swift. It's time to let your photos tell their story beautifully and efficiently!
Step 5: Easy Exporting Your Photos in Luminar Neo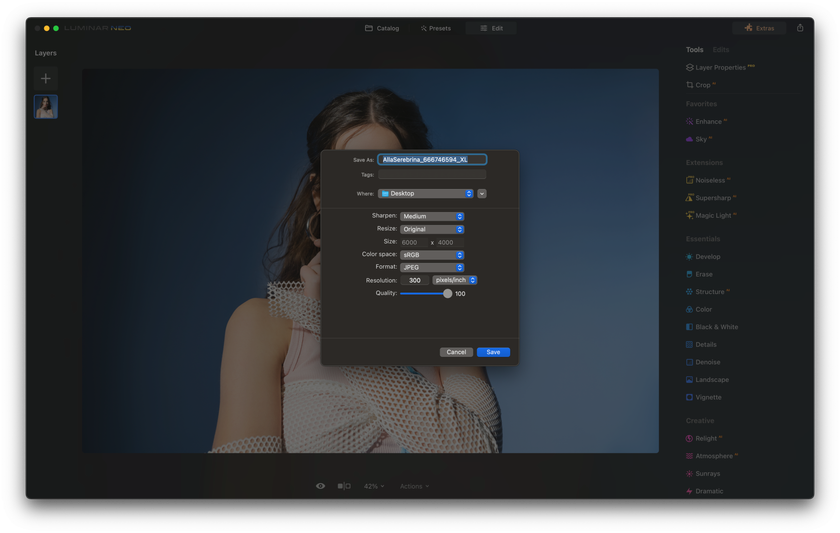

When you're done editing your photos in Luminar Neo, here's how to easily export them:
1. Automatic Saving: Don’t worry about losing your edits - Luminar Neo saves them in the Catalog automatically.
2. Exporting Your Photos: Click the Export button or right-click your photo. Choose from formats like JPEG, PNG, or TIFF.
3. Choosing the Format:
Use JPEG for sharing online or via email. Adjust the quality to 85 for a good balance.
Pick TIFF for printing or saving high-quality images.
4. Extra Details: You can also sharpen the image during export and pick a color space that fits your needs (sRGB for web, Adobe RGB for graphics, or ProPhoto RGB for the best color range).
5. File Names: When exporting, you can rename single files or keep the original names for multiple files.
That’s it! If you're curious to learn more about the differences between PNG and JPEG formats and when to use each, click here to read our detailed post on the topic.
Exporting your photos is quick and easy, making sure your edited images are ready to share or print!
Additional Tip: Using Noiseless AI
Sometimes, graininess can ruin a good photo, especially if you shoot it in not-so-great lighting. Noiseless AI fixes this problem, making your photo look smoother and cleaner. It's a special feature that helps clean up pictures that graininess without making your picture look blurry.
The Noiseless AI tool checks your photo and determines how much graininess (noise) there is. Then, it gives you three choices (low, middle, high) to reduce this graininess. You just pick the one that looks best for your image. And if some parts of your photo are grainier than others, Noiseless AI can fix each part separately. This keeps your whole photo looking sharp and clear.
Explore the Future of Noise Reduction with NoiselessAI
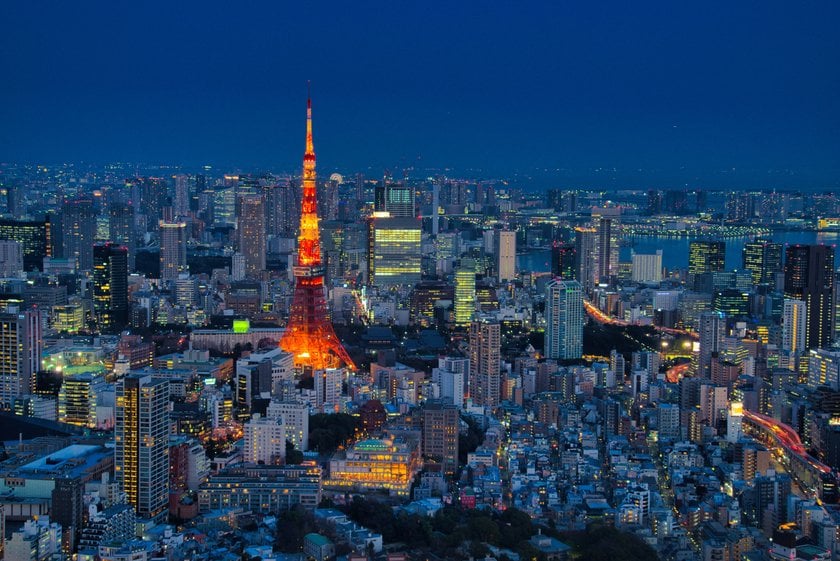
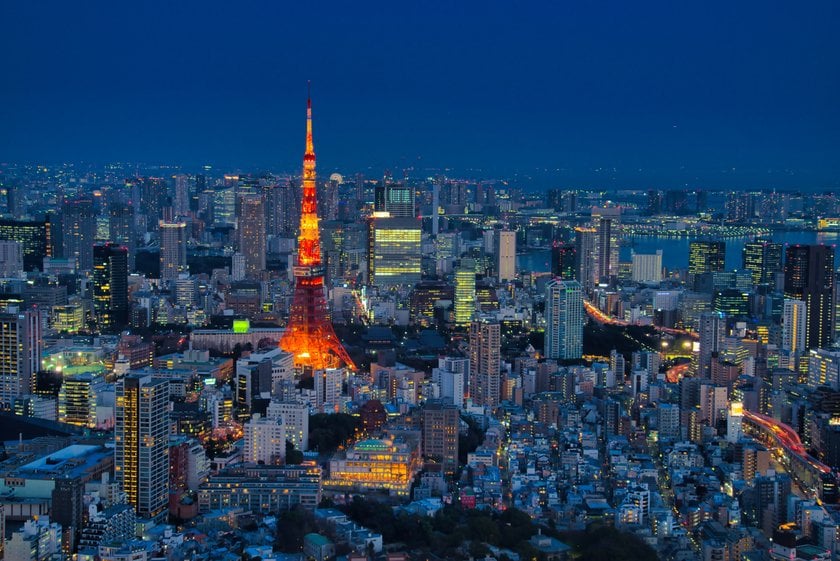
Try It in Luminar NeoExamples of using Noiseless AI
Now, let's take a closer look at how this tool works on different photos!
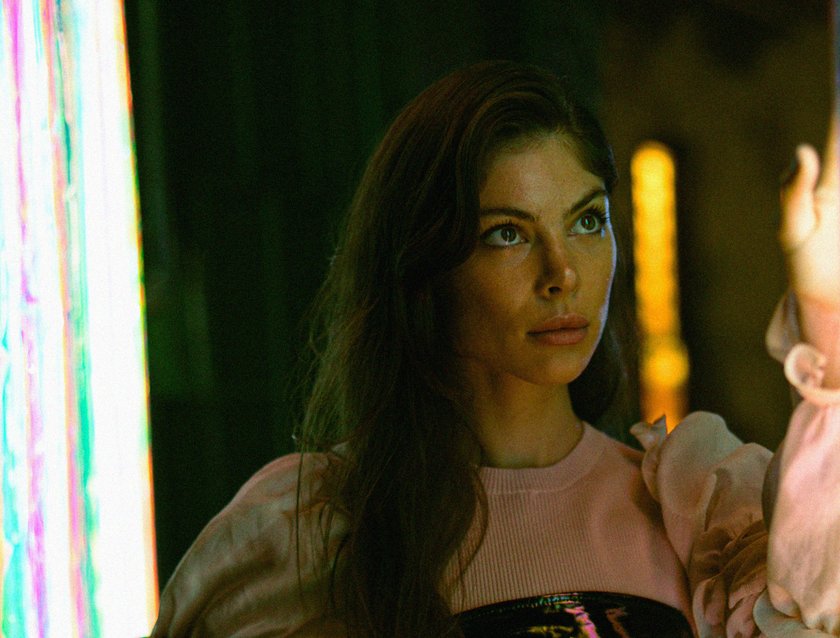
Cityscape Photography
Landscape Photography
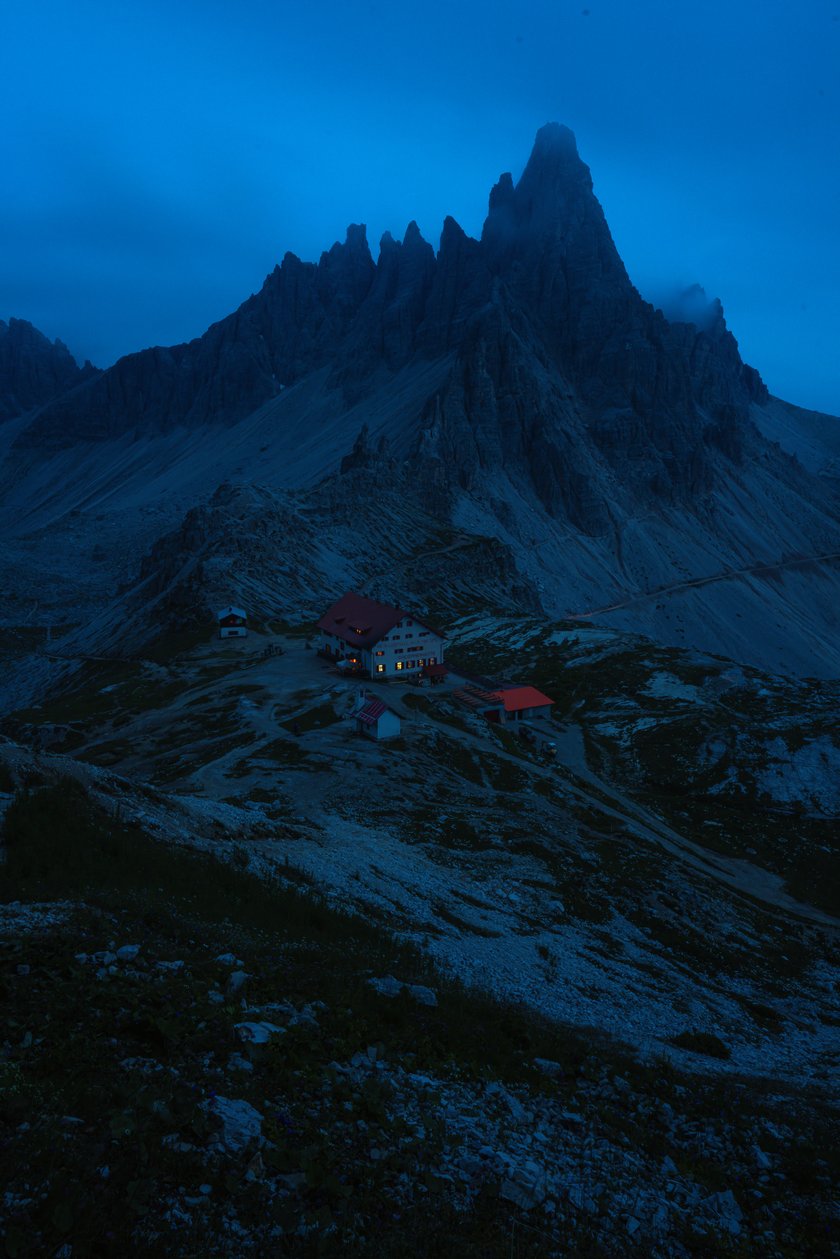
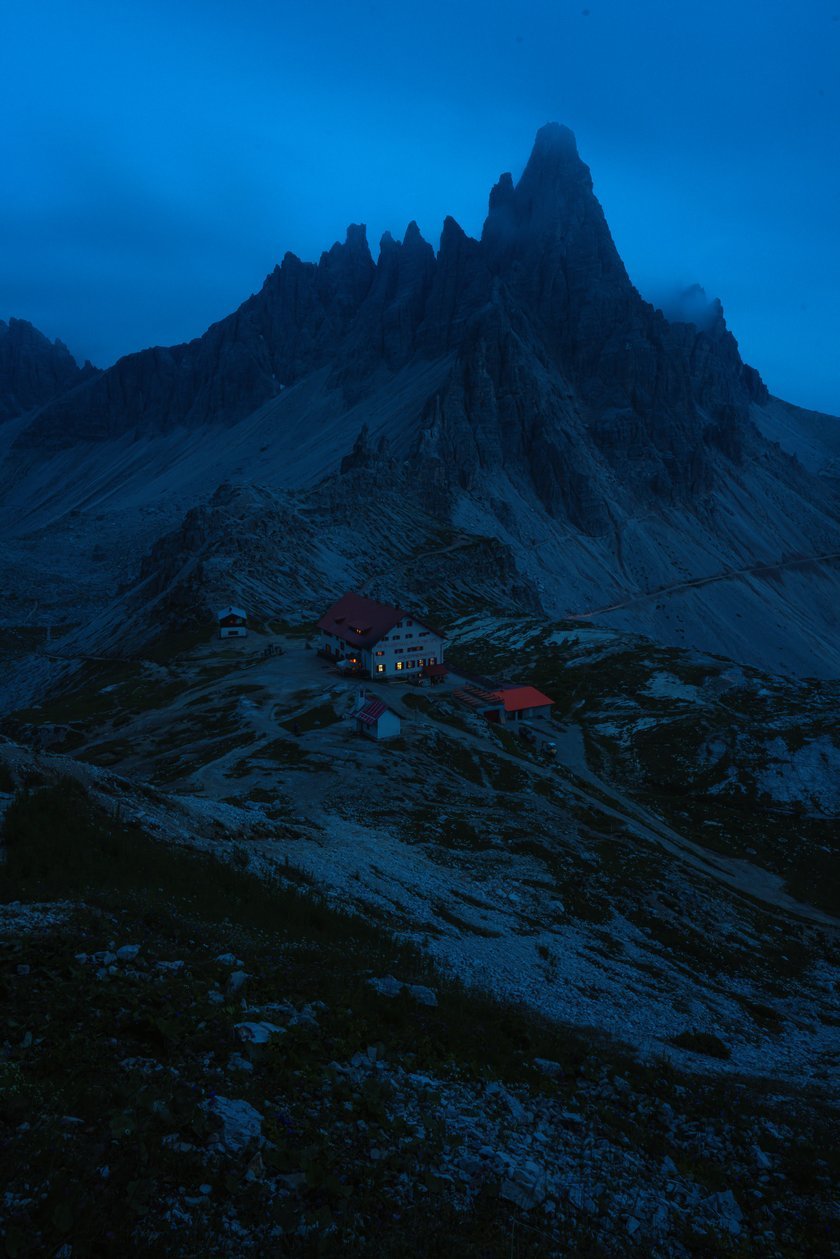
Astrophotography
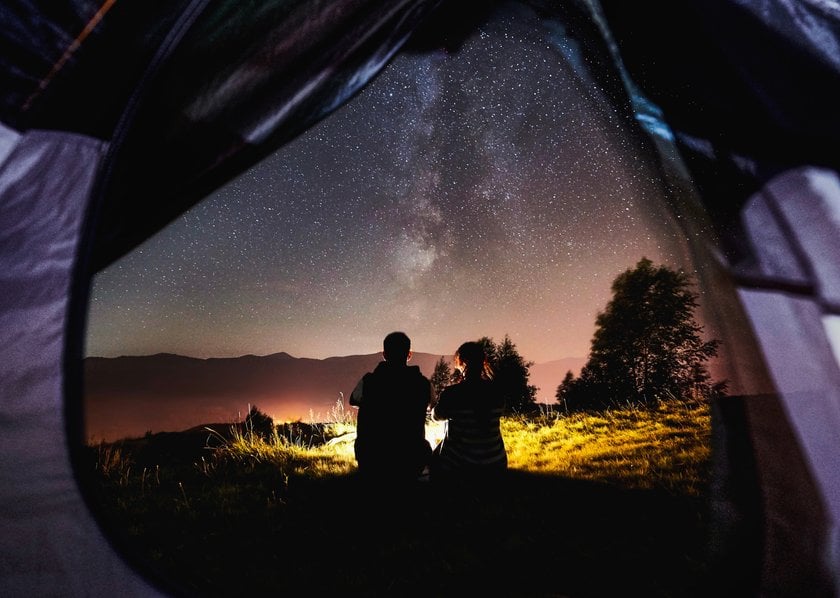

Portrait Photography

Conclusion
And there you have it! We've journeyed through the five key steps of transforming your photos with the magic of Luminar Neo Noiseless AI. Imagine these steps as parts of a Photography Workflow Chart – a conceptual guide that helps you navigate from importing your images to the final, dazzling export.
From the intuitive start with Luminar Neo's user-friendly interface to the revolutionary impact of Noiseless AI, your path to eye-catching photos is clearer than ever. Each step in this process isn’t just about adjusting images; it's about breathing life into them, letting each one tell its own vibrant story!
So, what are you waiting for? Let’s dive in and give your photos the stunning transformation they deserve with Luminar Neo!