Artistic Expression With Levitation Photography Ideas
February 07, 2024
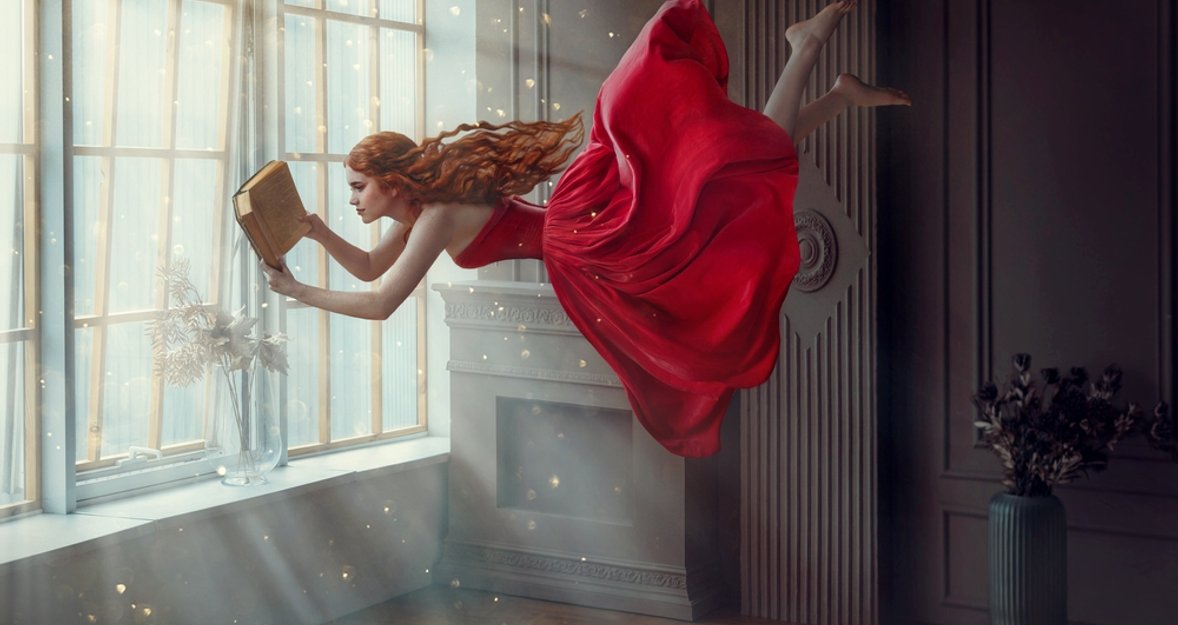
Check out this guide if you're curious about making things float in your photos, from your friends to random objects around the house. We have some simple tips on capturing those moments and polishing them up, making your shots truly pop!
Welcome to floating photography! This is where photos defy gravity, creating interesting and unique images. Like a person floating off the ground, a coffee cup caught right before it spills, or a book soaring up into the sky.
This blog post is all about teaching you how to get those eye-catching shots. We’ll cover the basics, throw in some fun ideas, and give you tips for nailing those floating effects. Ready to take some really interesting photos? Let's dive in!
Understanding the Basics of Levitation Photography
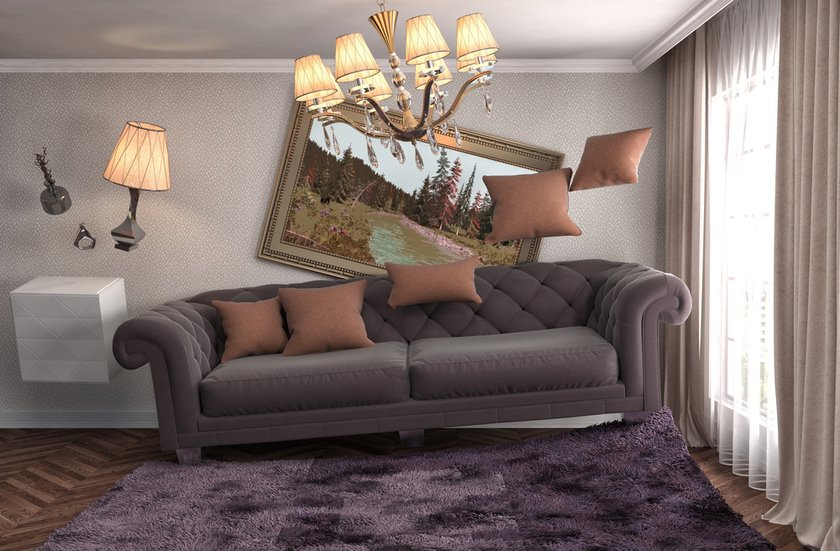
Let's talk about what levitation photography actually is. It’s when you take pictures that make people or things appear to be floating in the air. You’re creating an illusion that defies gravity, whether capturing someone in mid-jump or arranging objects to seem as if they're hanging in space. This technique makes everyday scenes far more interesting!
Floating-in-air photography has been around for quite a while. It started out with photographers using a bunch of clever tricks and setting up their shots in smart ways to make it look like things were floating. Over time, things got a bit more high-tech. Nowadays, digital editing tools are the go-to for making those floating effects look even cooler and more convincing.
This shift from doing everything manually to getting a bit of help from technology really shows how much levitation photography has grown. The main thing? To get people to look at a photo and wonder, "How did they manage to do that?"
Also read: How to Use a Green Screen for Photos: Pro Tips and Tricks
Levitation Photography for Beginners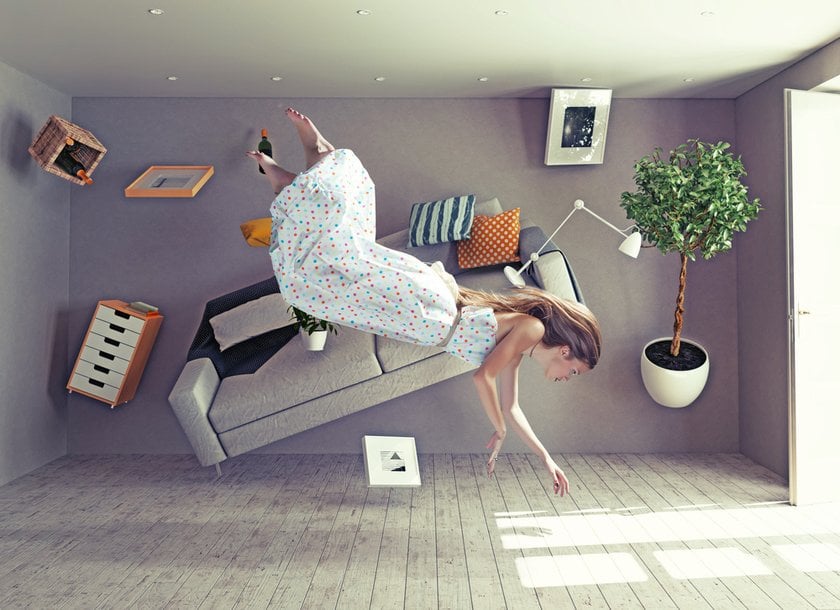
Alright, let's get into how to do levitation photography. You don't need a ton of fancy equipment, but a few key things are necessary to get those floating shots. Let's find out what they are.
Choosing the Basic Equipment
Camera: Any camera that lets you tweak settings manually will do the trick. The key is being able to control your shutter speed because capturing someone in mid-air means you need a quick snap to freeze the moment without any blur. Aim for a shutter speed of at least 1/500th of a second or faster.
Lens: A good old 50mm lens is a solid choice for starters. It's versatile enough for most shots you'll want to take.
Tripod: This is a lifesaver, especially if you're trying to capture levitation shots on your own or if you're using slower shutter speeds for any reason.
Remote Shutter Release: Not a must-have, but it's super handy for timing your shots just right, especially if you're jumping into the frame yourself.
Finding the Perfect Spot and Lighting
Location: Choose a spot where your subject can really pop. A cluttered background can distract from the floating effect you're going for. Outdoors with natural light is usually your best bet for that soft, even look. But an indoor spot with good lighting can work well, too.
Lighting: If you're outside, the golden hours—just after sunrise or before sunset—are when the light is at its best: soft and flattering, without harsh shadows. Indoors, try to shoot near a big window or use lights to create a similar effect. Soft light is key to making everything look natural and keeping the focus on your floating subject.
Light Up Your Images with Luminar Neo
Try It Now!So, floating photography is all about experimenting and having fun with it. If you're looking for more in-depth tips on how to do levitation photography, we have a detailed article that covers everything you need to know. Check it out to dive deeper into making those incredible floating photos!
Creative Ideas for Levitation Photography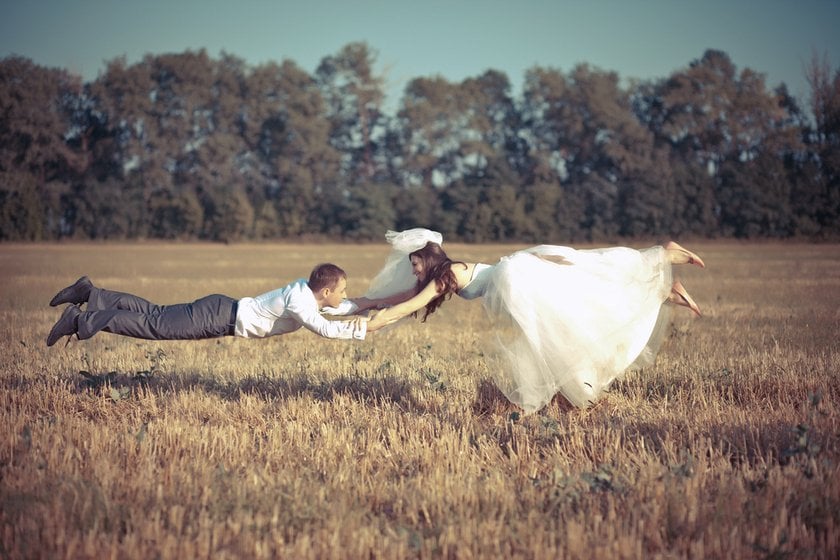
Ready to get creative with your shooting? We want to share some ideas to help you capture truly unique shots. There's no limit to what you can create; you can work with models, everyday objects, or just the world around you!
Solo Portraits in Suspension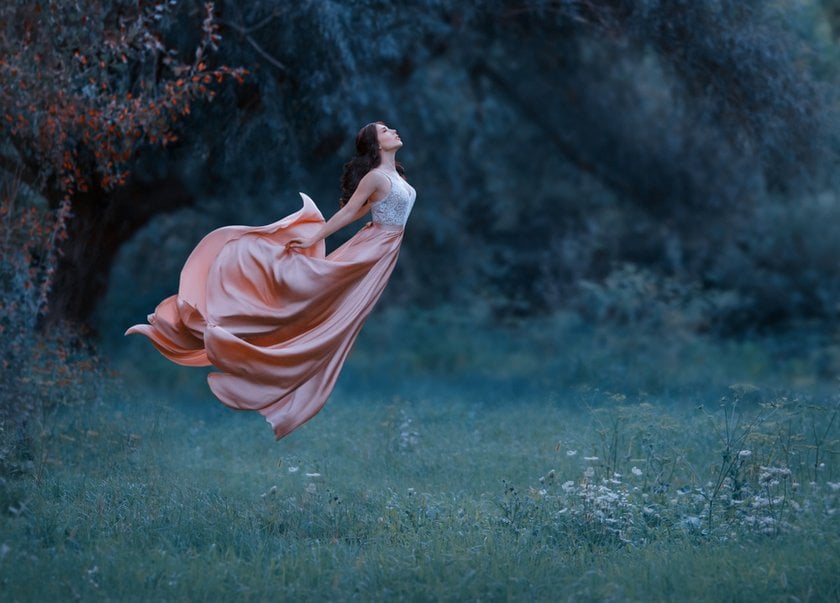
One of the most striking uses of levitation photography is capturing people in mid-air, making them look like they're floating or flying. We suggest a few ideas to get you started:
Flowy Dresses: Have your model wear a flowy dress that will spread out and add drama to the floating effect.
Interacting with the Environment: Get your subject to pose as if they're gently touching or pushing against something in the environment, like brushing their fingers through water or pushing off from a wall, to add realism and narrative to the shot.
Objects in Motion: Include objects like a hat being tossed in the air or a scarf fluttering away to add motion and enhance the effect of levitation.
Double Trouble: Play with editing software to create an image of the same person twice in the frame, one standing and the other floating, to add an intriguing twist.
Objects in Motion
Levitating objects in your photos can add a surreal or magical element to still-life photography. Here are a couple of ways to levitate objects:
Everyday Objects: Start with something simple, like a book or a cup of coffee, and capture it in mid-air. It's a great way to practice your timing and editing skills.
Levitating with the Person: Include objects floating around your model to create a scene filled with movement and interest. It could be as simple as leaves swirling around them in a forest setting.
Transform Your Images with an AI Background Changer
Try on my photo!Incorporating Nature and Urban Settings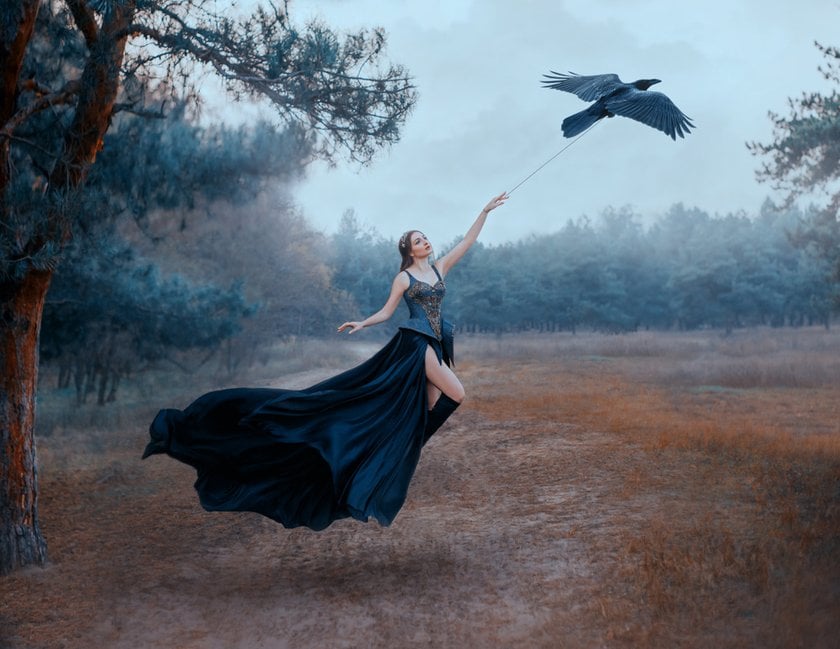
The environment you choose for your levitation photography can dramatically affect the mood and story of your images. Here are some suggestions:
Nature as a Backdrop: Use natural landscapes to give your floating subjects a serene or epic setting. Imagine someone levitating above a calm lake or in a misty forest clearing.
Urban Exploration: Urban settings provide a stark contrast to the levitating subject and can add an edgy vibe to your photos. Look for interesting architecture, graffiti walls, or bustling streets to frame your subject.
Windows and Doors: Use windows or doors to frame your levitating subject, creating a natural border that draws the viewer’s eye right to the action.
With these ideas in hand, you're well on your way to creating levitation photography that's not only visually stunning but also full of imagination and storytelling. The more you play around with different concepts and techniques, the more unique and captivating your photos will become!
Mastering Levitation Edits in Luminar Neo
Editing your levitation photos to look just right can be simple with the right tools. Luminar Neo stands out because it makes tricky edits, like separating your floating subject from the background, a lot easier. This photo masking software has a feature that lets you pick and choose exactly where you want to make changes. So, if you're working on a shot where someone appears to be floating, you can tweak just the person or just the background without messing with the other parts!
Then there's the image to layers AI in Luminar Neo. It breaks your photo into layers, making it super easy to handle complex edits. Say you want to fix the sky behind your levitating model or add some effects to just one part of your photo; this feature lets you do that without affecting the whole image.
And if you're into making your photos stand out with a bit of an artsy vibe, Luminar Neo has you covered with its art filter photo editor. It's an easy method to apply interesting effects that transform a photo into something truly remarkable. This is especially handy for levitation photography, where you might want to amp up the dreamy or surreal feel of your shots.
Advanced yet easy-to-use photo editor
Get Luminar Neo NowWrapping It Up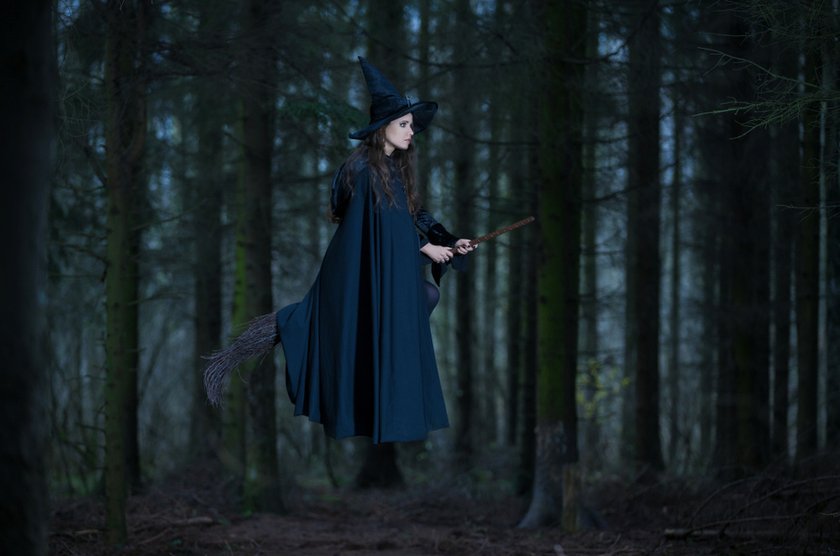
We've gone through a lot about levitation photography, from getting those first floating shots to tweaking them into something special with Luminar Neo. Levitation photography lets you play around with what's possible, turning normal scenes into something amazing. It's a mix of creativity, technical skills, and some clever editing techniques!
The big takeaway? Levitation photography is all about trying new things, seeing what works, and learning as you go. And if you're curious about creative ways to display your photos from today, be sure to read our guide on collage ideas for photos!
So, what's next? Pick up your camera, let your ideas run wild, and start snapping! There's a whole world of levitation photography out there to explore. Who knows? Your next photo could be the one that really wows everyone. Go for it!


