What Is Macro Photography?
September 08, 2025
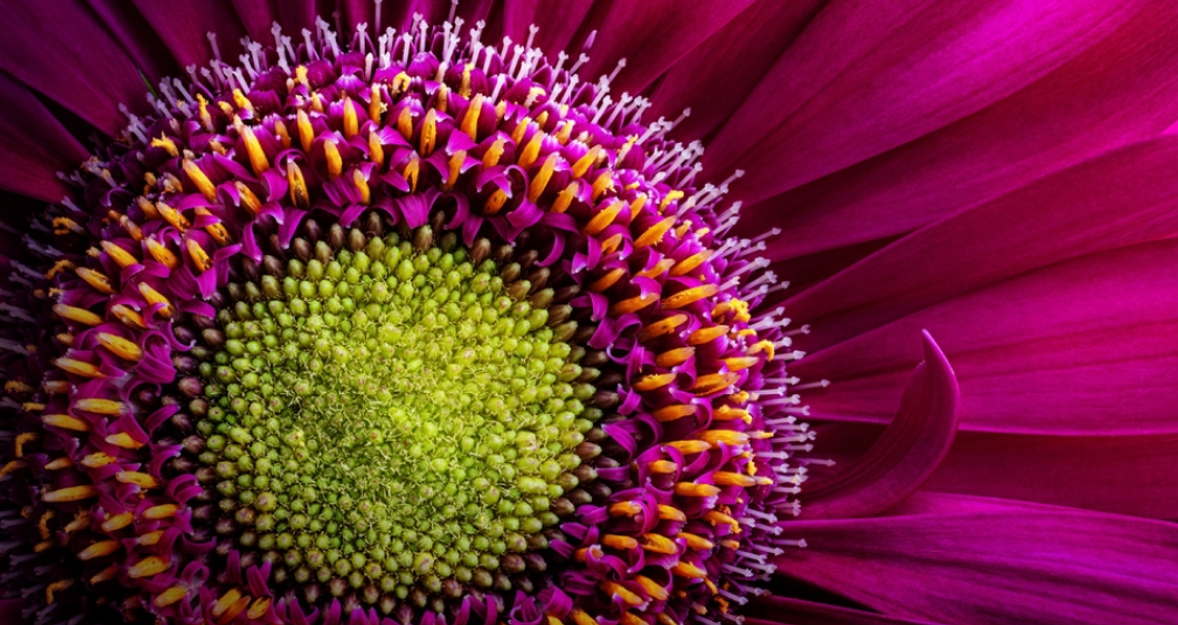
With macro lens photography, even the smallest insect or droplet becomes a dramatic subject in my frame.
I can not forget the first time I saw a dragonfly’s wing up close — a lattice of veins and tiny glassy panels I’d never noticed before. That moment pulled me into macro photography: a practice that makes the small world suddenly enormous and oddly emotional.
Today, I’ll walk you through macro photography, what gear I use, clear examples, simple camera settings, and the mistakes I learned the hard way — all in plain language!
What Is Macro Photography?
 When someone asks for a definition of macro photography, I say this:
Macro photography is the art and technique of photographing small subjects so they appear life-size or larger on the camera’s sensor.
In practical terms, that usually means getting so close that a subject — an ant, the pattern on a coin, a dew drop — fills the frame with detail you can’t see with the naked eye. How close you can get depends on your working distance, the space between your lens and the subject, which affects both composition and lighting.
So, what does macro mean in photography? It’s about magnification. A true macro image is often defined as a 1:1 magnification (also written as 1×), where the subject’s actual size is projected onto the sensor.
But the phrase macro photography meaning also crops up in everyday use to describe any close-up image, even if the magnification is smaller than 1:1. For a beginner, the difference matters less than the result: beautiful, intimate detail.
Achieve Superior Resolution in Just a Few Clicks
Explore in Luminar NeoWhat Is Working Distance?
 Working distance is the space between the front of your lens and the subject when it’s in focus. It’s important not just technically, but also practically, it determines how close you can get without disturbing your subject.
In macro photography, working distance matters a lot. With insects, a longer focal length, like a 100mm macro lens, gives you more space than a 60mm lens. This lets you shoot from farther away, use natural light or reflectors, avoid casting shadows, and keep the subject calm. For static subjects, like petals or water drops, a shorter working distance is fine since they won’t move. Choosing a macro lens isn’t just about specs — it’s also about how close you’re willing to get to the tiny world you’re capturing.
What You Need to Take Great Macro Photos
When you’re ready to explore macro photography, the right gear makes a huge difference — here’s what I use to capture tight, stunning close-ups.
1. Macro Lenses
I’m fond of macro lenses because they’re built for close work. Models I’ve used and recommend to beginners:
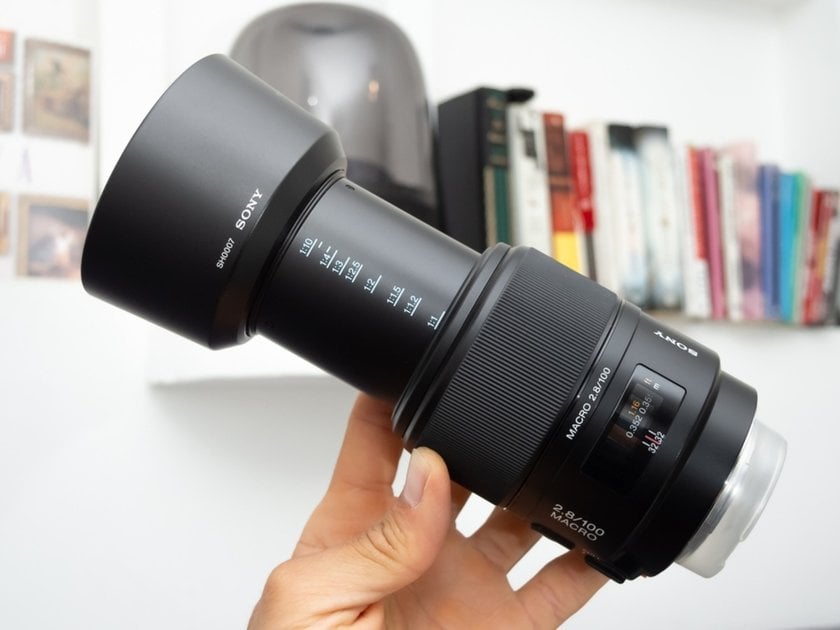
100mm macro lens – This lens is perfect for insects and other skittish subjects. The longer focal length gives more working distance, meaning you can stand farther from your subject without disturbing it. It also makes lighting easier because you can position reflectors or flashes without getting in the way.
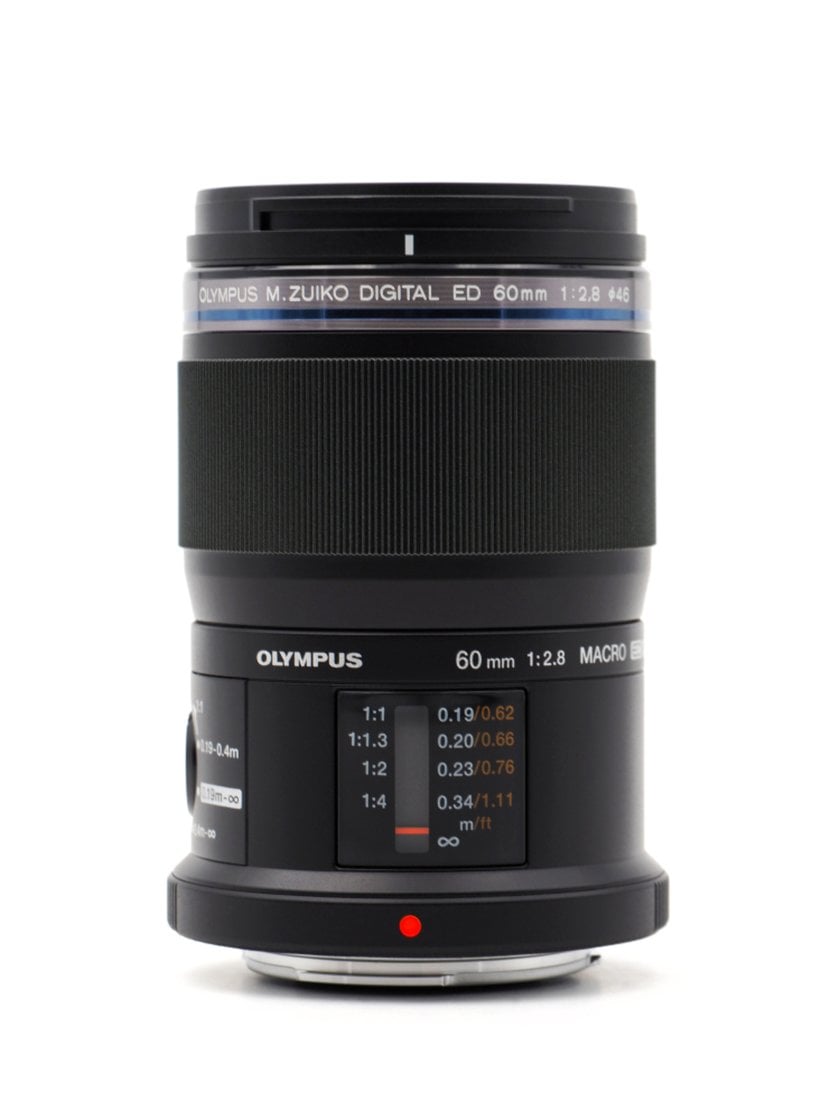
60mm macro lens – Great for tabletop photography, flowers, and small collectibles like stamps or coins. It’s versatile, easier to handle in tight spaces, and still provides excellent detail.
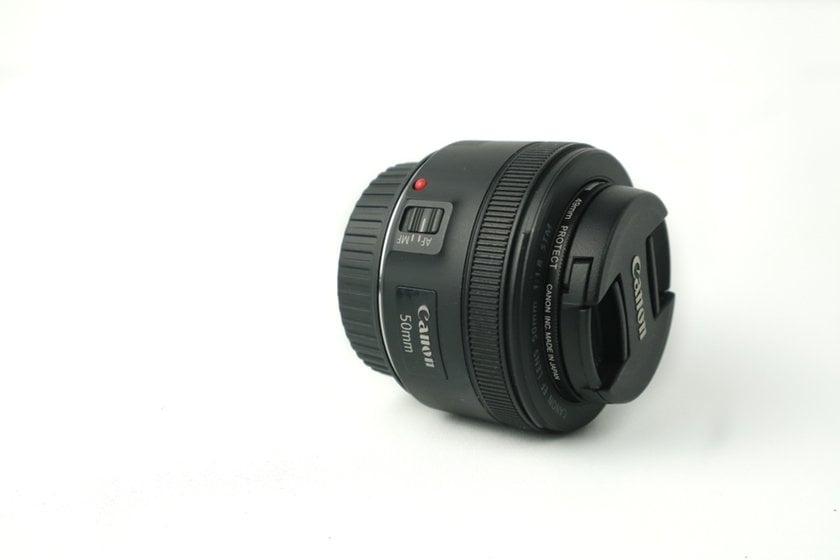
50mm macro lens – Compact, lightweight, and usually cheaper. Works especially well on crop-sensor cameras and is a good option if you want an affordable introduction to macro photography.


Most of these lenses offer true 1:1 magnification, letting you capture subjects at life-size on your sensor. When I photograph a ladybug, I almost always choose the 100mm. The extra distance lets me frame the shot carefully, use natural light or a diffuser, and avoid startling the little creature, which is crucial for getting a sharp, detailed image.
I also sometimes change the image size during post-processing to make sure the details I captured fill the frame perfectly for print or online use.
2. Extension Tubes (If a Macro Lens Isn’t an Option)
 Extension tubes sit between your camera and lens to let you focus closer. Think of them as cheap magnifiers. I use a 12mm + 20mm pair when I want more magnification from a normal lens without buying a dedicated macro lens.
I attached tubes to a 50mm lens to capture the texture of a dried leaf at 1:1-ish magnification. However, there are downsides: you lose infinite focus and light, so watch exposure.
3. Macro Filters
 Macro or close-up filters screw onto the front of your lens like a magnifying glass. They’re inexpensive and portable. I keep a 2× and 4× set in my bag for travel when I can’t bring multiple lenses. For instance, 4× macro filters are useful for coins and jewelry on a tabletop where lighting is easy to control. They do lower image quality compared to a true macro lens, but for learning composition and lighting, they’re an unbeatable value.
4. Camera
You don’t need a high-end body to start. My first macro shots were on an entry-level DSLR.
 Here’s what really matters:
Sensor size: full-frame gives shallower depth of field and slightly different frame coverage; crop sensors make subjects look closer.
Live view/focus peaking: great for manual-focus precision.
Sturdiness: a weather-sealed body is nice if you shoot outdoors.
Beginner-friendly options include Canon EOS Rebel T8i (entry-level DSLR), Nikon Z50 (crop-sensor mirrorless with focus peaking), or Sony a6400 (compact, lightweight, excellent live view for macro).
Learn more: Top 8 Cameras for Macro Photography in 2025
Your AI-Powered Photo Editor for MacOS and Windows
Discover Now!Frequent Macro Mistakes and Easy Fixes
 I’ve made every beginner mistake — here are the ones that hurt the most and how I fixed them.
Early on, I struggled with too shallow a depth of field — only a sliver of my subject would be sharp. Stopping down to f/8–f/11 or focus-stacking multiple shots solved it.
Camera shake was another headache. Even slight hand movements blurred my images. Using a tripod, remote release, and mirror lock-up made a huge difference, and a ring flash helped when I needed mobility.
Finally, poor lighting and harsh shadows often ruined my shots. Shooting in open shade, diffusing sunlight, or using a simple reflector softened shadows and revealed textures naturally.
By paying attention to these common pitfalls, you can capture clean, detailed macro shots more consistently. With practice, your images will start to show the small world in all its stunning detail.
Practical Macro Photography Techniques and Settings
 I often get asked for specific macro photography techniques and settings. Here are ones that actually work in the field:
Start with aperture f/8. Move to f/11 or f/16 if you need more area in focus, but remember that diffraction can soften micro-contrast beyond f/16 on some cameras.
ISO 100–200 for clean images; raise it only if you need faster shutter speeds.
Use manual focus: tiny adjustments matter. I nudge the focus ring in millimeters and watch the live-view zoom.
Try focus stacking for static scenes: take a series of images, each focused at a slightly different plane, and blend them in post.
How to Edit: Tips and Tools
 Editing my photos is much easier when I follow a clear workflow. Here are some practical steps I use to improve my images:
Check exposure and color. I start by adjusting brightness, contrast, and white balance to set a solid base.
Sharpen details. When a photo looks soft or blurry, I use tools that sharpen pixelated images to bring back clarity.
Upscale when needed. For small images that I want to print or display large, I use an image upscaler 4K to increase resolution while keeping details intact.
Work in small steps. I make gradual adjustments and compare before and after to avoid over-editing.
Keep it natural. I’ve found that subtle changes usually produce the most professional and pleasing results.
Following these steps helps me save time and consistently get sharper, cleaner, and more polished photos.
Learn more: How to Edit Macro Photos with Luminar Neo
Key Points
 Macro photography taught me how much there is to see in the tiniest places. It’s equal parts patience and technical skill: you learn to read light, coax a camera into focus at hairbreadth distances, and compose images that make small things feel big and meaningful.
Start with a simple lens or close-up filter, practice the macro photography settings I shared, and don’t be afraid to make mistakes — they’re how you learn that perfect shutter click. If you go out this weekend, look for the ordinary: a chipped leaf edge, the texture of a petal, a window of a spider’s web. Those tiny worlds are waiting.