Photo Retouching with AI - Introducing Luminar Neo
October 20, 2021

In today's cutting-edge digital age, photos and videos play a vital role in communication and self-promotion, but editing them and getting them nominated for awards has always been seen as a skill reserved for professionals and those with a lot of experience. As a beginner, it's easy to feel overwhelmed by the amount of money and time you'll need to invest to learn how to do it.
However, with the advent of AI, many of these pain points are disappearing. AI has been integrated into many aspects of our lives, and now it's making its way into photo editing, drastically reducing the time it takes to do simple repetitive tasks and making it possible to apply advanced retouching that once seemed like something only a professional could do. This means that even beginners in retouching and editing can now use these AI techniques to give their photos and videos the personalized touch they want.
This is the appeal of Luminar Neo, a photo retouching program developed by Skylum.
Luminar Neo is, first and foremost, a photo editing program, or at least a photo editing program that is different from Adobe Photoshop, which almost everyone is familiar with. While most editing programs focus on applying a certain percentage of the program's features or making manual adjustments using the slide bar, Luminar Neo focuses on automating many of the editing and retouching tasks through the use of AI technology and applying AI-generated effects to reduce the time it takes to do so drastically.
Let's take a look at the interface first. Luminar Neo's interface looks relatively user-friendly.
A user-friendly interface is characterized by its simplicity and ease on the eyes, making it an ideal choice for individuals who are new to a particular software or platform. Luminar Neo’s interfaces are designed with beginners in mind, prioritizing clarity and ease of navigation to ensure a smooth and intuitive user experience.
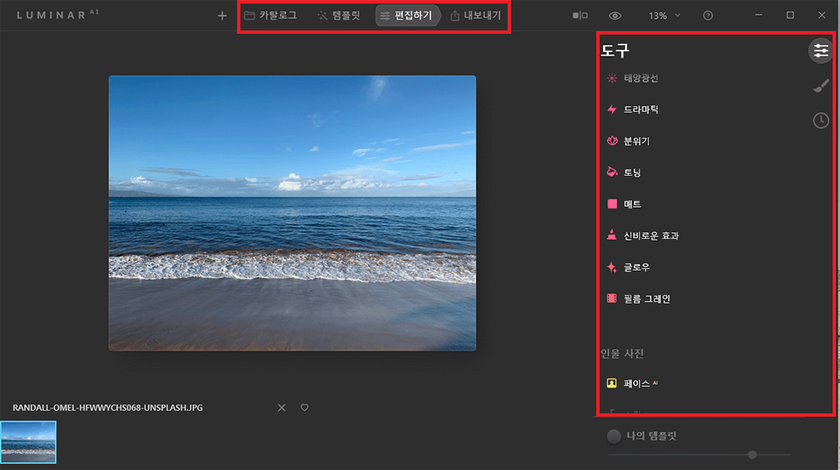
At the top, you'll see a simple menu of AI templates, editing, and exporting your finished photos. On the far left, you can click the button labeled + to import a new photo to work on.
Here's a quick overview of some of the most important features of Luminar Neo.
Enhance Compensation Features
Clicking on the Edit function at the top of the screen will provide you with access to the Enhance feature, and dragging it to the bottom will allow you to adjust your photo for different types of photos, from creative to sky enhancements to portrait enhancements.
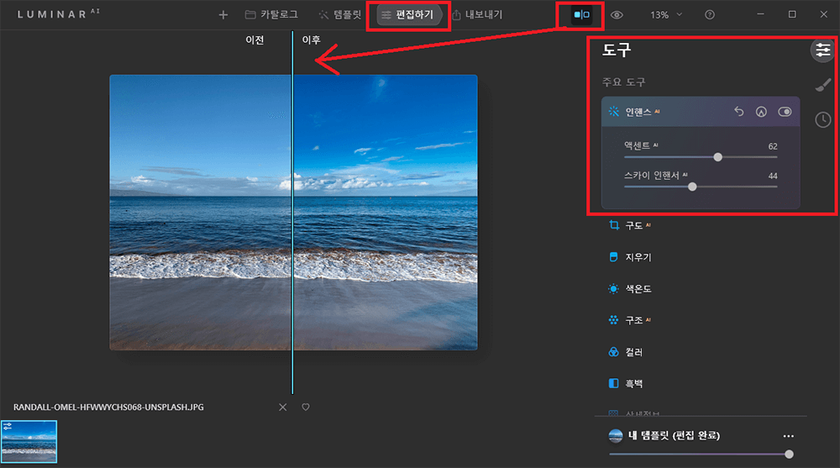
As demonstrated by the photo above, the Enhance feature allows you to adjust the level of color in the photo to your liking and improve the sky look, which is a very handy and useful feature.
Another handy trick is to click on the Before / After feature (indicated by the arrow in the photo above) to see the before and after at a glance, and you can see that the before on the left has a much fresher color than the after on the right.
There are a ton of editing tools in Luminar Neo beyond enhancement, including color temperature, structure, black and white, masking, and composition, but one of the most interesting features is sky correction.
It's not an exaggeration to say that Luminar Neo is heavenly.
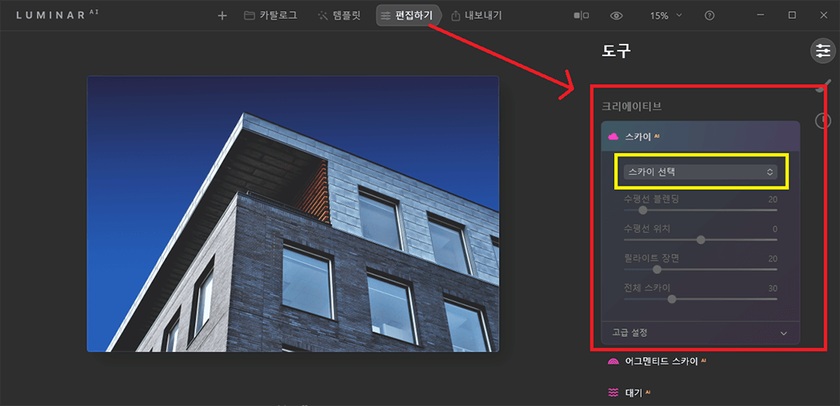
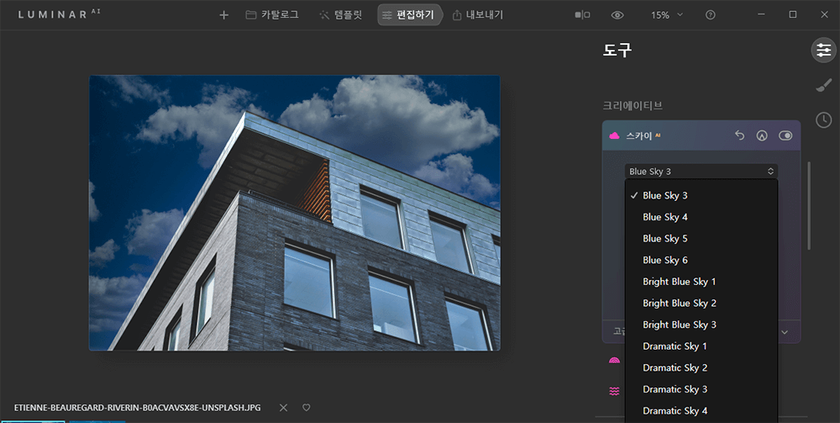
In the Edit function, under the Tools menu, if you look at Creative, there's a Sky feature.
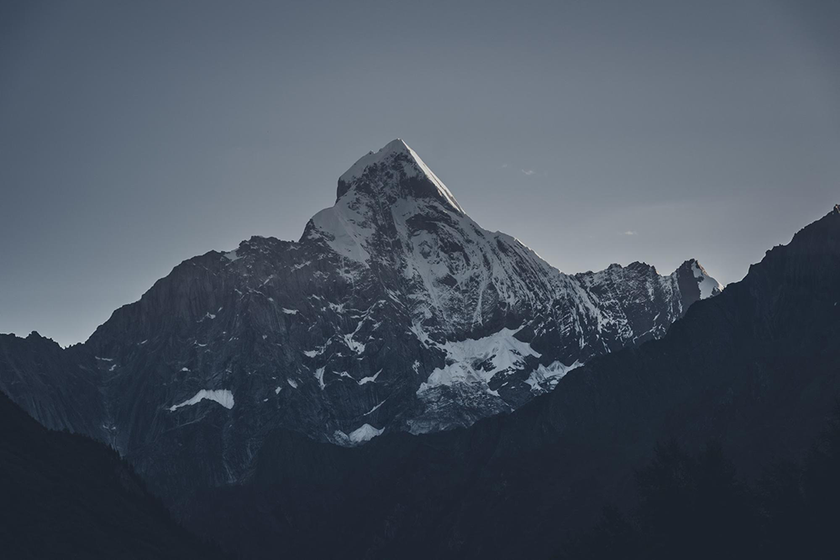
You can choose the type of sky you want from this feature. For now, the top photo is a plain sky photo with no clouds, but let's see how this sky feature can add some emotion to the photo.

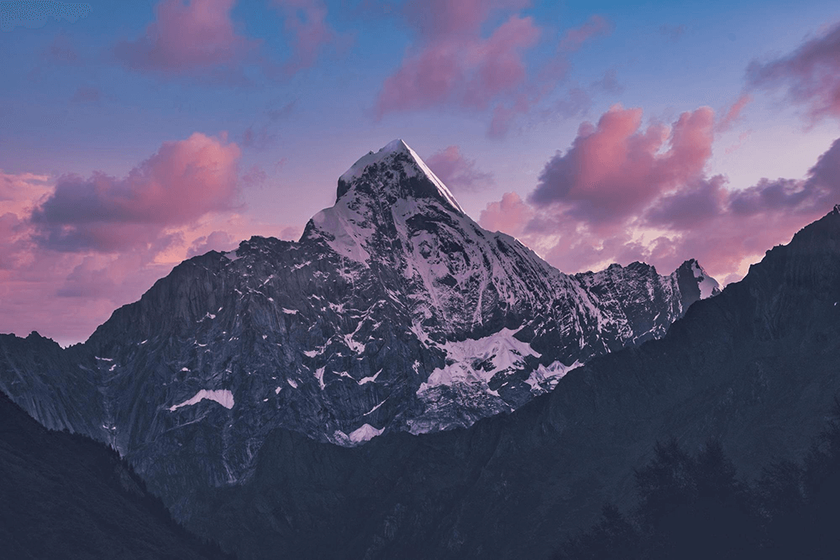
Adding clouds to a photo like this or adding a touch of the Milky Way can really elevate a photo.
Different Presets Suggested by AI
One of the best core tools in Luminar Neo is called "Presets".
When you upload a photo, the AI analyzes it and suggests the best retouching template for it.
You could call it a "filter" like many of today's camera apps, but it's a bit more than a simple filter.

Clicking on the “Preset” menu at the top like this will create the presets menu on the right.
You can then choose a Preset that matches the mood of your photo and click on it to apply it to your photo without having to adjust the levels. I tried applying the "Tuscany" Preset, which is for landscape photos, to my original photo, and it gave it a dreamy look that was different from the original's characteristic mood!
Advanced yet easy-to-use photo editor
Erase People and Objects
Another useful feature of this photo retouching program is the "Erase" function.
Have you ever taken a photo and realized that there's an unwanted object or person in the background that you'd like to get rid of? Luminar Neo's Edit menu includes this erase feature along with many other editing features. It's not quite as complete as Photoshop or other editing programs, but it's almost semi-professional at removing basic objects.
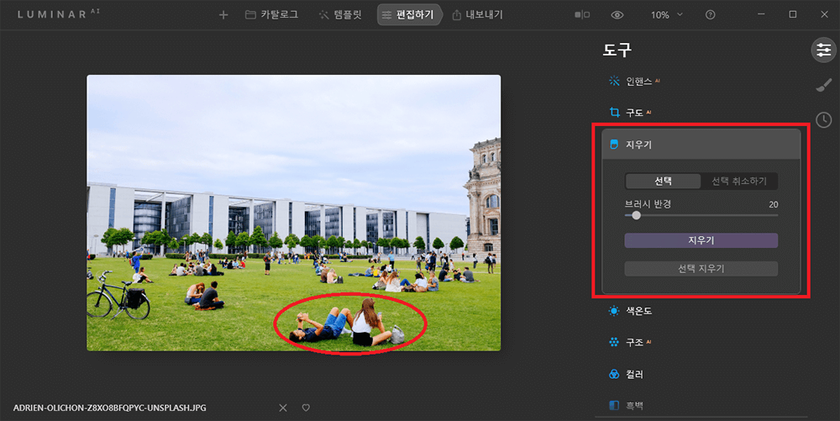
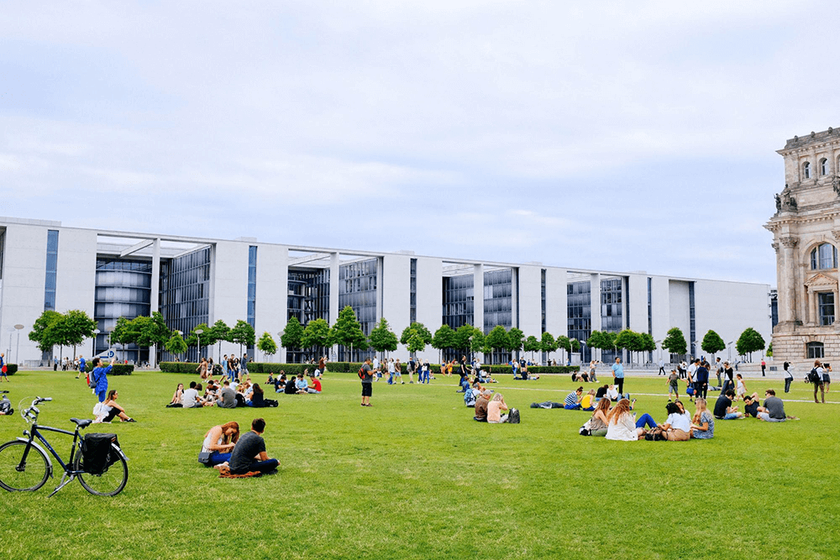
Here's how the Erase feature cleanly removed the man and woman in the circle of the first photo. While it may take a bit of work or be noticeable if the object or person you're erasing overlaps with the background or other objects in the photo, this simple removal is so clean that it's almost invisible. This is a very useful feature for editing travel photos.
Portrait Correction Features
Next up is the Portrait Correction feature.
While it doesn't offer the sophisticated, hands-on detailing and retouching tools of Adobe Photoshop, the
Luminar Neo also provides some useful basic portrait enhancements.
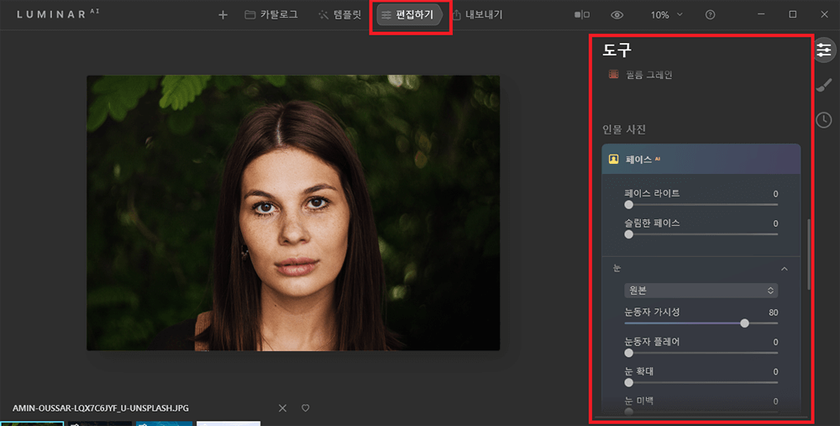
Again, the Edit feature allows you to make face, eye, and skin adjustments from the Portrait menu. This is great for reducing the size of your face and making your eyes bigger, removing and whitening skin blemishes, and applying simple makeup effects.
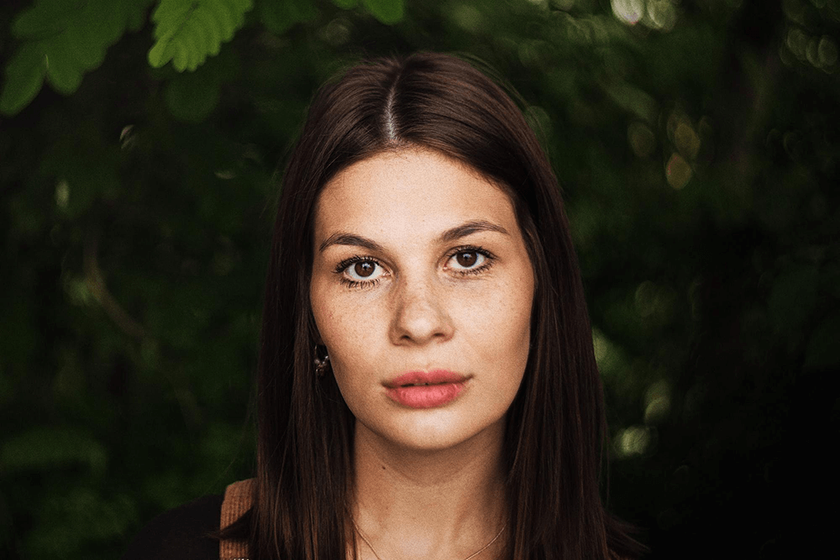
The original was a bit dark, so by correcting the shadows, removing blemishes, and adding some color to the lips, the portrait feels more alive.
If it's a portrait, you can do this as needed.
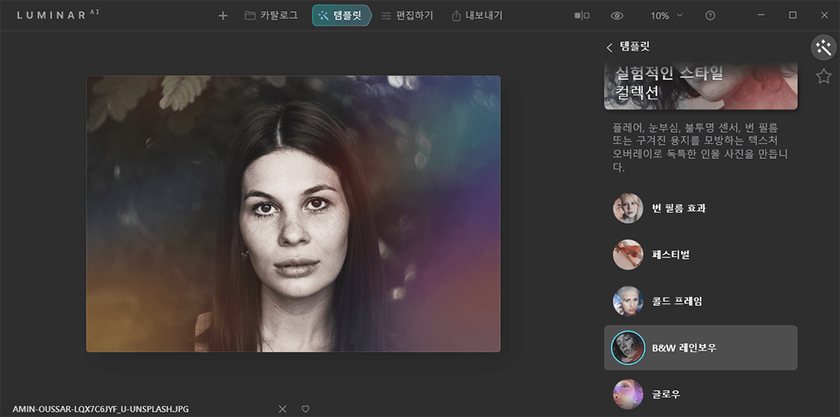
You can also use the template feature to create a completely different look by just dressing the template, as shown below.
In addition to this, Luminar Neo includes another great feature.
This is the ability to "correct body shape".
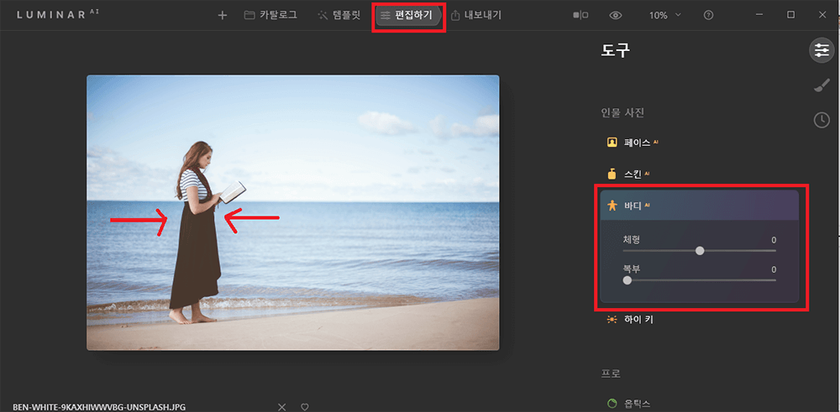
In the Edit feature, the Body menu allows you to adjust the body shape of the person in the photo to shrink and grow to your liking.
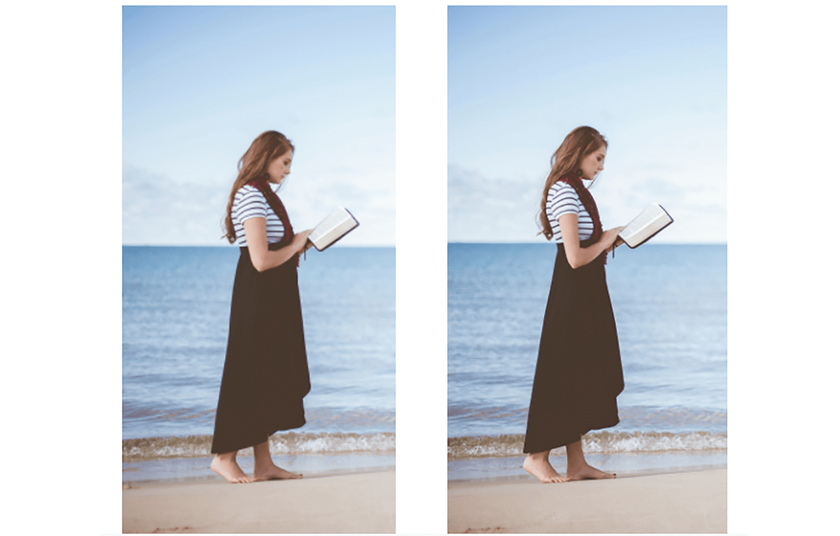
Compared to the original photo on the left, you can see that the woman's figure is a bit slimmer in the photo on the right. This is one of the most useful features.
When you're retouching and editing photos, you often need to go back to a previous step.
Luminar Neo is very well organized in this regard.
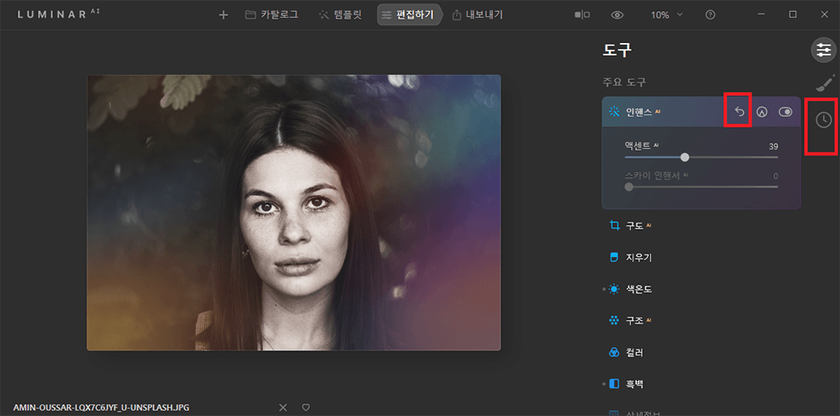
All calibration and editing actions can be backtracked to a previous step by clicking the arrows shown on the top screen. But if you want to get more specific and go back to a particular action step, you can click on that clock icon on the far right.

If you click on the “recently edited” icon, you'll see a history of everything you've done to that photo, and you can click on a specific step to go back to it. It's a really handy feature, isn't it?
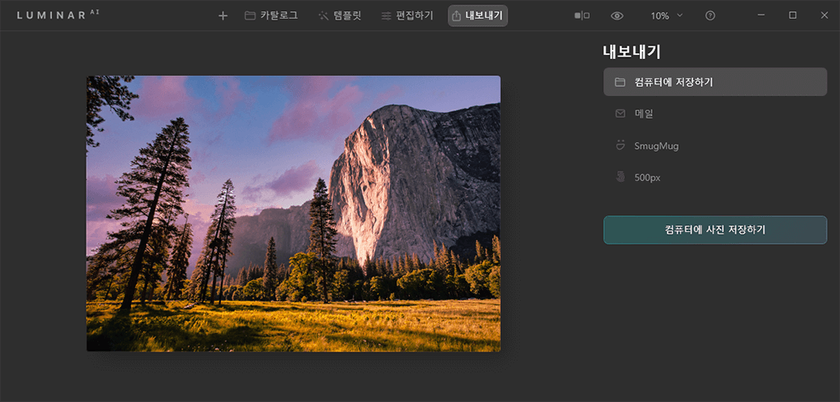
When you're done, you can export your photos out of the program via the Shareto feature at the top of the screen or save them to your computer.
A 7-day Free Trial of Luminar Neo with No Obligation
Get it now!If you'd like to save your photos to your computer, click the "Share to" button at the right top of the screen, and you'll be able to save your photos in various file formats within your choice. Choose whether you want to save or share the photo, check the settings, and click "Save".
This is how I used Luminar Neo to retouch and edit several of my own photos.
I've found the software to be very time-saving and convenient, and thanks to its many AI-enhanced retouching features, even beginners can create emotional photos. Another big plus is that the interface is easy to use despite its many features, so it's not overwhelming to use.
If you have little experience with retouching or editing but want intermediate results for your photos, this is the program for you.