Find out how to go back to any step and make additional changes.
Note: This feature will be available on Luminar 2018 for the PC mid 2018.
Luminar 2018 has a very powerful feature that allows you to step back through any changes you have made to your image, even after you have saved your file. The History Button allows you to work in a non-destructive workflow which is important if you want to go back to any step and make additional changes or revert to the original image.
Introducing the History Button
When you first open an image, you’ll notice that the History Button is grayed out and you are not able to click on it. This is because no changes have been made yet.
 The Undo and History Buttons are grayed out. (Photo by Laurie Rubin)
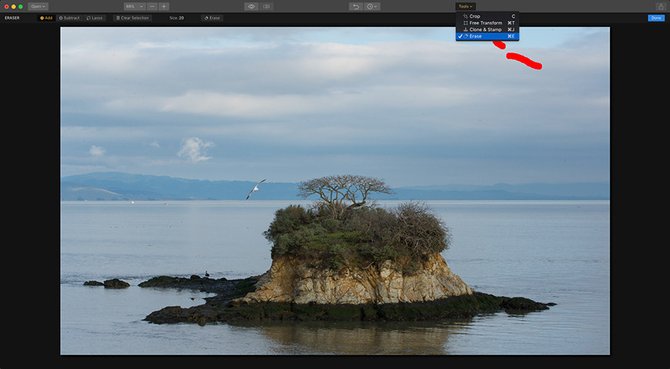
Making any change will give you access to the History Button
Now that we have made a change to this image, both the Undo and History Buttons are highlighted and are available. You’ll notice in this case, we are able to view the change, which was the Erase tool that we used on this image.
 The History Button is now available to select
Making Changes
The more changes you make, the longer the list becomes. Each step is recorded so that you are able to go back at any point to see the changes and to make further edits.
Note: The Undo Button (next to the History Button) will allow you to go back one step per click... not just one step. Click multiple times to go back. History is a quicker way to see a list of steps and to do multiple undos.
 The list under the History Button will grow longer with each new change
Saving Your History
Having the ability to use the History Button to go back to any step that you choose is very helpful, but did you know that you can save your file with your History as well?
To do this, go to File > Save… or keyboard shortcut Cmd+S. This will save your image as a native Luminar file (file extension .lmnr).
 Save… will let you save the History with the file
You will have several options to choose:
Save original resources to Document - Includes the Raw file
Save history to Document - This will save your History within the file
Windows compatible - Select this option if you want to open the file on a PC using Luminar 2018 (This option will not save History).
Note: By selecting the Save history to Document, your file size will increase. The native Luminar File format is for the best experience for Luminar only.

Three options are available in the Save dialog box
The Difference Between Save and Export
As you saw above, the Save option allows you to save a native Luminar file with several options including saving History. You also have the ability to Export several different file formats that will work online and in other applications such as JPG, PNG, and TIFF to name a few. (These file formats will not save History, Layers or your filter selections.)


Different popular file formats are available from the Export dialog box
In Conclusion
By saving a native Luminar file, you will have the ability to see the steps that it took to get to your final image, plus you can make further edits and adjustments on any step that you choose when you reopen your file. We suggest saving History to Document so that you will always be able to go back in time.