Hue Changer:
Discover Luminar Neo’s Power
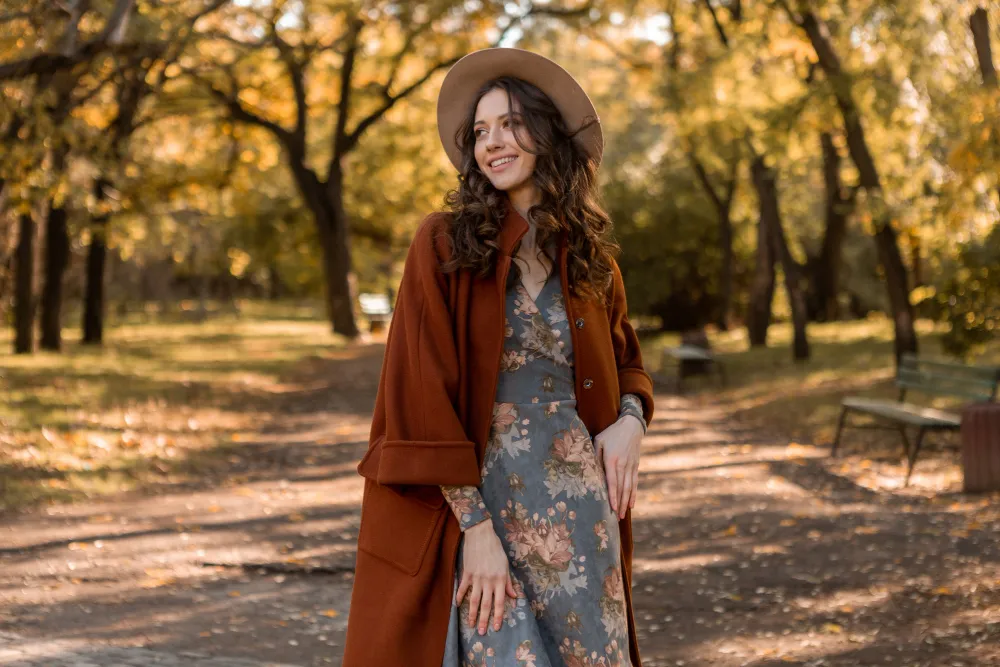
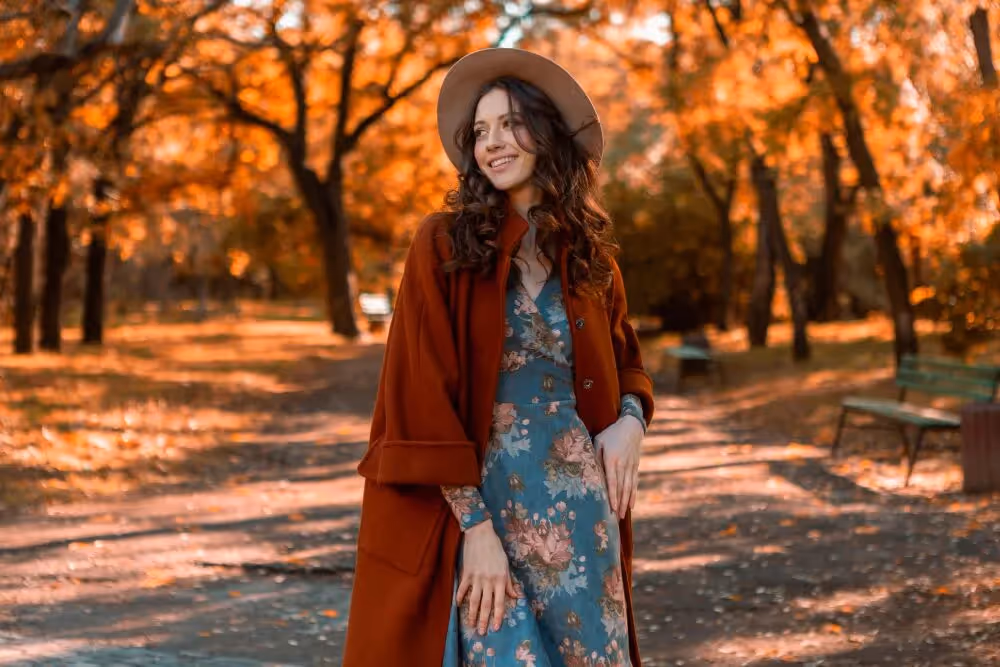
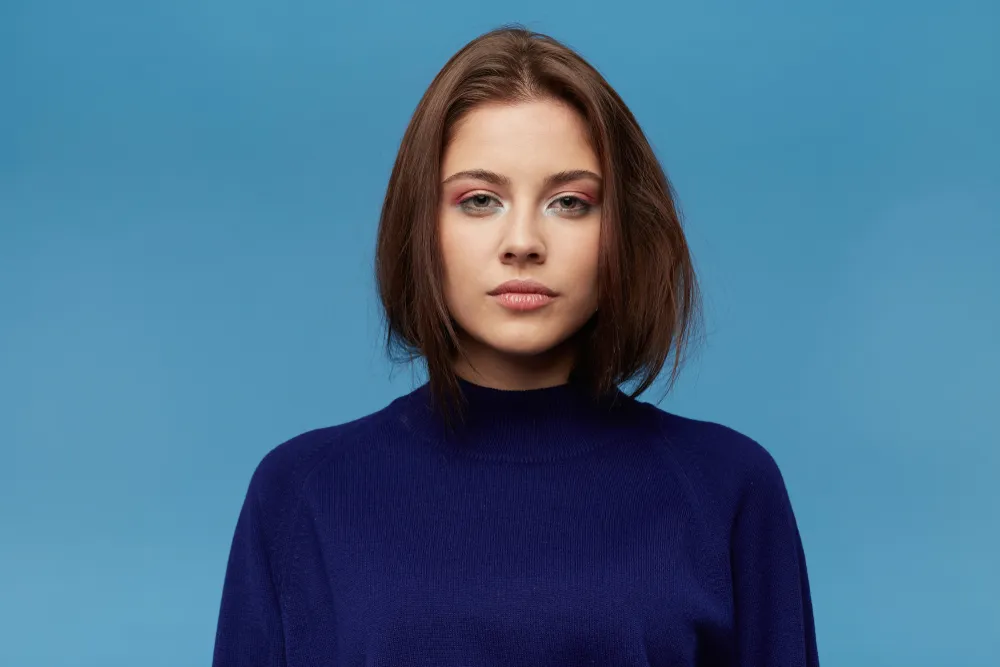
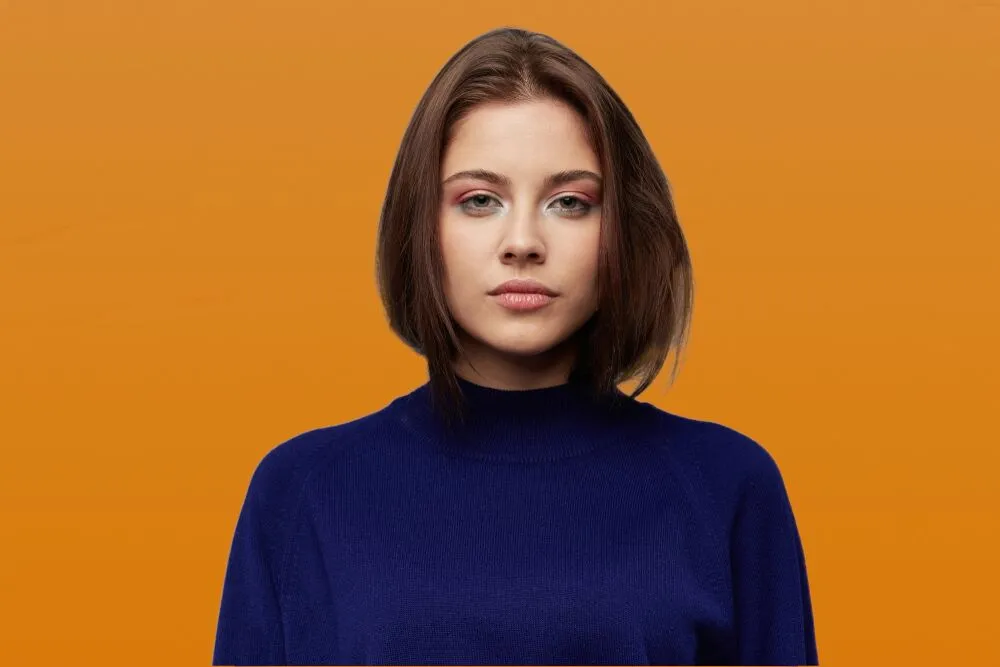
Correct the tone, try on something new for your photo, or add a deliberate creative effect. Achieve it all simply by trying a hue adjust technique in a pro photo editor
View plansHow To Change The Image’s Hue For A Specific Look?
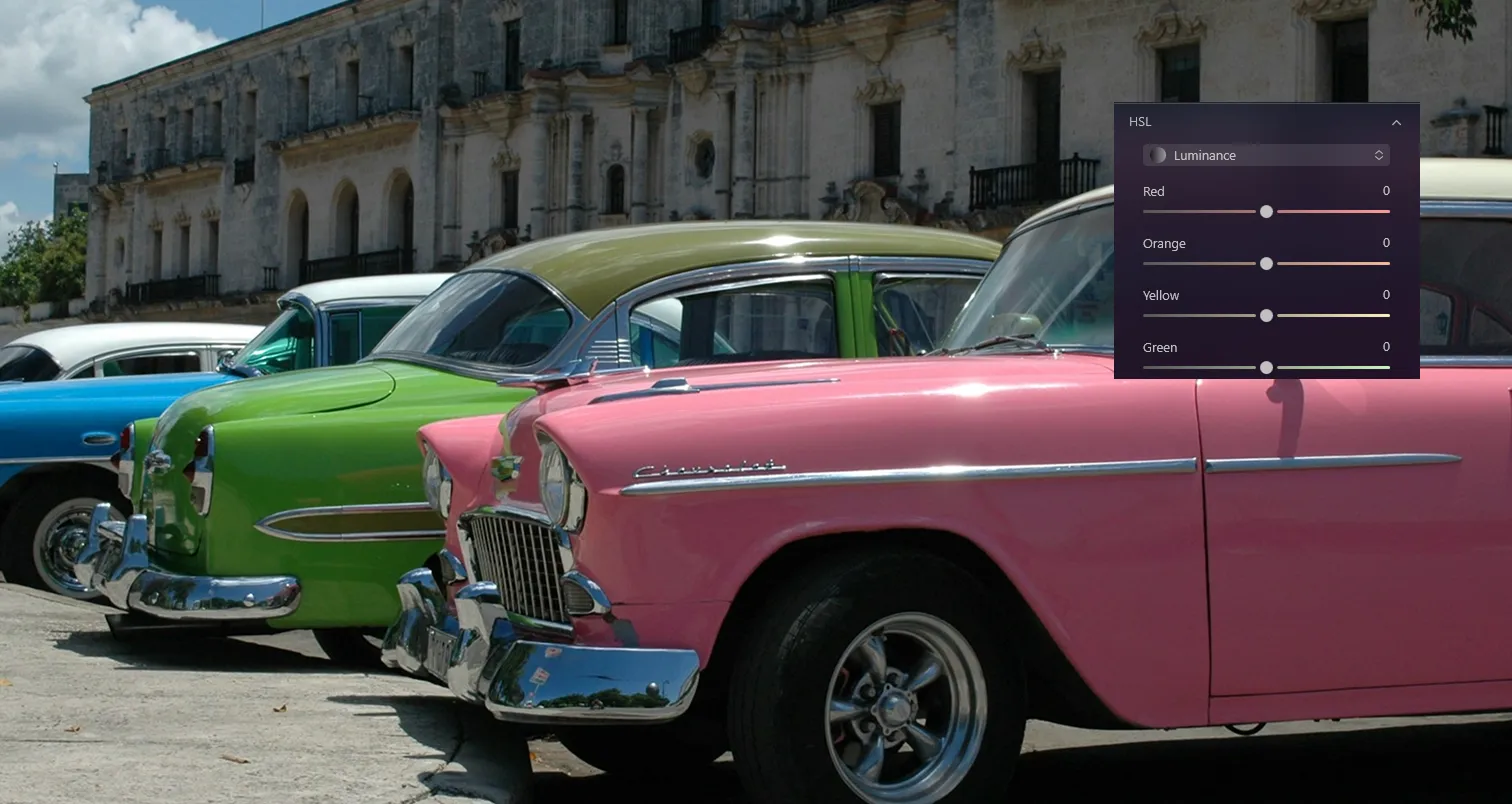
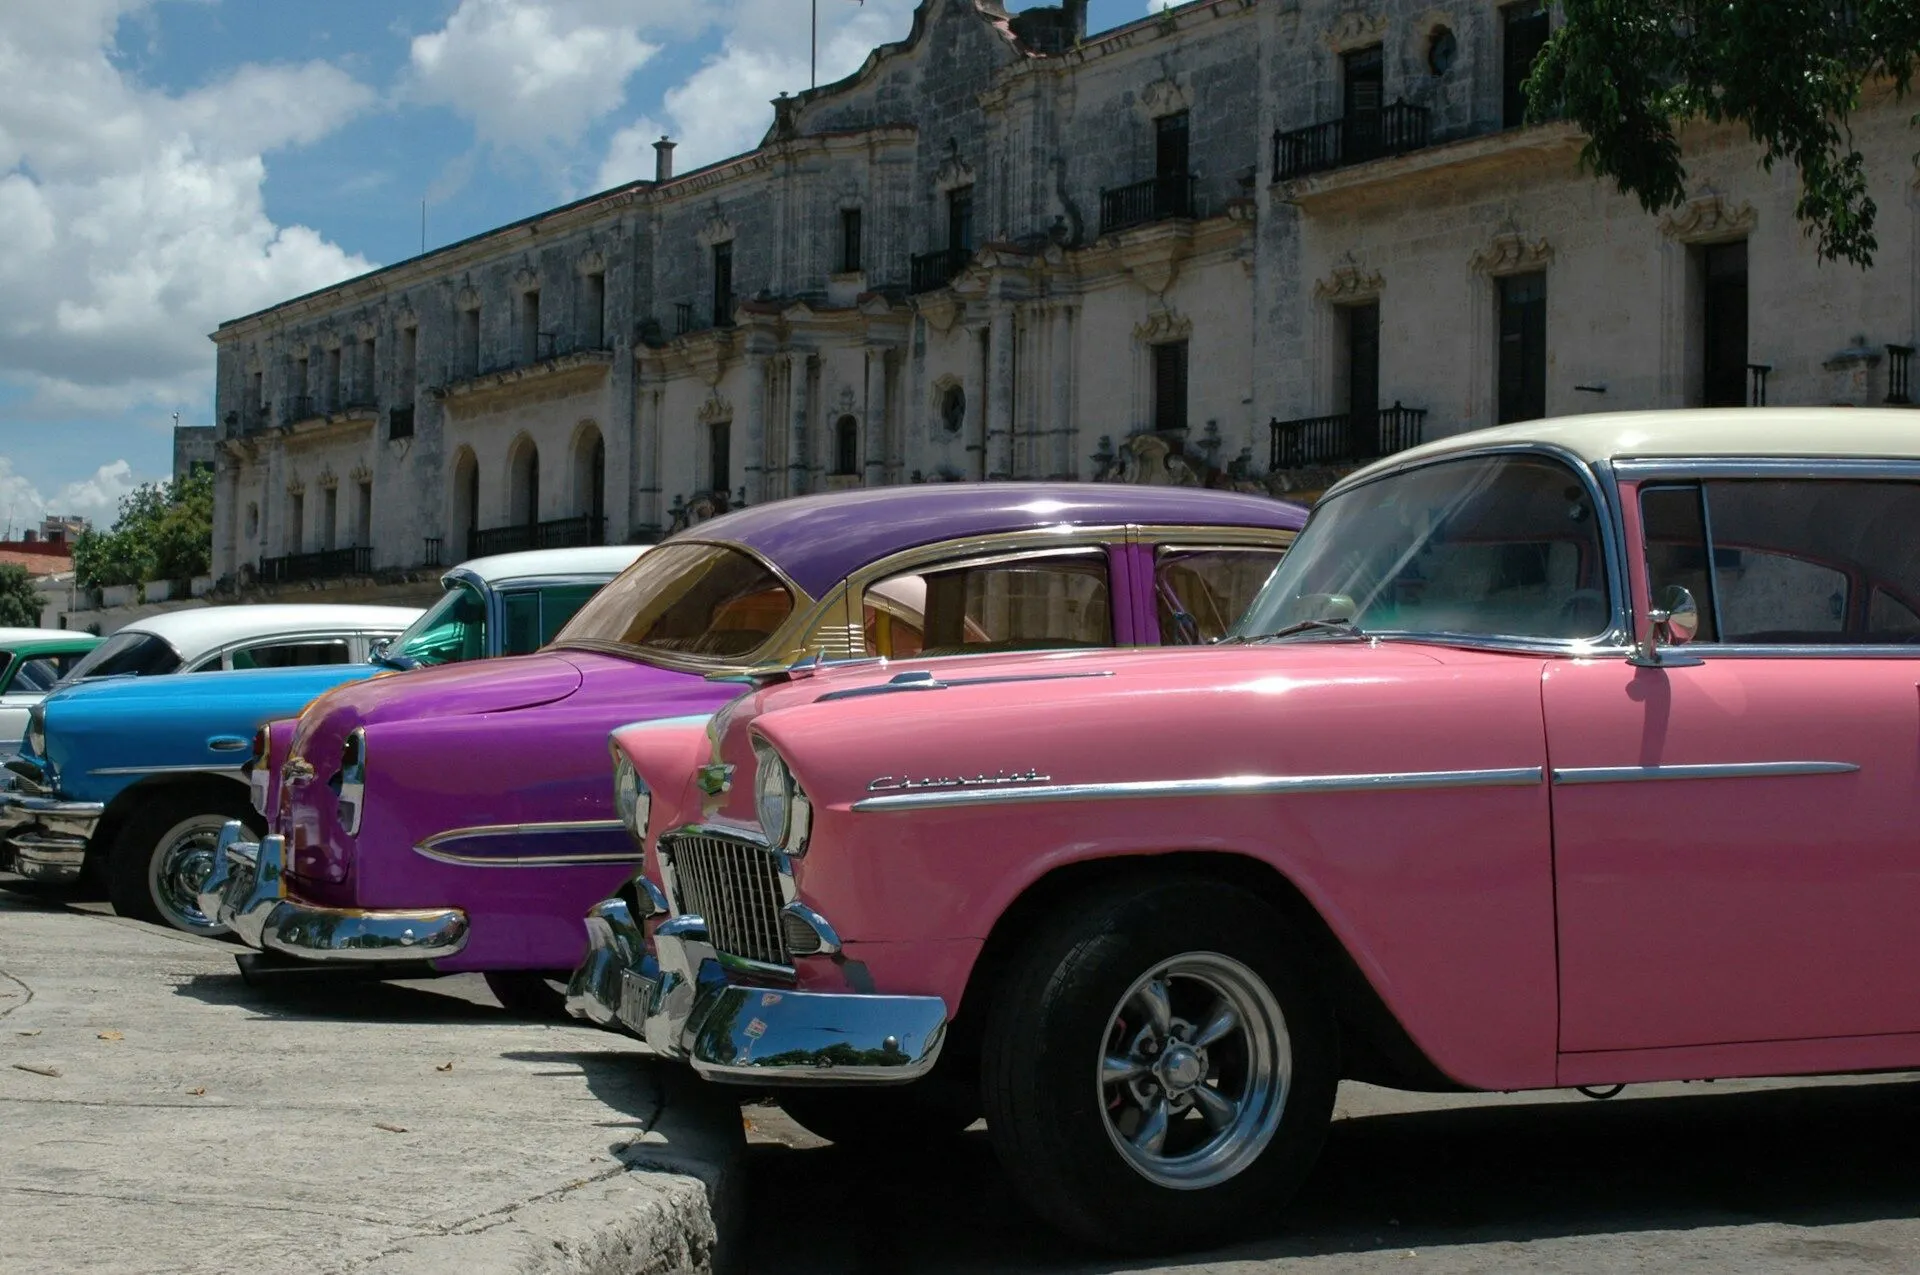
It’s super easy! Think of an idea of what colors you’d like to see pop in your photo. Use a designated tool, for example the HSL tool in Luminar Neo, by simplifying moving the slider that adjusts the hue or basic color shades of your image. Carefully fine-tune the hue adjustment by experimenting with the sliders until you achieve the desired look.
Why Use A Hue Color Changer?
Using a professional color hue changer will help you achieve a professional look in seconds.
Luminar Neo’s HSL tool that contains the controls for Hue, Saturation, and Luminance will help you easily and effortlessly change the hue of your photo.
Luminar Neo’s HSL tool that contains the controls for Hue, Saturation, and Luminance will help you easily and effortlessly change the hue of your photo.

%20(1).jpeg)
_after.webp)
© Cuma Cevik
© Shutterstock
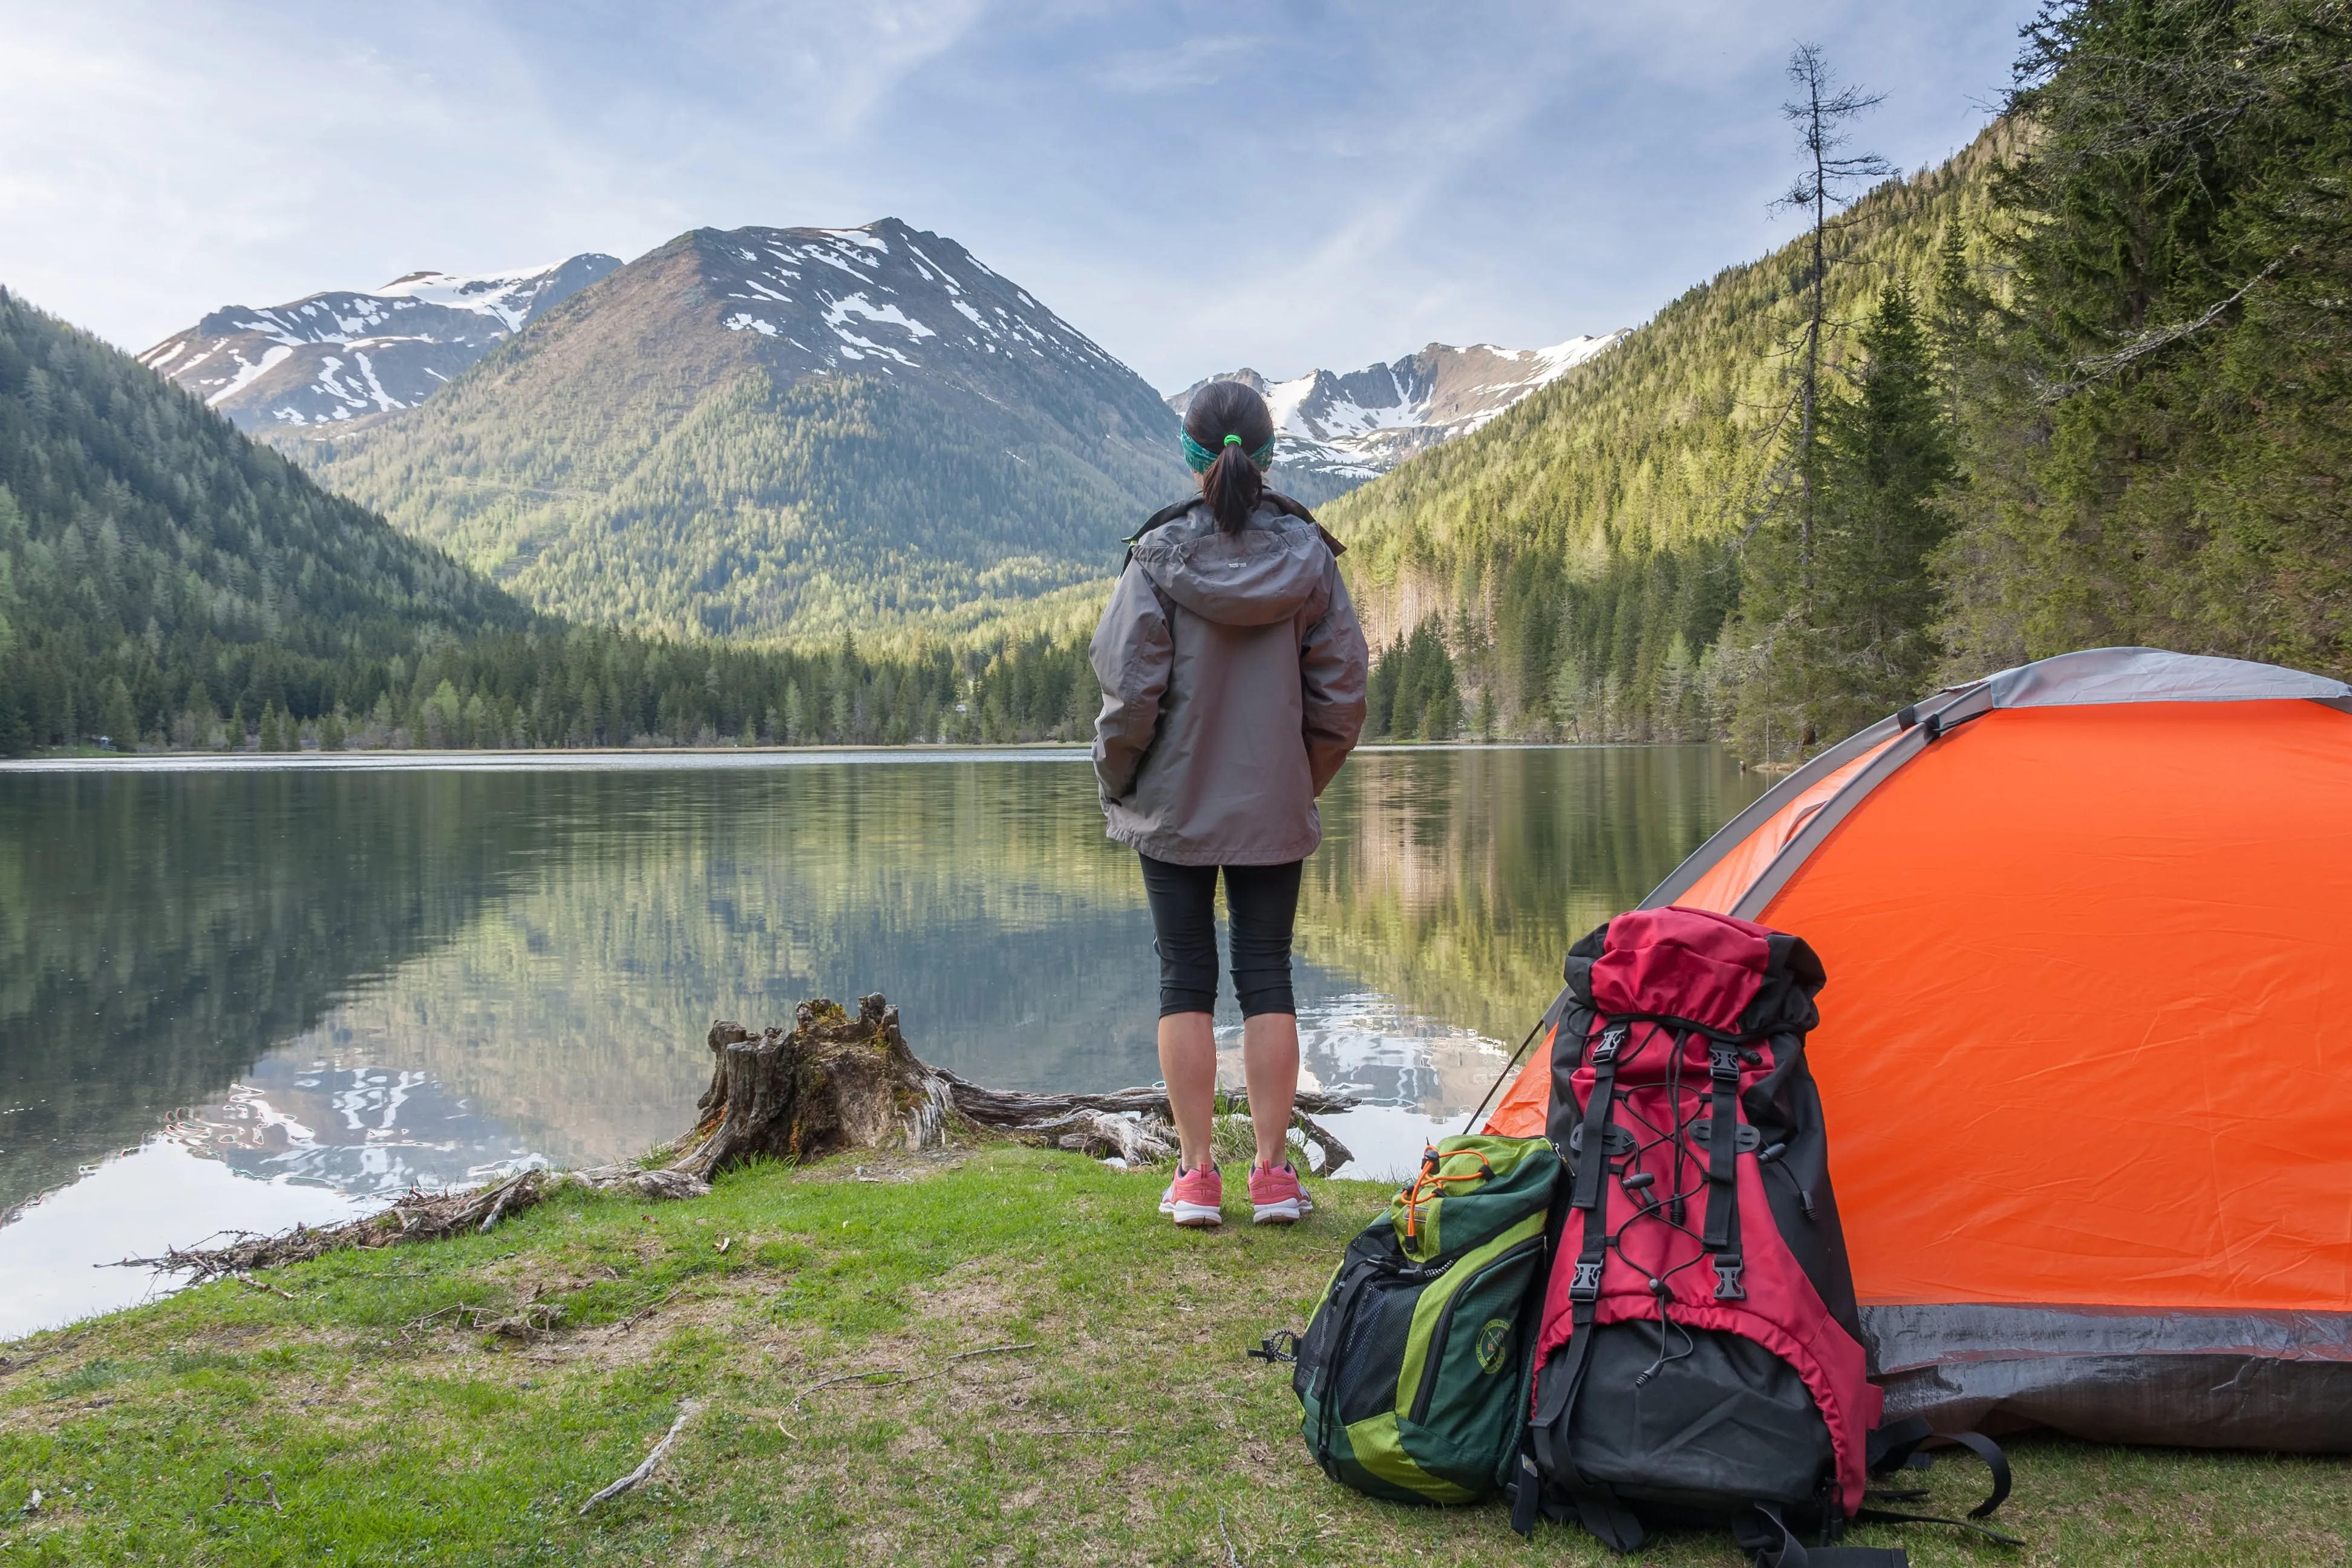
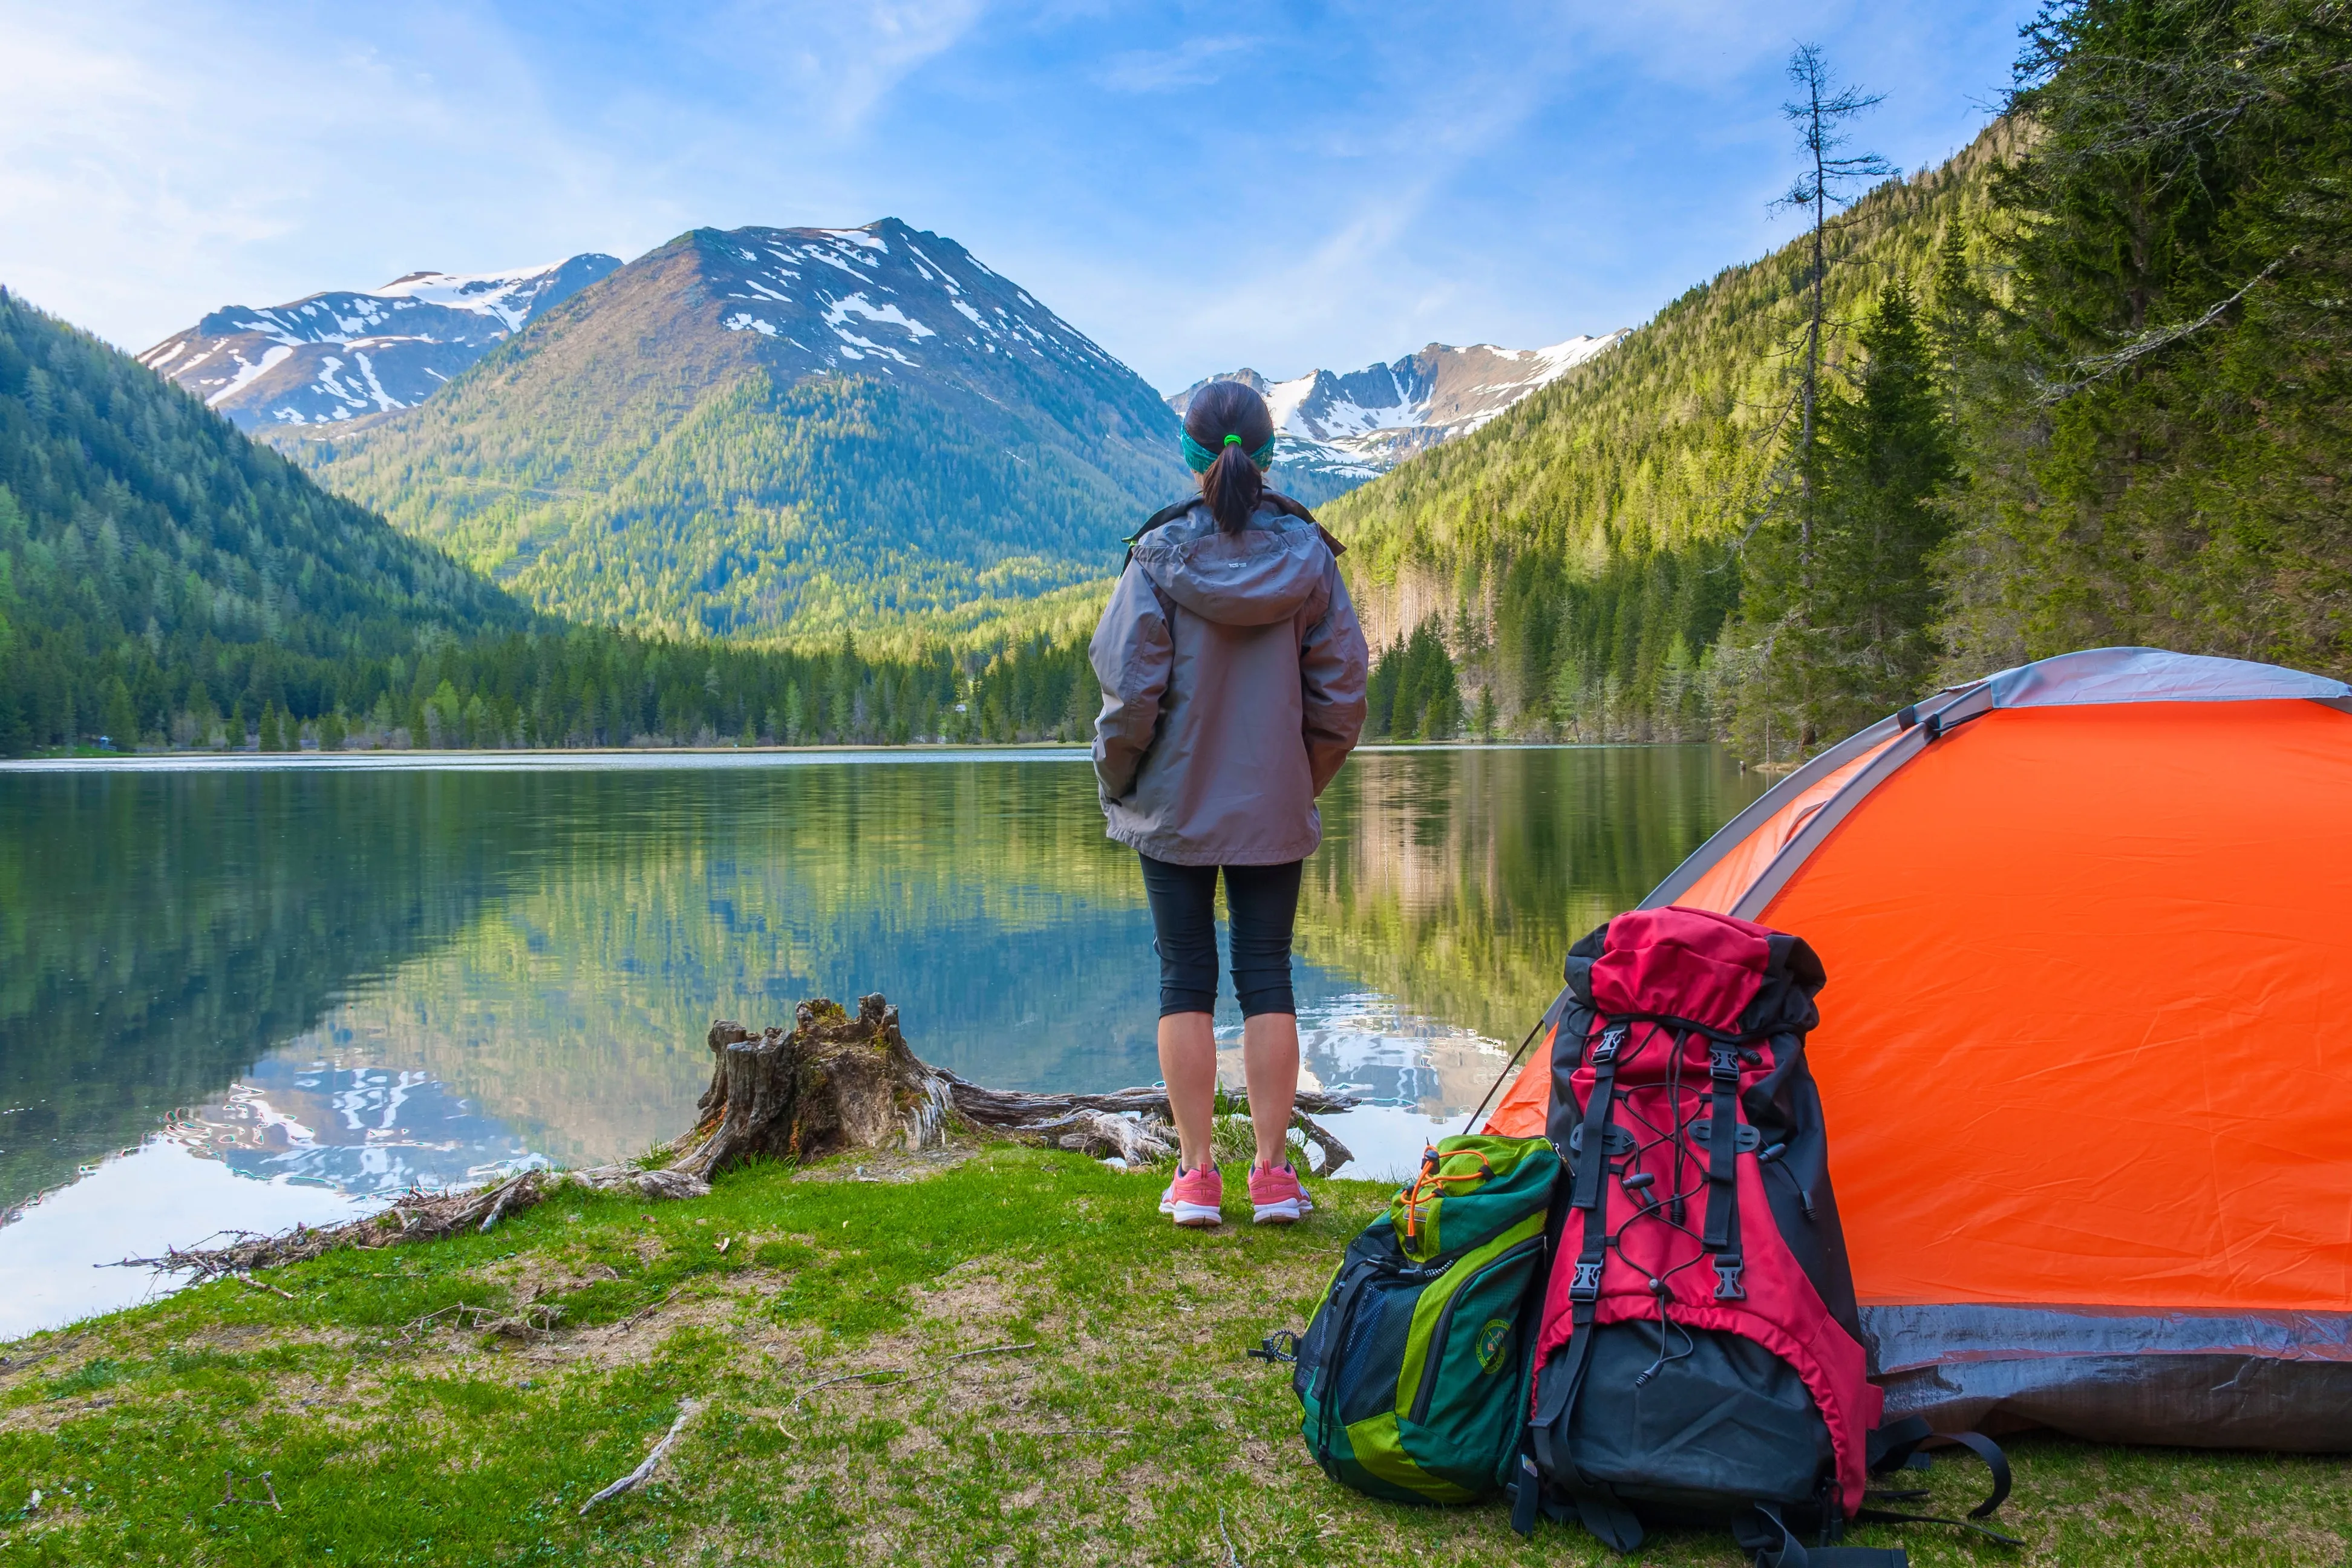
Achieve Perfect Color Control With Image Hue Changer
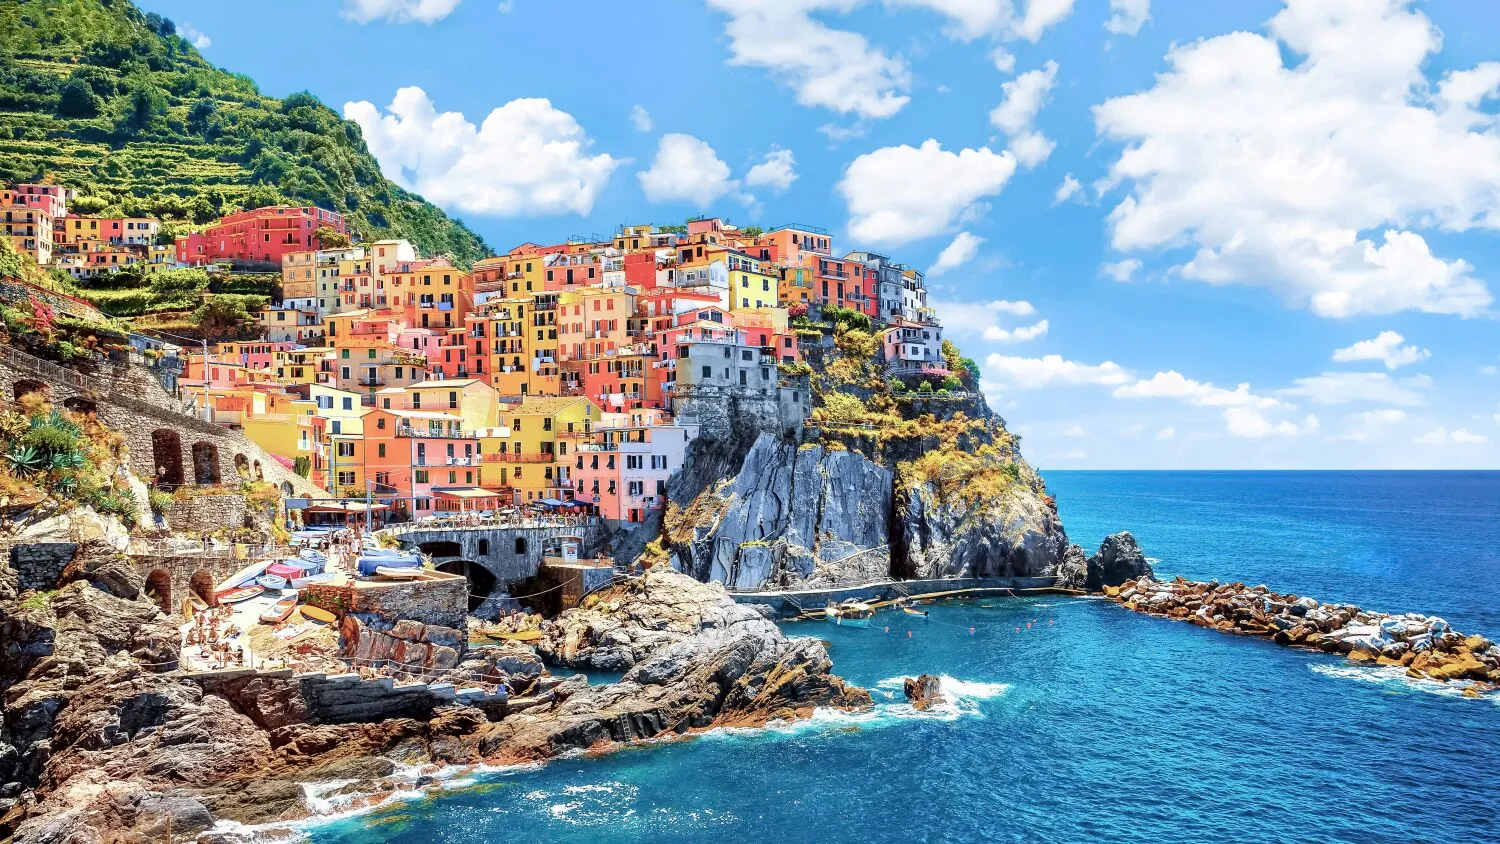
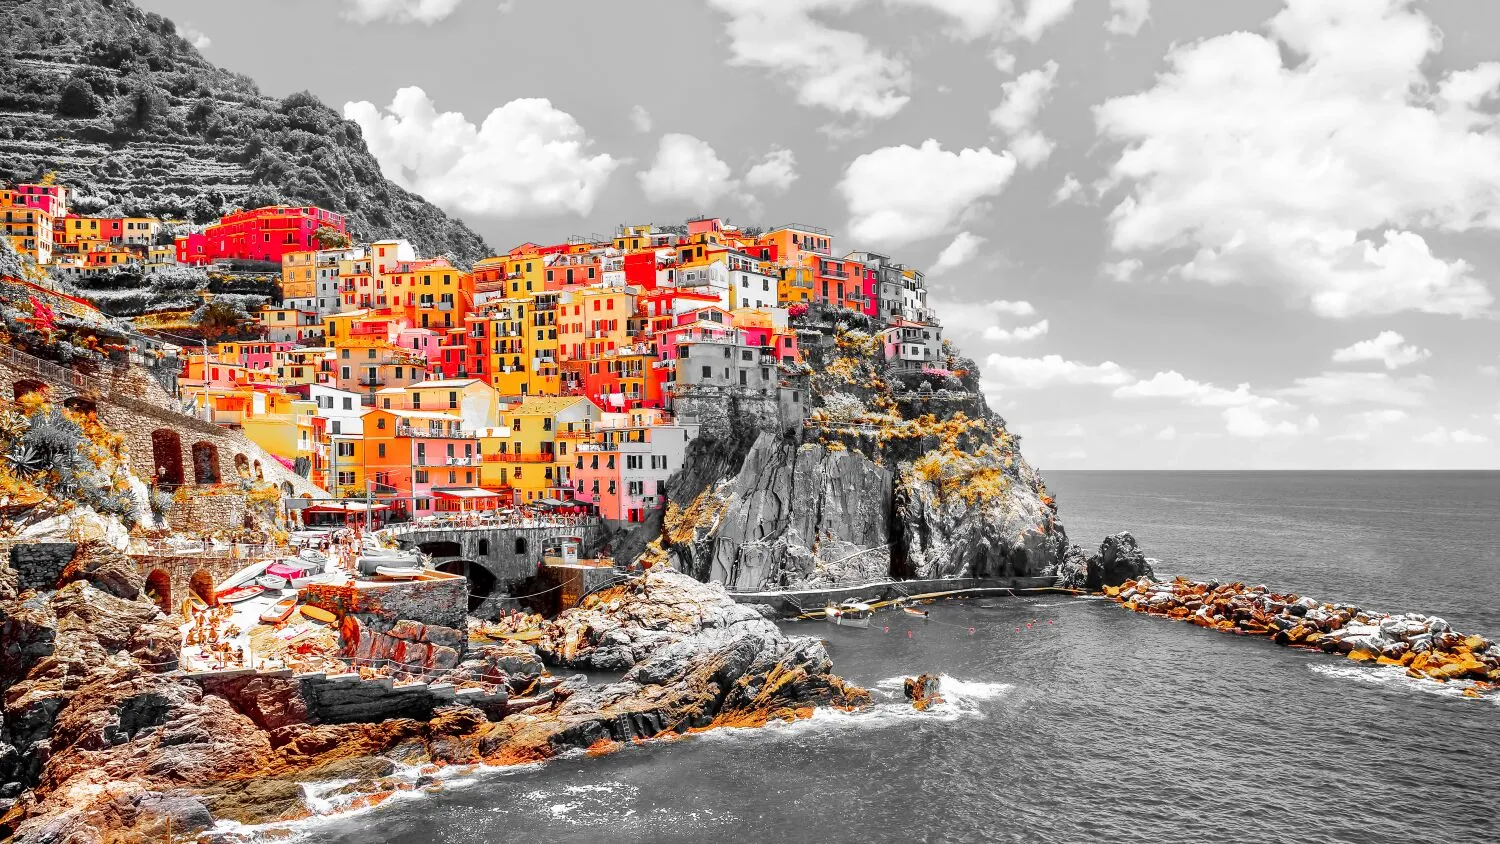
An ideal color can make or break an image’s visual effect. Adjusting the hue can help remove or reduce color casts, making the colors in the image appear more natural. You can also do it for artistic expression, to set a mood or tone, or to match a specific color scheme or theme.
Or you can make a specific object or region in an image can help make it stand out.
Or you can make a specific object or region in an image can help make it stand out.
Hue Editor: Your Key To Captivating Graphics
Let’s discover what you can achieve with the HSL tool
.webp)
© Shutterstock
.webp)
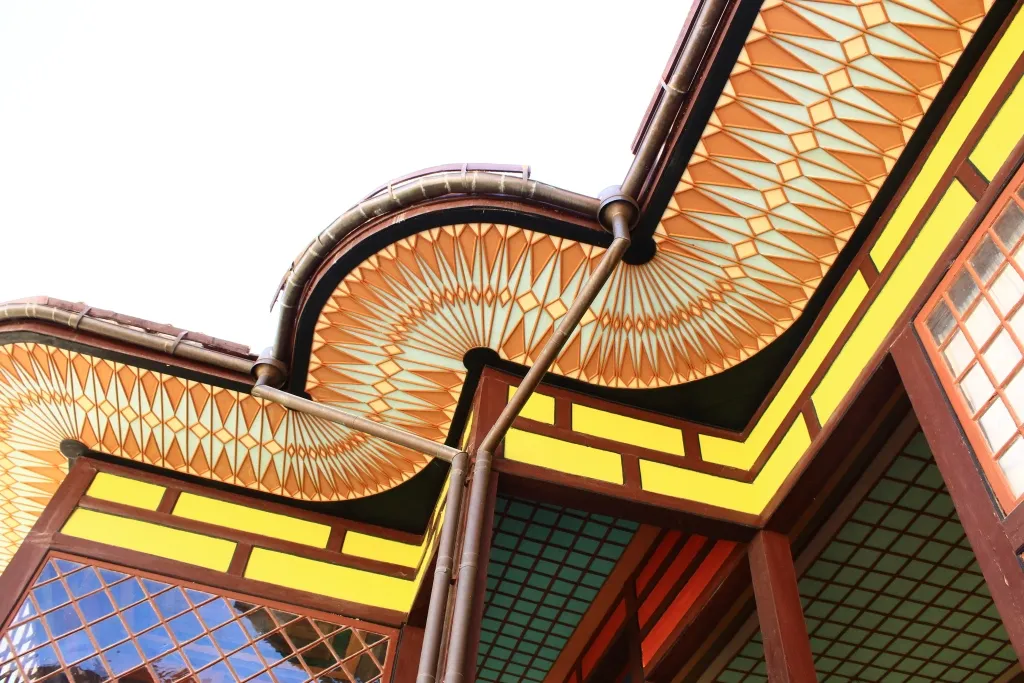
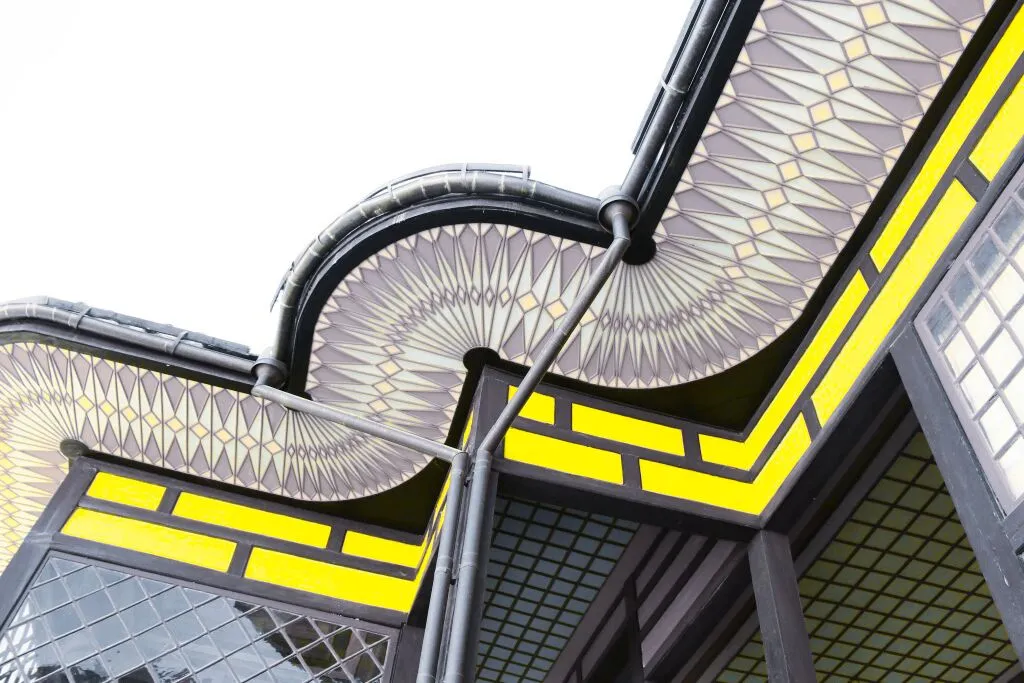
Hue
Adjusts the hue or basic color shades of your image for the selected target. Moving the Hue slider to the right results in a shift towards the next color in the list (for example, from Orange to Yellow). Sliding to the left shifts the hue toward the previous color in the list (for example, from Orange to Red).
Try in Luminar Neo
© Shutterstock
.webp)
.webp)
Saturation
Adjust the color saturation for the selected target. Moving this slider to the right results in a more intense color. Moving it to the left removes color.
Try in Luminar Neo© Shutterstock
.webp)
Luminance
Adjust the brightness of the selected target color. Sliding this control further to the right results in a brighter color within the image. The further to the left, the darker the color.
Try in Luminar Neo© Shutterstock
.webp)
.webp)
Hue Shift
This slider lets you roll the hue in a photo for subtle or dramatic changes. A little hue shift is perfect for eliminating unwanted color tints, while a significant shift is perfect for a dramatic style.
Try in Luminar NeoHue
Saturation
Luminance
Hue Shift
Explore Other Features
Luminar Neo has plenty of other features to help you edit faster and easier
Image Color Replacer

© Unsplash
Change the color of any object in your image in a moment
Change Background Color
© Shutterstock
Enhance your design projects with a background changer, a simple yet impactful tweak.
Saturation/Vibrance
© shutterstock
Explore our tools to customize the perfect image saturation and bring your visuals to life.
Image Color Remover
© Lisa
Convert your images to stunning black and white to evoke timeless elegance
Color Photo Editor
.webp)
© Shutterstock
Breathe new life into your images by adjusting their colors and tones
An application & plugin
For macOS & Windows
- High-performance AI editor
24/7 technical support
30-day money back guarantee
Join community of Luminar Insiders

Frequently Asked Questions
How to change the hue of a picture with Luminar Neo?
Luminar Neo has a designated image hue shifter – an HSL tool. Use the Hue slider to adjust the hue or basic color shades of your image for the selected target. Or use the Hue Shift slider to correct the hue in a photo for subtle or dramatic changes.
Can I reverse the hue shift of a photo?
In Luminar Neo hue photo editor you can reverse any changes by using the Undo button.
What file formats are best for photos with a black background?
When working with photos that have a black background, the choice of file format primarily depends on the purpose and context of the image. JPEG is a widely used format for photographs due to its compression capabilities. It's suitable for photos with black backgrounds as long as you don't need transparency. i a lossless image format that supports transparency. If you want to preserve the black background but also need to maintain transparency in other parts of the image, PNG is an excellent choice.
What impact does the hue changer have on image file sizes and quality?
The impact of changing the hue of an image on its file size and quality depends on the specific image editing software and settings you use. Generally, changing the hue alone should not significantly impact the file size or quality of the image because it doesn't involve adding or removing image data. Instead, it involves recalculating the color information of existing pixels.