
Auto-upgrades
renewal in 1 year for $ 49 .00
With our photo merge software, you have the option to merge up to 10 bracketed images in just 4 steps:

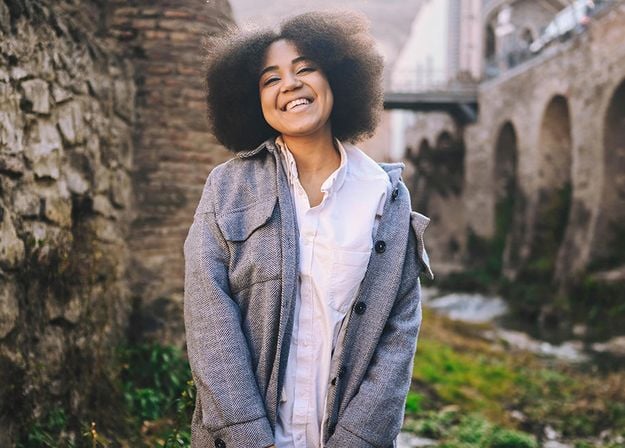
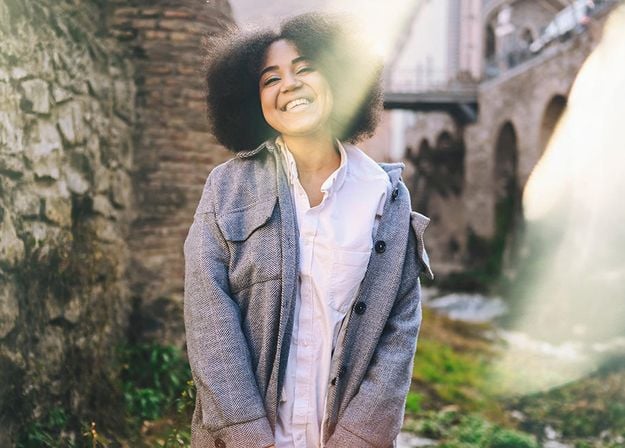
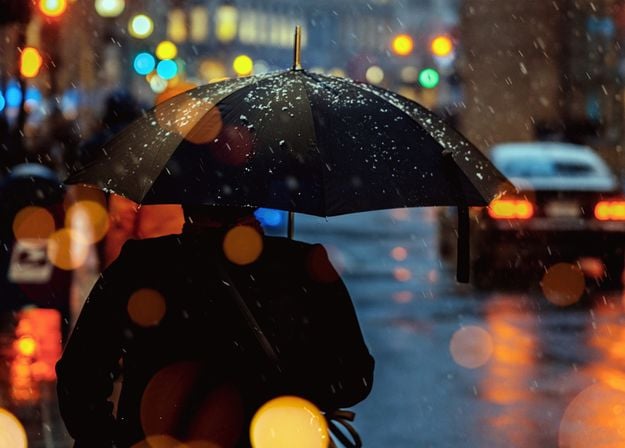
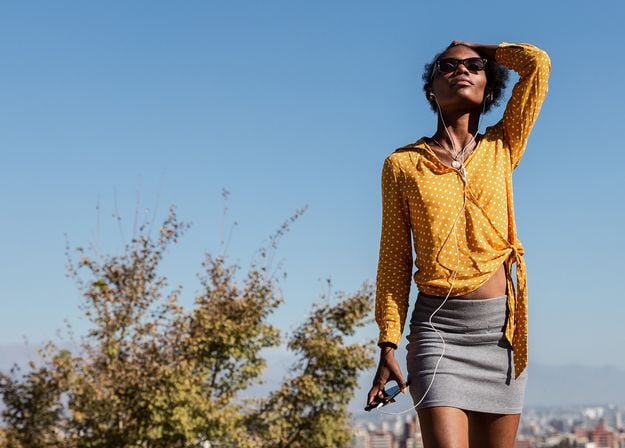
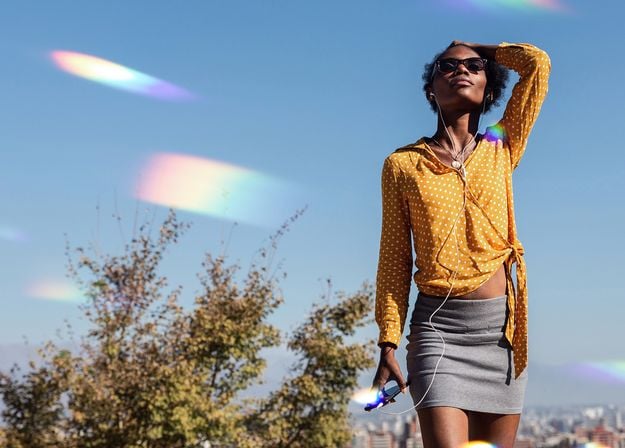
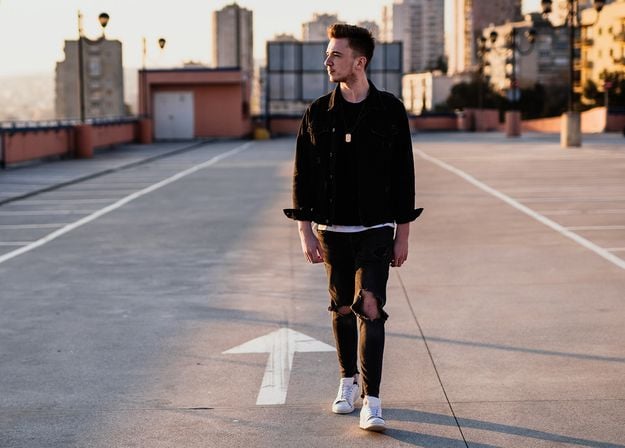
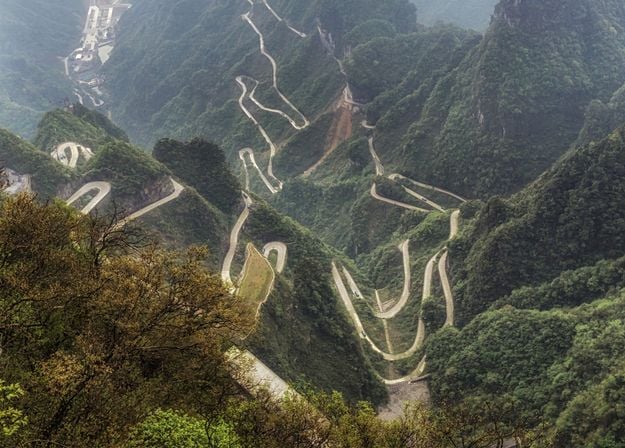
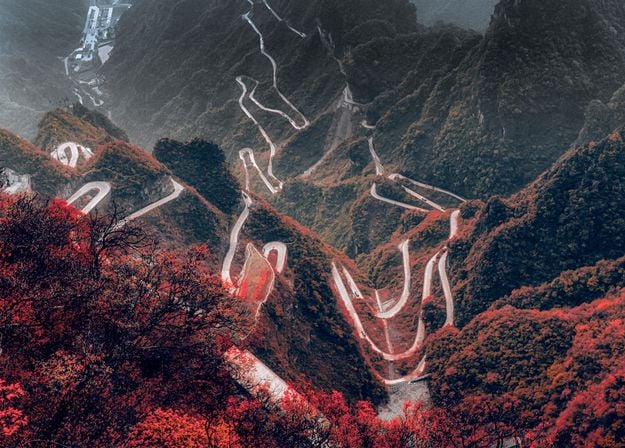
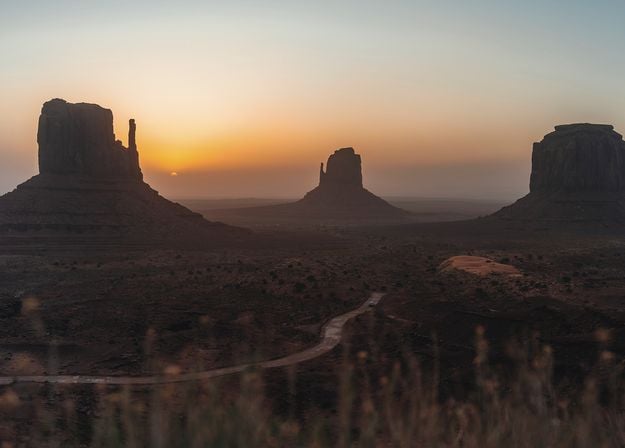
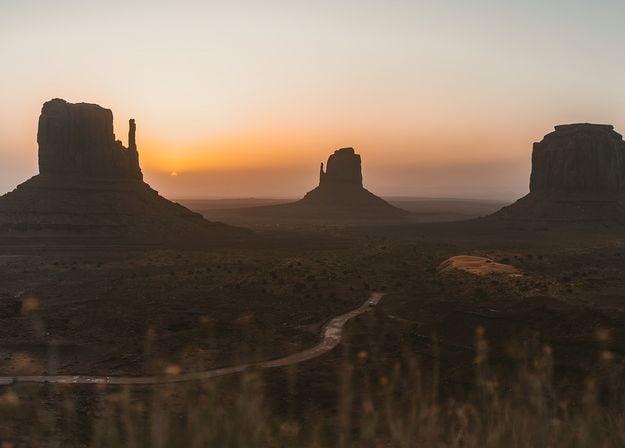
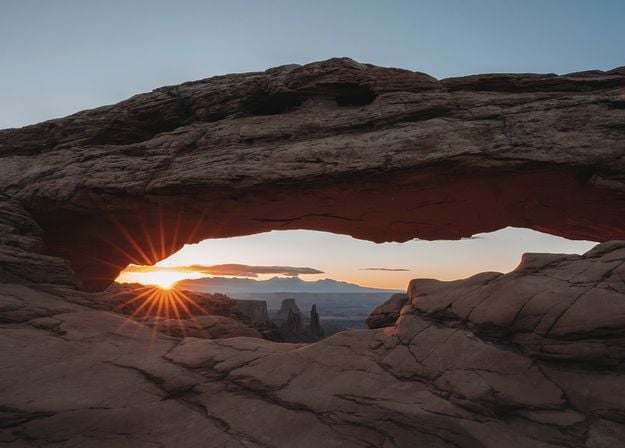
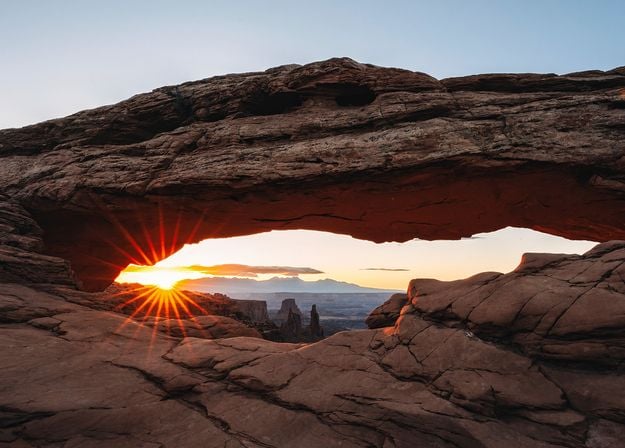
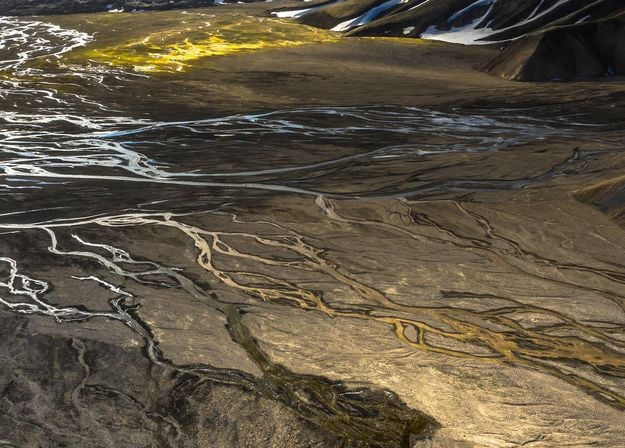
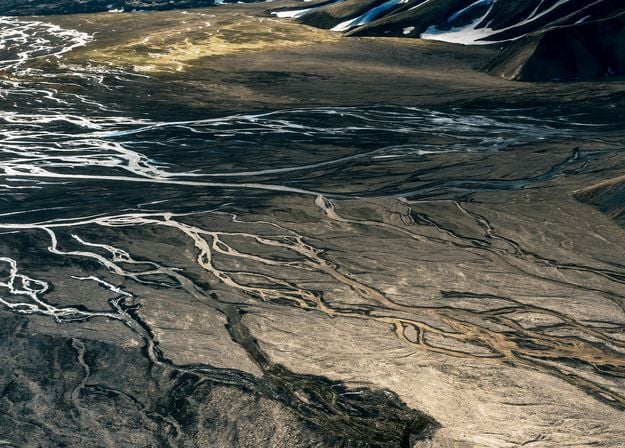
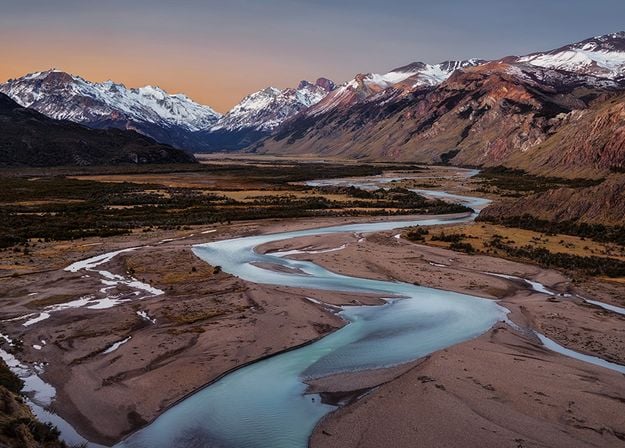
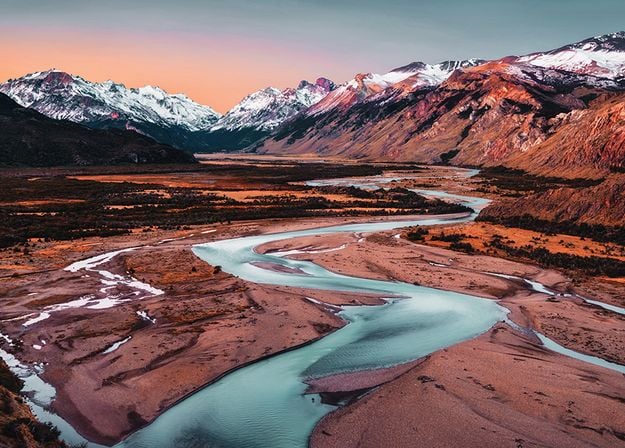
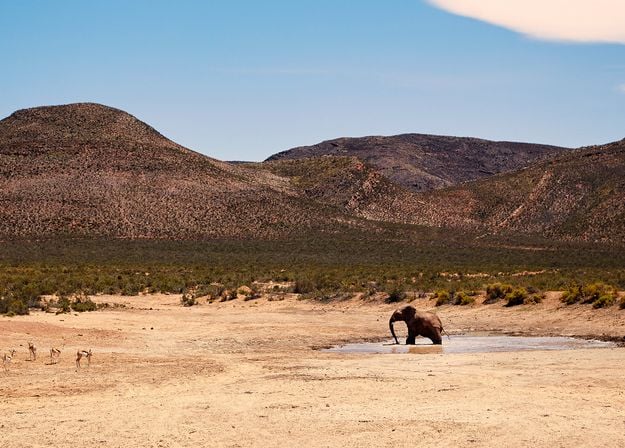
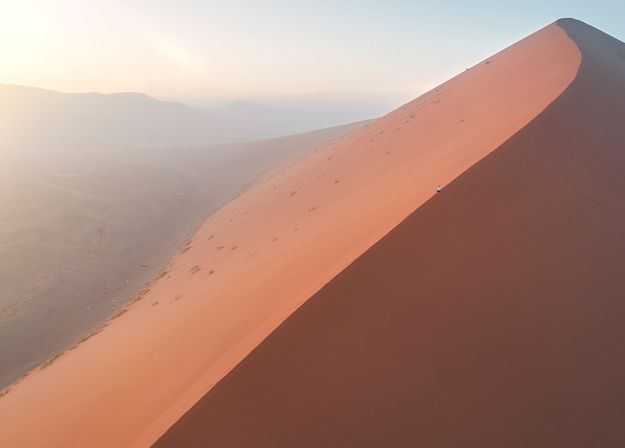
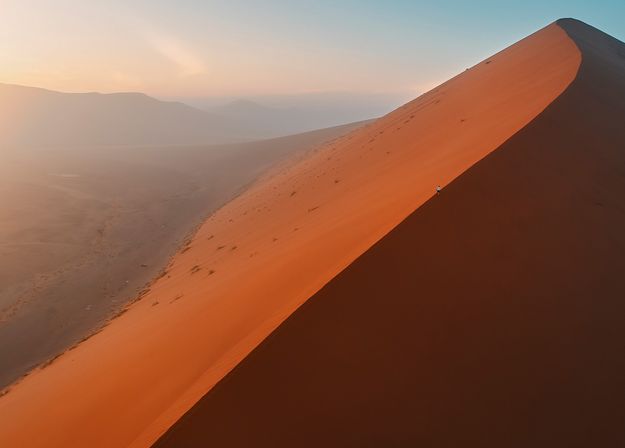
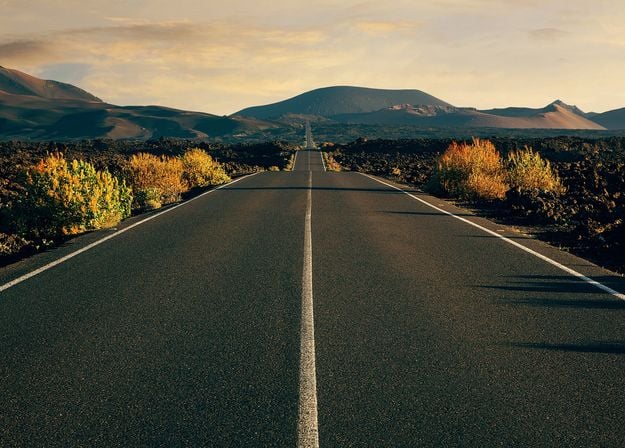
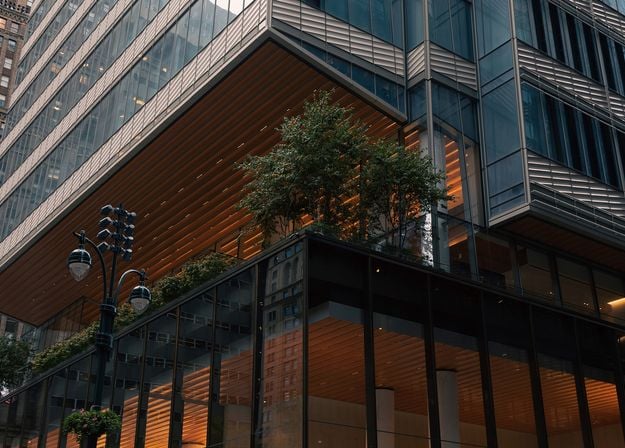
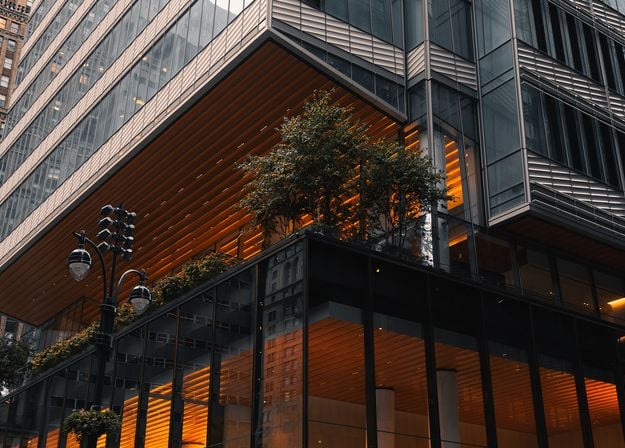
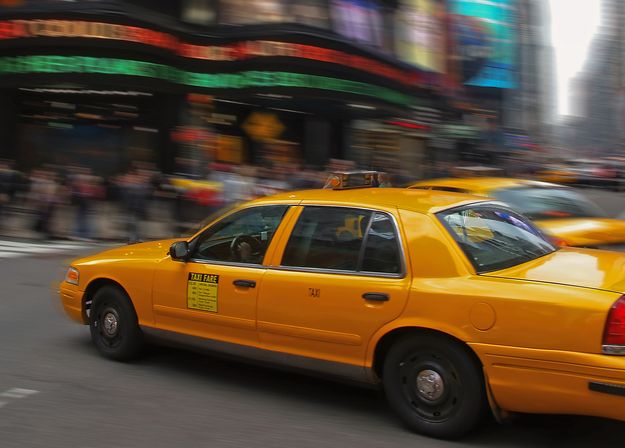
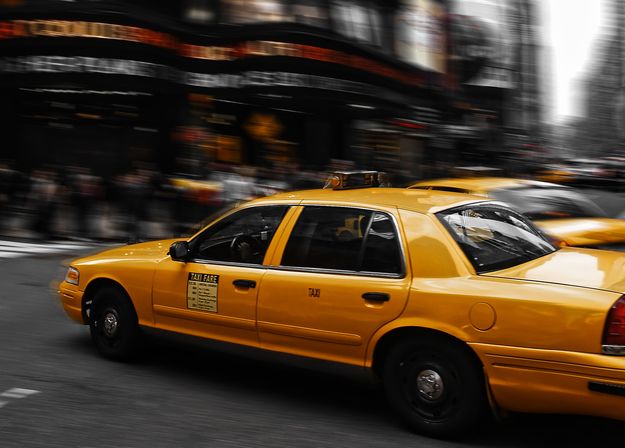
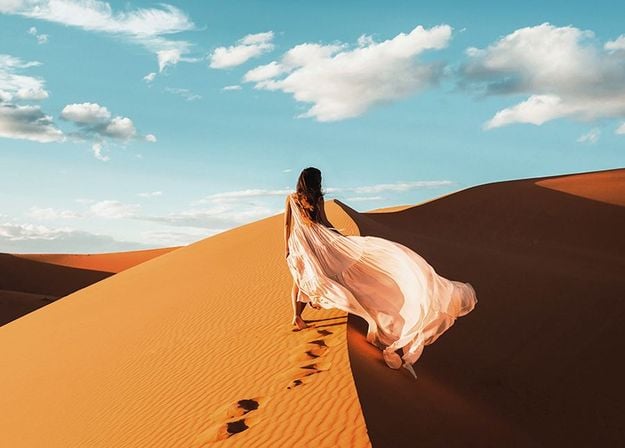
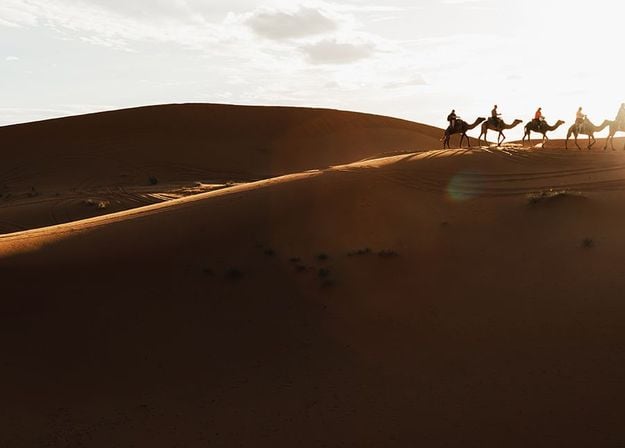
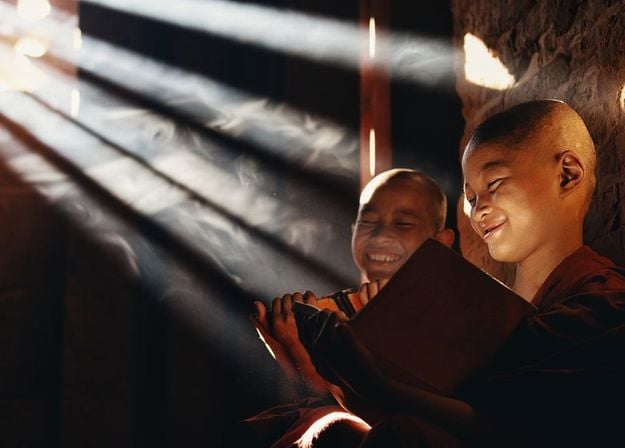
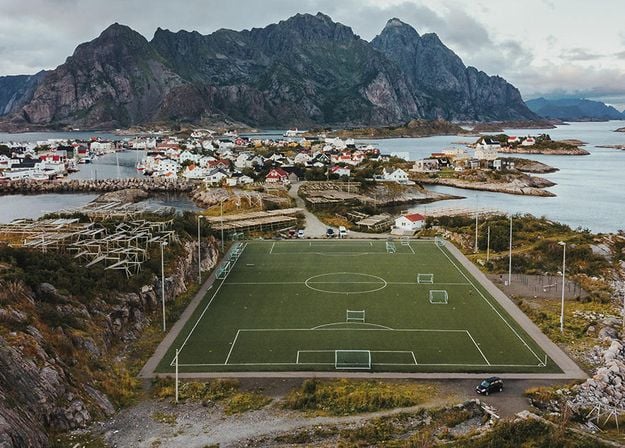
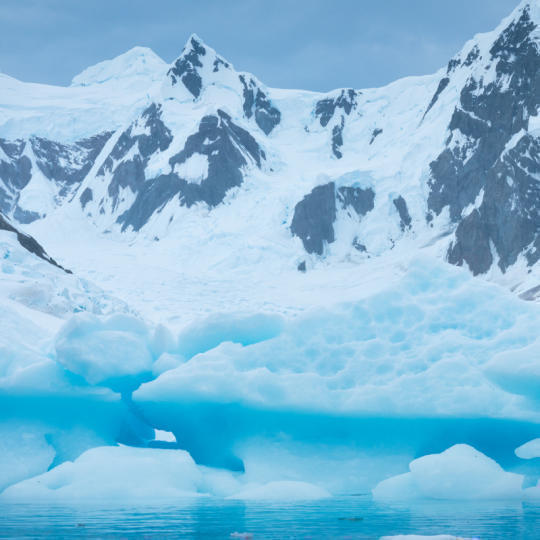
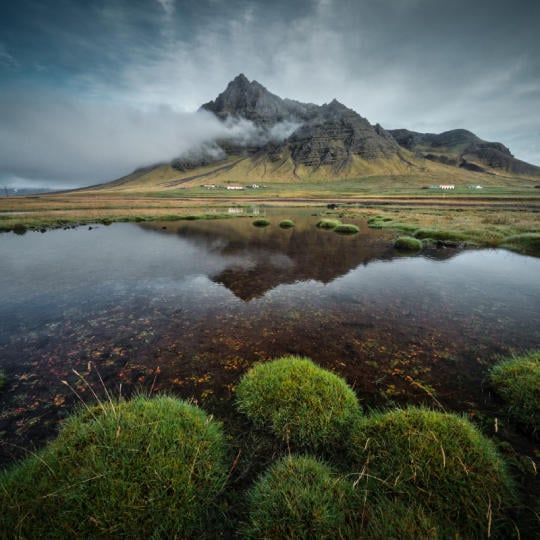
HDR photo editing software uses AI to expand dynamic range and recover details from a single photo, giving you natural HDR results without extra exposures.
view plansPerfect your shots with HDR blending and advanced Landscape tools:
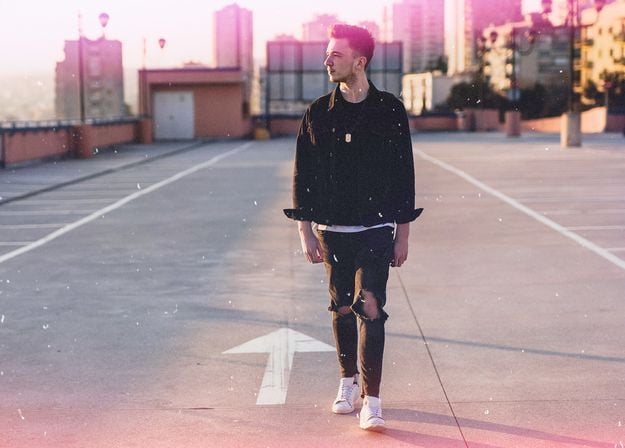
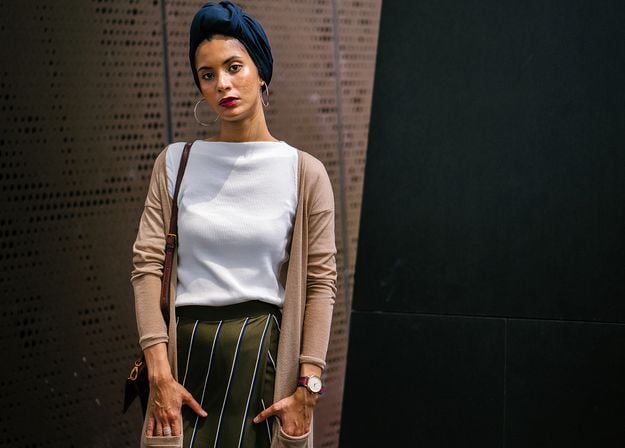
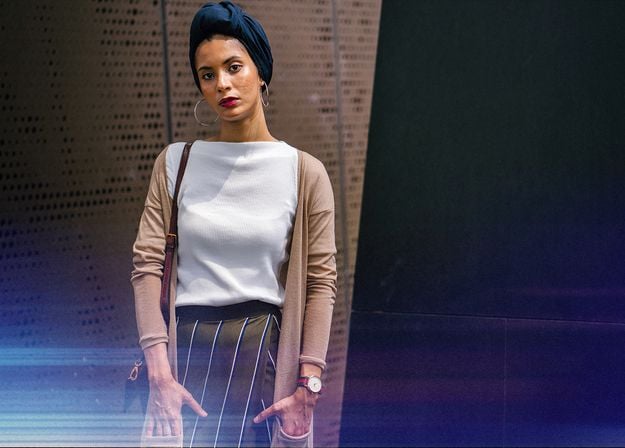
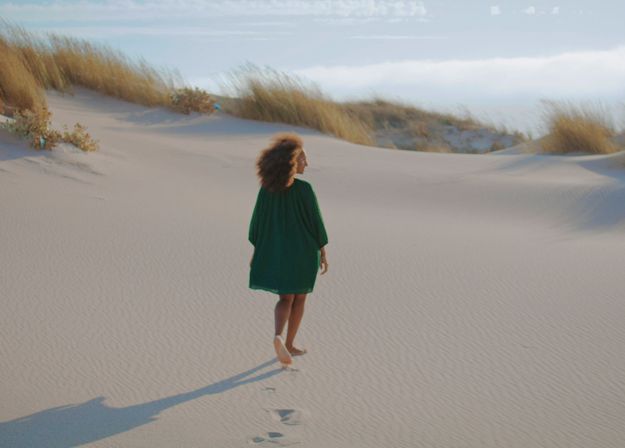
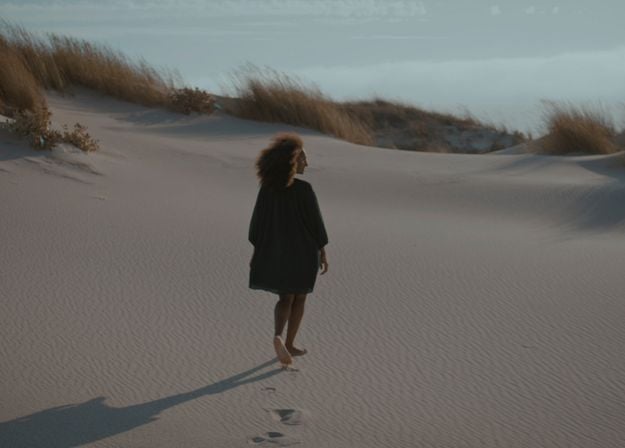
Level up your photography with Luminar Neo's AI-powered photo editing tools.
See features in action:

Enhance AI

GenErase

Sky AI

GenSwap

Supersharp AI

Structure AI

Develop
Enhance AI
Structure AI

Supercontrast

Composition AI
Develop

Color

Dodge & Burn
Sky AI

Golden Hour

Atmosphere AI
Dehaze

Sunrays

Twilight Enhancer AI

Water Enhancer AI
GenErase

GenExpand
GenSwap
Supersharp AI

Noiseless AI

Upscale AI

Color Transfer
NEW
Relight AI

Magic Light AI

Mood (Filters/LUTs)

Neon&Glow

Film Grain AI

Overlays AI
Skin AI
Face AI
Body AI
Portrait Bokeh AI
Studio Light
Portrait Background
High Key

HDR Merge

Panorama Stitching

Focus Stacking
Your special 10% discount expires in 15:00
$ 119
$ 417 .00
One-time payment
Desktop for Windows/MacOS
Mobile App for iOS/Android/ChromeOS
Creative Library Access
100 Creative Add-ons
Luminar Neo Video Course
The Luminar Neo quick start guide
Gift
Includes one year of unlimited upgrades
Most Popular
$ 159
$ 477 .00
One-time payment
Desktop for Windows/MacOS
Mobile App for iOS/Android/ChromeOS
Creative Library Access
100 Creative Add-ons
Luminar Neo Video Course
The Luminar Neo quick start guide
Gift
Includes one year of unlimited upgrades
$ 179
$ 546 .00
One-time payment
Desktop for Windows/MacOS
Mobile App for iOS/Android/ChromeOS
Creative Library Access
100 Creative Add-ons
Luminar Neo Video Course
The Luminar Neo quick start guide
Gift
Includes one year of unlimited upgrades
Reliable support, trusted by our users
Technical assistance
9/10 Satisfaction rate
4.7 Trustpilot
Your extra 10% OFF is waiting — copy the code below and apply it at checkout, but hurry, it expires in just 15 minutes!
15:00


Desktop for Windows/MacOS and full access to all generative tools for one year.
100 Creative Add-ons
Luminar Neo Video Course
Desktop for Windows/MacOS and full access to all generative tools for one year.
Mobile App for iOS/Android/ChromeOS
100 Creative Add-ons
Luminar Neo Video Course
Desktop for Windows/MacOS and full access to all generative tools for one year.
Mobile App for iOS/Android/ChromeOS
100 Creative Add-ons
Luminar Neo Video Course
100 Creative Add-ons
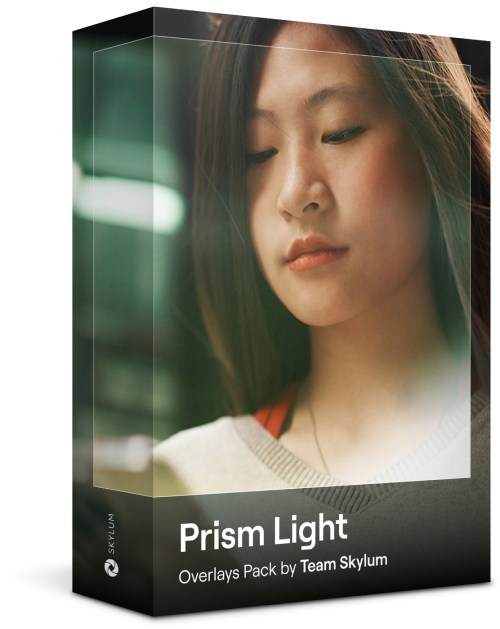


Create atmospheric images with these 10 Overlays in JPEG format that contain shimmering lights and flares in various colors. Make sure to use them with Luminar Neo’s Layers and/or the Portrait Background Removal tool, and experiment with your photos in any genre. You can add an interesting light effect or make the subject stand out in new ways, all in just a few clicks. Time to try it out!


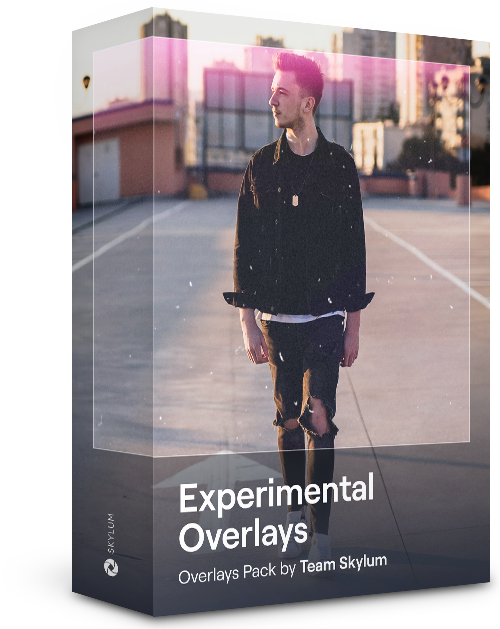
Feel like adding a touch of something extra to your photos? Discover these 10 Experimental Overlays in JPEG format that you can easily use with Luminar Neo’s Layers feature to transform any photo into a shot that catches the eye. Choose from 10 mesmerizing effects of different colors and shapes, and create a unique mood in a few clicks. From pink hues to golden circles, you’ll certainly find an Overlay perfect for your next masterpiece.

_after.jpeg?q=80&w=625&h=448&resize=cover)


_after.jpeg?w=54&h=30&resize=cover)
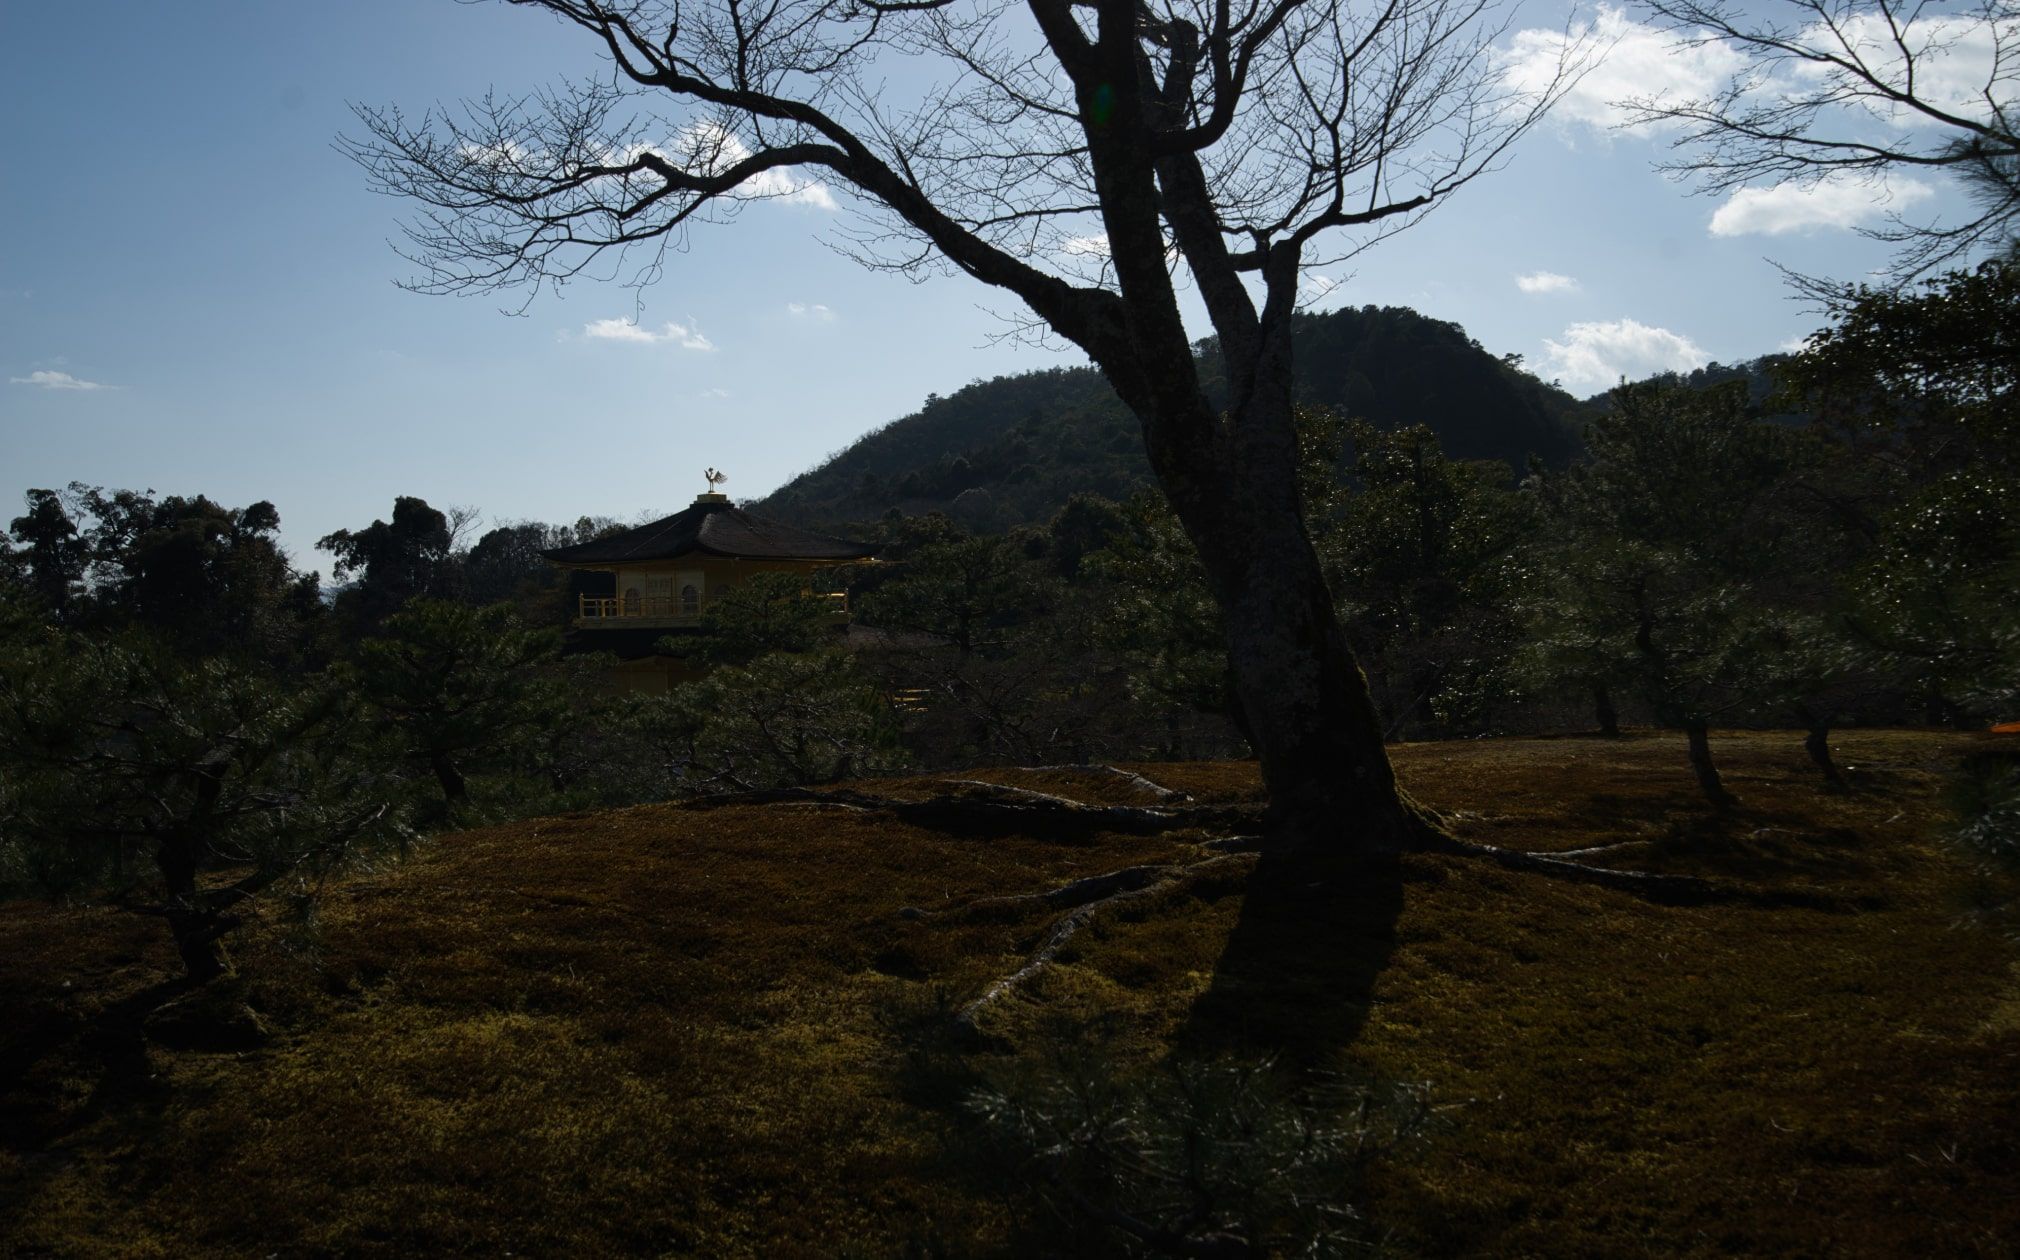
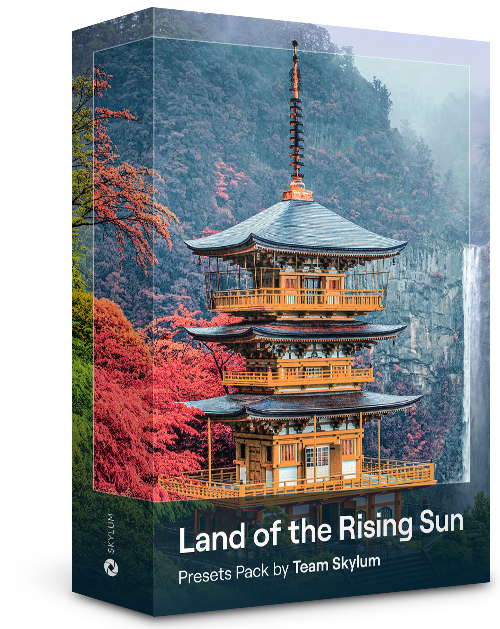
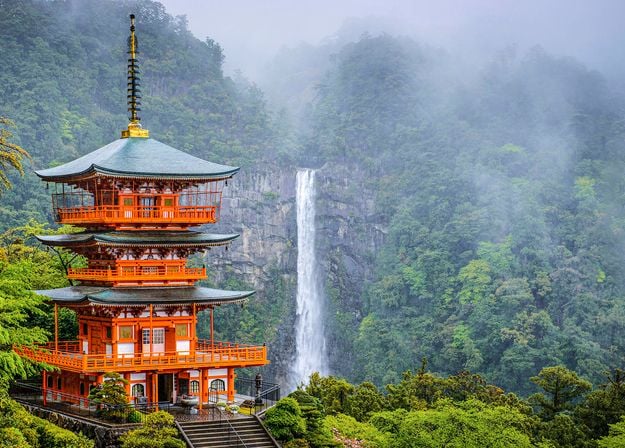
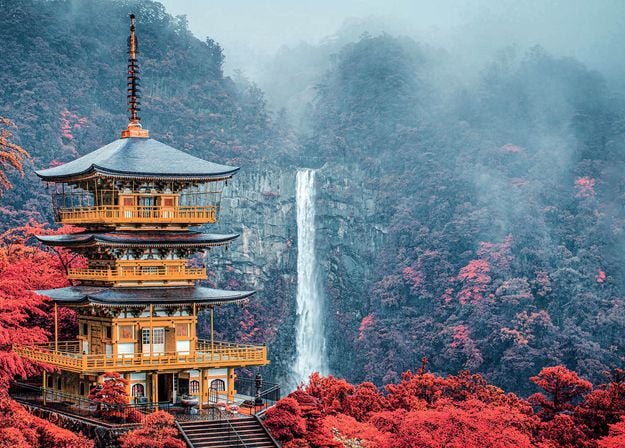
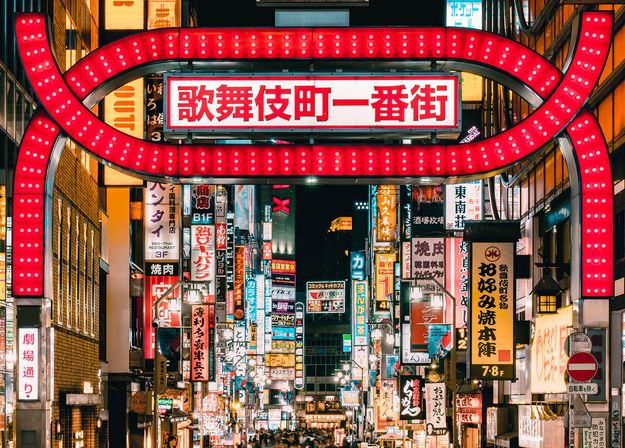
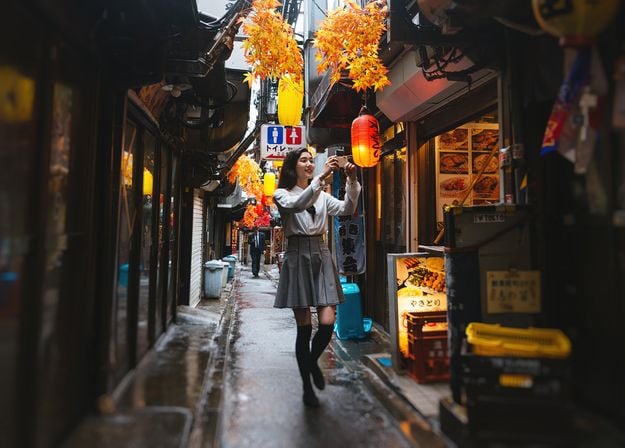
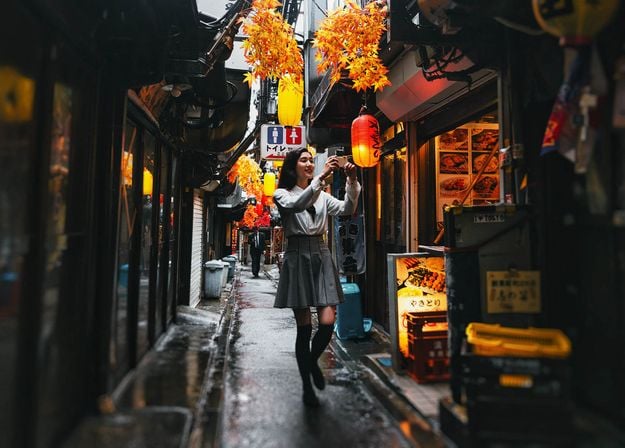
Enhance photos that you captured during a trip to Japan, or the ones that you want to have an atmospheric feeling reminiscent of the Japanese style. From landscapes, to iconic sights, to photos of food — this pack is incredibly versatile!
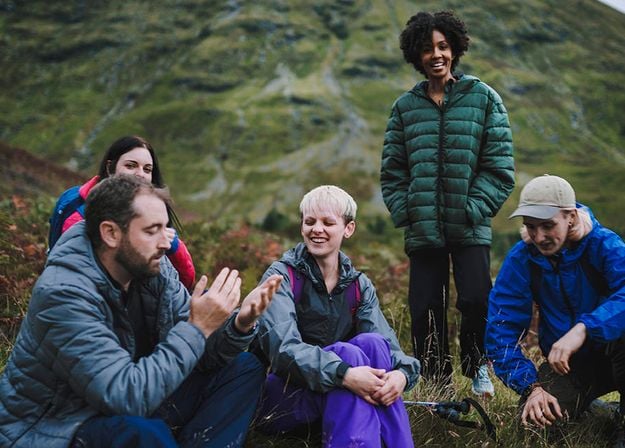
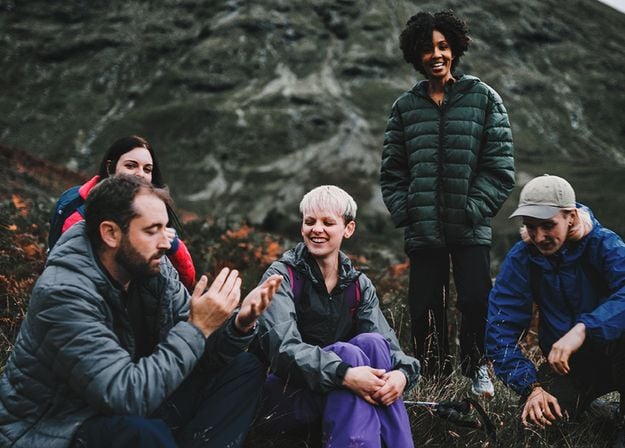

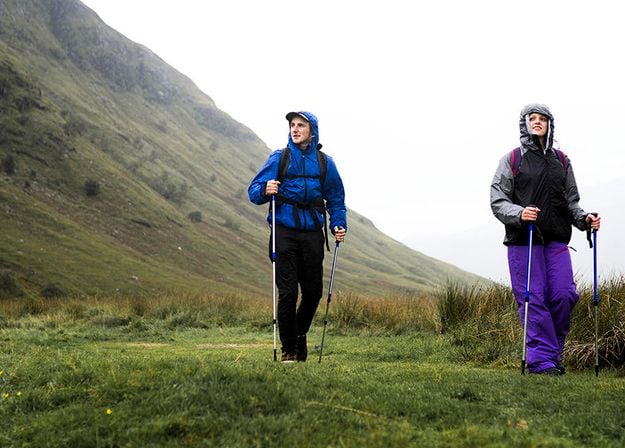
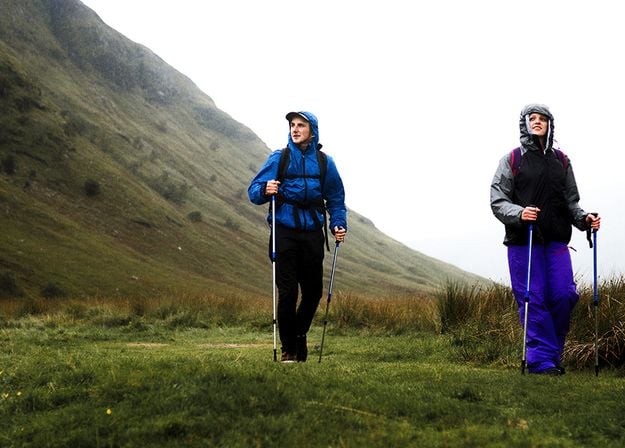
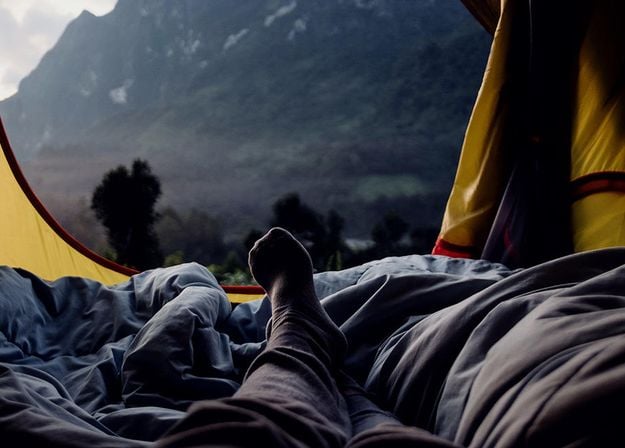


Designed to give your camping and hiking photos their best look, these 10 Presets are here to give your outdoor photos a natural, vibrant look. Whether you’re capturing shots of majestic mountains or cozy campfires, bring out the best in your images in one click.


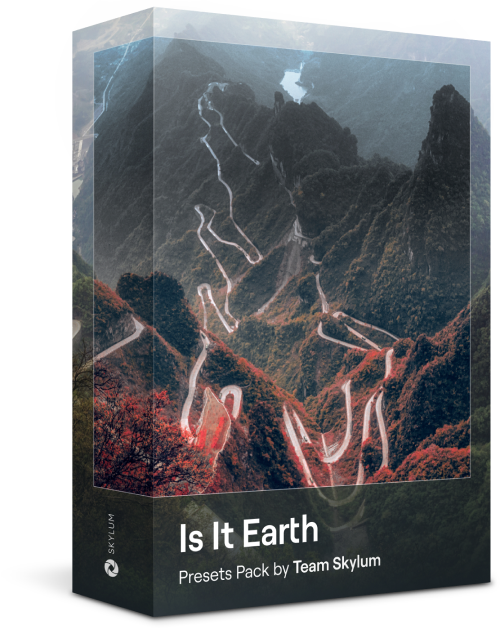
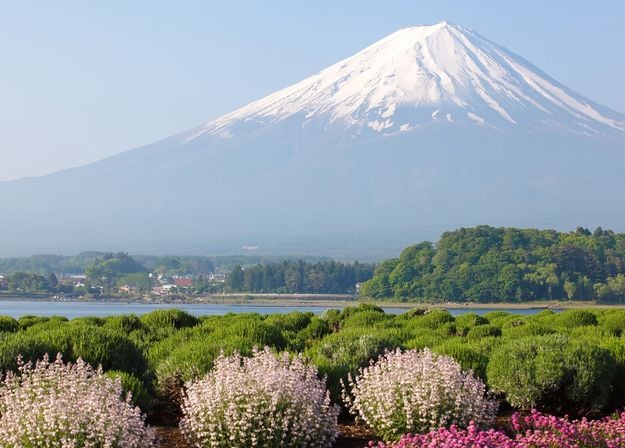
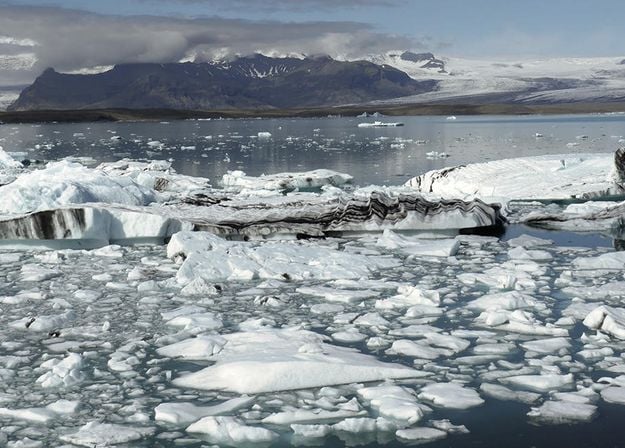
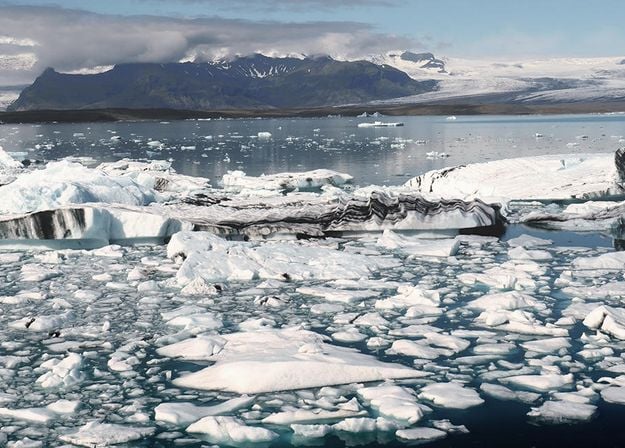
Is it still Earth, or are we on an alien planet? This collection of 10 extraordinary Presets is designed to give your landscape photos an ethereal, otherworldly feel. Transform ordinary landscapes into surrealistic scenes with vivid colors that will immediately draw the viewer’s eye.


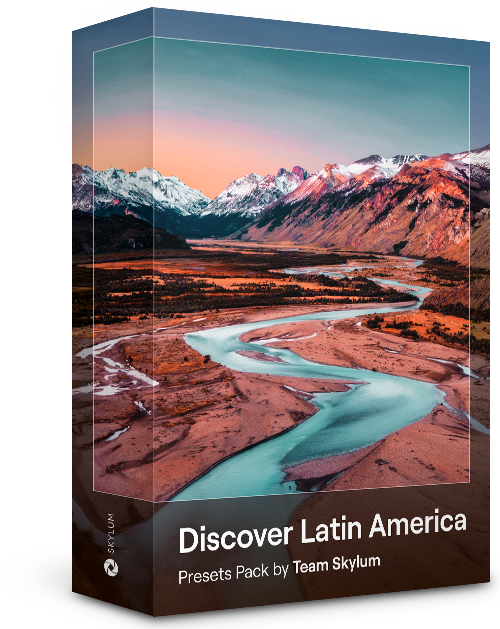
Experience the cinematic feel each of these 10 Presets adds to your photos as you journey through the countries of Latin America. Embrace the beauty and add some flair to your shots with this travel-friendly collection designed for landscapes.

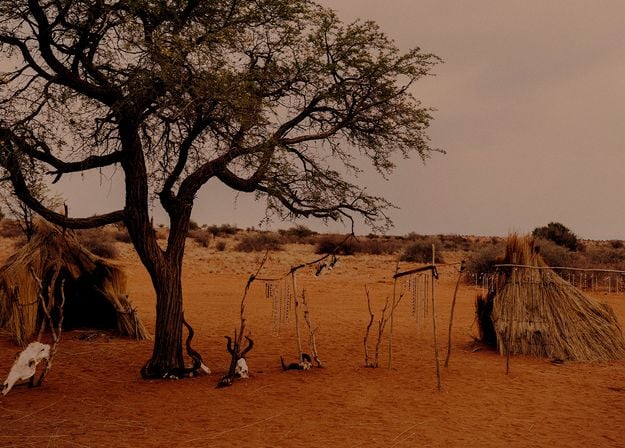


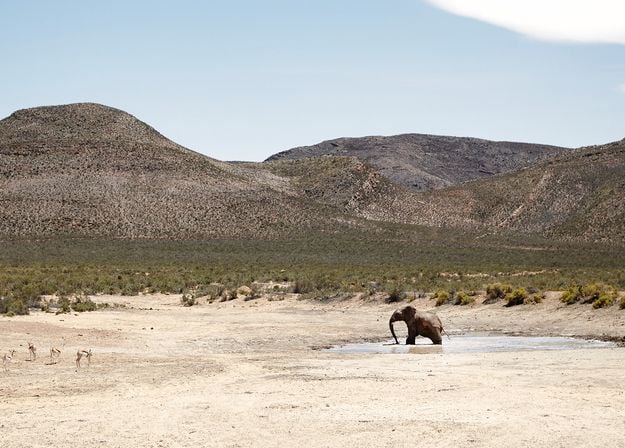


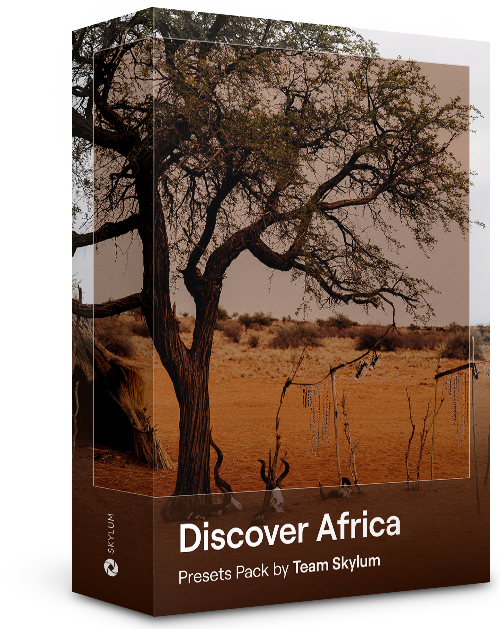
Dedicated to the wonderful continent of Africa, this pack combines a variety of Presets, both for portrait and landscape shots. Enhance landmarks, safari shots, architecture photos, and portraits of people that you meet on your travels around Africa.


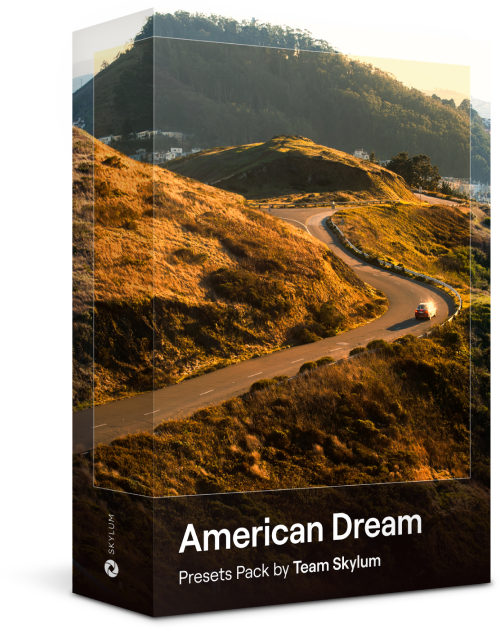
Create fantastic photos during your travels across the USA. Enhance images of landmarks, national parks, and general cityscapes of famous cities. Achieve various stunning effects with a few clicks of these 10 wonderful Presets.


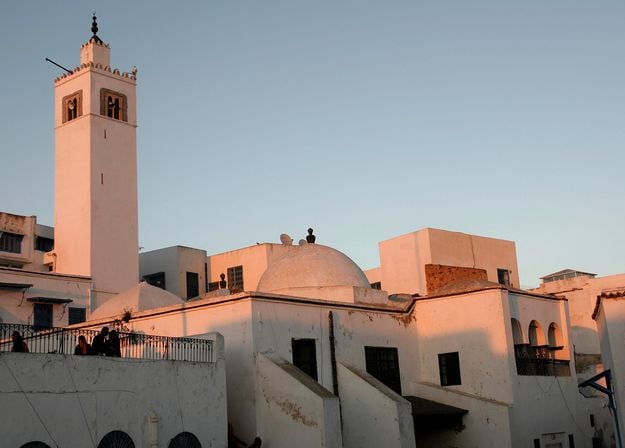
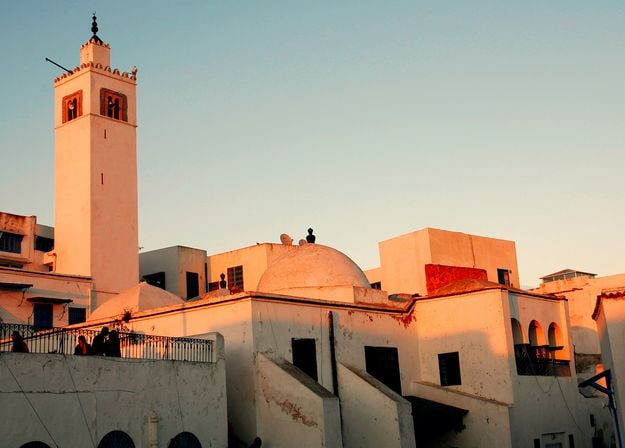
This alluring collection of 10 Presets is designed to bring out the mysterious beauty of Middle Eastern scenery, architecture, street style, and nature. Warm-toned, deep yellow, or blue and golden — you will certainly find a Preset perfect for your photo.
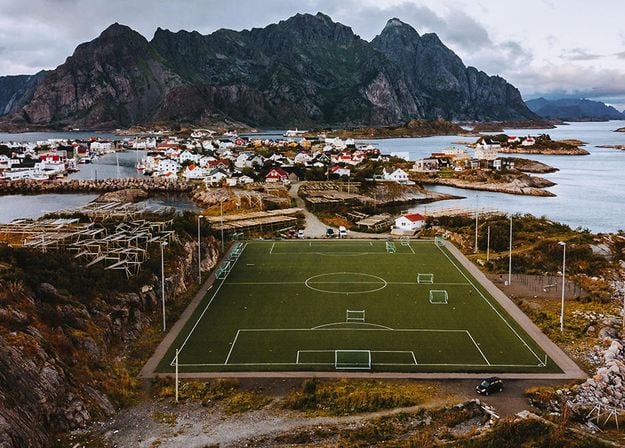
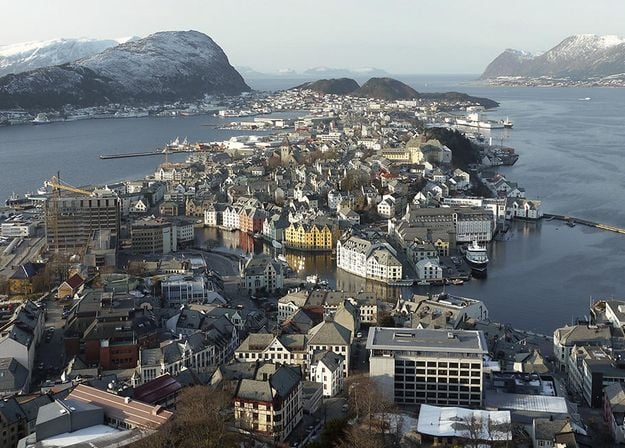
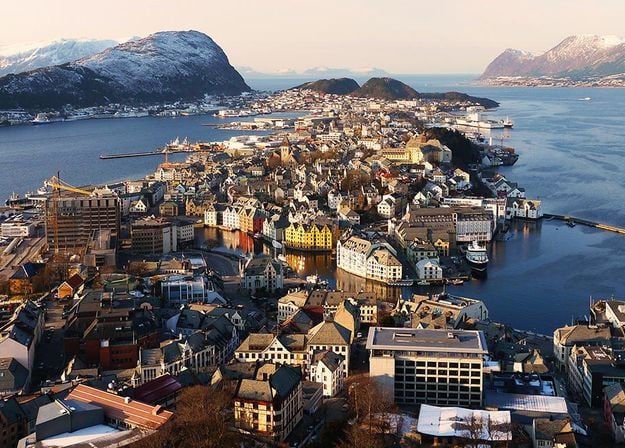
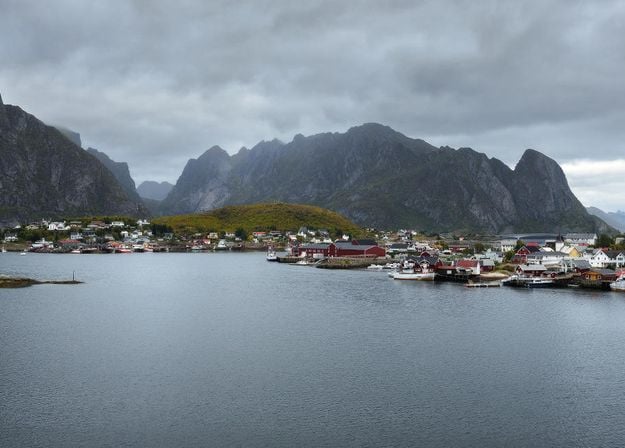
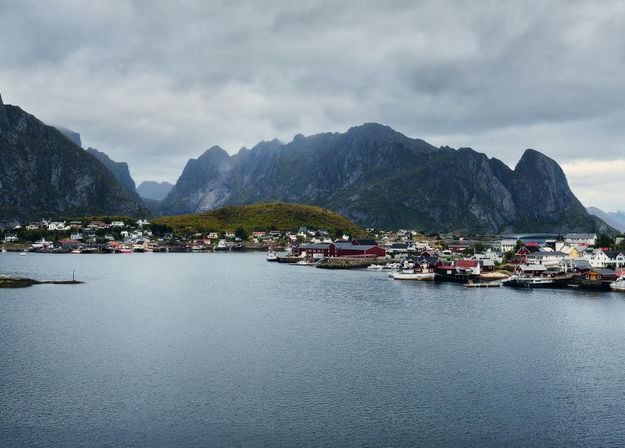
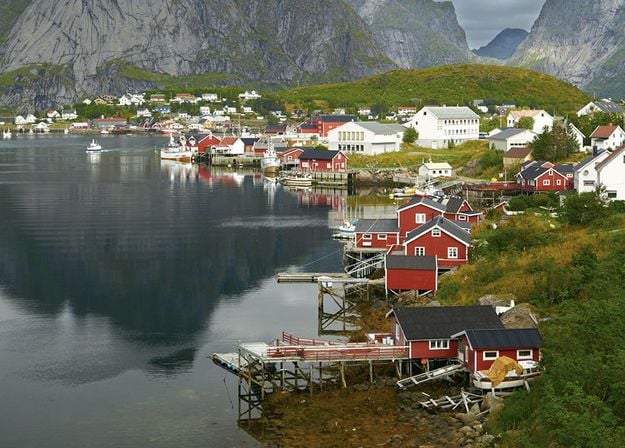


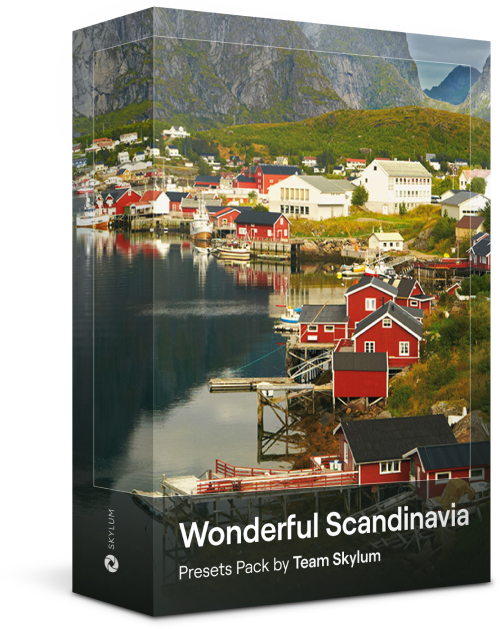
Discover this wonderful collection of 10 versatile Presets that are perfect for your travel photos from Nordic countries. Capture idyllic landscapes, natural wonders, and cozy architectural shots that breathe with the Scandinavian mood. Time to pack your travel bag!
Luminar Neo Video Course
Creative Photo Editing Techniques in Luminar Neo

Introduction & Course Outline
Albert Dros introduces himself and gives a quick overview of what you will learn in this photography and...
Introduction to Photography
What should you focus on when taking your photos to get the best results?
Basic Editing
Albert introduces the layout of Luminar Neo and the basic instruments you can use to achieve great results instantly.
Advanced Editing
Going in depth, Albert shows you the more advanced tools in Luminar Neo and how to use them to make your photos stand out.
Dramatic Editing
Get creative with your photos! Albert edits a photo with more creative tools to bring forward its dramatic aspects and breathe new life into it.
Focus Stacking
Luminar Neo has Extensions that let you get even more impressive results. In this video, you will learn how to do focus stacking with Luminar Neo’s Focus Stacking Extension.
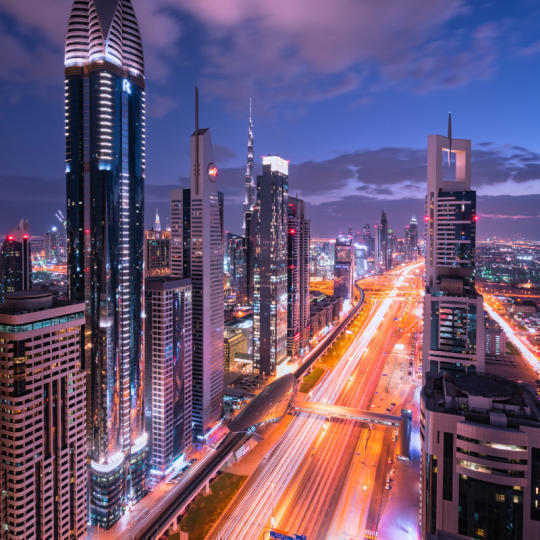
Cityscapes
What makes or breaks a cityscape shot? Take a look at how to transform a photo from Dubai from ordinary to impressive.

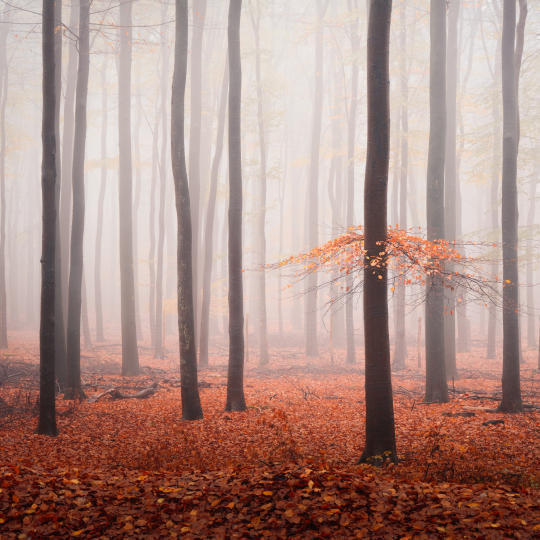
Forests
Find out what Luminar Neo tools Albert uses to make his impressive signature forest photos. Look out for Atmosphere AI, Sunrays, and other tools!
Presets
Learn to use Presets to quickly get interesting color solutions in your photos. Albert guides you through using Presets to make even more beautiful forest shots.
Course Summary
Get a quick summary of everything you have learned in this course. Happy creating!
Albert Dros
PHOTOGRAPHER, WRITER AND EDUCATOR
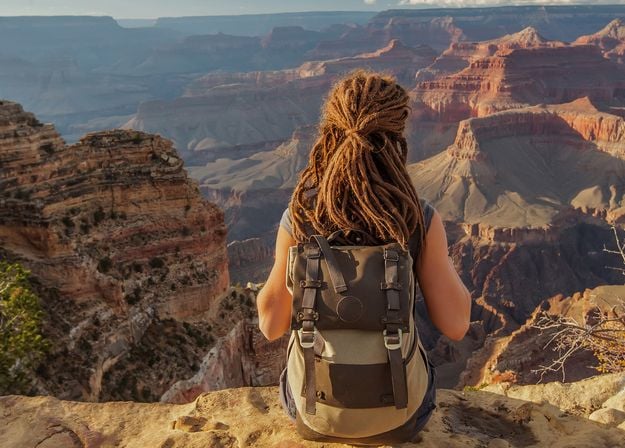
Albert Dros is a Dutch landscape photographer who has an extraordinary passion to plan and create unique shots. Volcanoes, solar eclipses and unique aspects of nature draw his attention. He doesn’t just go for the simple shot.
"Go big or go home" is his motto, always trying to add some unique element to his shots.
His work has been recognized on a worldwide scale and he has been published worldwide in the biggest media outlets.
Albert travels a lot as a photo educator but also for personal projects. But even in The Netherlands, he can’t stop photographing. His inspiration never stops.
What is an AI image merger?
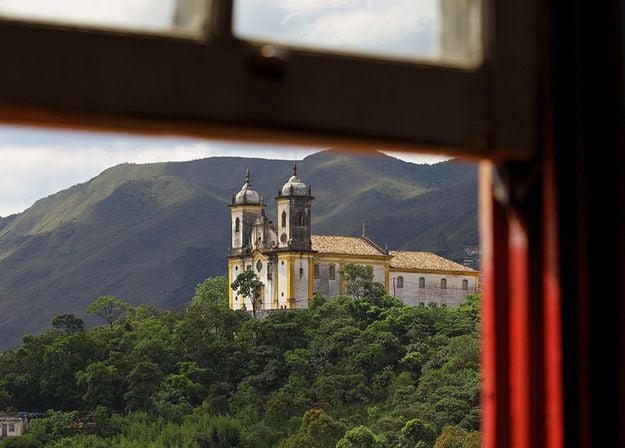
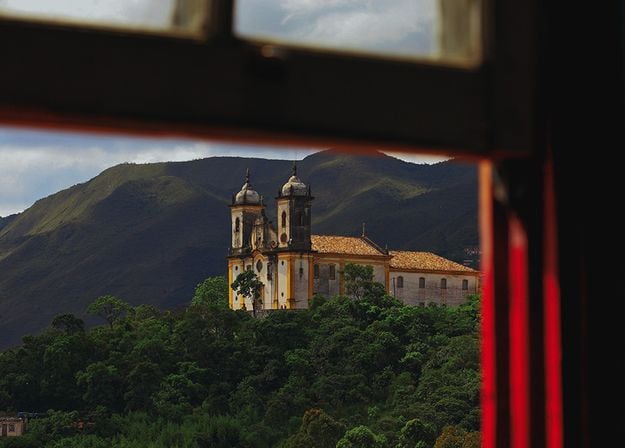
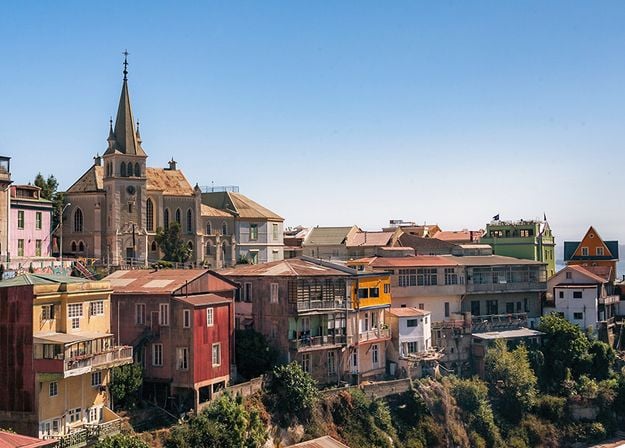
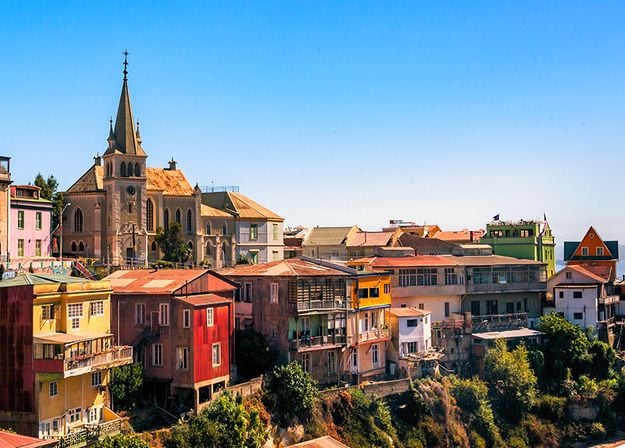
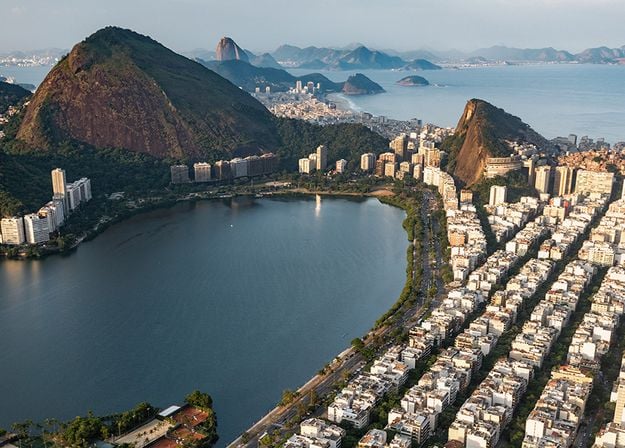
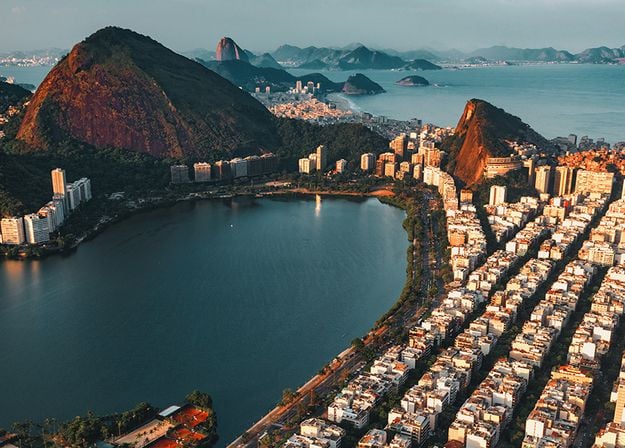
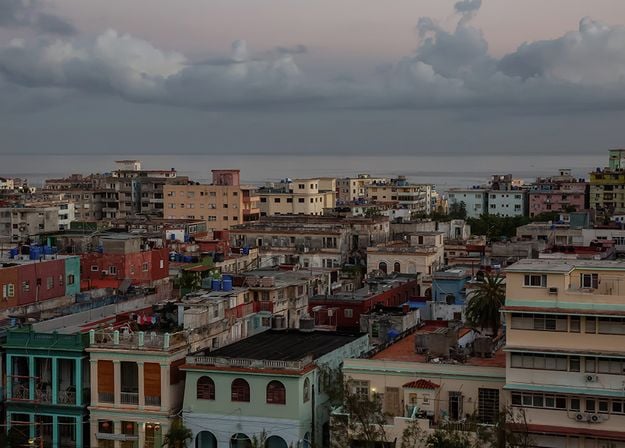
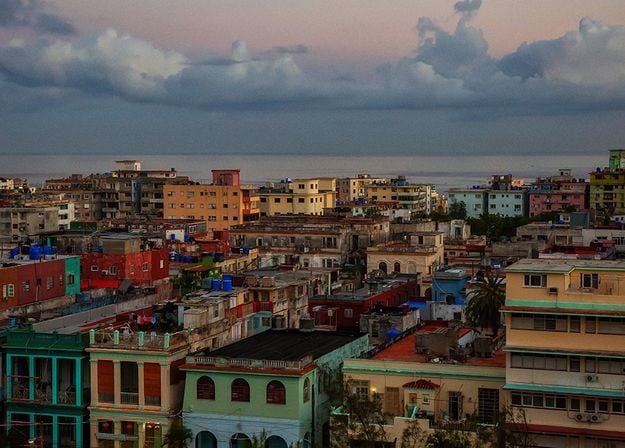
AI HDR editing in Luminar Neo lets you combine up to 10 exposure-bracketed images into one HDR photo with expanded dynamic range and natural colors. You can also apply the same technology to a single photo — AI enhances detail, balances light, and gives you an HDR-style result without the need for brackets.
Who can benefit from AI HDR Merge?
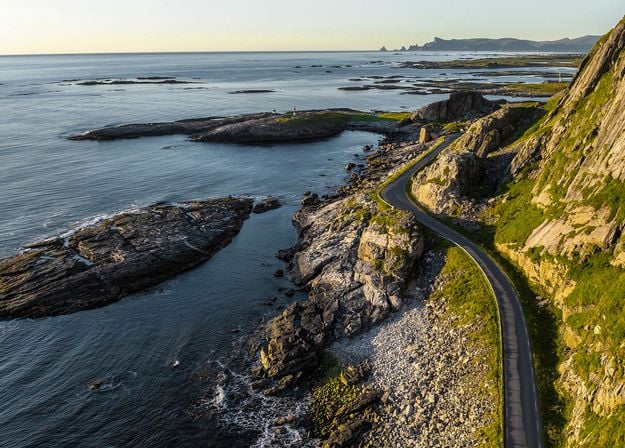
AI HDR Merge is especially handy for creators who often deal with contrasty scenes:
It’s a practical tool for anyone who wants natural, detailed photos without heavy manual editing.
What are the advantages of HDR Merge over Aurora HDR?
HDR Merge is built directly into Luminar Neo, so you don’t need a separate app for HDR editing. Unlike Aurora HDR, it integrates with Neo’s catalog, AI tools, and creative features, giving you an all-in-one workflow. This makes it a convenient HDR software for Mac and Windows, combining image merging, noise reduction, and full photo editing in a single place.
Why is Luminar Neo HDR Merge the best HDR software for your photos?
Luminar Neo combines multiple exposures into a single high-dynamic-range image while keeping colors natural and details sharp. Unlike basic HDR effects photo editors, it supports RAW files, works with AI-powered editing, and lets you fine-tune the final result using the full range of Luminar Neo’s creative adjustments.
Will batch processing be available in HDR Merge?
HDR Merge in Luminar Neo does not support batch merging of multiple sets of photos. However, you can sync adjustments to already created HDR images and export them in batches:
How to edit HDR photos with Luminar Neo photo merging software?
After merging your bracketed shots with the HDR Merge tool in Luminar Neo, the new HDR image appears in your catalog. From there, you can edit it like any other photo using Neo’s full set of tools, including color correction, detail enhancement, and creative filters.
Does the HDR merging tool support RAW image files?
Yes. HDR bracketing software in Luminar Neo works with RAW as well as JPEG files, giving you the best quality and maximum flexibility when creating HDR photos.
Mac Model
MacBook, MacBook Air, MacBook Pro, iMac, iMac Pro, Mac Pro, Mac mini, early 2010 or newer
Processor
CPU Intel® Core™ i5 8 Gen or better
OS version
macOS 12.0 or higher.
RAM
Memory 8 GB RAM or more (16+ GB RAM is recommended)
Disk space
Hard disk 10 GB free space; SSD for best performance
Display
1280x768 size or better
Hardware
Windows-based hardware PC with mouse or similar input device
Processor
CPU Intel® Core™ i5 8 Gen or better, AMD Ryzen™ 5 or better
OS version
10 version 1909 or higher (only 64-bit OS)
RAM
Memory 8 GB RAM or more (16+ GB RAM is recommended)
Disk space
Hard disk 10 GB free space; SSD for best performance
Display
1280x768 size or better
Graphics
Open GL 3.3 or later compatible graphics card