How to Clean Your Camera Sensor for Flawless Images
August 02, 2024

Discover the key methods for cleaning your camera sensor to keep your photos looking sharp and professional. This guide provides clear, step-by-step instructions and useful tips to help you maintain perfect image quality!
Ever snapped a photo only to find spots ruining your image? That's likely dust on your camera sensor, a common frustration for all photographers. Today, we'll explore why keeping your sensor spotless is essential and provide step-by-step instructions on how to effectively clean it. No more annoying blemishes or post-editing hassles — let’s learn how to achieve pristine photos every time!
What is Camera Dust
 Camera dust refers to the tiny particles that sneak into your camera and cling to the sensor. This commonly happens when you change lenses or remove the camera's body cap and expose the delicate interior to the environment. Each time you swap out a lens, you're potentially letting in dust and dirt, which can eventually settle on the sensor and mar your photos with spots.
These spots from sensor dust may appear as blurry smudges in your images, often noticeable in the same places across different shots. While you might spot dust in your viewfinder, remember that this won't affect your actual photos. Also, shooting at wider apertures, like f/2.8, might make this dust hard to detect since the depth of field can blur these particles out of focus. However, the dust is still there, and it'll show up the next time you shoot with a smaller aperture or if the background is plain enough to reveal these spots.
Remember, it’s crucial not to change your lenses in dusty or windy conditions if possible, as this increases the risk of dust getting inside. Always be gentle and quick when changing lenses to minimize the exposure of your camera's internals to the elements. And never touch the sensor or the mirror inside your camera, as they are highly sensitive and easily damaged!
How to Clean a Camera Sensor without a Kit
Many modern cameras come equipped with a self-cleaning sensor function designed to shake off dust automatically. While this feature is handy and can help minimize dust accumulation, it often isn’t enough to keep your sensor completely clean. The self-cleaning mechanism typically uses vibrations to dislodge loose particles, but it may not tackle more stubborn dust or particles that have become stuck to the sensor over time.
Relying solely on your camera’s self-cleaning system might work for light, everyday dust, but for photographers frequently changing lenses in less-than-ideal conditions or those who haven’t cleaned their sensor in a while, additional manual cleaning will likely be necessary to ensure your images remain spotless.
How to Test for Dust on Your Sensor
 Checking if your DSLR sensor needs cleaning is straightforward but crucial for maintaining image quality. Here’s how to do it effectively:
Shoot a Sensor Check Image
Set your camera to its lowest "normal range" ISO (typically ISO 100 for Canon, ISO 200 for Nikon) to reduce noise.
To ensure the shot is out of focus, set your camera to manual focus and adjust the focus to infinity if you're shooting a piece of paper or to close-focus if you're aiming at the sky.
Use a narrow aperture like f/22 to make any dust spots visible. Wider apertures may not show the spots, while narrower settings like f/32 could introduce too much detail and noise.
If indoors, aim for a plain, evenly lit piece of white paper and use a somewhat telephoto focal length (70-100mm works well) to minimize tonal gradients.
Ensure you’re shooting in high-quality JPEG mode; if you're not shooting in RAW.
Post-Process
Once you have your image, transfer it to a computer and desaturate it (you can do this in any basic photo editing software or during RAW conversion).
To really see the dust, create a Levels' adjustment layer in your photo editing software. Adjust the sliders to increase the contrast, which will make any sensor dust more apparent.
Observe the dust spots. These are typically shown as shadows or dark spots in the image.
This test will help you identify even small specks of dust that could potentially disrupt your photo's clarity. Knowing how to clean your DSLR sensor or mirrorless one properly is essential for tackling these spots without damaging your camera!
Getting Ready to Clean Your Camera Sensor

Before you start cleaning your camera sensor, here’s what you should do first:
- Charge Your Battery: Always start with a full battery. If your camera shuts down mid-cleaning because the battery dies, the mirror could snap shut, and you could be looking at an expensive repair.
- Clean the Outside: Dust off the exterior of your camera thoroughly before you even think about touching the sensor. This way, you prevent transferring any of that grime inside when you open the camera up.
- Choose the Right Environment: Find a clean, calm place to work. You want to avoid dusty or breezy areas where more particles could blow into the open camera.
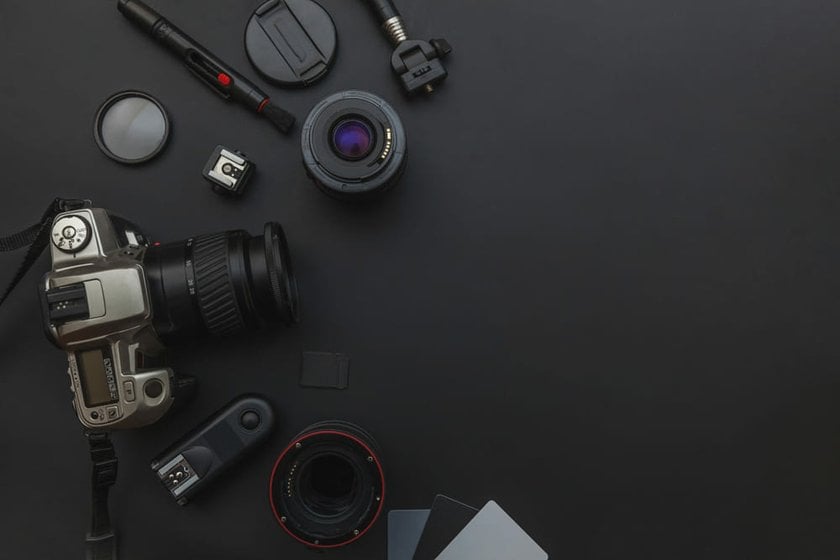
- Have Your Tools Ready: Gather everything you’ll need before you begin. Essential items might include a sensor brush, a blower, and sensor swabs. If you don’t have a full cleaning kit, these basics will still help you get the job done right.
Option 1: Dry Cleaning Your Camera Sensor
 Dry cleaning is your first line of defense for a quick and easy way to clean your camera sensor without liquids. Here’s how to effectively use a blower for this method:
1. Set Up Your Camera
For DSLR Cameras
Make sure your battery is fully charged to avoid the mirror closing unexpectedly. Remove the lens, switch to manual cleaning mode to lock the mirror up, and expose the sensor.
For Mirrorless Cameras
Simply take off the lens or body cap, and the sensor will be exposed.
2. Start Cleaning
Hold your camera with the sensor facing down to let gravity help with the dust removal. Use a manual air blower to gently direct air onto the sensor, being very careful to keep the blower’s tip outside the camera chamber to avoid contact.
3. Check Your Work
After a few puffs of air, turn off the camera, put the lens back on, and take a test photo against a plain white background to see if there are still dust spots. If spots remain, it might be time to consider wet cleaning.
Option 2: Wet Cleaning Your Camera Sensor
 If dry cleaning doesn’t clear up all the dust, wet cleaning is a thorough method to tackle more stubborn dirt:
1. Get Ready
Like with the dry method, ensure your camera is on a clean surface, preferably with the LCD facing downward. For DSLRs, activate manual cleaning to lock the mirror up.
2. Prepare the Cleaning Tool
Take a new sensor cleaning swab and use the blower to ensure it’s free of dust. Apply a couple of drops of a recommended sensor cleaning solution to the tip — just enough to dampen it without it being overly wet.
3. Clean the Sensor
Carefully place the swab at one end of the sensor and smoothly drag it across to the other side. Use a light touch. Flip the swab and drag it back to the start.
4. Inspect
Check the sensor using a loupe or take another test photo to see if the dust has been removed. If you still see spots or streaks, repeat the cleaning with a fresh swab, adjusting the amount of solution if necessary.
Advanced yet easy-to-use photo editor
Get Luminar Neo NowConclusion
Now that you know how to keep your camera sensor clean and dust-free, you're all set to capture stunning, spotless photos.
Don't forget, even if a few specks sneak past your cleaning efforts, softwares like Luminar Neo, an AI image editing tool, can help you effortlessly polish your images. For more tips on keeping all your gear in top shape, check out our previous post on how to pack a camera bag.
Clean gear and good habits will ensure your photography remains crystal clear. Happy shooting!


