Back to all posts
The day has come. Luminar Neo is here!

The day has come. Luminar Neo is here!

February 10

11 min. to read

view 37758

Find out how to download, install, and activate your copy of Luminar Neo. Let’s explore what’s waiting for you inside the app!

The Skylum Team has been working hard to bring you a satisfying editing experience with Luminar Neo. And the day has finally come! Luminar Neo is ready for you to download and enjoy. 

How can I download Luminar Neo?

  1. Access your Skylum Account by clicking this link. Sign in if you already have a Skylum Account, or Register if you need to create an account. Make sure to register with the same email you used when purchasing Luminar Neo!

  1. In your Skylum Account, navigate to the My software tab, where you will find all of your Skylum software, including Luminar Neo.

  1. Find Luminar Neo in your list of software and download it by clicking the Download button. 

  1. After downloading, double-click on the Luminar Neo installer file and install it according to the instructions. 

  1. Open Luminar Neo. You will see a window that prompts you to log in to your Skylum Account. Sign in and you’re all set! You’ve activated Luminar Neo and it’s ready to use.

Got an Early Access version of Luminar Neo? Just update it and you’re done! To update:

On macOS, click on Luminar Neo in the top menu bar and choose Check for updates. 

On Windows, click Luminar Neo in the top left-hand corner and choose Help > Check for updates.

Let’s explore all the basic things you can do in Luminar Neo.

Add and export images

There are just two tabs in the center of the top bar in Luminar Neo: Catalog and Edit. In the Catalog tab, you can add, view, and organize your images into albums and folders. You’ll also be able to favorite the images you like best. 

You can quickly upload photos you took with your smartphone to your computer through the Luminar Share app. Download the Luminar Share mobile app by scanning the QR code below, then follow the instructions in the app to connect it to your Luminar Neo desktop app. Luminar Share also allows you to quickly export images to your smartphone and share them on your favorite social media channels.

Add and export images

Enjoy the easy workflow

After you’ve added your photos, it’s time to edit them. All the editing tools are stored in the Edit tab. Scroll through the tools you want to apply. You’ll find them grouped into four handy categories: Essentials, Creative, Portrait, and Professional. Find the tool you want to use and click on its name to apply it.

Achieve your goals with AI-based features

Luminar Neo’s AI-based tools let you achieve more with less effort. Make sure to use them in your edits to achieve pleasing and fast results.

Use Sky AI to replace the sky automatically and turn an ordinary photo into an amazing one. Save an image with an overexposed sky, add a unique sky, or make a photo unforgettable — all in just one click. You can also fine-tune the results if you want more control over the image.

Achieve your goals with AI-based featuresApply automatic content-aware image enhancements with the Accent AI slider (find it in the Enhance AI tool). One slider lets you make dozens of adjustments to shadows, highlights, contrast, tone, saturation, exposure, details, and more.

Achieve your goals with AI-based features(2)Automatically remove spots on your images caused by dust on your lens or sensor with Remove Dust Spots.

Achieve your goals with AI-based features(3)

Declutter an image with the Remove Powerlines tool that automatically removes power lines.

Achieve your goals with AI-based features(4)

Explore 3D features

Luminar Neo’s powerful technologies work under the hood to help you edit your images while taking into account depth.


Emulate a 3D light source and relight the scene by taking into account the depth of a photo withRelight AI.

(2)

Create amazing portraits by simulating a bokeh effect based on image depth reconstruction with Portrait Bokeh AI.


(3)


Of course, you can use basic color corrections in your editing too: Develop, Black & White, Crop AI, Denoise, Vignette, and other tools are waiting for you.

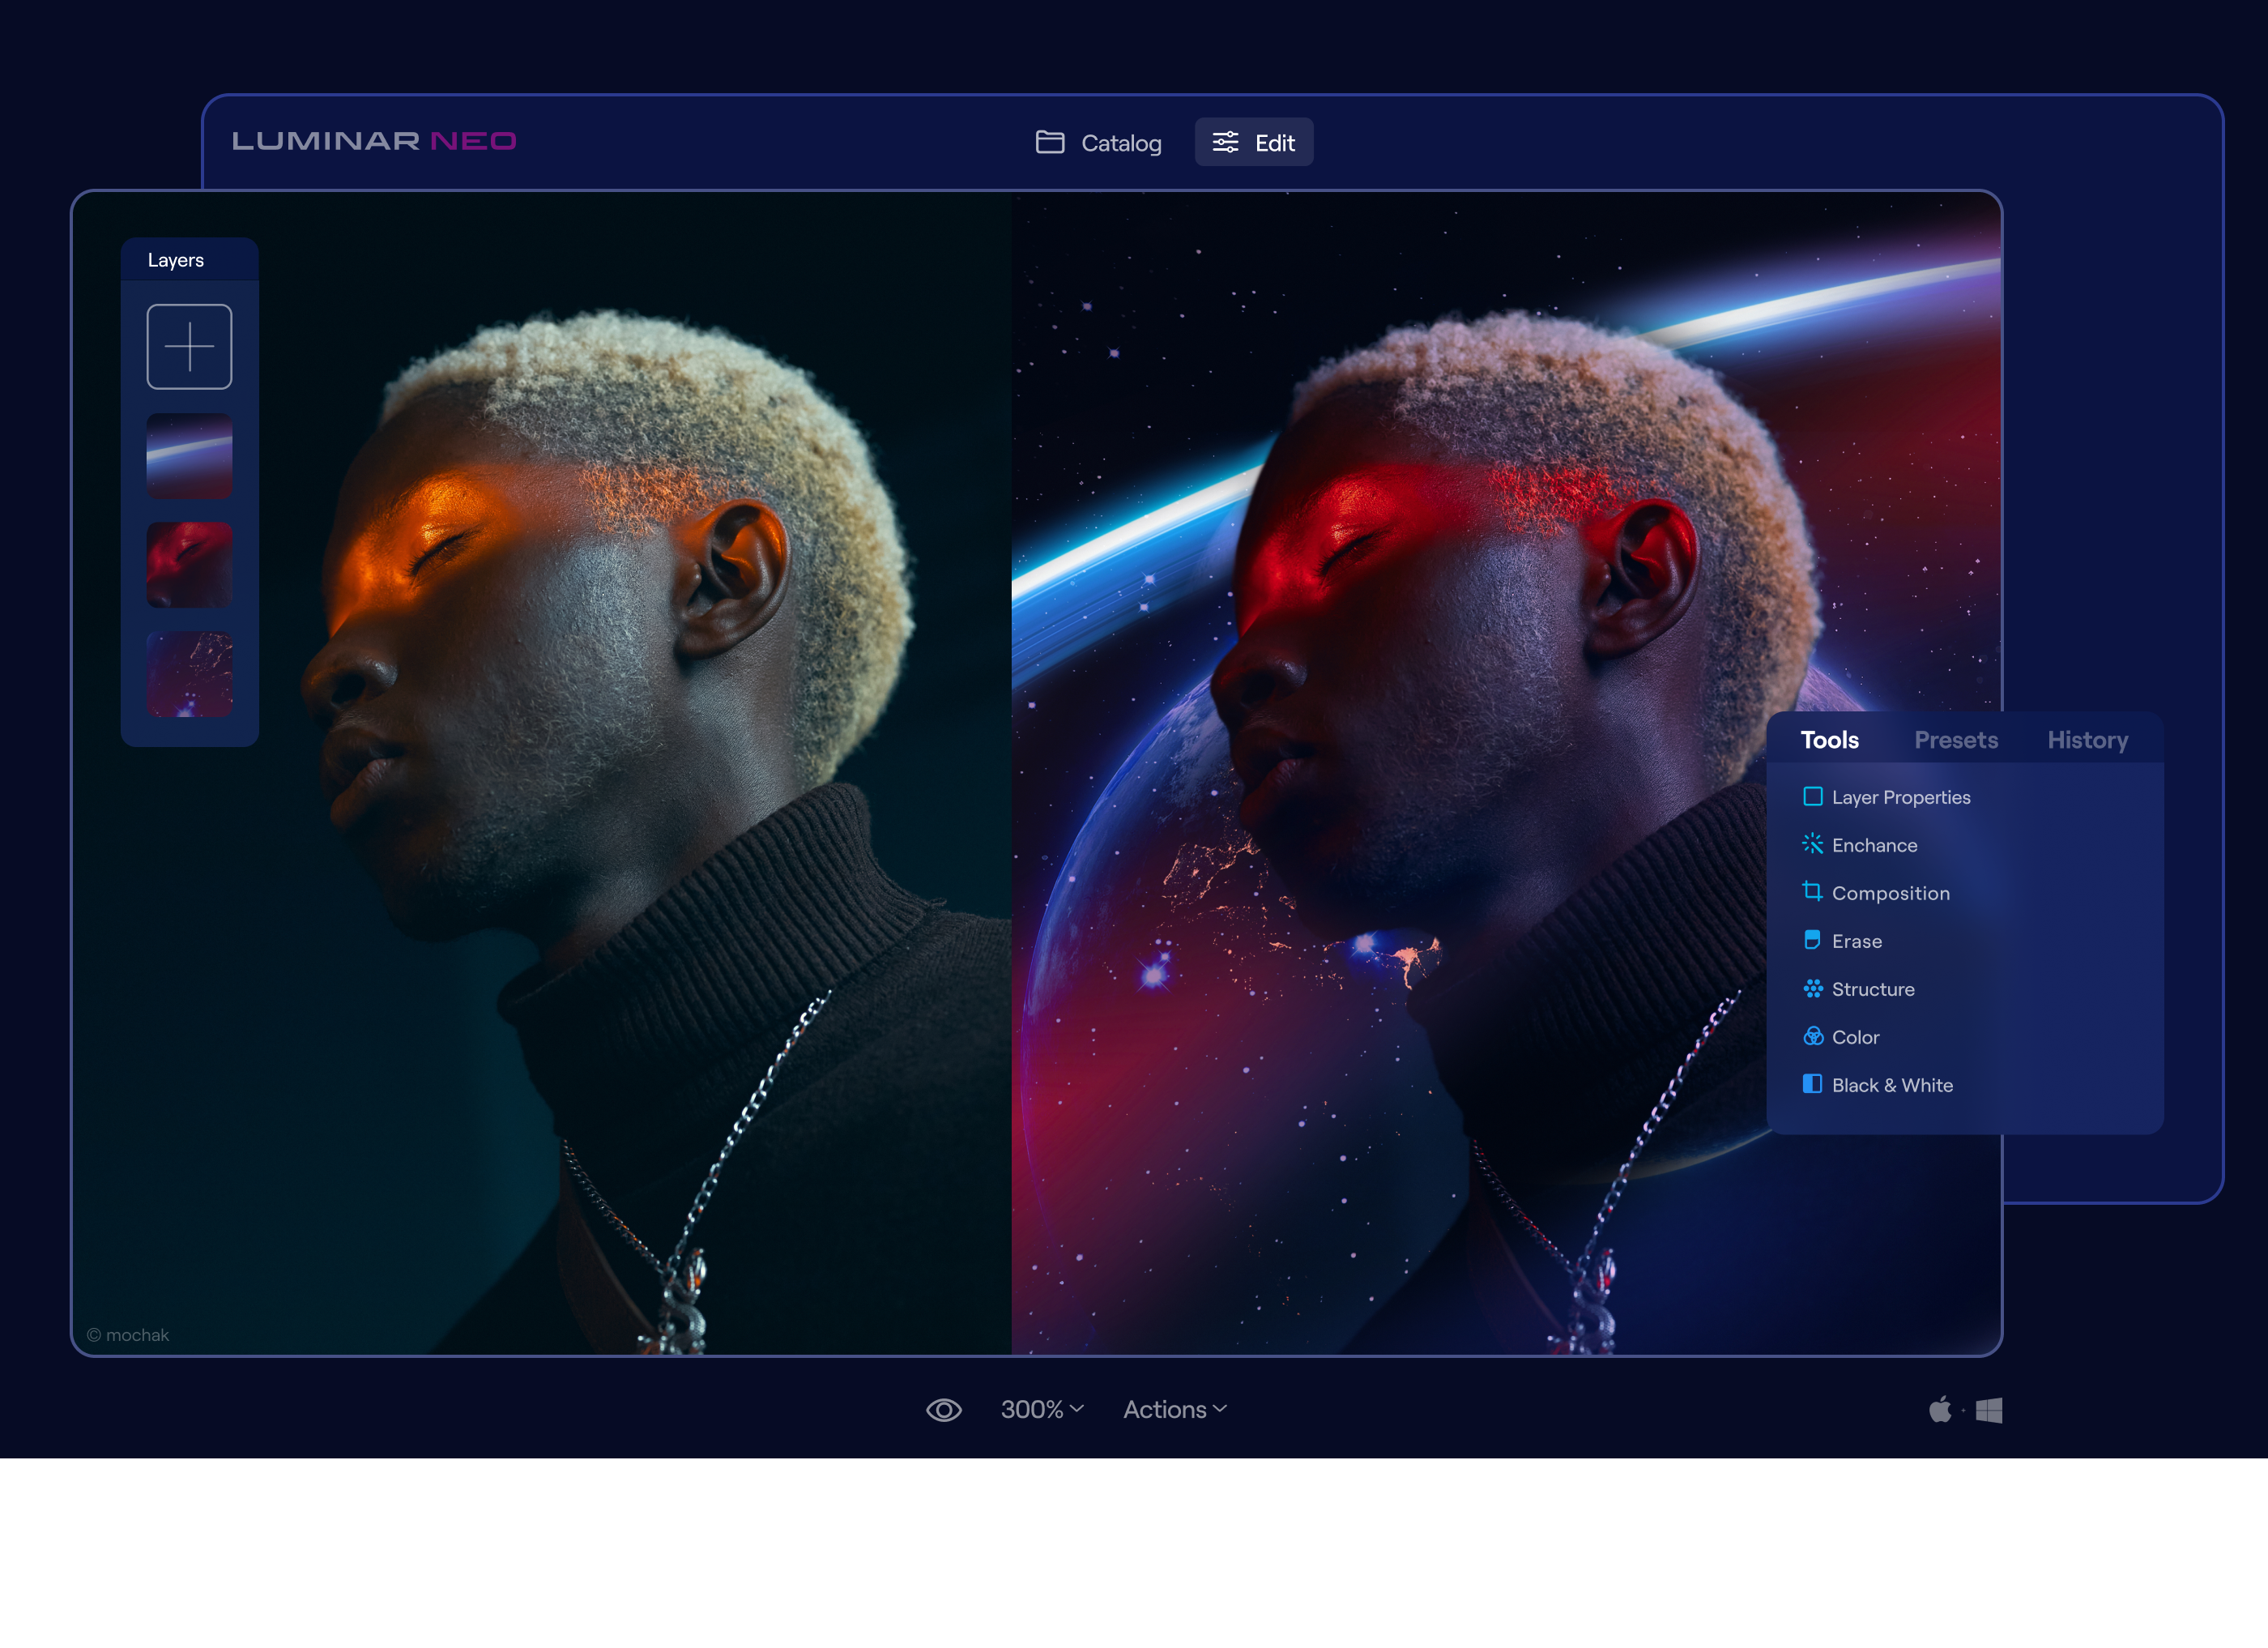
Boost your creativity with Layers

Luminar Neo allows you to work with multiple photos on one canvas. Add image layers, move them on top of each other, use blending modes and masking modes, make collages, add double exposure effects, and do more with each layer. Easily drag, move, place, rotate, and flip one or multiple images around the base photo.


Boost your creativity with Layers

What better way to explore the new Layers feature than with a whole library of Overlays? Experiment with the effects you can achieve: play with free built-in collections, including unique lights, bokeh, wall frames, and silhouettes of people and objects. You can also add your own Overlays or expand your collection by getting Overlays from the Luminar Marketplace.

Get fast results with Presets

Presets let you make one-click adjustments to your photos, or you can use them as a starting point for further adjustments. Presets combine efficiency with creativity. By using AI to understand the strengths and weaknesses of every image, Presets automatically correct common capture problems and apply enhancements that inspire new ideas. Presets can be saved and easily synced across large batches of photos — including across sets of images from different sessions and taken in different environments — to help you create a unique style in your photos.

Get fast results with Presets

What cameras does Luminar Neo support?

Here is a list of all supported cameras. Also, these new and exciting cameras are now supported by Luminar Neo:

  • Leica M11

  • DJI Mavic 3

  • Nikon Z9 (standard compression only)

  • Sony a7 IV

  • Ricoh GR IIIx

  • Fujifilm GFX 50S II

  • Fujifilm X-T30 II

  • Sony Xperia 1 III

  • Sony ZV-E10

  • Nikon Z fc

  • Sony a7R IVA

  • Sony a7R IIIA

  • Fujifilm GFX 100S

  • Fujifilm X-E4

  • Sony a1

    What’s coming next?

    Luminar Neo will become even more powerful with future updates. In the Luminar Neo updates, you’ll be able to enjoy such features as:

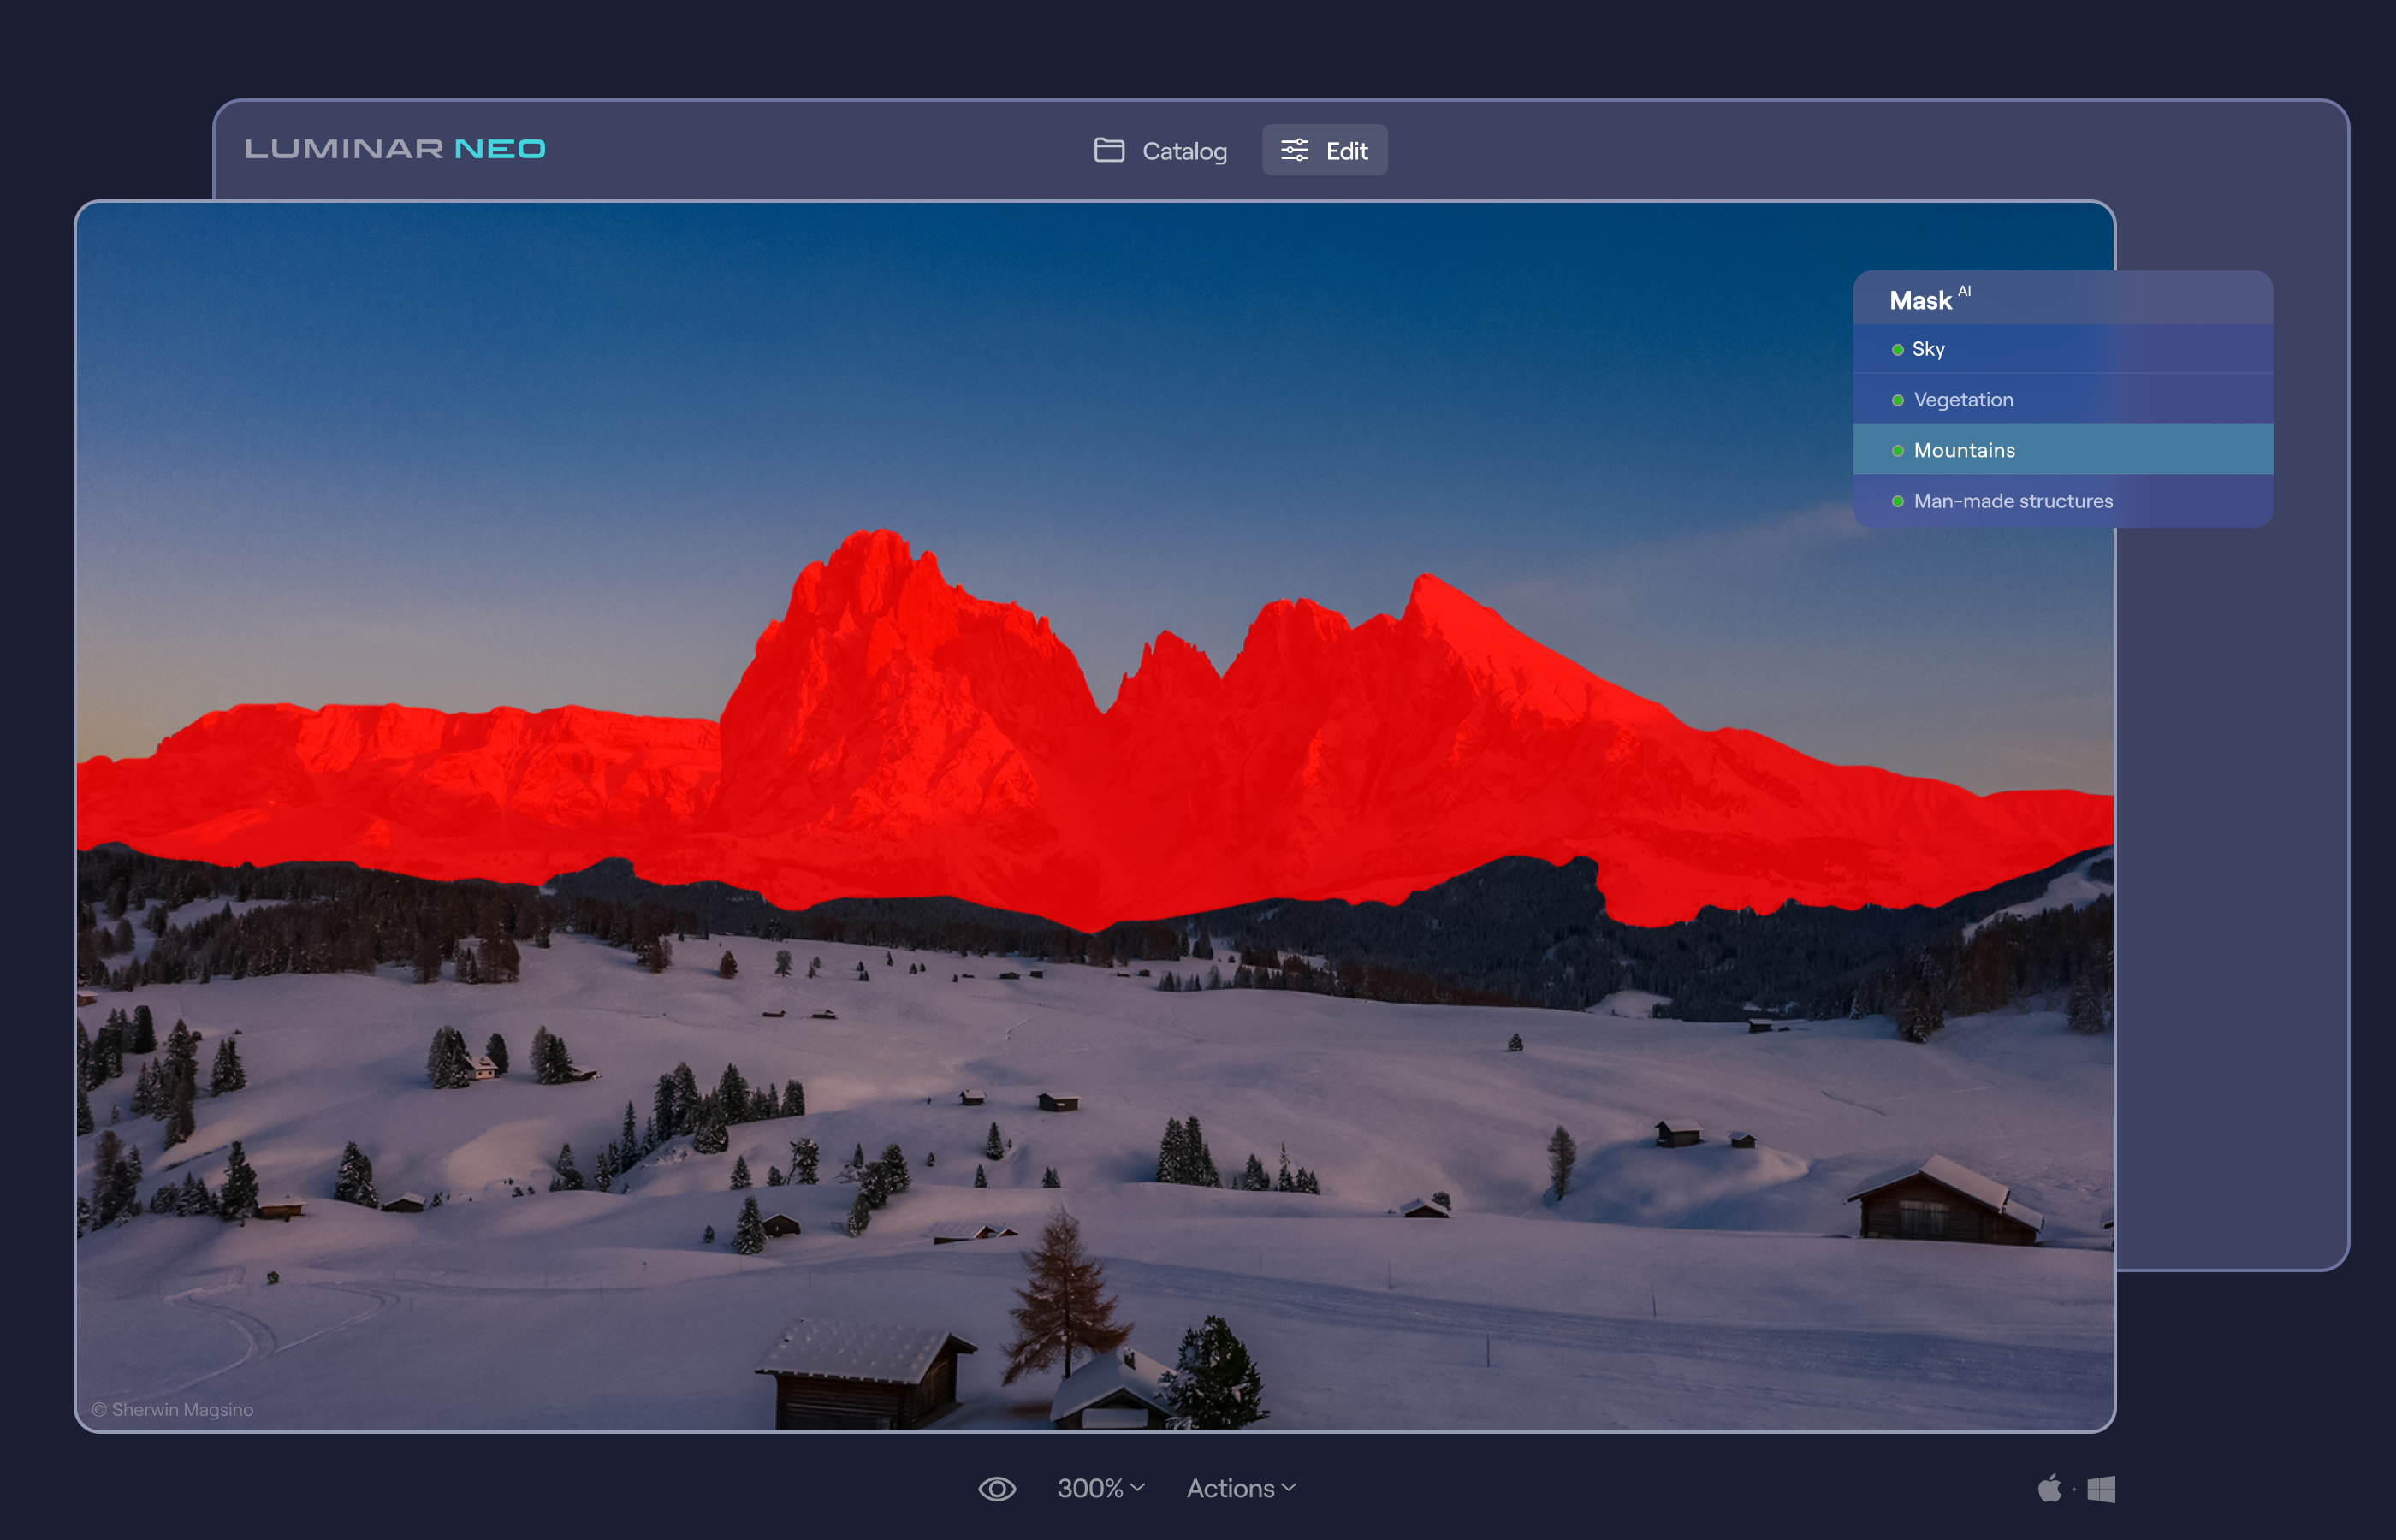
    • Mask AI — smart AI-based masking that detects specific elements in your image

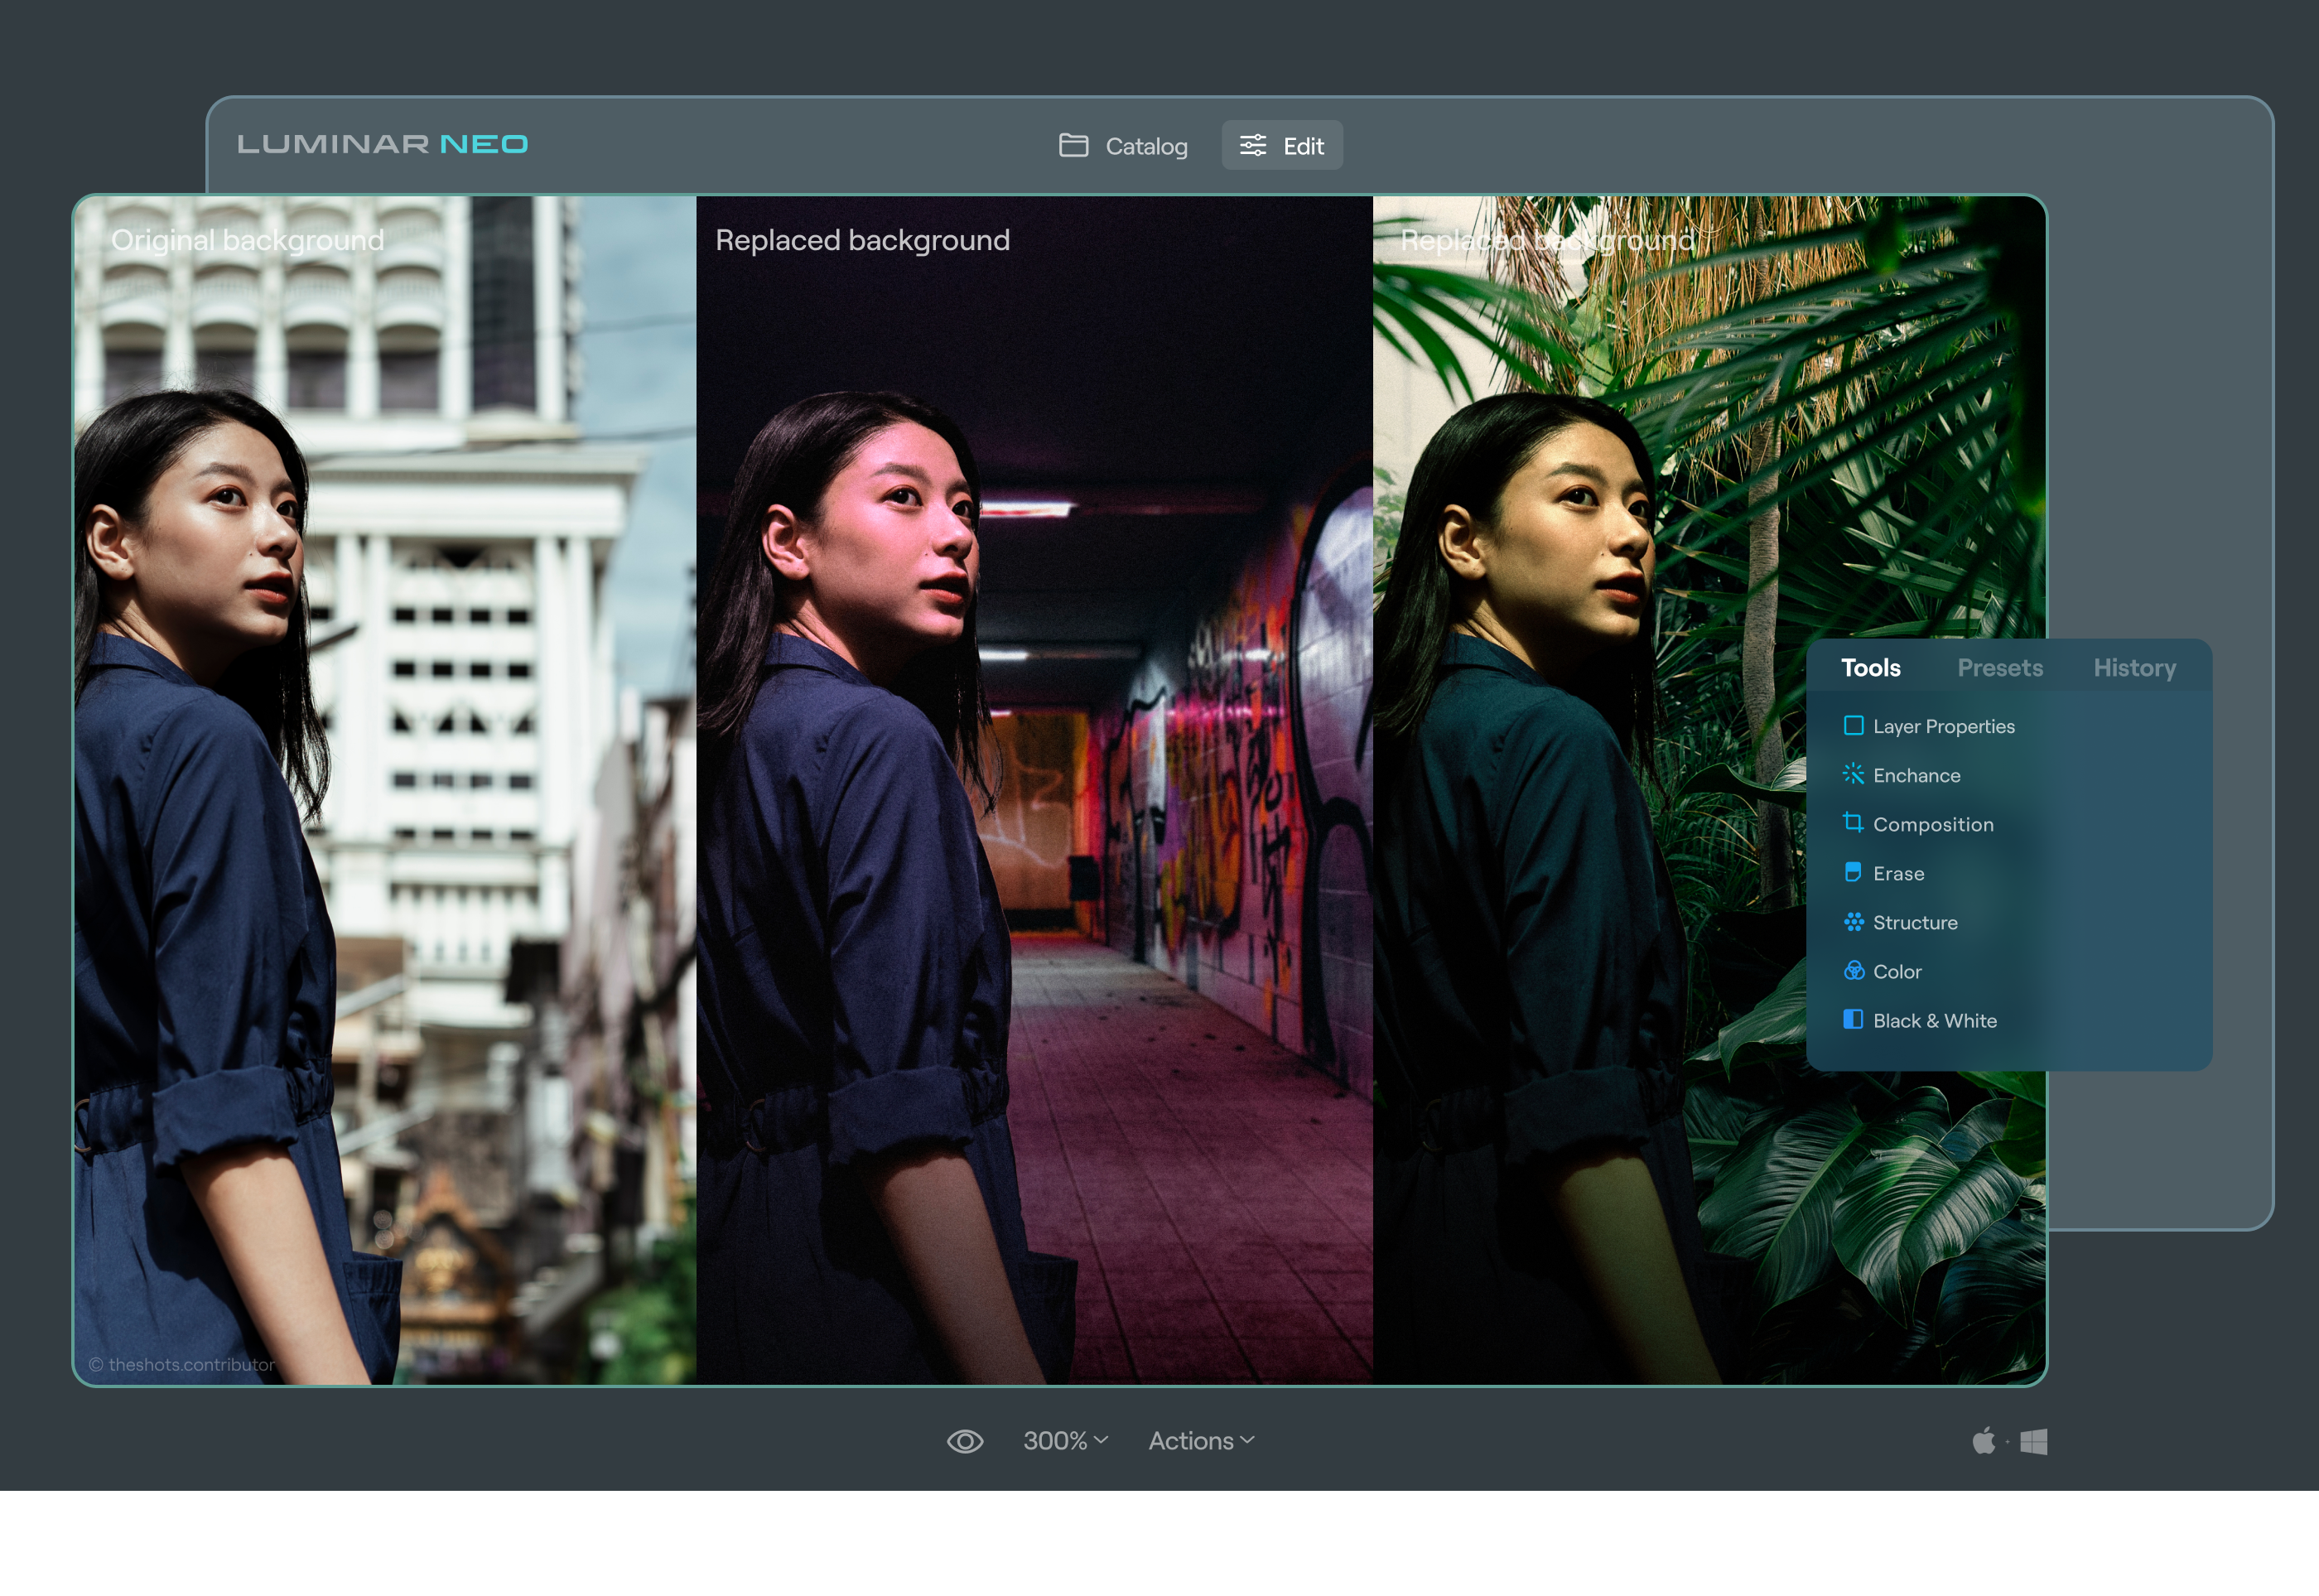
    • Portrait Background Removal AI — smart AI-based removal of the background behind a portrait without manual masking

    • Histogram 

    • Clone & Stamp

    • Dodge & Burn

    • Undo and Redo

    • More Hotkeys

    • More functionality when using Masking (Copy/Paste, Pen Pressure for Radius/Opacity, and Linear/Radial gradient)

    There are also a few known issues that will be resolved shortly. They include:

    • LUTs are not applied on hover in the Mood tool

    • Erase steps in History may show wrong states

    • On macOS, the context menu is currently absent on Single Image View for both the Catalog and Edit tabs

    In the next updates Luminar Neo will support the migration of the Catalog. You will be able to smoothly migrate your Catalog from Luminar 4 and Luminar AI into Luminar Neo.

    All the Presets you’ve bought to use in Luminar Neo will be available in your Skylum Account soon. Download them and install them in Luminar Neo and you’re good to go! To ensure the highest quality of Presets and their smooth performance in the app, some of the Presets are in the final testing stage and need a bit more time to be ready. As soon as all of them are ready, we will notify you. 

    We understand that you’d love to use the Templates you previously created in Luminar AI inside of Luminar Neo. Therefore, we’ll take care of the migration process. In March, our team will provide you with a special utility to convert your custom Templates into a Luminar Neo-compatible format. You'll be able to take your favorite settings with you when switching to the new software.

    Stay tuned for future updates to enjoy all this functionality! A big thank you to everyone who contributed valuable feedback on the Early Access version and helped us make Luminar Neo even better.

    Enjoy creating incredible images easier and faster in Luminar Neo!

What’s coming next?

Experience the power of Luminar Neo

Try free Try free

Check out Luminar Neo now

Try free

Written by

Team Skylum

Photography

Our team of passionate photography enthusiasts at Skylum has been committed to assisting you in discovering the world through your lens for over a decade. We're dedicated to providing photographers like you with easy-to-use tools and valuable resources to help you capture your vision and produce beautiful photos. Our articles are filled with friendly tips, industry insights, and inspiring stories from other creative individuals in photography. Together, we can help you grow your photography skills to new heights. Join us on this exciting journey of exploration, creativity, and growth.

Use Aurora HDR for free for 14 days.

Sent successfully!

Please check your inbox.
We've sent you a copy via email.

Sorry

Looks like you're subscribed already

Sorry

This is sad. Looks like you’ve earlier unsubscribed from Skylum emails. Please resubscribe here.

Thank you for downloading
Aurora HDR

Preparing your download...

Did your download not start?
Dont worry, just click here to try again.

Oops! Something went wrong. Don't worry, just click here to try again.

Step 1

Step 1 Find & Open
Aurora HDR Installer

Step 2

Step 2 Follow the instructions
to install Aurora HDR

Step 3

Step 3 Enjoy new photo
editing experience

Get started for free

Try out Luminar Neo for free for 7 days. No credit card needed.

Sent successfully!

Please check your email

Make sure it's a valid email address

👆 This app is available for desktop only. We will send you a link when you’re back on your computer.
You may Also like(11)