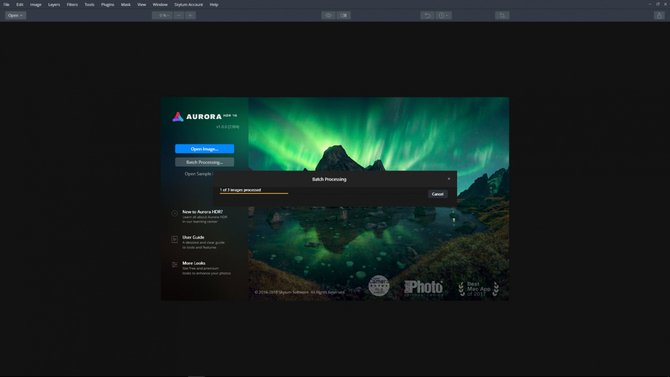
Aurora HDR 2019’s batch processing is a powerful way to save time and effort when working with multiple images. Learn out to use this feature when you want to apply the same look to a selection of images.
Follow along in this step-by-step tutorial or watch the video. (Images by © Richard Harrington)
In this tutorial, you will learn a powerful way to open, edit and save many images at once to save time and effort using Batch Processing. Batch Processing is ideal for working on single images as well as many sets of bracketed exposures. Aurora HDR 2019 will automatically group brackets based on EXIF data stored in each image including exposure settings, aperture settings, ISO levels, lens data, and time shot.
Batch process by selecting a folder or Drag and Drop
To begin a Batch Processing session, either access it from the initial Open Aurora HDR 2019 Open dialog or — once the application has started — from File > Batch Processing
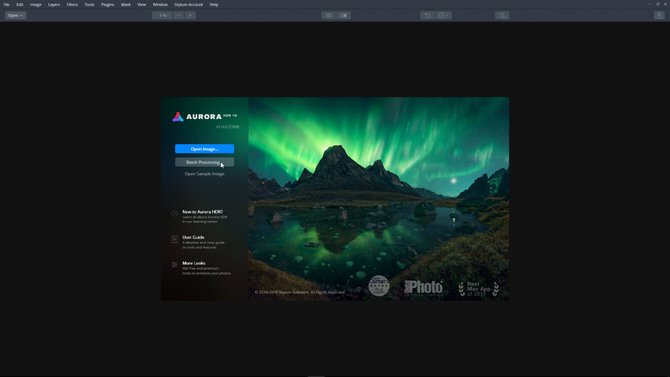 Choose Batch Processing from the Open Dialog or...
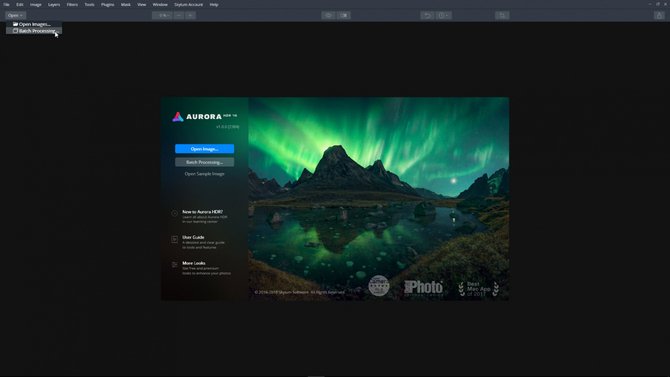 Choose Batch Processing from the Open button or...
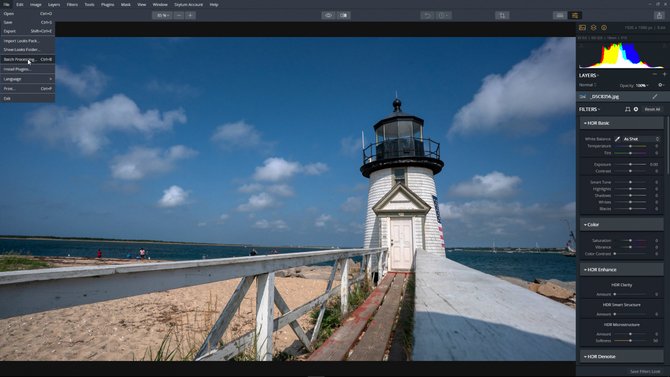 Choose Batch Processing from the File menu
Step 1: Load the Brackets. You can drag files or folders (which contain files) into the new window to load them. You can also click the Browse button in the upper right corner to bring up the Open file dialog. If the “Include Subfolders” option is on, and you’ve added folders, then Aurora HDR 2019 will search for all images in every subfolder of the added folders. Give the application a little time to analyze the images.
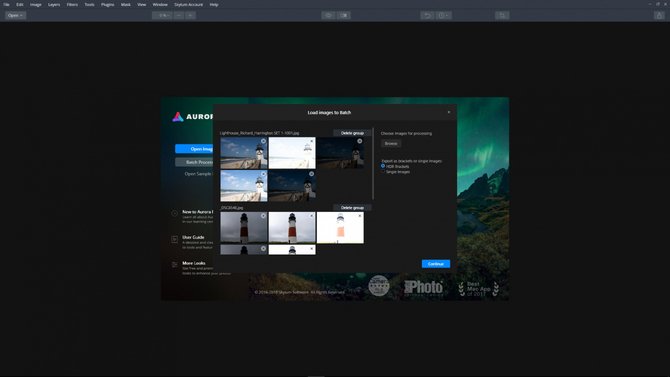

Step 2: The selected photos can be processed as HDR Brackets or single images.
- HDR Brackets mode is set by default, which will automatically sort and group exposure brackets and process them accordingly.
- If the Single Images mode is selected, all the images will be treated as independent files and processed separately.
Step 3: Drag any photos that are not properly grouped into the images you’d like to merge them with.
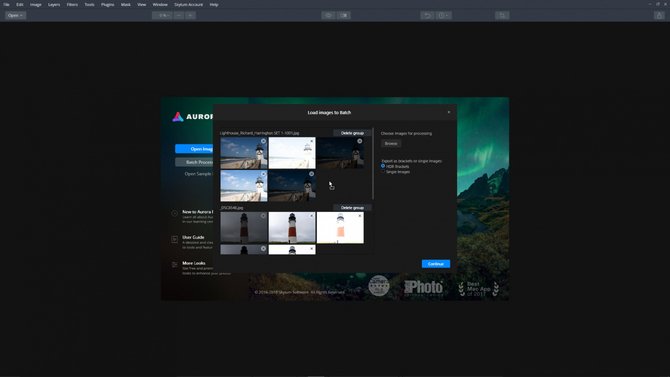
Step 4: If an image should not be processed, you can click the X in the upper right corner (upper left corner of the image on a Mac) to remove it from the Batch window.
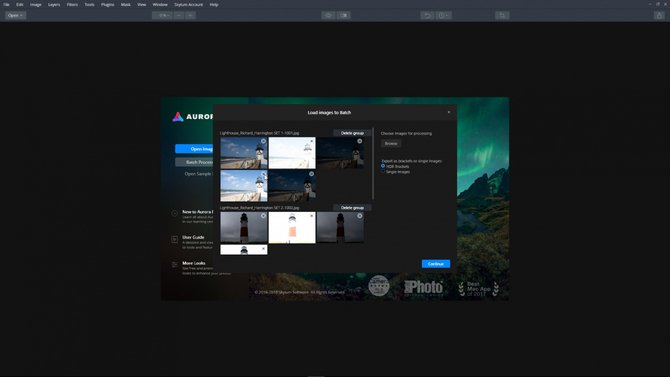 Step 5: If you want to remove a group of images from the Batch window, just click the Delete Group button.
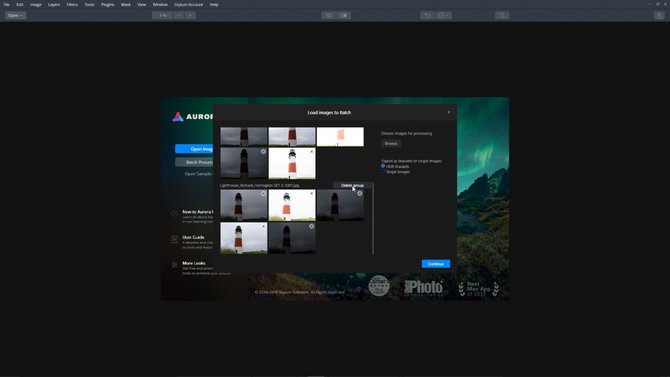
After the images you wish to process have been loaded and grouped, press the Continue button to reveal options and settings for Batch Processing.
Batch Processing settings
The Batch Processing feature is very versatile and contains many options that you can conveniently apply to a large set of images.
Default settings
- Aurora HDR Looks. The default is none - click on it and you can select a Collection - once you select a collection you can choose a specific Aurora HDR Look from that collection to be applied to your bracket and use the amount slider to set how much that Aurora HDR Look will affect your final image.
- Save to. This option lets you choose where processed files will be saved. You can save them in their current location or browse to select another folder. When you’ve made a choice, the file “path” will be displayed. Note: Because it is possible to overwrite your original files, it is a good practice to save your batch-processed files into a new folder separate from the original files.
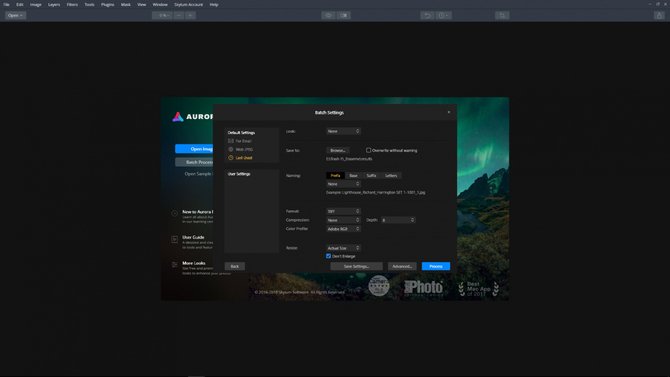
User settings
- Naming. Aurora HDR 2019 has very flexible file naming options. You can add a prefix and suffix, choose from a variety of base names and even select the case of the letters. This gives you tremendous flexibility to organize your files as part of the batch processing operation.
- Format. Choose way type of file should be created. You can make a JPEG, PNG, TIFF or PSD file during the batch processing. Tiffs give you compression options and JPEGs give quality options
- Color Profile. You can choose a color profile. Options include sRGB, Adobe RGB, and ProPhoto RGB
- Resize. Easily choose a dimension for the new files.
Advanced Settings
The advanced button reveals additional options - Sharpening for output, Color denoise, as well as Alignment, Ghost Reduction, and Chromatic Aberration removal. Refer to Aurora HDR 2019's user manual for more information.
Running the Batch
After selecting your desired Batch Processing options, click the Process button in the lower right of the window to begin the operation. You can also select Save Settings... to quickly apply them the next time you need to batch process a set of images.
