Aurora HDR 2019 Transform and Lens Corrections tools can easily fix perspective issues and lens distortion problems in your photographs. You will learn how to quickly straighten the image and remove distractions caused by perspective issues or camera position.
Follow along with the step-by-step tutorial or watch video. You can download the example file here. (Note: Images are only to be used for this tutorial. Image by © Dima Sytnik)
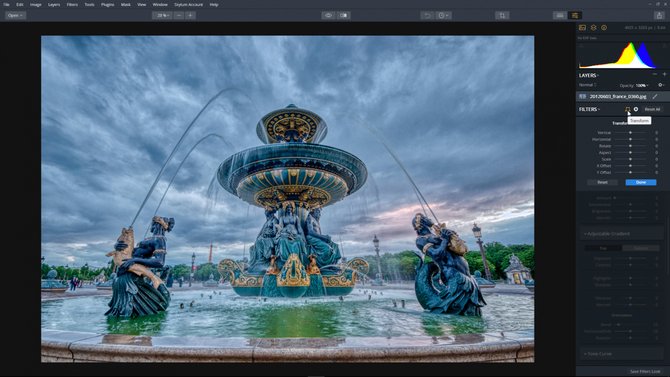
Straightening the image with the Transform Tool
This image has keystoning problems. Keystoning is the apparent distortion of an image towards the vertical centerline of the photo usually caused when shooting upwards To fix this, we can use the Vertical and Horizontal sliders. Dragging the Vertical slider to the left will rotate the image on the X-axis. This will tilt the image forwards, fixing the problem.
Step 1: Click the Transform button near the top of the Filters controls
Step 1: Click the Transform button near the top of the Filters controls
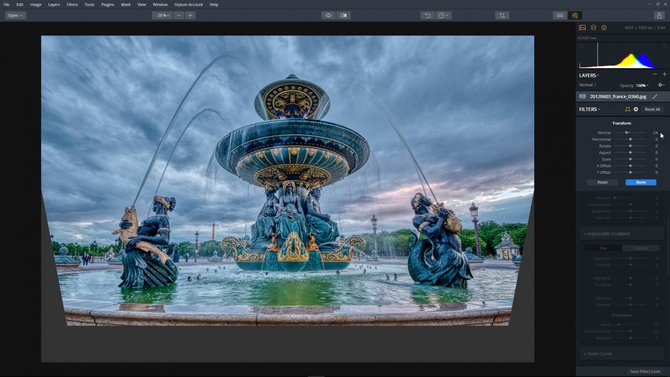
Step 2: Adjust the Vertical tilt to -22 by dragging the Vertical slider to the left. This will tilt the image forwards or backwards and can help compensate for an image with any keystoning problems.
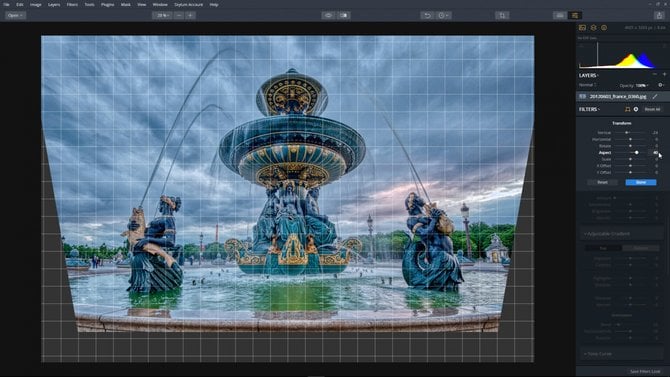
Step 3: Drag the Aspect slider to the right to 40. This will expand the height while contracting the width.
Step 4: Adjust the image scale by moving the Scale slider to 69. This will help hide gaps after transforming a photo.
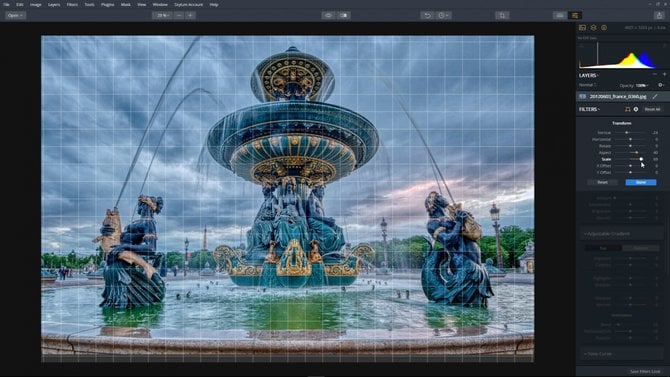
Step 5: Drag the Y Offset slider to the left to -20. This will shift the image down.

Adjust barrel distortion with the Lens Correction Tool
Barrel distortion is common with wide angle lenses because the field of view of the lens is much wider than the size of the image sensor so it needs to be “squeezed” to fit.
Step 1: Click the Lens Correction button near the top of the Filters controls

Step 2: Adjust the Distortion by dragging the slider to the left to -4. This will increase the barrel shape of the lens further straightening the image.
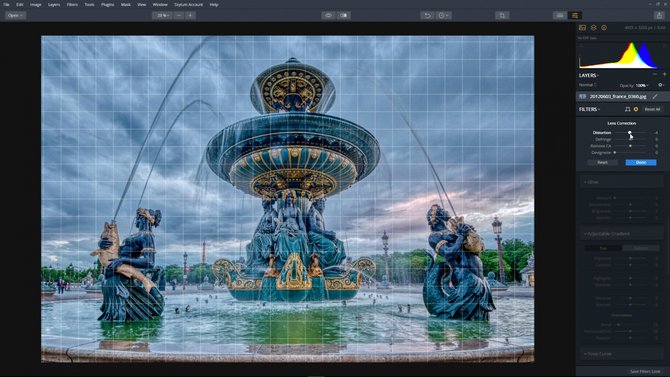
Step 3: Remove a slight darkening at the edges by moving the Devignette slider to 18. This was caused by the lens itself. This is a corrective command, not a stylizing command. If you want an artistic vignette, use the Vignette filter.

Not every image needs to use all the full features of the Transform & Lens Correction tools. Each image is different and you should use only use the features you need to make the image look its’ best.
Conclusion
In a short time, we were able to use Aurora HDR 2019 Transform and Lens Corrections tools to quickly adjust the shape of our distorted image.

