
February 19, 2026
Digital Collages: Transform Photos With Modern Techniques
Discover how to turn your everyday photos into stunning digital collages. Our guide offers practical tips to enhance your creativity and craft unique art today!

February 18, 2026
Celebrating The 4th Anniversary Of Luminar Neo

February 18, 2026
Best Multi-platform Editing Software

February 17, 2026
Best Focal Length for Portraits

February 16, 2026
What Are The Best Photo Gallery Software

February 13, 2026
What Are The Best Photo Editor With Catalog Management

February 12, 2026
Best Filters for Landscape Photography That Enhance Shots

February 12, 2026
Picsart alternative: Discover creative tools beyond limits

February 11, 2026
When Was Color Photography Invented: Unveiling History

February 10, 2026
28mm vs 35mm: Choosing the Ideal Lens for Creativity
Most Popular

February 17, 2025
St Patrick's Day Baby Picture Ideas For A Fun DIY Shoot
Looking for creative photoshoot St. Patrick baby photo ideas? Get inspired with these fun and festive DIY setups!
Learn More
October 27, 2025
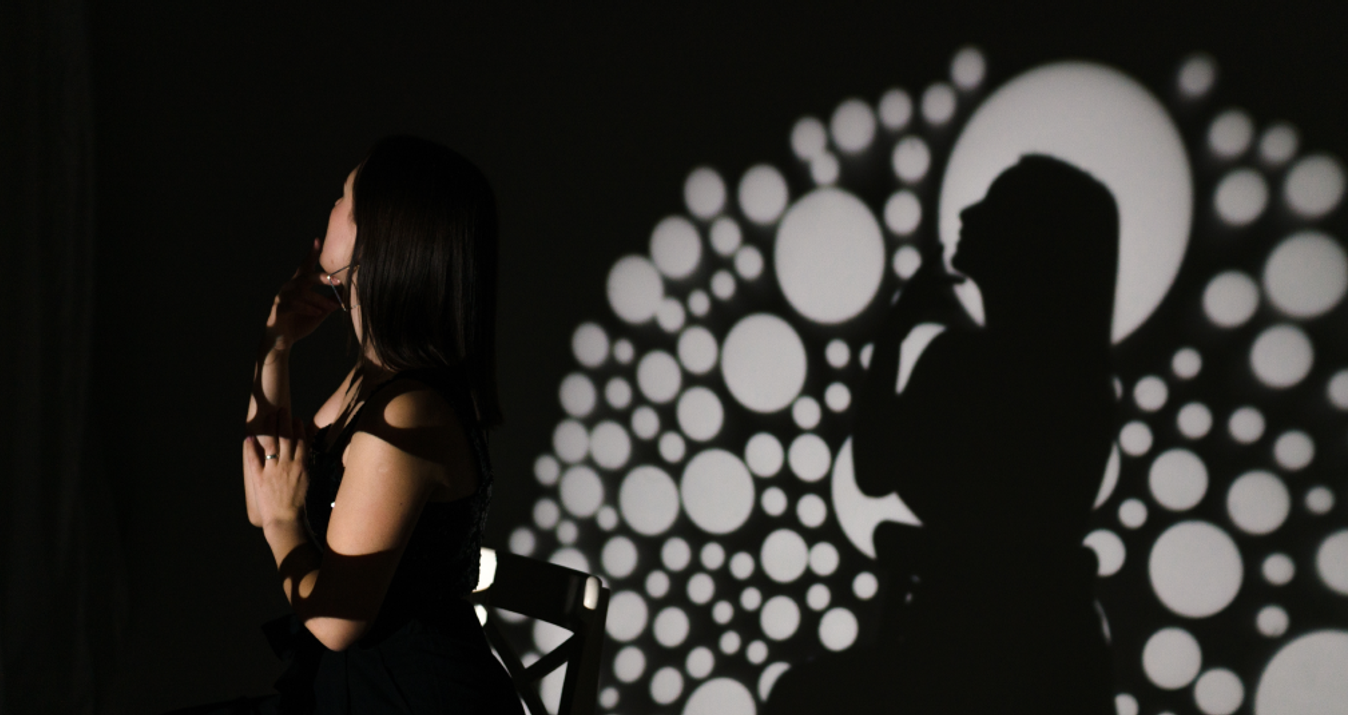
What Is A Gobo In Photography And How To Use It Effectively
Ever noticed how a shadow can suddenly make a photo feel cinematic? A small lighting gobo patterns setup can do that job better than any filter, turning ordinary beams into storytelling light.
Learn More

December 01, 2025
Best HDR Software For Photographers Seeking Natural Results
Most HDR used to scream 'edited' with neon colors, shiny edges, and lighting that did not make sense. Now it's much easier to end up with a sharp, balanced photo that still feels real. Here you can check out the best HDR photo software with tools to control exposure, color, and detail—no complex steps or app-switching.
Learn More
Subscribe to know first
Our delivery owl will bring you our best deals and news about Skylum news.
Thank you for subscribing!
Unlock Pro-Quality iPhone Photos with Our Free Guide! 📸
Gain instant access to simple yet powerful tips for enhancing composition, lighting, and editing—everything you need to transform your photos effortlessly!
👇 Fill out the form below to receive your guide directly via email.
Curiosity is the doorway to skill
Thank you for your interest! Discover the secrets to pro-quality photos in your guide, waiting in your inbox.
Try the request again later. If the error does not resolve, contact support.
Try Later