$57
$97
Available in English
Streamed online
Divided into sections and chapters with new videos added to always keep the course up to date as new tools are released.
Follow along using the files demonstrated in the video lessons.
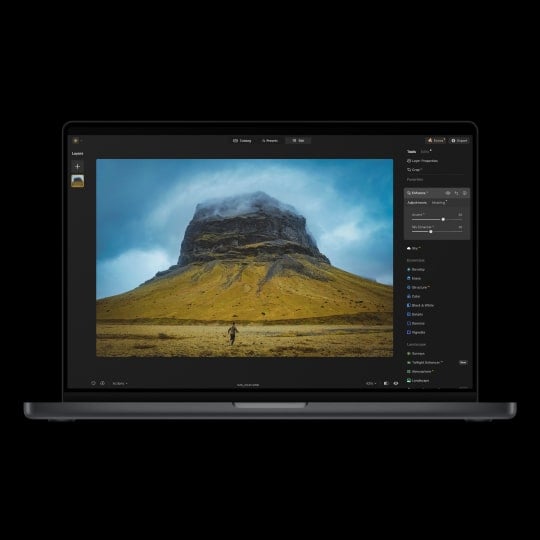
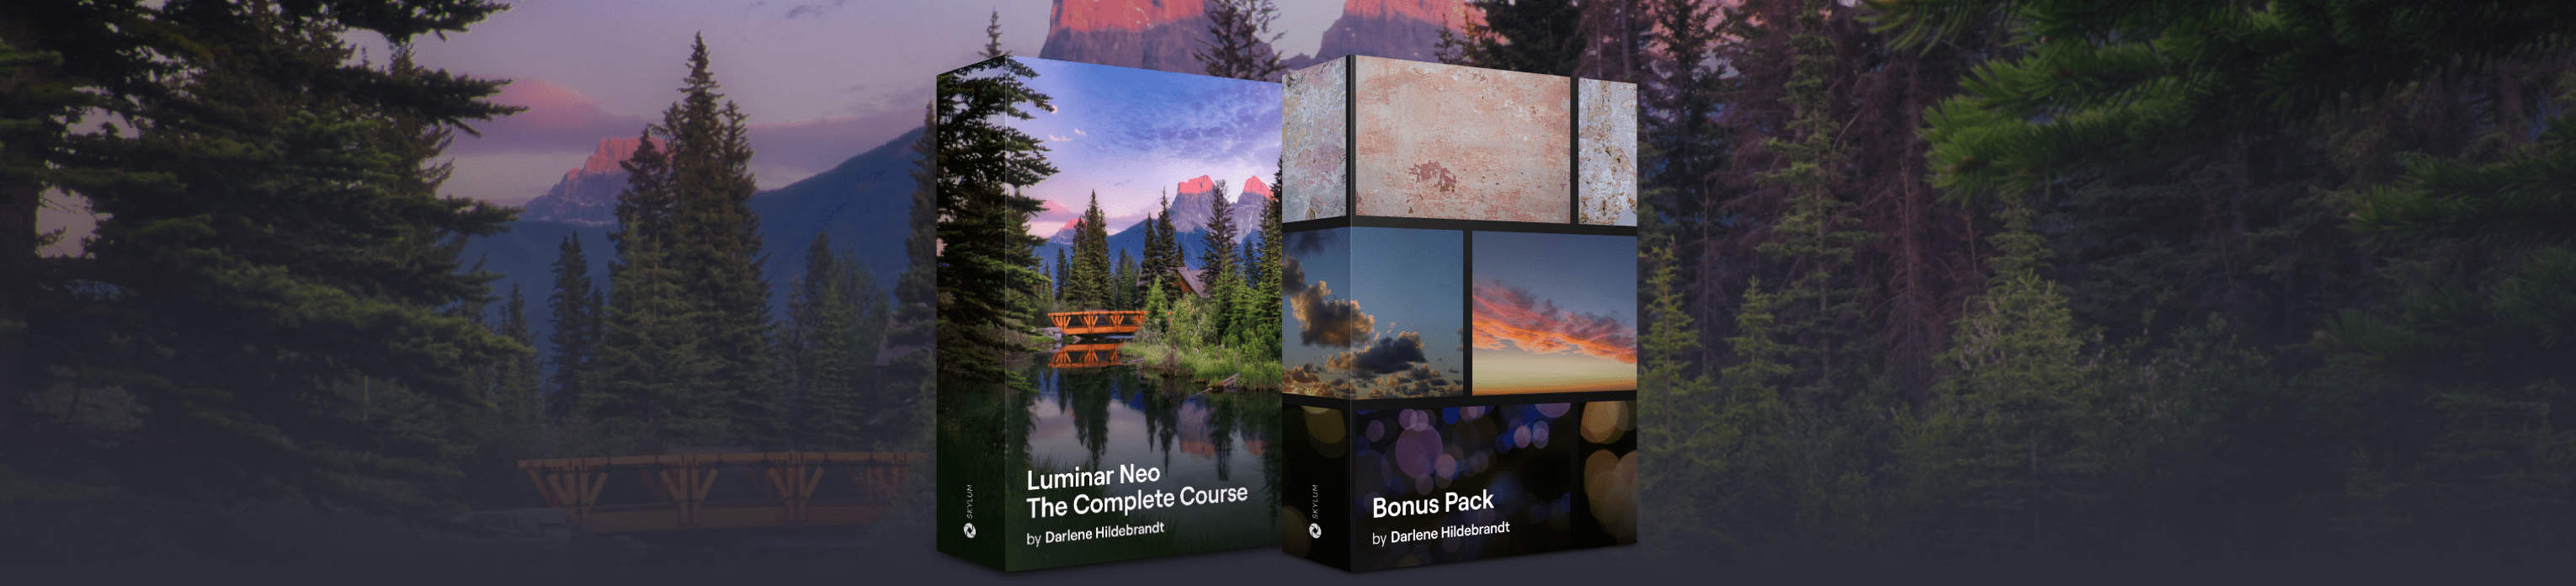
This course has been remade in 2025 to be 100% up-to-date with the newest tools and additions in Luminar Neo. Learn to use every tool with step-by-step instructions.
A PDF cheat sheet, 6 Skies, and 4 Overlays
Get all your questions answered by the instructor via email and a private community for students of the course.
You’ll learn how to use Luminar Neo from beginning to end, step-by-step, improve your photo editing abilities, speed up your workflow, and how to transform your images from dull to WOW!
Learn how to install Luminar Neo, set your preferences, and navigate the interface. This lesson covers the Catalog, modules, view modes, image search, and where to find support.

Find out how to add images, use folders and albums, and start editing with presets. Explore key tools like Develop Raw, Curves, Enhance AI, masking, and more to bring your photos to life.
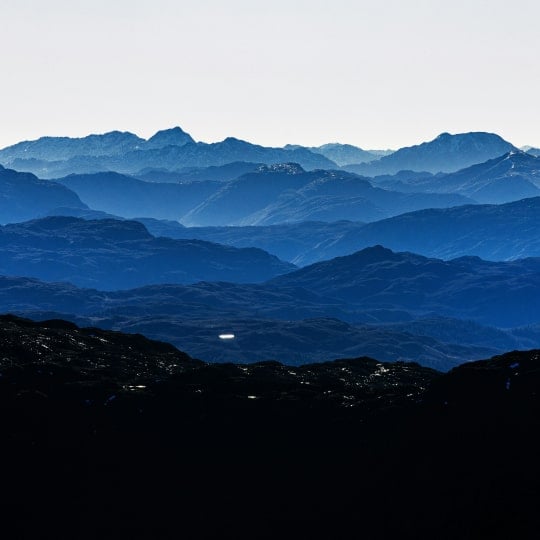
Enhance outdoor scenes with Sky AI, Sunrays, Atmosphere AI, and more. Learn how to use these tools effectively, avoid common mistakes, and get creative with landscapes and water.
Discover creative tools like Relight AI, Color Transfer, Magic Light AI, and Mood to stylize your images. Learn tips, tricks, and hidden uses for adding atmosphere, glow, drama, and analog charm.
Learn how to export images, use Luminar Neo as a plugin, and manage your catalog. This section also covers backup strategies and monitor calibration for a reliable editing setup.
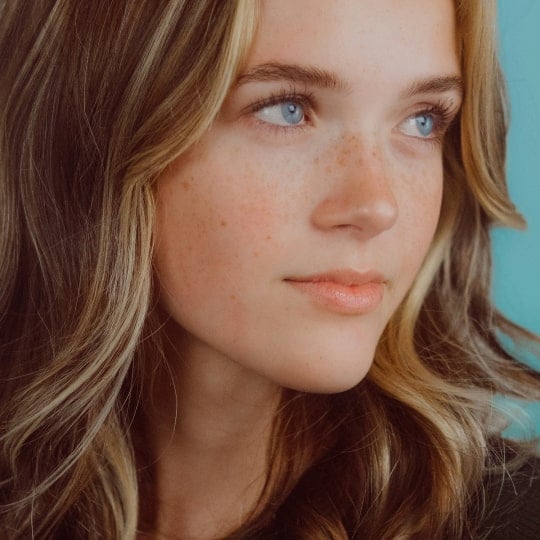
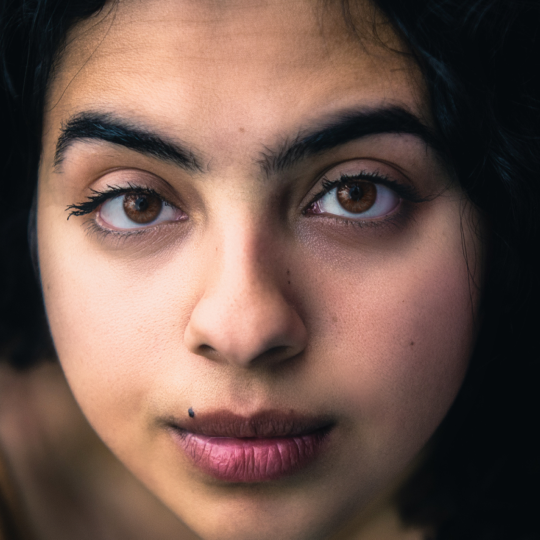
Explore powerful portrait tools like Studio Light, Face AI, and Skin AI. Learn pro tips for natural or dramatic retouching, from subtle enhancements to full glamour edits.
Master tools like Super Contrast, Dodge & Burn, and AI-powered sharpening. Learn pro tips for local adjustments, noise control, and creating beautifully detailed, polished images.
Learn how to use layers for everything from textures and logos to composites and background removal. Explore creative techniques, adjustment layers, and tips for blending images seamlessly.
Discover advanced features like HDR merge, panorama stitching, and focus stacking for stunning images. Plus, get introduced to Generative AI tools and tips to create unique visuals with ease.

Learn how to fix common image problems like distortion, noise, and sharpness issues. Explore tone, contrast, and color corrections, plus when to use Lightroom or Luminar Neo for the best results.

Watch full edits of landscape, portrait, and street photos from start to finish. Learn techniques to enhance each style and develop your own editing workflow and presets.

Upon completion of all of the lessons in the course, you can download a customized, printable certificate of completion suitable for framing and hanging on your wall. Celebrate your success!
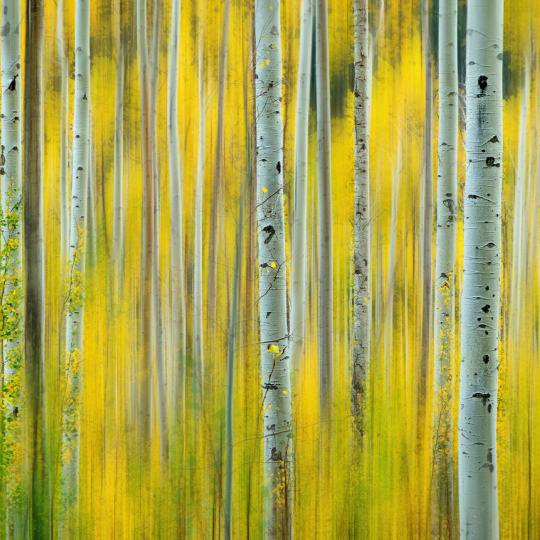
Using the provided RAW files you will easily be able to practice editing tips and learn how to create final results like these.
Description
With this course, you’ll learn everything you need to know to become a Luminar Neo photo editing master. Whether you’re a total beginner or have been using Luminar Neo for a while, this is the course for you! Note that this course has been totally remade in 2025 to be 100% up-to-date with the newest tools and additions in Luminar Neo.
Five valuable bonuses included with this course
All the raw files (200+) used in the lessons
6 Sky Replacement images
2 Texture Overlays
2 Bokeh Overlays
A printable PDF keyboard shortcuts cheatsheet
A private community where you interact with other students in the course and ask the instructor questions


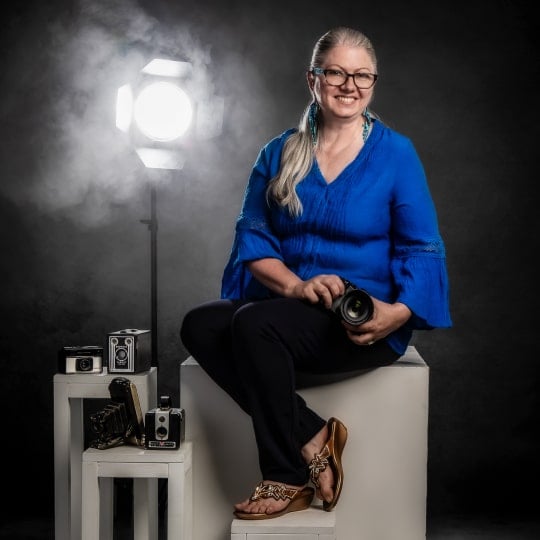
PHOTOGRAPHER. SKYLUM AMBASSADOR
Darlene Hildebrandt has been a professional photographer since 1987. She’s owned a photography studio and has done every type of photography from food to portraits, and over 250 weddings.
Even before the advent of digital photography, in 1995 or so, Darlene used Photoshop for some of her editing. She has led photography tours around the world, taught workshops in multiple countries, and shares her photo editing skills through Lightroom Classic, Photoshop, and Luminar Neo courses and tutorials on her website, Digital Photo Mentor.
She’s been using Skylum products since the Macphun days and is a Skylum Ambassador. She’s been teaching photography to beginner and intermediate photographers since 2010.
Her goal is for students to understand the lessons and get maximum value from the course! When you’re learning from Darlene, you’re in great hands.
More from Darlene Hildebrandt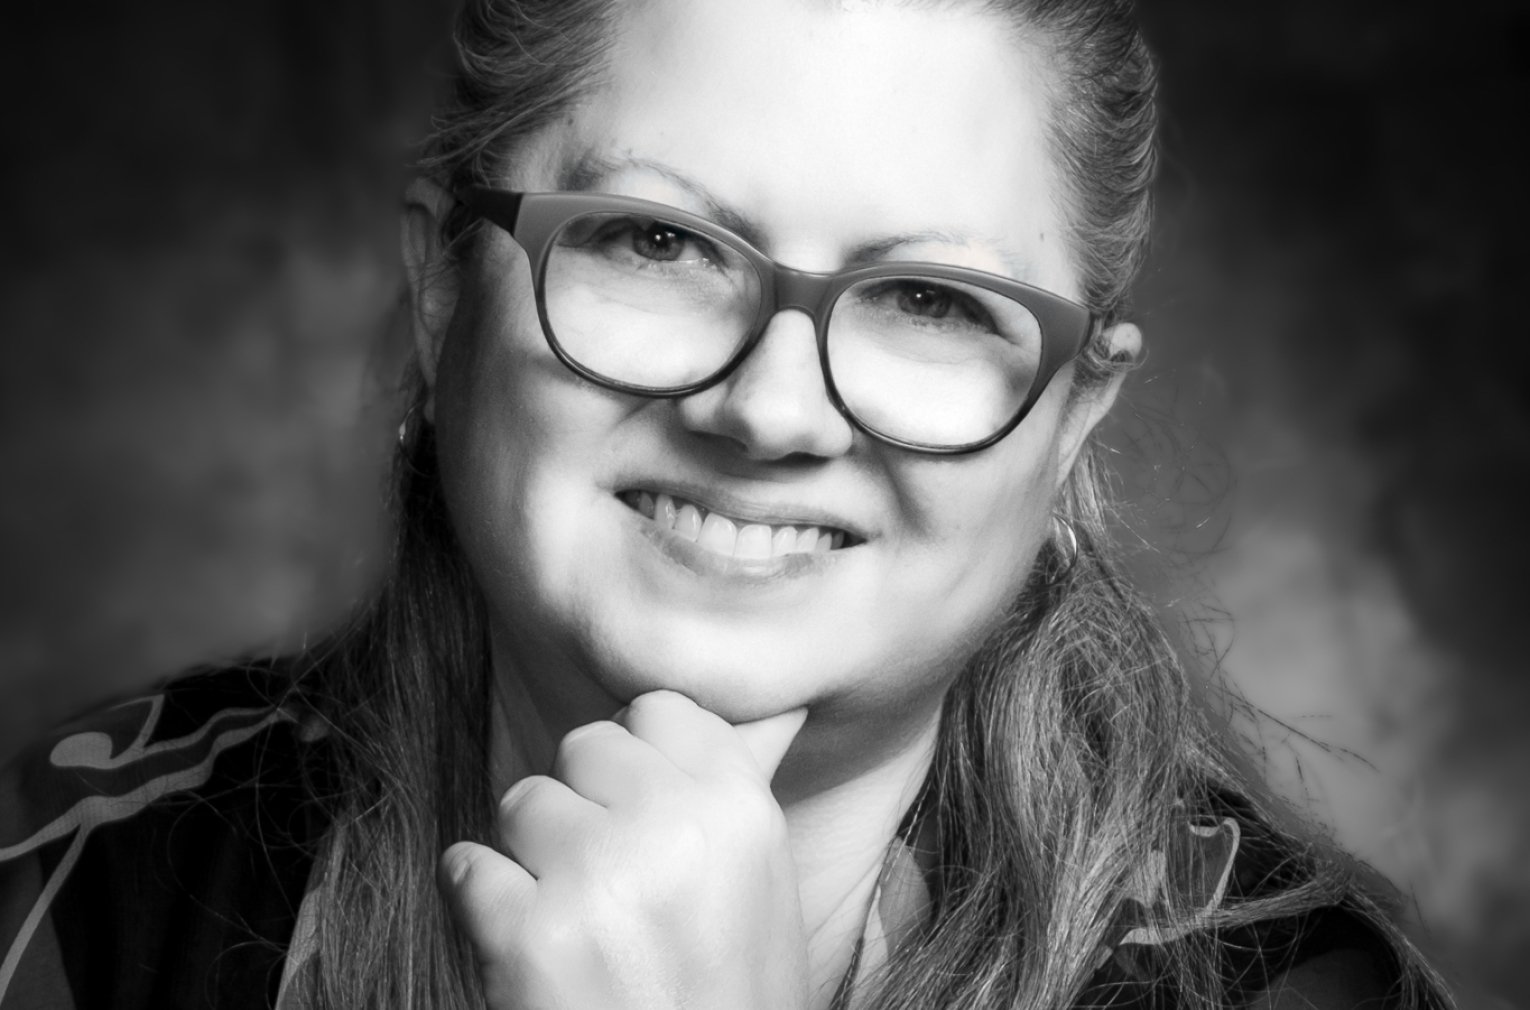
FAQ
After your purchase, you’ll receive an email with instructions to create an account on Darlene’s website. Once your account is set up, you’ll be able to log in anytime to access your course.
You’ll also be added to Darlene’s customer email list, where you’ll receive a few onboarding emails to help you get started. These include tips on how to use your course, join the community for support, and find helpful resources.
The course is available in English only, with English captions for the video lessons.
The video lessons are streaming-only and can be watched on any device — laptop, smartphone, or tablet. Downloads are not available, but you can stream them anytime through your course account.
Your purchase includes lifetime, unlimited access to all lessons and future updates! You can start learning whenever it’s convenient and go through the material at your own pace.
Yes! Whenever Luminar Neo receives updates, Darlene adds new videos explaining what’s changed. If major features are introduced, she updates or adds lessons so you always have the latest information.
If you have trouble logging in or need technical help, you can reach out to Darlene’s dedicated support email — her team will assist you directly.
You can request a refund within 14 days of purchase by contacting Skylum support here.