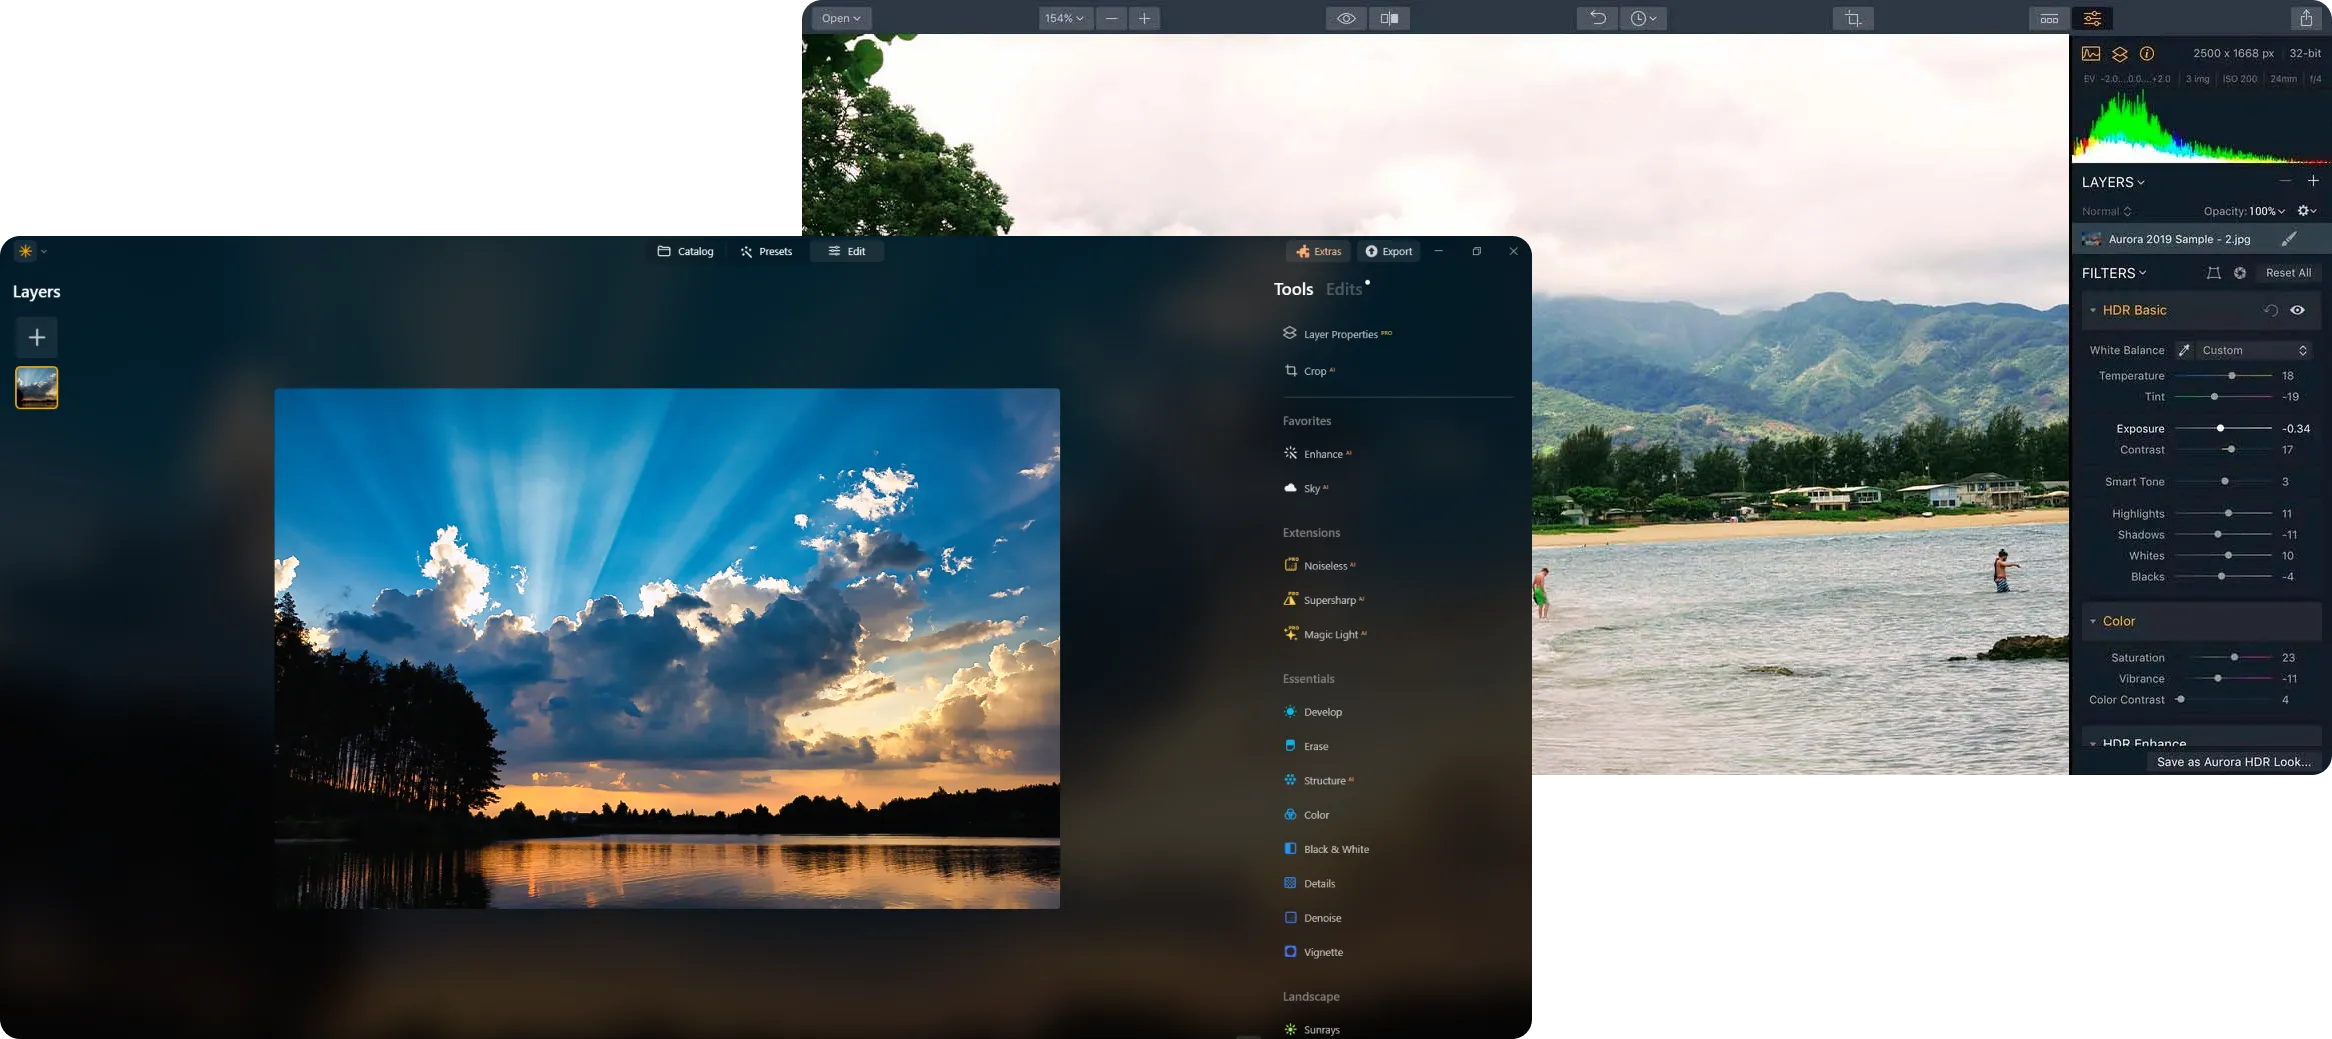
Use Aurora HDR for free for 14 days.
While Aurora HDR is a full featured stand-alone application, some users also choose to install and run it as a plugin for other popular photo editing software. Here's how (the instructions below do not apply to the AppStore version):
__________________________________________________
TIP
For Mac-users, (though it’s not listed in the plugin dialog box), Aurora HDR can operate as an editing extension in Photos for Mac. This will allow you to use it on your computer as an additional editor within the Photos for Mac application.
__________________________________________________
NOTE
For best results, quit the host application, (such as Photoshop) before you install the plugin. You may be prompted to enter your Administrator password to complete the installation.
__________________________________________________
Using Aurora HDR 2019 with Adobe Photoshop / Adobe Photoshop Elements
Aurora HDR is a powerful addition to Adobe Photoshop and Photoshop Elements. To apply Aurora HDR as a filter, follow these steps:
__________________________________________________
NOTE
Aurora HDR 2019 can operate as a Smart Filter in Photoshop. If you designate a Photoshop layer as a Smart Filter, then launch the Aurora HDR 2019 plugin as normal to make edits. When you return to Photoshop you can always double-click on the layer and return to Aurora HDR 2019 with all edits intact.
__________________________________________________
Using Aurora HDR 2019 with Adobe Lightroom Classic CC
Images in Adobe Photoshop Lightroom Classic CC can be easily handed off for editing in Aurora HDR 2019. To transfer a file from Lightroom Classic CC to Aurora HDR 2019, follow these steps:
__________________________________________________
NOTE
If you want to apply Aurora HDR to a single image, you can also access it from the Photo > Edit In > Aurora HDR 2019… menu item. The processed image will be returned to your library.
__________________________________________________
Using Aurora HDR 2019 with Apple Aperture
Working with Aurora HDR 2019 through Aperture is very similar to the way it interacts with Lightroom. To transfer a file from Aperture to Aurora HDR 2019, follow these steps:
Using Aurora HDR 2019 as a Photos for Mac Extension
If the version of the macOS®️ system on your Mac is newer than 10.11, you can use Aurora HDR 2019 as an extension to Photos for Mac®️. Here’s how to activate the extension.
+ an exclusive US $300 OFF a multi-day (3+ day) Iceland Photo Tours
Thank you for downloading
Aurora HDR
Preparing your download...
Did your download not start?
Dont worry, just click here to try again.
Oops! Something went wrong. Don't worry, just click here to try again.
Step 1
Step 1
Find & Open
Aurora HDR Installer
Step 2
Step 2
Follow the instructions
to install Aurora HDR
Step 3
Step 3
Enjoy new photo
editing experience
Thank you for downloading Luminar 4
Preparing your download...
Did your download not start?
Dont worry, just click here to try again.
Oops! Something went wrong. Don't worry, just click here to try again.
Step 1
Run the
Luminar 4 installer
Click the downloaded file at the
bottom left corner of your screen
Step 2
Step 2
Follow the instructions
to install Luminar
Step 3
Step 3
Enjoy new photo
editing experience
Luminar Flex
Use Luminar Flex for free for 30 days.
Success
Please check your inbox.
We've sent you a copy via email.
Sorry
Looks like you're subscribed already
Error
This is sad. Looks like you’ve earlier unsubscribed from Skylum emails. Please resubscribe here.
Thank you for downloading Luminar Flex
Did your download not start?
Dont worry, just click here to try again.
Step 1
Step 1
Find & Open
Luminar Flex Installer
Step 2
Step 2
Follow the instructions
to install Luminar Flex
Step 3
Step 3
Enjoy new photo
editing experience
Thank you for downloading Luminar Flex
Did your download not start?
Dont worry, just click here to try again.
Step 1
Step 1
Find & Open
Luminar Flex Installer
Step 2
Step 2
Follow the instructions
to install Luminar Flex
Step 3
Step 3
Enjoy new photo
editing experience
Thank you for downloading AirMagic
Preparing your download...
Did your download not start?
Dont worry, just click here to try again.
Oops! Something went wrong. Don't worry, just click here to try again.
Did your download not start?
Dont worry, just click here to try again.
Step 1
Step 1
Find & Open
AirMagic Installer
Step 2
Step 2
Follow the instructions
to install AirMagic
Step 3
Step 3
Launch AirMagic
and start enhancing your images.