Types Of Camera Shots Every Photographer Should Know
December 05, 2025

As a beginner in the world of photography, the techniques, terms and technical aspects can feel overwhelming. There is so much to remember when you bring the camera up to your eye that you may end up second guessing yourself or even struggling to enjoy the process. I remember flipping through a photography book when I first started and feeling completely lost. In the end I decided to figure it out as I went along, and while that approach worked for me, having a simple guide would have helped a great deal.
That is exactly what I am putting together for you today. This is the kind of beginner-friendly guide I wish I had when I was starting out. Nothing dense or confusing, just clear explanations of different camera shots, the genres they suit, how to take them and anything important to keep in mind. It is something you can refer back to whenever you need a quick reminder. So let’s get started.
Camera Shots Guide
Macro
 Perfect For: Nature, insects, plants, textures.
How: For this kind of shot, you will need a specialised macro lens or some cameras may offer a macro mode. This will allow you to capture details that are hard to see with the naked eye and open up a whole new world for your viewers.
Considerations: The depth of field is extremely shallow, and using a tripod to help stabilise your image will make it much easier to get that precise focus. You will also need adequate lighting to get all the details out of your subject.
Close-Up Shots
 Perfect For: Portraits, detail shots, product photography.
How to: Here you are focusing on one particular aspect of your subject and framing it to capture those details. While you are not zooming in as closely as macro, you are still filling your frame with your chosen aspect. This could be the eyes of your model, the label and logo of your product and so forth.
Considerations: Again, you are working with a shallow depth of field. Tripods won’t be as necessary, but soft, even and adequate lighting will be.
Medium Close-Up
 Perfect For: Portraits, lifestyle, bokeh, product photography.
How to: Here we are going to be filling the frame with the majority of your subject, however, the background will also be visible in the frame. This would include shooting from the shoulders and up, or the whole of a small product with a touch of background. From this distance, you can start working with bokeh effects on lights in the background for additional interest in your shot.
Consideration: The background is just as important as the subject, and shouldn’t be distracting but rather cohesive with your subject.
Medium Shot
 Perfect For: Portraits, fashion, street, documentary
How to: Your subject will be framed from the waist up, and there will be more background on show than before. You can get a great deal of bokeh effect in a medium shot, so it’s perfect for shooting in front of light sources. Overall, you will want to aim for a balanced shot of subject and background.
Considerations: For portraits, be aware of the posture of your subject as from this distance it will be very apparent. Arms and hands should look relaxed, avoiding any awkwardness in your subject.
Full Body Shot
 Perfect For: Portraits, fashion, street photography
How to: Shoot the subject from head to toe, framed cleanly with the background being cohesive and non-distracting. For street photography, your subject should be framed cleanly and not lost in the clutter of the background.
Considerations: Ensure that there is room both below and above your subject. Having either the head or feet too close to the edges of the frame will feel suffocating.
Group Shot
 Perfect For: Weddings, events, family portraits.
How to: Position everyone evenly with all faces visible. For larger groups or for big differences in height, use staggered layering.
Consider: Avoid shooting people mid-blink by counting down. Gaps between people should be even or non-existent and with even lighting across the group.
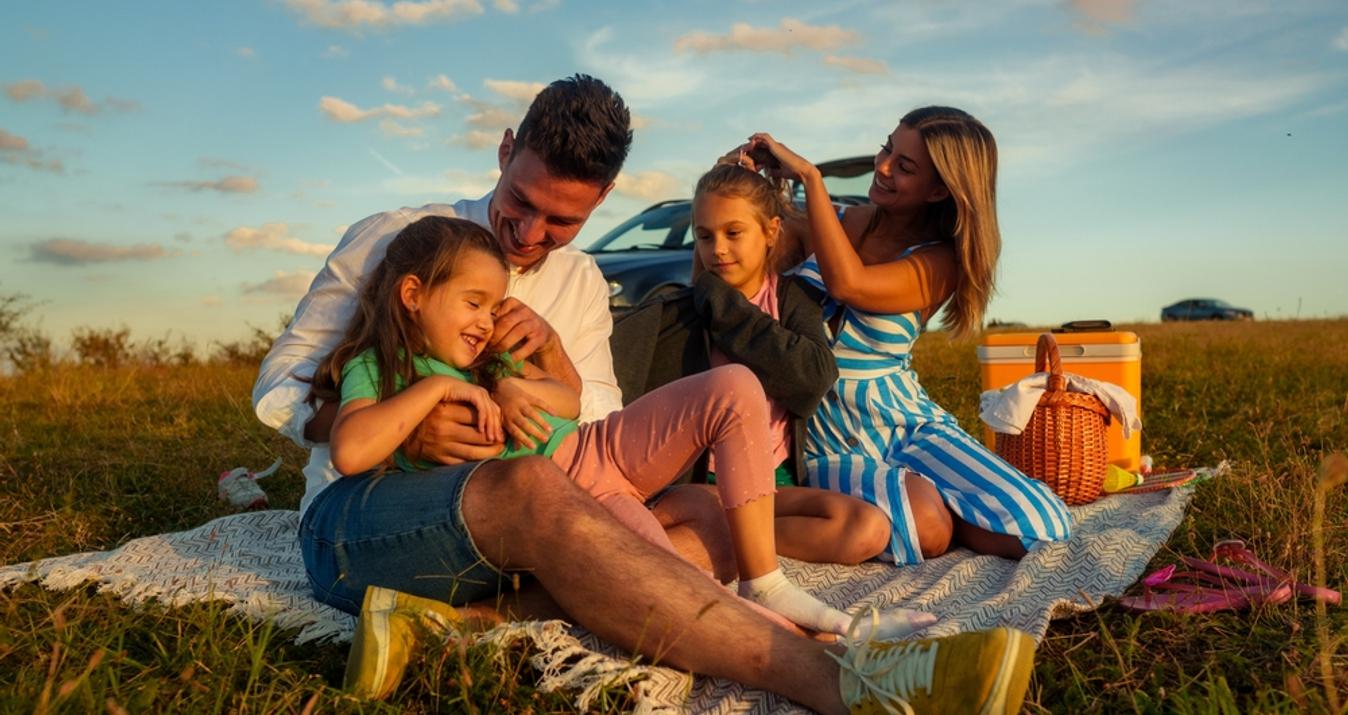
Environmental Portraits
 Perfect For: Lifestyle, travel, documentary.
How to: The background and setting is just as important as the subject here, so evenly frame both to create a true environmental portrait.
Considerations: This kind of shot is all about telling a story, therefore all elements of the scene and background should help to add context and not be too distracting.
Wide Shot
 Perfect For: Landscape, architecture, story telling.
How to: Use a wide lens to capture all of the scene. Aim to shoot at a higher aperture, around f/8 to f/12, to ensure enough detail throughout the frame.
Considerations: Keep your horizon level and watch for any distortion around the edges. There are several editing tools available to correct such issues.
Bird’s Eye View
 Perfect For: Flat lays, food, lifestyle, creative travel shots.
How to: Shoot directly downwards, either hand-held or using a specialist tripod.
Considerations: Focus on symmetry between all the elements of your shot. Your arrangements should be neat and lit evenly. Shadows may be tricky to work around so using multiple light sources to help fill shadows may be essential.
High Angle Shot
 Perfect For: Street photography, documentary, pets.
How to: Find an elevated vantage point shooting from a high angle but not straight down like the Bird’s Eye view.
Considerations: This shot offers a fantastic and unique perspective but should generally be avoided for portrait shots as it will make your subject look small and vulnerable. It works well for pets, as we naturally view them from this angle and it makes them look more adorable. Be mindful of distortion by allowing enough space around the subject.
Low Angle Shot
 Perfect For: Architecture, portraits, fashion, dramatic poses.
How to: Crouch down and tilt your camera upwards, keeping the framing clean and even around your subject.
Considerations: Opposite in many ways to the high angle shot, as this perspective will make your subject look powerful and dominant which is much more flattering for portraits. Ensure the background remains cohesive and avoid awkward distortions by checking the framing.
Worm’s Eye View
 Perfect For: Architecture, creative compositions, dramatic scenes.
How to: Lay down on the floor and shoot from the ground pointing the camera up.
Considerations: This method exaggerates scale massively so needs to be used carefully as proportions will be altered significantly.
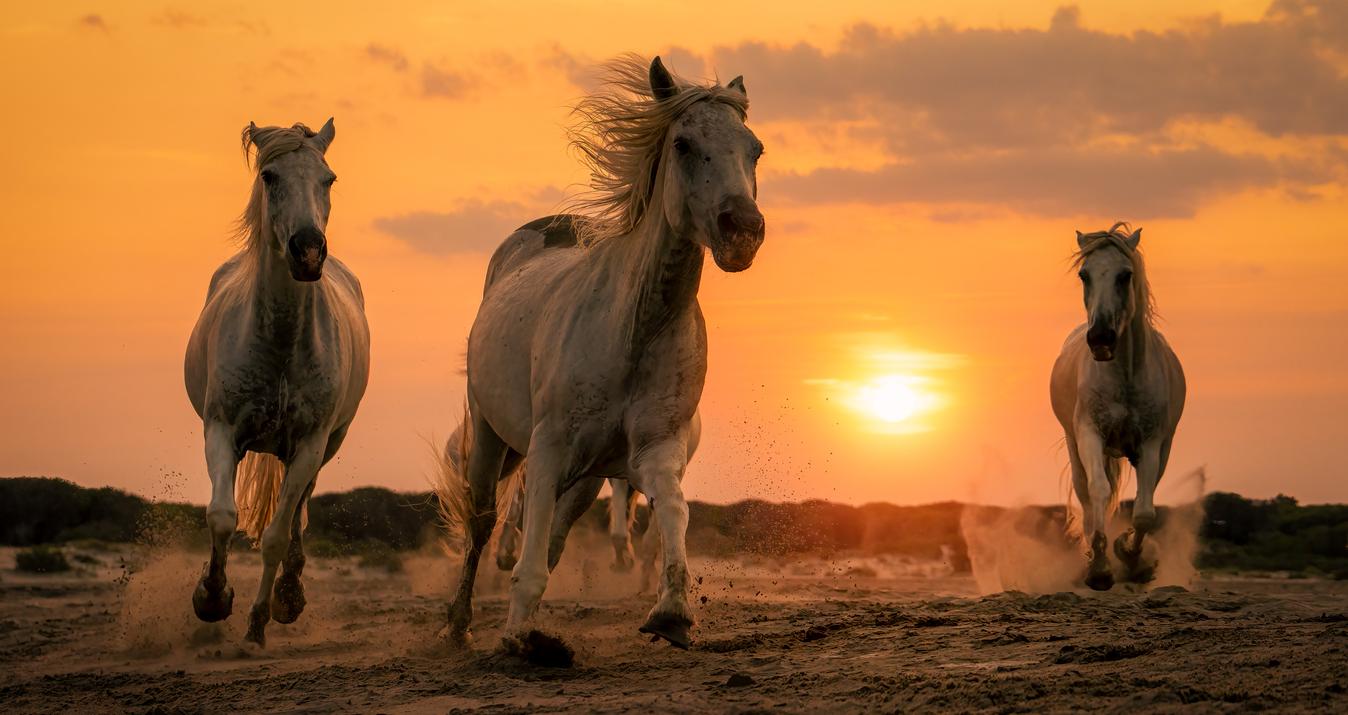
Extreme Wide View
 Perfect For: Landscape, landscape portraits, travel, cinematic.
How to: Use a wide angled lens and capture a solitary subject in a large environment to show scale and atmosphere.
Considerations: You will need a minimal scene to avoid losing your subject in the background, making them more apparent. Using framing techniques such as the rule of thirds, and leading lines will help make a more powerful composition.
Dutch Angle
 Perfect for: Creative portraits, music photography.
How to: Tilt your camera slightly so that the horizon sits at an angle in your scene.
Considerations: You only need to angle your camera slightly, 5 to 20 degrees works great. This will help add drama and movement to your image without looking overdone and gimmicky.
The Photo Perspective Correction Tool You've Been Waiting For
Unleash!The Bottom Line
Hopefully this guide gives you something useful to refer back to as you learn the ropes of photography and start planning future shoots. The biggest piece of advice I can offer is to enjoy yourself and experiment with whatever comes naturally. Not every shot will be perfect, but this trial-and-error approach is exactly how I learned what works and what doesn’t without getting caught up in too much technical detail. Enjoy the journey, keep shooting, and good luck with your next project!