How To Get Bokeh Effect Shooting With IPhone
August 08, 2024
Discover how to capture stunning photos with a professional bokeh effect using just your iPhone, apps, or AI-powered software to boost your photography skills! This post offers valuable insights and tools to make your photographs truly stand out!
Hey there! Do you want to make your iPhone photos pop with that amazing, blurry background effect? This technique is called Bokeh, and it’s not just for fancy camera buffs. You can totally pull it off with your iPhone, and today, we are here to help you figure it out!
We'll go through what Bokeh actually is, how to nail it using your iPhone and point you towards some handy apps that can help make it super easy. After reading this post, you'll be taking photos that could easily grace the pages of a magazine. Let’s do this!
AI-Perfect Bokeh is Just a Click Away in Luminar Neo
Get Started!What is Bokeh
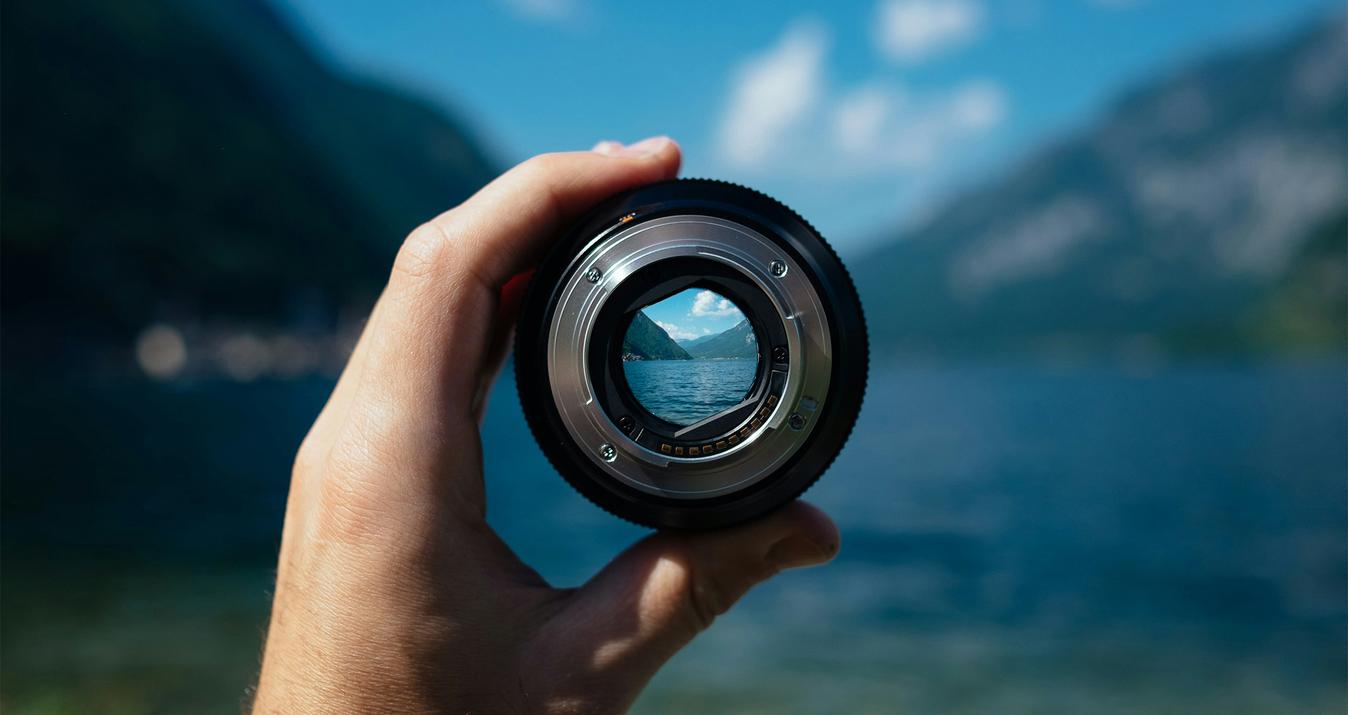
 The Bokeh effect is a popular photography technique where parts of an image, typically the background, are intentionally blurred. The term originates from the Japanese word boke, which means "blur" or "haze." This effect creates a soft, out-of-focus background, allowing the main subject to stand out vividly.
Imagine taking a picture of your friend at a café: with Bokeh, you could capture their smile with crystal clarity while the busy background turns into a smooth blend of colors. That's the power of Bokeh!
How to Achieve Bokeh Effect with an iPhone
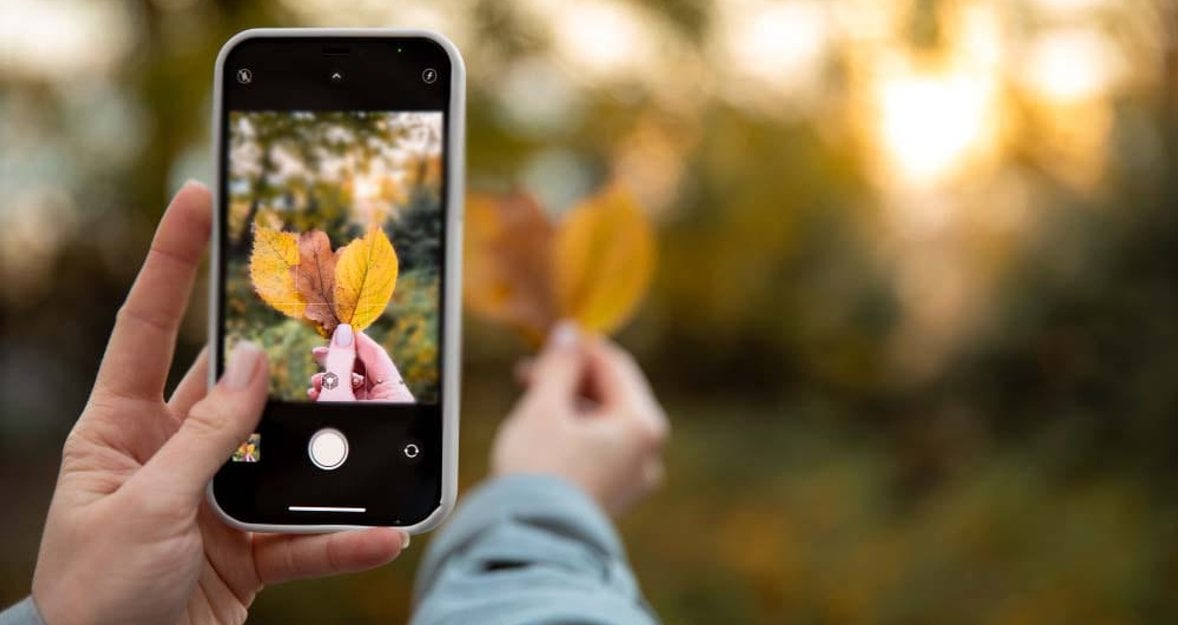
 Getting that professional-looking Bokeh effect with your iPhone is easier than you might think, thanks to the Portrait Mode feature, which was introduced with the iPhone 7 Plus in 2016. It mimics the large aperture setting on DSLR cameras, which blurs the background while keeping the subject sharply in focus. This creates a shallow depth of field that adds richness and depth to your photos!
How to Shoot in Portrait Mode
Open the Camera app: Just take your iPhone and open the Camera app.
Switch to Portrait Mode: Swipe through the mode options at the bottom of your screen until you get to Portrait. It’s specially designed for this effect.
Frame your subject: Tap on the person or object you want to focus on and make sure there’s some distance between your subject and the background for the best Bokeh effect.
Adjust the blur: Want more or less blur? Tap the “f” button in the top right corner. This pulls up a depth control slider where you can adjust the f-stop values. Lower f-stops increase the blur effect.
Preview and shoot: As you adjust the slider, the viewfinder shows a live preview of the blur effect. When it looks good, take your shot.
Experiment with lighting: Slide across the different lighting options like Natural, Studio, and Contour to see different effects. Some modes like Stage Light Mono create dramatic black and white photos!
You can use this mode for any subject you want to highlight. Whether it's a friend or a flower, the Bokeh in your iPhone can make your subject stand out beautifully against a softly blurred background! Give it a try and see how it transforms your photos!
Best Apps for Creating Bokeh Effects on iPhone
PhotoDirector
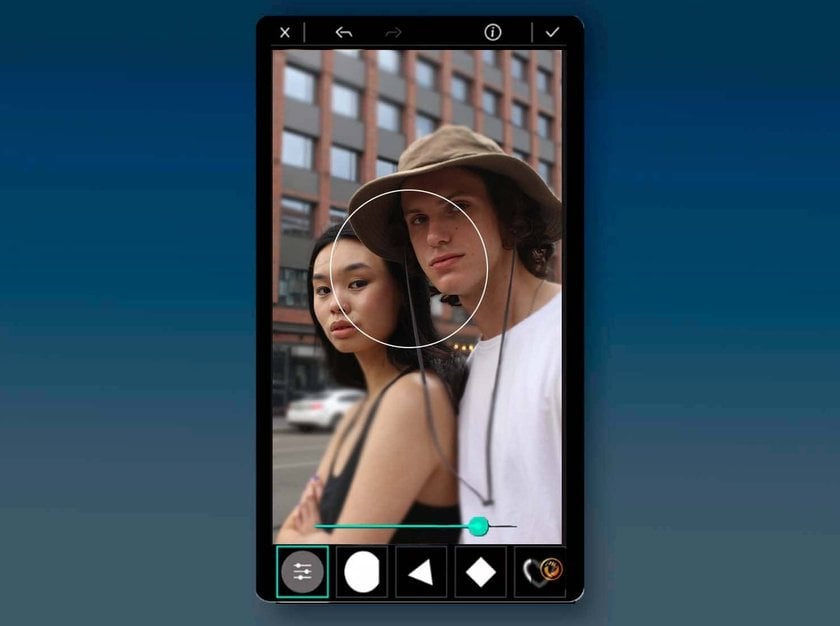
PhotoDirector packs a variety of tools with over 30 different shapes that make it easy to add and customize Bokeh effects!
Step-by-Step Guide
Download and Install: First, download PhotoDirector from the App Store. It's available for both iOS and Android devices.
Select Your Image: Open the app, tap “Edit,” and choose an image from your gallery that you'd like to enhance with Bokeh.
Apply Bokeh Effects: Go to the “Elements” tab and scroll to find the Bokeh effects. Choose your preferred style and adjust the blur, intensity, and colors.
Save Your Photo: Once you're satisfied with how it looks, hit the checkmark to save the edited photo to your gallery. You can save it as a still image or GIF.
YouCam Perfect
 YouCam Perfect simplifies the process of adding Bokeh and has a user-friendly interface that lets you quickly apply different styles and adjust their size, shape, and intensity with just a few taps!
Step-by-Step Guide
Download YouCam Perfect: Get it from the App Store or Google Play.
Upload Your Photo: Open the app, tap on Photo Edit, and upload your desired photo.
Create the Bokeh Effect: Navigate to the Blur tool under Edit and Tools. Explore the different Bokeh styles and apply your favorite.
Adjust and Save: Customize the shape and intensity of the Bokeh effect using the provided sliders. When you’re happy, save the photo to your device or share it online!
Utilizing AI for The Bokeh Effect
Looking to edit your photos on macOS, iPad, or Windows? Then you should try Luminar Neo, an AI-powered photo editing solution! The platform has a user-friendly interface and powerful AI tools! And one standout feature among them is its Portrait Bokeh AI tool. It instantly adds a professional-looking bokeh effect to your portraits with just a click!
But that's not all! This software also offers a classic Blur tool, which is perfect if you want to blur the picture background. You can achieve the perfect level of blur with ease, no matter if you're shooting landscapes, still life, or anything in between!
So why settle for ordinary photos when you can create extraordinary ones with Luminar Neo? Try it out today and take your editing to the next level!
Extra Tips for Beginners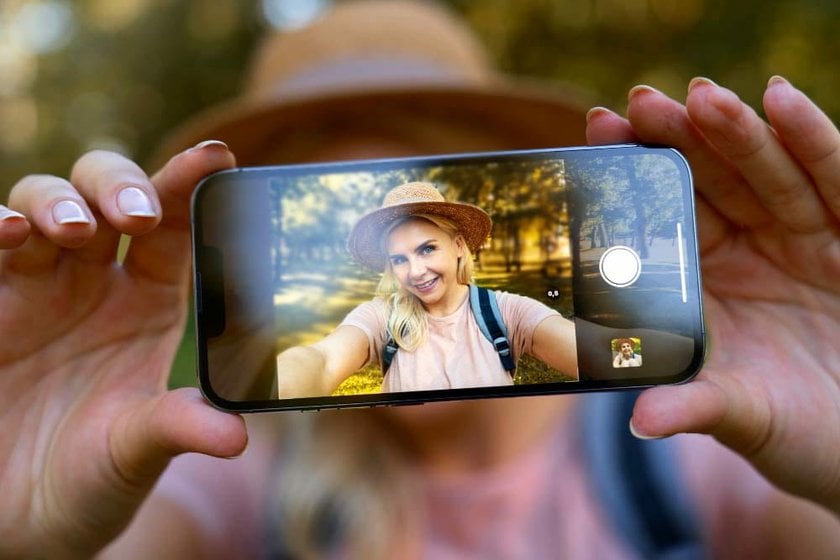

- Watch the light: Soft, diffused light works best for portraits. Avoid harsh sunlight. If it's too dim, you might get a notification to add more light for better results.
- Mind the distance: Portrait mode kicks in when you're at the right distance from your subject. If you're too close, you won't get that nice background blur. If you're too far, you'll be prompted to bring the subject closer. So, aim for a distance between 0.5-2 meters!
- Keep the focus on your subject: Tap on the screen where your subject is to set the focus. Hold down to lock it in place for a clear shot.
- Play with lighting effects: Portrait mode offers different lighting effects to enhance your photo. Swipe through them to find the one that suits your shot best. It's a simple way to give your photo that professional touch!
Wrapping It Up
 Bokeh is an interesting technique as it adds depth and focus to your subject, making your images really stand out. Today, we talked about how you can do that using your iPhone’s built-in Portrait Mode, explored some apps like PhotoDirector and YouCam Perfect to edit on your phone, and introduced Luminar Neo, an AI photo editor, to get you advanced techniques!
It doesn’t matter if you’re a beginner or a pro; these tips and tools can help you create stunning images with those beautiful blurry background effects. So go ahead, experiment, and get on with your photography game!