Watch this video to learn how to fix challenging exposure issues with Pro Photographer, Laurie Rubin
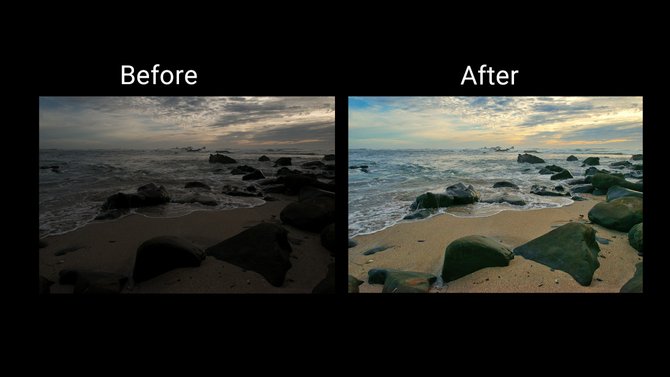
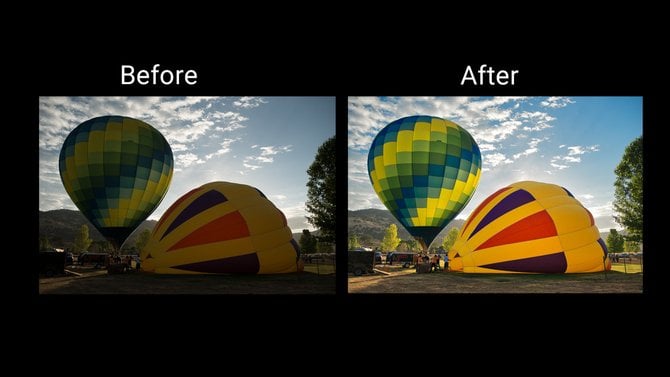
Fixing images that are underexposed (too dark) or overexposed (too light) can be a real challenge. In this video, we will be looking at two different images with two different exposure issues. One will be processed on a Mac with Luminar, fixing exposure on the image that is overall too dark. The other image will be processed on a PC with Luminar, with a challenge of correcting subjects that are shot into the sun so that they are too dark against a lighter sky.
You will learn how to use Luminar's RAW Develop filter to:
- Use White Balance settings
- Adjust Temperature and Tint sliders to manually adjust color temperature
- Utilize the Eyedropper tool for color control
- Try other options other then the Exposure slider to adjust exposure
- Show how to use Clipping warnings
- Selectivity lighten colors in an image
- Add a filter effect to specific areas with the Masking Brush
 Fixing exposure on the image that is overall too dark
 Correcting exposure for subjects that are shot into the sun
We challenge you to go back through some of your older images you might have tossed aside due to exposure issues and see how easy and efficient it is to fix them in Luminar.
