Chapter 6: Using Luminar with Adobe Lightroom Classic CC
Using Luminar with Adobe Lightroom Classic CC
Images in Adobe Lightroom Classic CC (or Lightroom 6) can be easily handed off for editing in Luminar. To exchange a file from Lightroom Classic CC to Luminar, follow these steps:
- Make sure Adobe Photoshop Lightroom Classic CC is open.
- Choose your image(s) in Lightroom Classic CC from the Library or Develop modules that you want to work on with Luminar.
- Choose Photo > Edit In > Luminar 3 or right-click on the Image and select Edit In > Luminar 3.
- A new dialog opens. Depending upon the type of file selected you’ll need to make a choice.
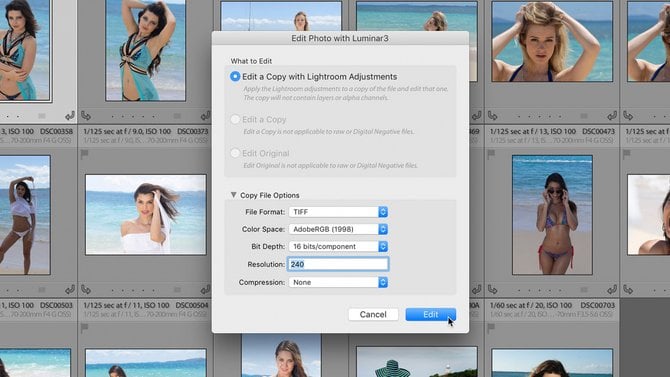
- Edit a Copy with Lightroom Adjustments. This is the default action for Raw files or images that have been edited. Any adjustments made in Lightroom can be applied to a high-quality TIFF.
- Edit a Copy. This option takes the original photo and makes a duplicate high-quality file for editing. This option works well for non-raw files or if you want to reset a raw file to no adjustments before editing.
- Edit Original. The original file is opened directly in Luminar. This workflow will overwrite your original file and isn’t recommended for most users.
- Click Edit to send the file to Luminar 3. A new file is added to your Library and stacked with the original in your Library.
- Click the Luminar icon in your Dock or Taskbar to switch to Luminar.
- Make any edits or adjustments as needed in Luminar. Use Luminar Looks or Workspaces to speed up your editing workflow.
- When done, click the Apply button to send the adjusted image back to Lightroom.
