Exploring the Power of LUTs in Photographic Atmospheres
November 21, 2023

Hello, this is E-M-W. Skylum's Luminar has many high-performance and unique features not found in existing photo editing software.
This time, I will introduce Mood Tool, which allows you to change the tone and hue of the entire photo easily using LUTs.
What is LUT
Before I explain how to use the Mood tool, I'll briefly explain LUT.
Many people hear about LUT but need to know what kind of effect it can achieve or even what to call it in the first place.
I'm embarrassed that I didn't know this until I started using Luminar Neo.
By the way, LUT is an abbreviation for “Look Up Table,” and if you look up its meaning,
"A dataset that allows you to change the appearance of an image through numerical conversion of pixel values."
It is explained using difficult words.
How to Use the Mood Tool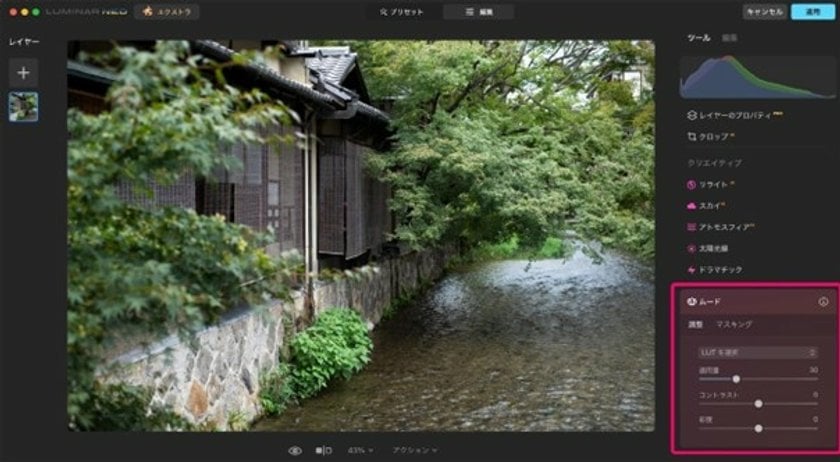
I think it's still difficult to understand about LUT from the previous explanation,
so let's go ahead and edit a photo using Luminar Neo's Mood tools.
Select the Mood from the Creative tools.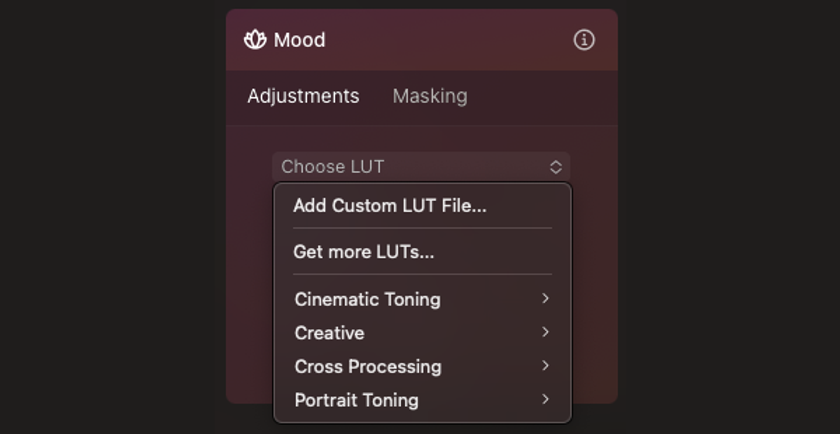
Click “Choose LUT” in the Mood Tools panel to display five LUT categories: Custom LUT, Cinematic Toning, Creative, Cross Processing, and Portrait Toning.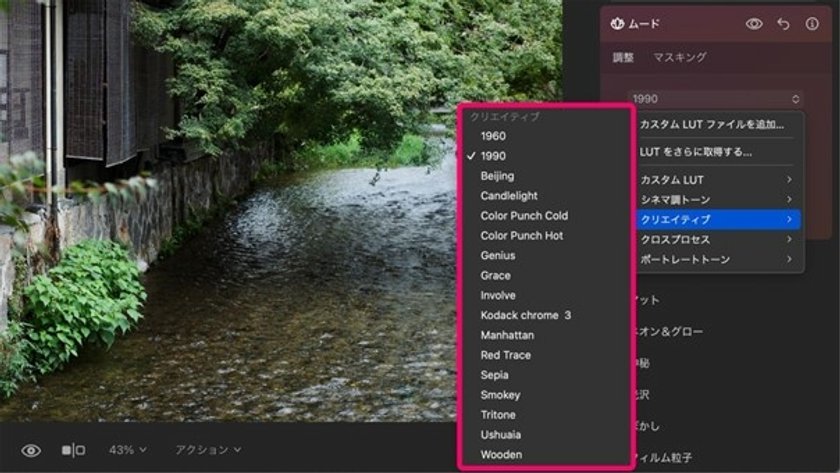
Custom LUT can be used by loading LUT files that you have created in .cube format and can be used for Cinematic Toning (8 types), Creative (17 types), Cross Processing (10 types), and Portrait Toning (6 types). You can use the LUT files that come with Luminar Neo as default.
The 41 kinds of LUT files included are named to give an image of the effect, but just because it's called Manhattan doesn't mean it can only be used for photos taken in Manhattan. And also, just because it's called 1960 doesn't mean it can only be used for 1960s-style photos.
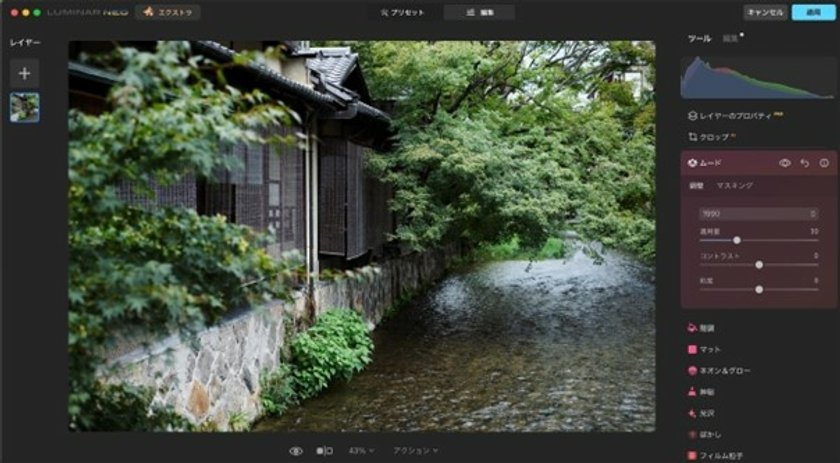 You don't need to worry too much about the name of the LUT; try applying different LUT files and choose one that suits the photo's mood.
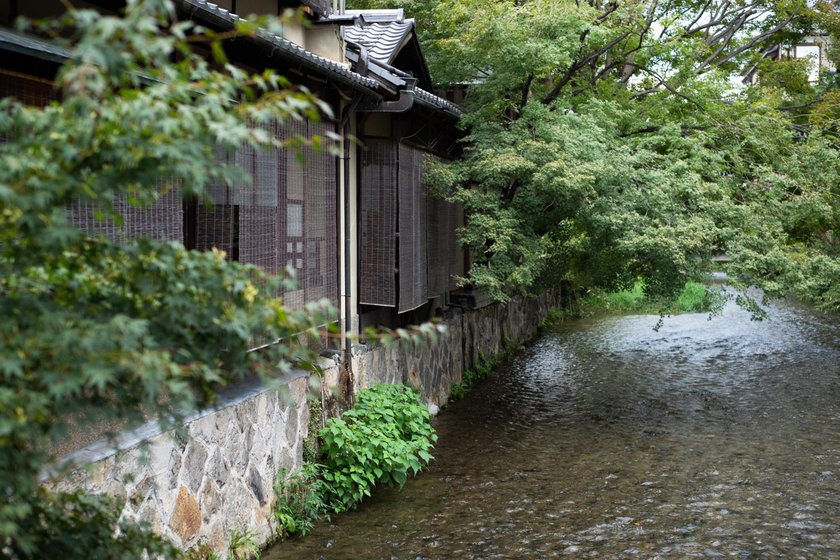
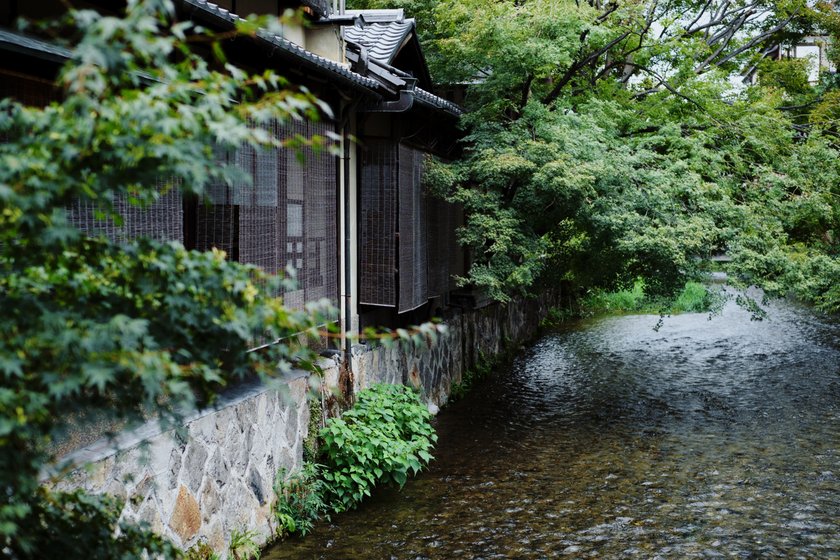
This time, I used the Creative LUT file "1990". By applying the LUT, the entire photo's tone and hue changed instantly.
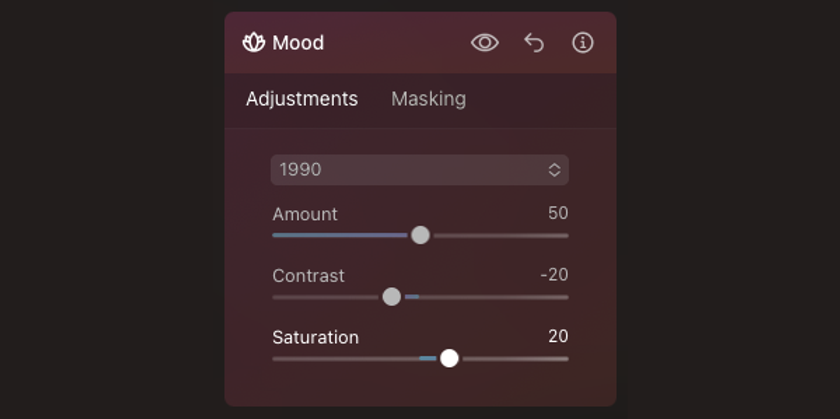 Furthermore, after applying the LUT file, you can adjust the amount, contrast, and saturation of the effect as necessary.
This time, I set the effect amount to 50, lowered the contrast to -20, and adjusted the saturation to 20.
The left photo is uncorrected, and the right photo is a photo corrected using the Mood Tool (Creative/1990).
The appeal of the mood tool is that you can create an atmospheric photo by selecting a LUT and applying simple adjustments like this.
Use Mood Tools in Conjunction with Other Tools
Now that you know that you can easily change the mood of your photos by using the Mood tools, Luminar Neo has tools with various attractive effects that can be combined with the Mood tools and other tools, so you can also make your photos more impressive.
Example of a Сombination of the Mood Tools and the Film Grain Tools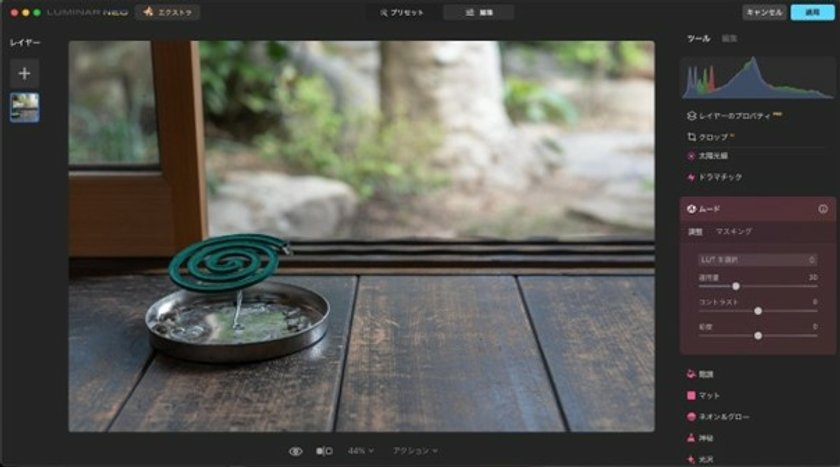
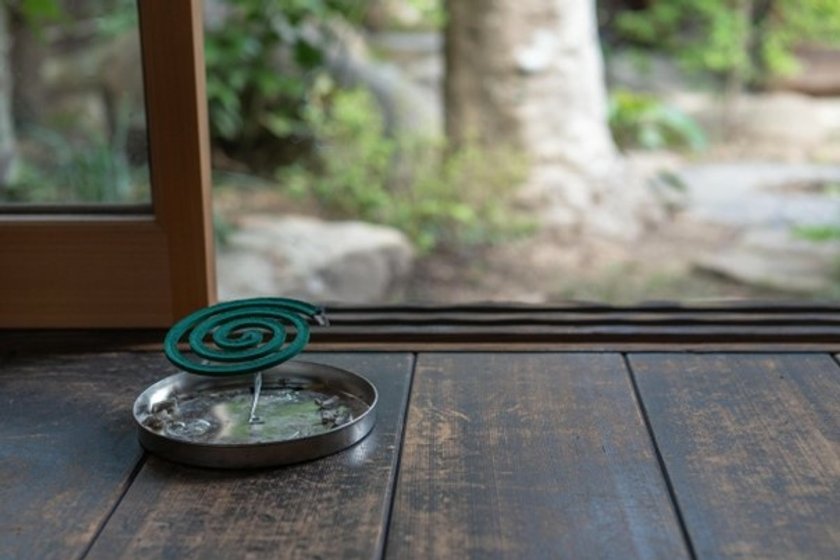
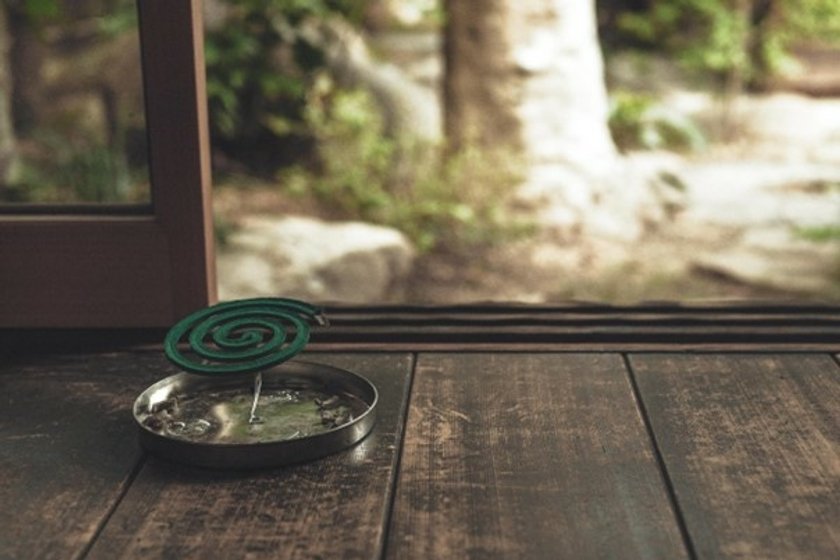
This mosquito coil used to be a summer feature and was placed on the porch of a 100-year-old traditional Japanese house, but now it is rarely seen.
Let's try expressing that nostalgic atmosphere using the Mood tools.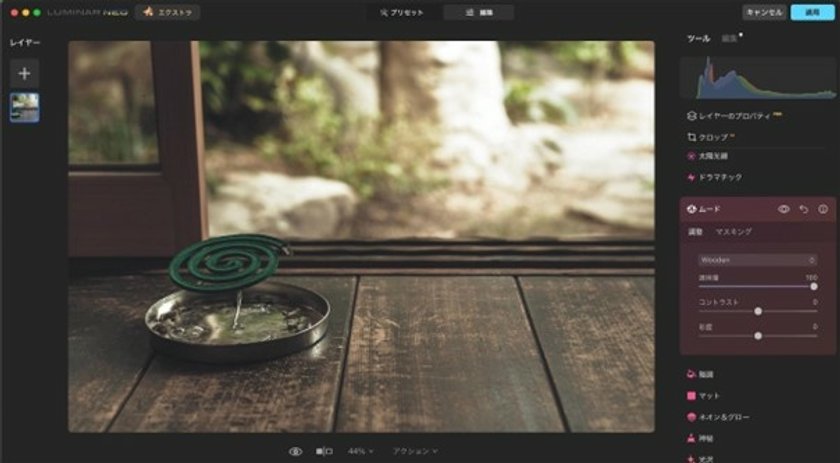
This time, I used the creative LUT file "Wooden" and set the Amount to 100, which gave the overall taste an amber tone and a retro feel.
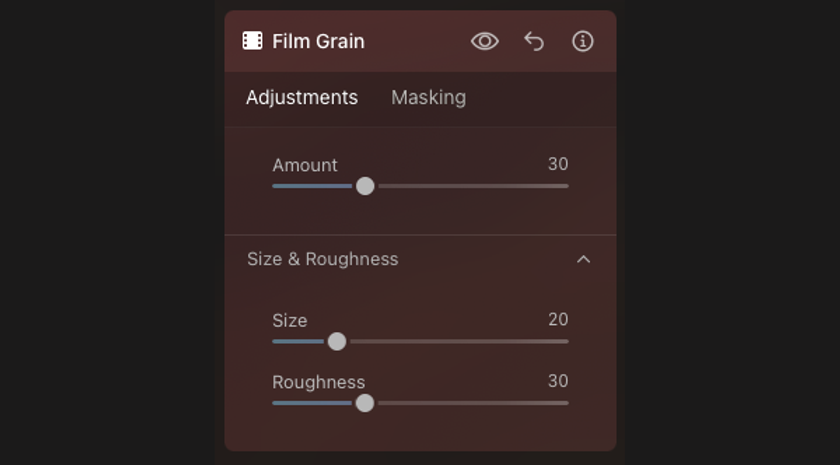
This is fine in terms of colour, but to create a grainy feel similar to analog photography, use the Film Grain tool and set the amount to 30.
The left photo is uncorrected, and the right photo is a photo corrected using the Mood tool (Creative/Wooden) + Film Grain tool.
Adding grain gives the photo a rough feel, similar to analog film, giving the image a more retro feel.
Example of a Combination of the Mood Tools and the Mystical Tools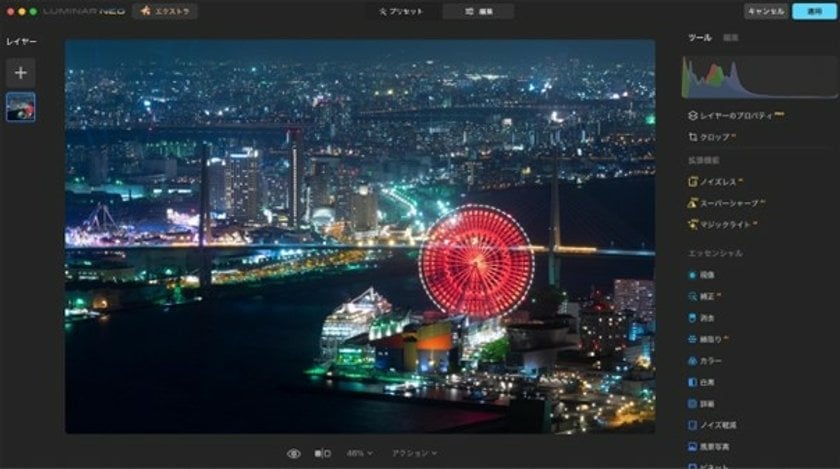
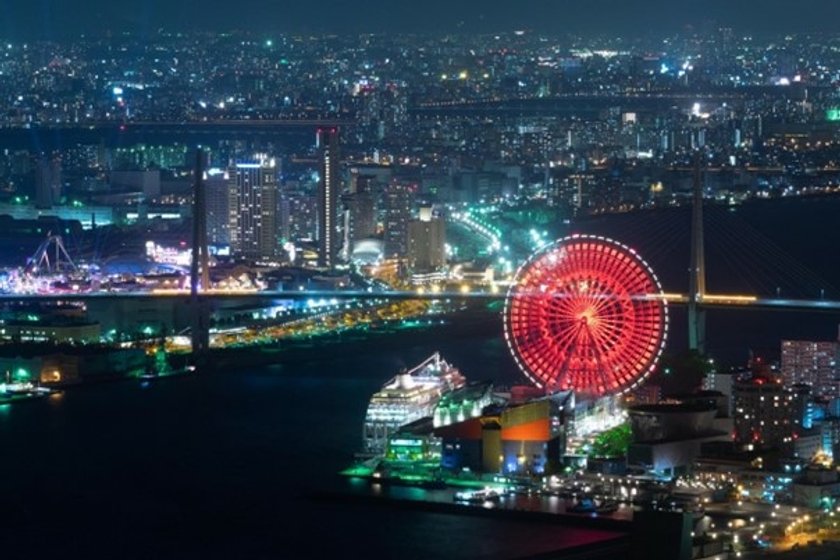
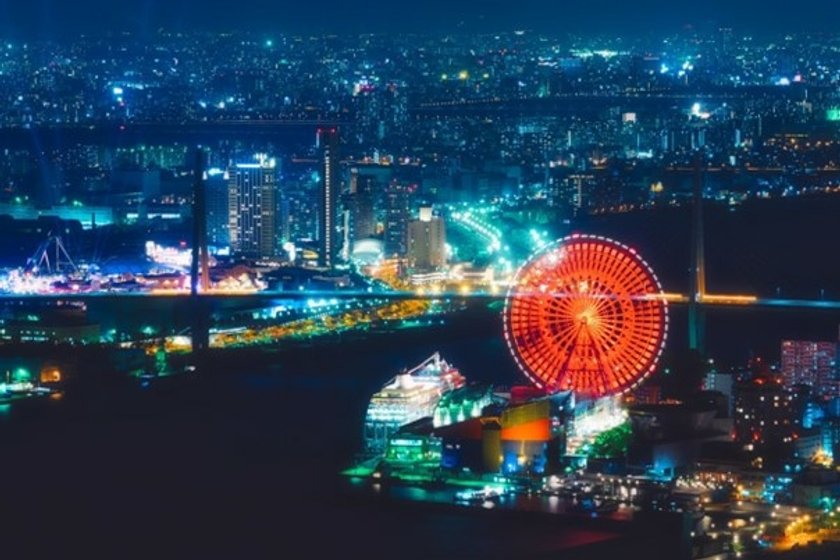
The photo above is a night view of Osaka Port from the Sakishima Government Building Observation Deck (commonly known as Cosmo Tower) in Osaka. The giant Ferris wheel of Tempozan and Kaiyukan are in the foreground, and the cityscape of Osaka is in the background.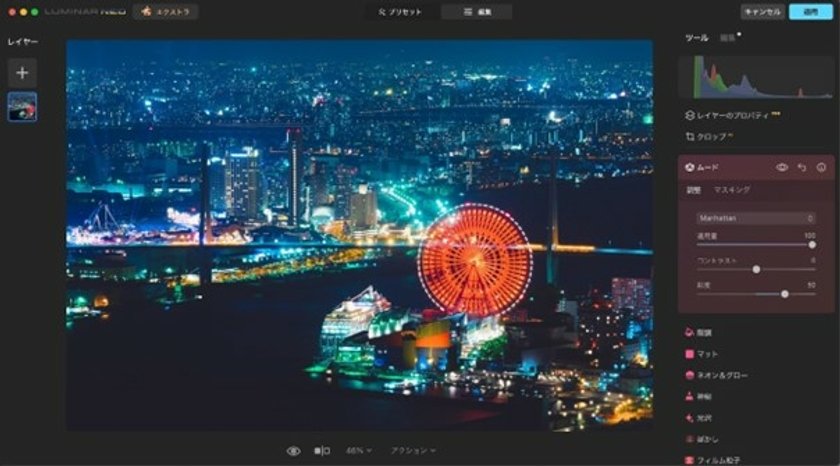 This time, I used the Creative LUT "Manhattan" and set the amount to 100 and the saturation to 30, resulting in a night view photo with a slightly matte and cool atmosphere.
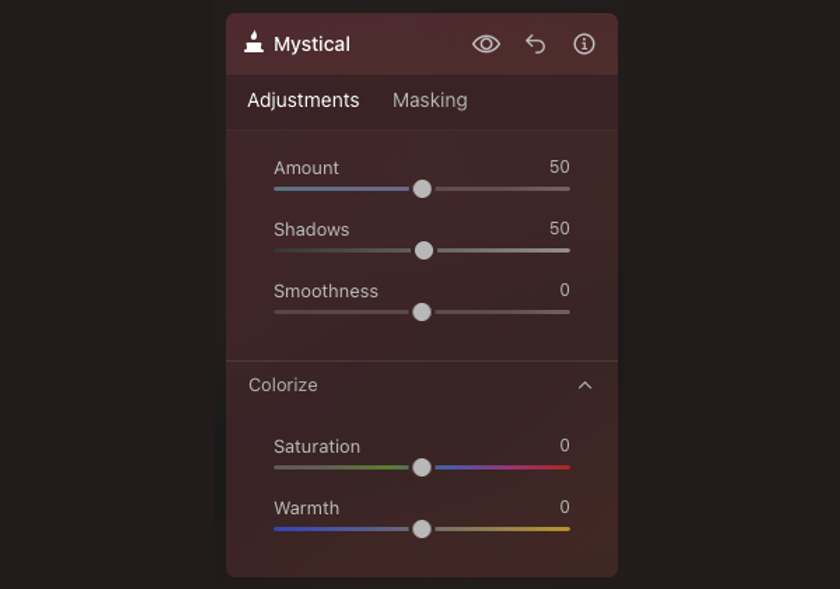 This time, to add more sparkle to the photo, I added the Mystical tool and set the amount to 50 and the Shadows to 50.
The top photo is uncorrected, and the bottom photo is a photo corrected using the Mood Tool (Creative/Manhattan) + Mystical Tool.
Thanks to the effects of the Mystical tool, a night-view photo of the cityscape that shines dreamily has been created.
Lastly
Correcting a photo to create an atmospheric tone and color tone requires experience and sensitivity. Still, anyone can easily do it using the Mood tools, and the possibilities are endless when combined with other filters.
Now, enjoy photo editing with Luminar Neo using the Mood tools.


