Do you want to make your images pop? Learn how to enhance details with the new Aurora HDR Enhance filter.
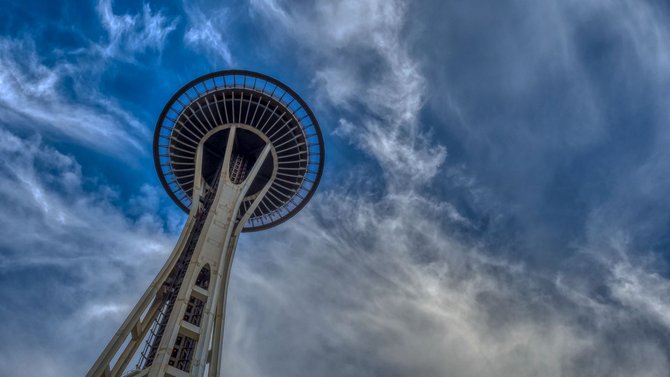 Follow along in this step-by-step tutorial or watch the video. You can download the example file here. (Note: are only to be used for this tutorial. Image by © Dima Sytnik)
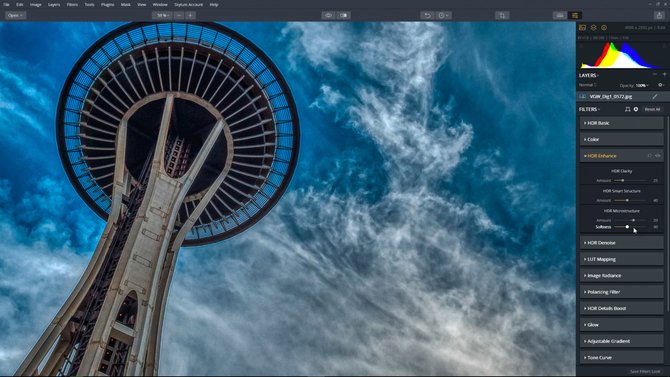
Aurora HDR 2019’s HDR Enhance Filter allows adjusting an image’s detail and clarity. Using this tool you can get a classic HDR effect with great detail or get a smoother picture with less detail. This is the main tool to increase micro-contrast of an image and visualize more details.
Adjusting the HDR Enhance filter
Step 1: From the Right side panel select the HDR Enhance filter.
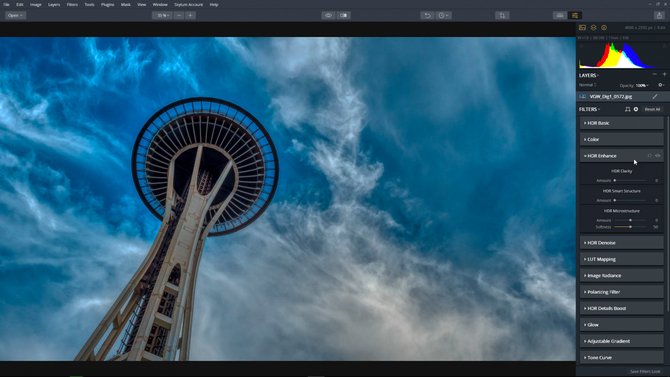
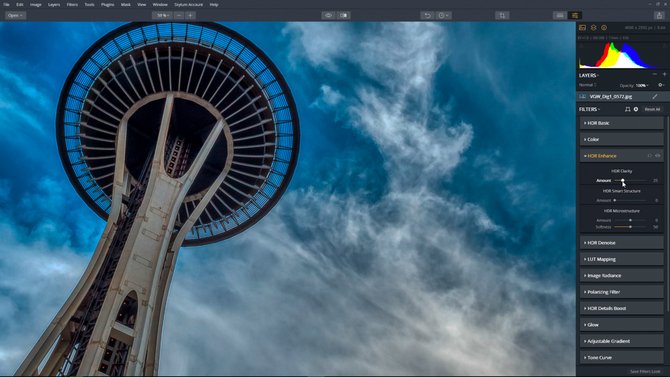
Step 2: Adjust the HDR Clarity amount slider to increase the contrast in the midtones, introducing more depth to the relationships of values that fall in the middle of the histogram.
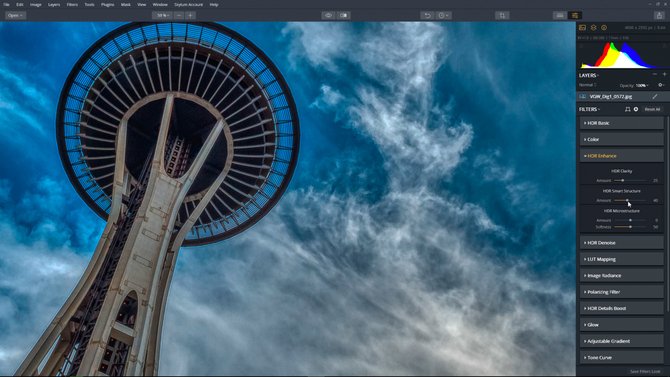
Step 3: Adjust the HDR Smart Structure slider to increase the contrast of the image adding detail and clarity.
Step 4: Adjust the HDR Microstructure to improve the sharpening or softness of the image in small areas of fine detail and texture.
Share or Export the image
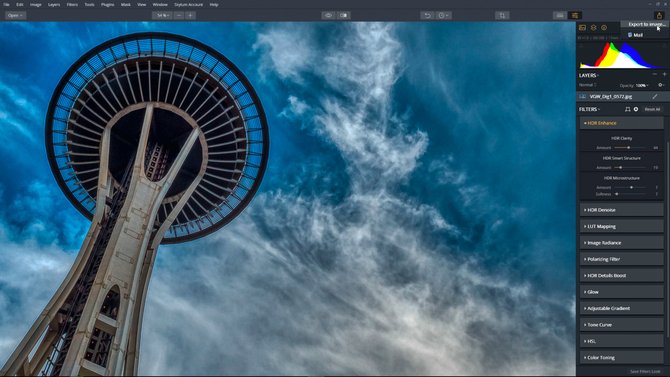
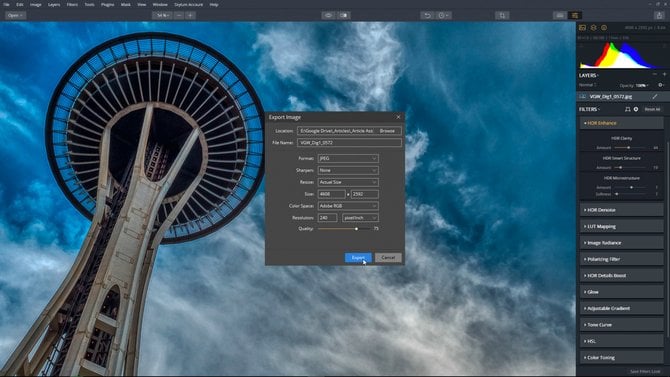
The last button in the top Toolbar — the Share/Export button — is used to export an image from the application and save it as a graphics file. The same image can also be shared with other editing software from Skylum (and others) or uploaded directly to social networks and other online services.
Step 1: Click on the Share/Export Button. Select Export to image...
 Step 2: Choose your settings and click Export.
 How simple was that! By moving a few sliders, we were able to use the HDR Enhance Filter to increase an image’s detail and clarity to create a classic HDR effect.


