Best Instagram Filters: Find Your Ideal Match
September 06, 2024
This post explores the best Instagram filters and when to apply them! Read it to discover how the right filter can transform your images and give your Instagram a professional look!
Have you ever wondered, "What filter is best for Instagram?" This post will walk you through 15 popular filters, explaining how each one can transform your pictures from good to great. Whether you're documenting daily life or artistic endeavors, finding the right filter can make all the difference. Let’s get started!
15 Best Filters for Instagram Photos
 Clarendon
 Clarendon
Clarendon enhances the vibrancy and crispness of your photos. It increases saturation and contrast, making colors and shadows stand out. This filter is ideal for portraits and landscapes alike.
Hefe
Hefe deepens shadows and enhances colors, which is ideal for dramatic landscape or cityscape photos.
Tokyo
Tokyo converts your photos to black and white, adding drama with increased contrast and highlights. It’s suitable for a variety of posts, including Stories and Reels.
Rise
Rise brings a warm glow to your photos, perfect for enhancing the golden hour feel in selfies, portraits, or landscapes.
11 Best Photo Apps for Photo Filters for iPhone & Android in 2025
Learn moreJuno
Juno brightens colors, enhances whites and highlights, and boosts contrast. It's particularly effective for making colorful subjects like food or flowers stand out.
Oslo
Oslo warms skin tones and subtly boosts contrast, making it a versatile filter for portraits, landscapes, or city scenes.
That 90s Film
This filter gives your photos a nostalgic 90s VHS look with a cool tint and slightly blurred edges, perfect for creating a vintage vibe.
Ludwig
Ludwig reduces the saturation of certain colors while making reds more vibrant and increasing overall contrast. It's excellent for creating a moody atmosphere in your photos.
Sierra
Sierra is good for still life and landscapes, adding depth and a subtle glow with vignettes while toning down saturation and highlights.
Lark
Lark is effective in low-light conditions, enhancing exposure and saturation of blues and greens while reducing the saturation of purples and reds. It’s ideal for photos of green landscapes and seascapes.
Gingham
Gingham creates a retro effect by reducing highlights and saturation and adding a subtle white vignette.
Mayfair
Mayfair warms up colors, enhances contrast, and adds a glow to the center of your photos, adding depth with a subtle vignette.
Lo-Fi
Lo-Fi intensifies saturation and shadows, making it perfect for creating darker, more dramatic images.
X-Pro II
X-Pro II offers a cross-processed look with deep shadows and a vignette, which is great for adding a vintage touch to photos from concerts or events.
Inkwell
Inkwell is ideal for black-and-white content, boosting highlights and contrast to create a striking, dramatic effect.
Each of these filters has the potential to transform ordinary images into extraordinary ones by enhancing mood, texture, and lighting!
How to Use Instagram Filters
 Once you find your best filter for Instagram, applying it is simple:
Tap on your profile picture at the top left of the screen, or swipe right from anywhere in your feed to open the camera.
At the bottom of the screen, swipe left to see different effects.
To capture a photo, tap once. For a video, press and hold.
This will allow you to apply your chosen filter effectively to your photos and videos on Instagram!
Instagram Effects Feature
 Instagram offers a variety of AR effects from different independent creators beyond standard filters, which are currently highly popular among users! These effects are detailed and can animate your uploads, such as adding digital makeup or transforming backgrounds.
Adding Effects to Instagram Stories, Reels, and Live Videos
Launch the Instagram application.
From the homepage, access the camera by swiping left.
Choose either "Story," "Reel," or "Live" from the options at the bottom of the screen to determine the format of your content.
Next to the shutter button, locate the horizontal list of effects. Swipe through these until you reach a magnifying glass icon labeled "Browse effects" and tap it.
The effects are organized into categories such as Trending, Appearance, Aesthetic, Games, Humor, and Special Effects. You can browse or search for specific effects using the search icon at the top.
To save an effect for future use, tap the bookmark icon located above the effects menu on the left side. Access saved effects by tapping the bookmark icon adjacent to the search icon.
Using Effects in Various Formats
Select an effect, then swipe down to hide the effects menu. You can now capture a photo or video for your Story, record a Reel, or start a Live session using the chosen effect.
How To Post A Panorama On Instagram?
Learn moreApplying Effects to Standard Posts
Effects are primarily designed for Stories, Reels, and Live videos, but you can also apply them to standard posts:
Select and apply an effect to a photo within the effects menu.
Save the photo by tapping the three dots in the top right corner of the screen and choosing "Save." This saves the photo to your device.
Upload the saved photo as a standard post from the Instagram home screen.
Using Instagram effects can enhance the visual appeal of your content and engage viewers with dynamic features!
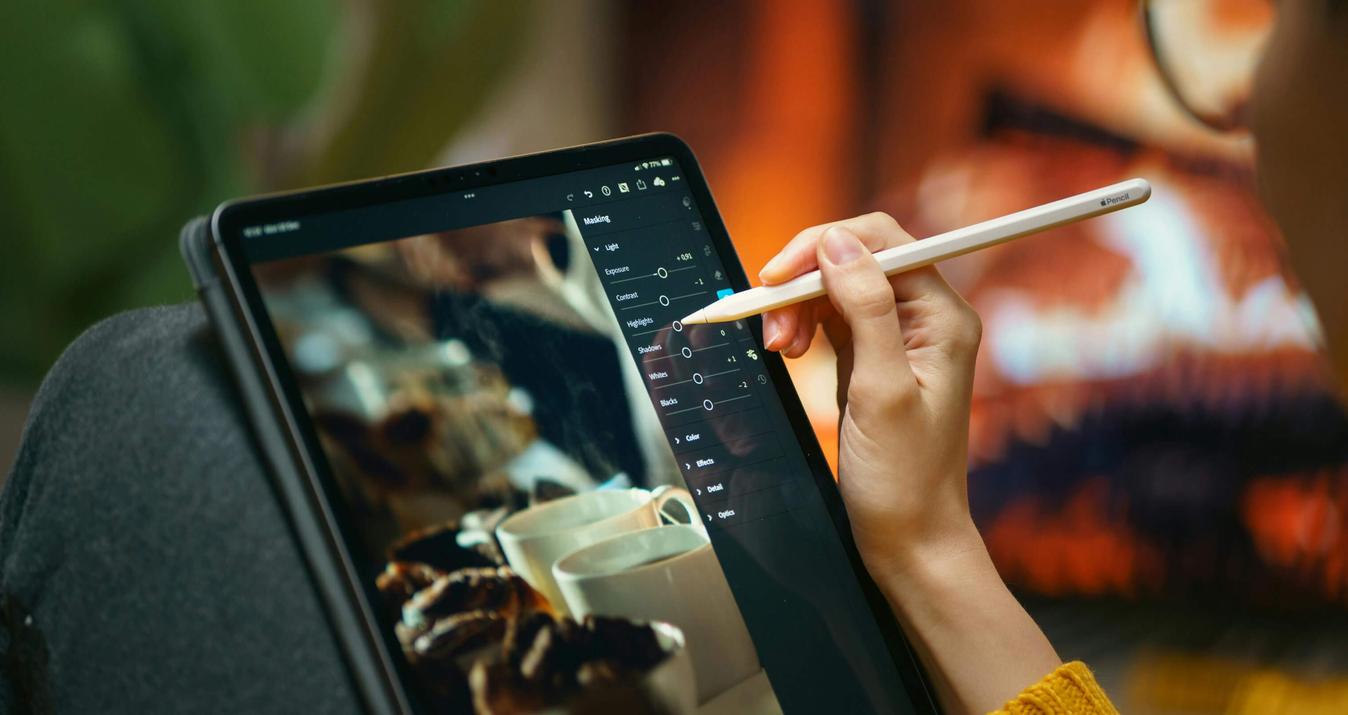
Explore Luminar Neo's Collection of Photo Filters
 Haven't found the perfect Instagram filter yet? Luminar Neo offers a wide array of professional photo filters that could be just what you're looking for. Whether you're drawn to vintage vibes, stark black-and-white contrasts, or colorful fantasies, Luminar Neo has you covered!
While physical filters are a staple for professional photographers, Luminar Neo brings this capability into the digital realm with ease and flexibility. Use the built-in photo presets to effortlessly enhance your photos, or explore more collections on the Luminar Marketplace for even more creative options!
An Array of Professional Photo Filters to Elevate Your Images
DiscoverWhy Choose Luminar Neo?
Luminar Neo is built on the philosophy that photo editing should be quick, easy, and enjoyable. The software's presets are developed based on in-depth research to reflect both classic designs and modern trends, ensuring your photos stand out with a fresh and engaging look!
Also, Luminar Neo allows you to refine and customize resets, which can then be saved and applied across large batches of photos — even those taken in different sessions and environments. This feature is great for achieving consistent quality and style in your photography!
FAQs About Using Luminar Neo Filters
How do I remove a filter I applied in Luminar Neo?
To remove a filter you applied using the Preset function in Luminar Neo, go to the Edits panel. There, you can undo your edit and remove the filter.
How can I apply the same filter to multiple images in Luminar Neo?
In Luminar Neo, you can copy adjustments from one photo and apply them to others. Right-click on the photo with the adjustments, select 'Adjustment', and then 'Sync Adjustments'. This will apply the adjustments to all selected images.
Is it possible to use more than one filter on a photo in Luminar Neo?
Yes, you can apply multiple filters to a single photo in Luminar Neo. This allows you to create various effects, adjust colors, and change the overall mood of the image.
What are some popular filters I can try in Luminar Neo?
Some widely used filters include vintage, HDR, black and white, VSCO, pastel, lomo, duotone, matte, and gritty. These filters are popular for their ability to enhance and transform photos in different ways.
Conclusion
We've explored the world of Instagram filters and discovered the advanced capabilities of Luminar Neo, each offering unique ways to elevate your photos from everyday to exceptional. Whether you're capturing life's moments through the vintage hues, the dramatic contrasts, or the nostalgic warmth of a sepia filter, the right filter can impact the mood and story of your images!
Instagram’s native filters provide a quick and easy way to stylize your photos directly within the app. For those seeking more refined control and creative possibilities, Luminar Neo steps in with its professional-grade presets and customizable settings!
Additionally, using Instagram effects can tap into the latest trends and significantly increase your engagement. These effects add an interactive element not just to your posts but also to Stories, Reels, and Live videos, drawing in your audience with fun and dynamic content!
Experiment with these tools, and find your best filter to use on Instagram!