Photography Lighting Basics Begginers Should Know
December 10, 2025

Ask any educated shooter what changed their work the most, and many will mention light before anything else. Camera bodies and lenses matter, but how light hits a face, a product, or a road scene determines whether the image feels flat or three-dimensional, dull or dramatic.
The good news is that you do not need a full factory or a box full of gear to start learning. You start by noticing what light used to do in your home, outside your window, and on a simple walk through the municipality. This companion walks through core ideas in a calm, structured way, explaining why light matters, how to “read” it, and how to make simple choices that bring depth, texture, and mood into every frame.
Why Lighting Matters More Than Camera Specs
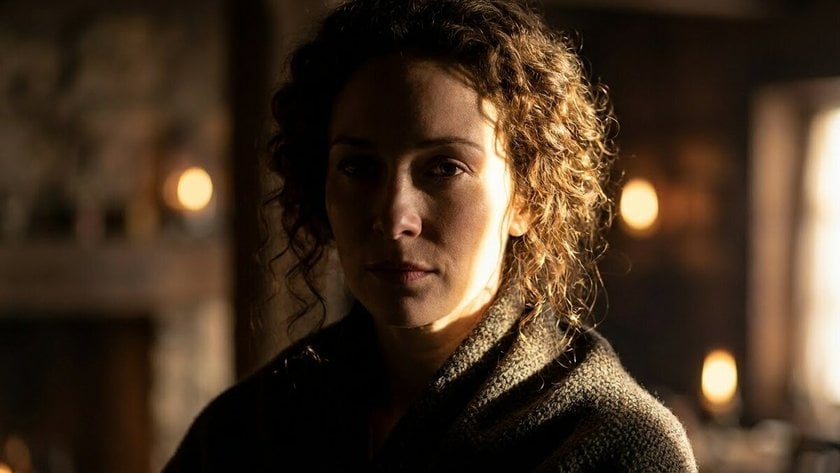
 When you think about photography lighting for beginners, it helps to compare two photos from the same camera. In one, harsh midday sun cuts across a face, leaving deep shadows under the eyes. In the other, the person stands near a bright window with soft light wrapping around their features. Same gear, completely different feeling.
Light shapes brilliance, discrepancy, and form. Brilliance sets how airy or heavy the image feels, distinction decides how fluently the subject stands out, and the meeting point of light and shadow creates a sense of volume on a flat screen. Before you press the shutter, ask yourself many quick questions:
where is the brightest area?
from which direction does it hit my subject?
are the shadows soft or hard?
does this match the mood I want?
Once this check becomes a habit, you naturally start moving yourself or your subject a little—near to a window, into open shade, or slightly turned toward the light—and your prints improve without changing cameras at all.
Reading Light: Direction, Quality, and Color
If you want a simple photography lighting guide in your head, start with three things: direction, softness, and color. Direction tells you where the light hits your subject from—front, side, over, or before. Side light gives shape and texture, frontal light flattens murk, and backlight creates outlines and glow around hair or objects.
Wimpiness comes from the size of the light source compared to your subject. A big window or cloudy sky spreads light out and gives gentle edges to shadows. A bare bulb or noon sun feels small and harsh, which creates hard, sharp shadows. You can soften light by making it bigger (through a curtain, reflector, or wall) or by moving your subject away from harsh direct beams.
Color is tied to temperature. Morning and evening light leans warm and golden, shade and cloudy skies look cooler and bluer, and inner bulbs bring their own tones. However, you acclimate white balance in-camera or later in editing to get a more natural result if a scene feels too orange or too blue.
When you're still learning, take one subject—a person, a factory, or an object—and move it around a room. Watch how the light changes as you rotate them toward or away from a window, step closer to a wall, or turn off one lamp. If you want a quick way to test different looks afterward, a tool like photo light effect online lets you tweak light direction and mood on existing shots and see which style you like most.
Natural Light Basics Indoors and Outdoors
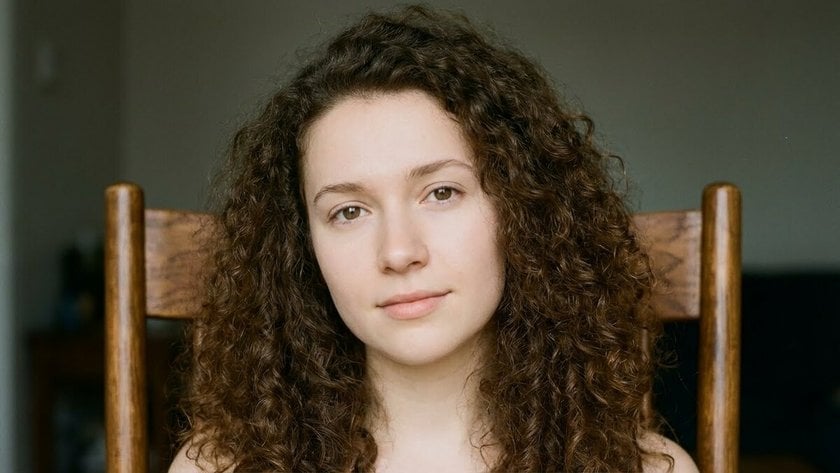
Before you touch any gear, the simplest basic lighting for photography comes from the sun and what it reflects off. Indoors, a single window usually beats a room full of mixed bulbs. Place your subject at an angle so that one side of the face is brighter, and the other falls gently into shadow. However, brio light back with a white wall and curtain if the discrepancy feels harsh.
Outside, open shade is your safest choice, the shadow of a structure, a veranda roof, or trees where the sky is bright, but direct sun is blocked. Faces look indeed, colors stay clean, and people don't study.  During golden hour, the low sun gives warm, soft light and long, flattering murk.
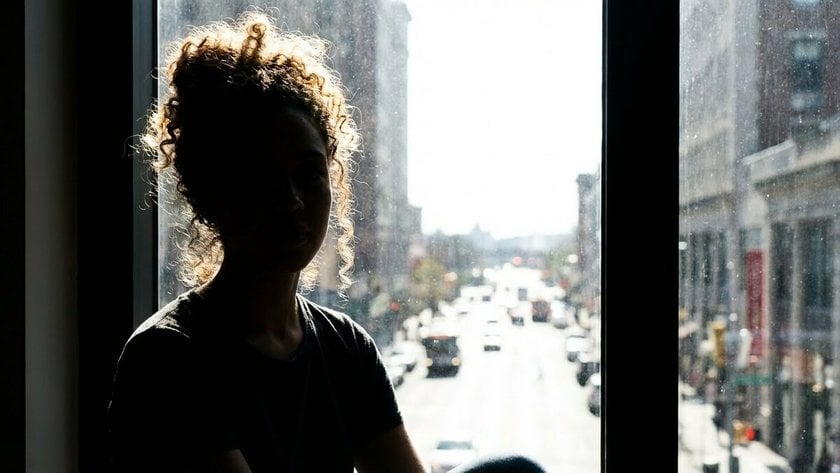
Backlight works well too. Put the sun behind your subject and expose for the face so that hair and edges glow while the background softens. Watch for lens flare and clean the frontal element if you see odd shapes; a small step left or right generally solves it.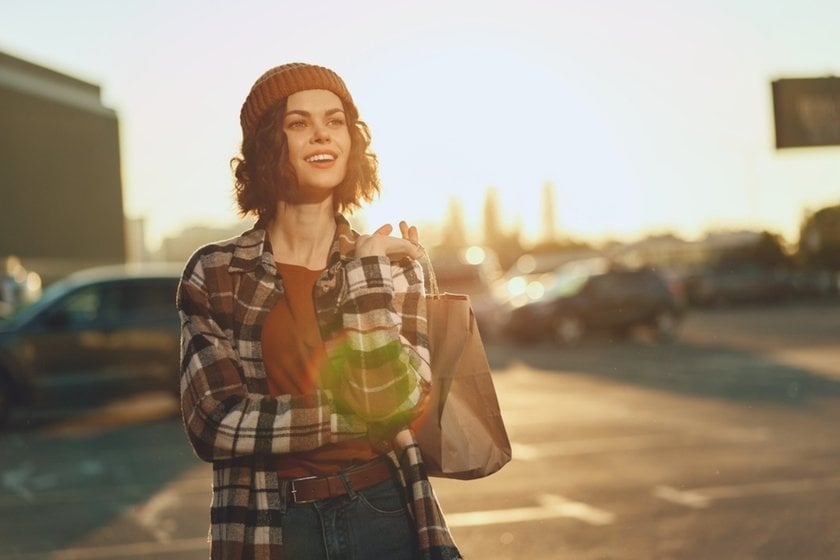
First Steps with Artificial Light: Simple Home or Studio Setup
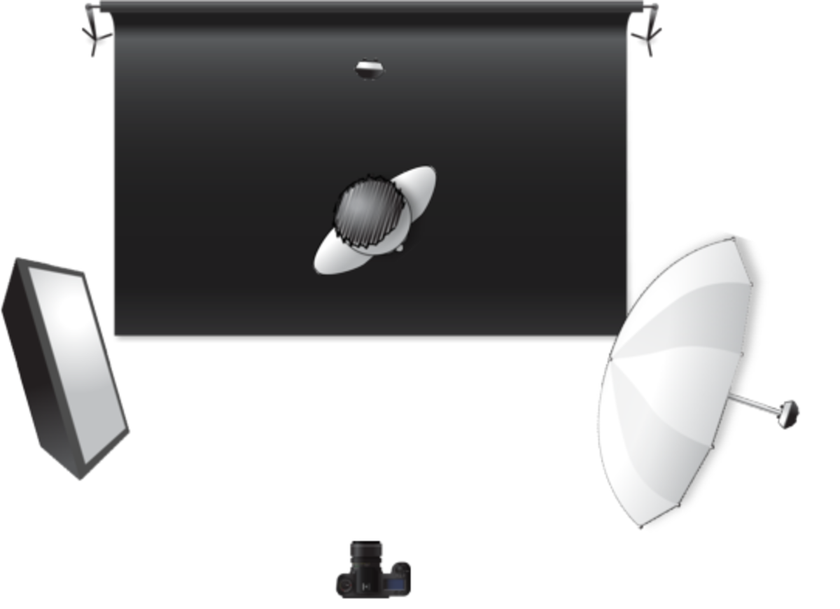
 Once you feel comfortable with windows and shade, a basic photography lighting setup for beginners starts with a single artificial light. That might be a small LED panel, a speed light bounced off a wall, or a simple soft box. The thing is to produce a light source you can move and repeat, rather than depending on the rainfall.
Keep it simple: one light, one modifier, one background. Place the light slightly above eye position and off to the side so it falls across the face, creating a gentle shadow on the far impertinence. Move it closer for softer light and further for harder light. Small adaptations in height and angle make a big difference in how the nose and chin murk look.
If you do not have physical gear yet, or you want to test different moods on existing portraits, tools like studio photo lights simulate controlled studio setups in software. You can experiment with virtual soft boxes and spotlights, then later recreate your favorite looks with real lamps and modifiers at home or in a small studio.
Classic Patterns: A Short Photography Lighting Tutorial
If you want a compact photography lighting tutorial for portraits, classic patterns are a good starting point. These schemes describe where the main light sits around the face and what kind of shadow it creates. You can try them with a window, a lamp, or a soft box—the position matters more than the exact device.
Some time-tested patterns to explore:
Rembrandt light—light at about 45° to the side and above eye position, forming a small triangle of light on the shadow impertinence.

Loop light—light slightly near to the camera than Rembrandt, creating a small nose shadow that “circles” onto the impertinence without touching the lip.
Butterfly/ Paramount—light centered above the face, pointing down, which creates a small shadow under the nose and strong cheekbones.

Split light—light placed to the side, so one half of the face is bright, and the other half falls substantially into shadow.


After you test these with a single source, you can add fill or backlight to shape the scene further. Guides like 3 light studio setup show how a main light, a softer fill, and a rim or hair light work together. Indeed if you stick with one or two lights at first, knowing these classic patterns helps you see where to put the light and how to tweak it to flatter each face.
Working with Small Spaces and Reflectors
 Small Apartments can still give good light once you know how to use lighting in photography. White walls and ceilings work like big glasses when you bounce light off them. A single window plus a plain wall can serve as a simple two-light setup, with the window as the main light and the wall as soft padding.
Glasses do not need to be fancy. A foldable glass, a white headboard, or indeed a light bedsheet can lift ambiguity on the darker side of the face. Gold warms skin, tableware adds punch, and white stays neutral. In tight spaces, it often helps to switch off overhead lights and use a single main source with mirrors rather than mixing multiple bulbs.
As you experiment, move sluggishly, shift the glass closer or further, change its angle, or have your subject take half a step toward or down from the wall. Watch how the murk under the nose and chin changes. Small tweaks like this snappily ameliorate how clean and flattering the light looks.
Product and Detail Shots with Controlled Light
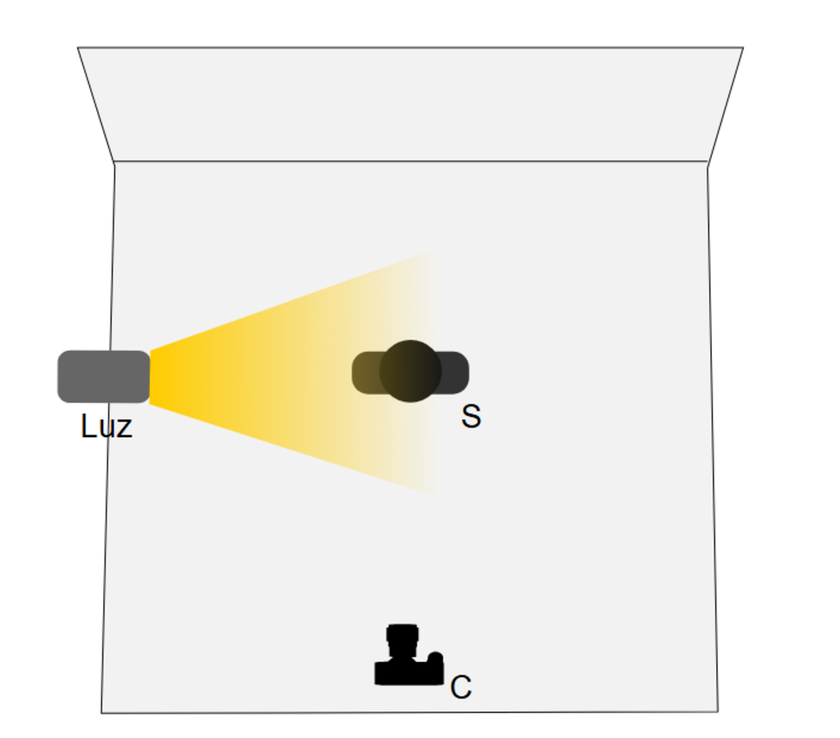
 For small objects like jewelry, food, or handwrought particulars, controlled light makes textures and shapes stand out. A simple light box, one or two lights, and a clean background go a long way. The box diffuses the light, so reflections and murk stay soft, and you spend less time trying to hide harsh hotspots.
If you want to compare options before buying gear, guides that review the best light box for photography help you see which sizes, materials, and layouts suit your space and subjects. A box that folds down is useful in small apartments or participated workrooms, while larger boxes give further room for bottles, shoes, or bigger scenery pieces.
When you set up, suppose in layers. One light can act as the main source from the side or over, and a alternate, weaker light or glass fills in the contrary edge. Darker backgrounds feel more dramatic, while light bones give a clean roster look. Move your products a little forward or back inside the box and watch how highlights shift on glass, metal, and glossy packaging. With a bit of practice, you start to “see” where you want reflections to land before you even switch the lights on.
Simple Lighting Workflow and Budget Planning
Lighting gear gets overwhelming fast, so grow in small steps. First, learn to control what you already have: a window, a reflector, and one reliable light with a simple modifier. Once you know how to position and angle the setup, you can decide whether you truly need an alternative or third source.
Buy gear to break real problems, not to fill a shelf. However, flat product shots, or dull backgrounds, if you keep seeing deep eye murk. Review your shoots, write down what broke you down, and let that list guide your coming purchase and software plan.
Keep Watching the Light
 Lighting feels complex at first, but it gets simpler every time you pause and look around. You start to notice how a curtain softens the sun, how a streetlamp shapes faces at night, or how clouds make colors calmer. Small tests—moving a subject closer to a window, bouncing light off a wall, tilting a lamp—slowly teach you what works.
You don't need a full plant to start. A curious eye, an introductory setup, and steady practice do more for your prints than constant upgrades. Treat every room and every time of day as a mini assignment in light, and shaping depth and mood will begin to feel natural.