
Add Film Grain to Your Photo
Improve your photo with film grain that adds a unique and aesthetically pleasing effect to the image. Originally film grain was considered an imperfection in traditional film photography, but now a grainy film effect has become a sought-after feature. Want to try it on your photos?
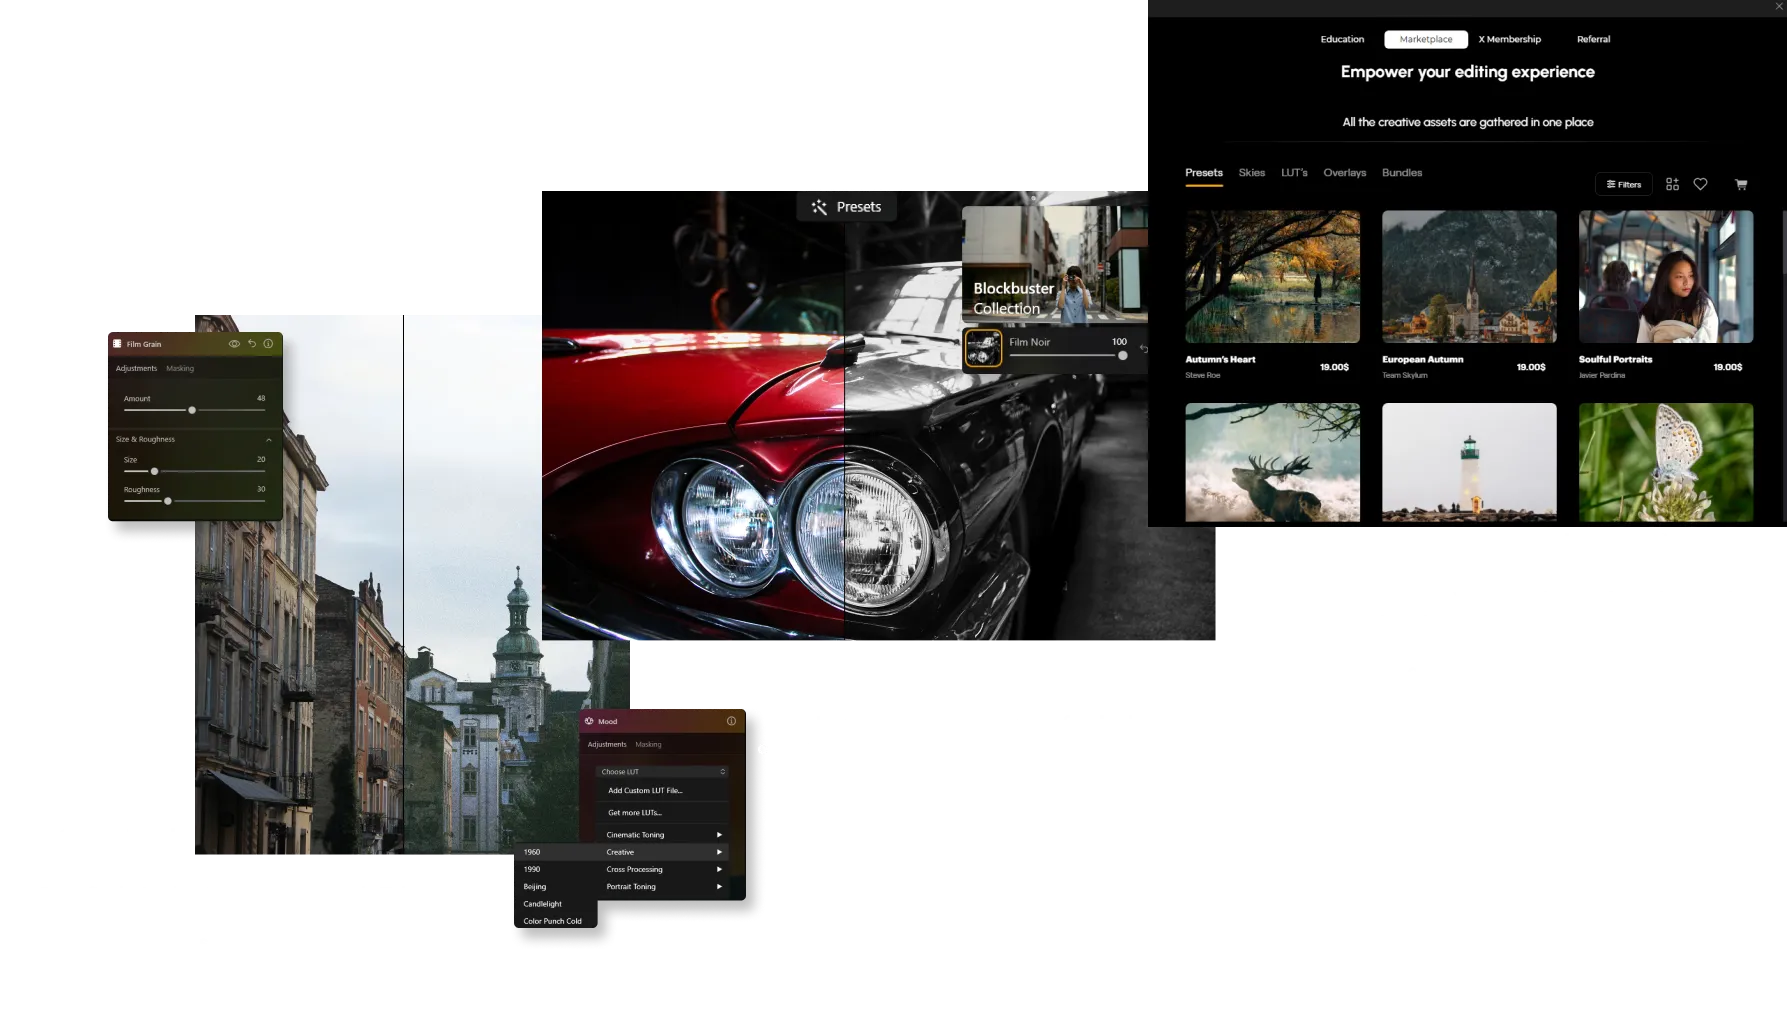
View plansHow Can You Enhance The Visual Appeal Of Photos With A Film Grain Filter?
It’s easy to do in Luminar Neo! Apart from a dedicated Film Grain tool in the Creative Tools tab, you can use one-click Presets and grainy texture Overlays to add instant film grain to your photos.
What Are The Benefits Of Incorporating Grain Photo Effects Into Photographs?
A vintage grain filter can help create a nostalgic feel, or add more texture to a photo. In certain situations, adding film grain can help soften digital images that may appear too sharp or clinical due to modern high-resolution sensors.


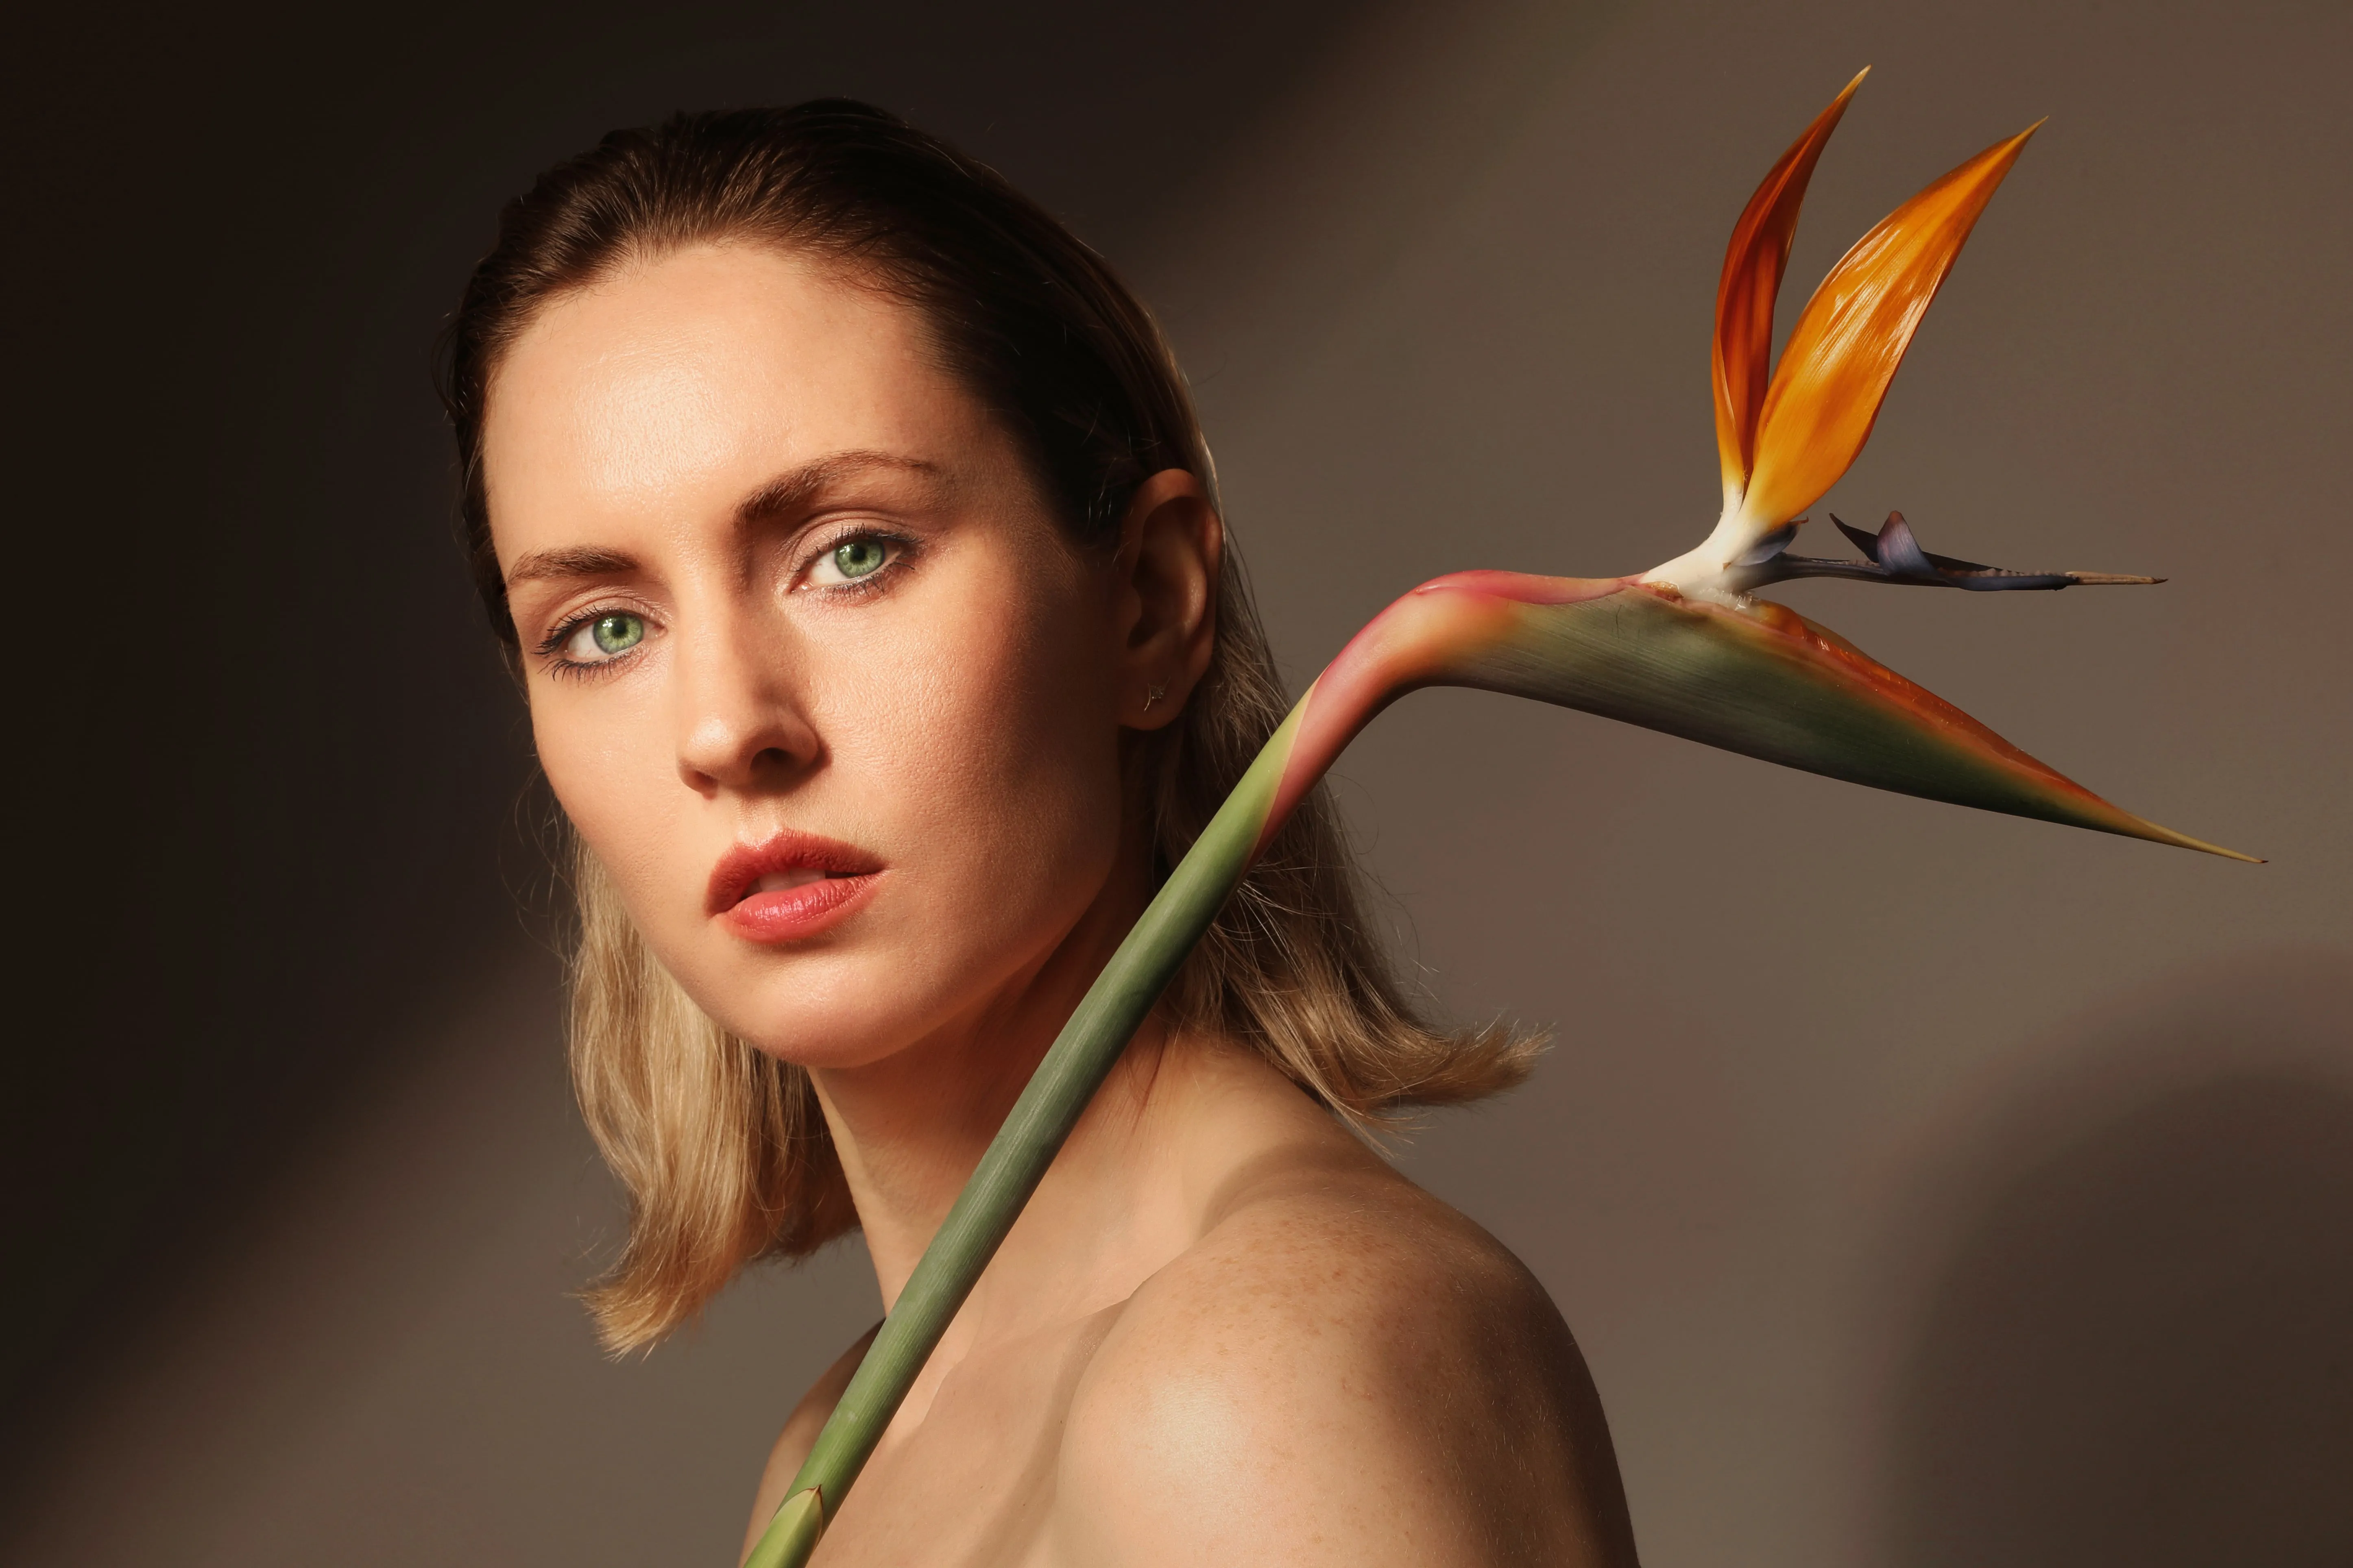
© jorge-gardner
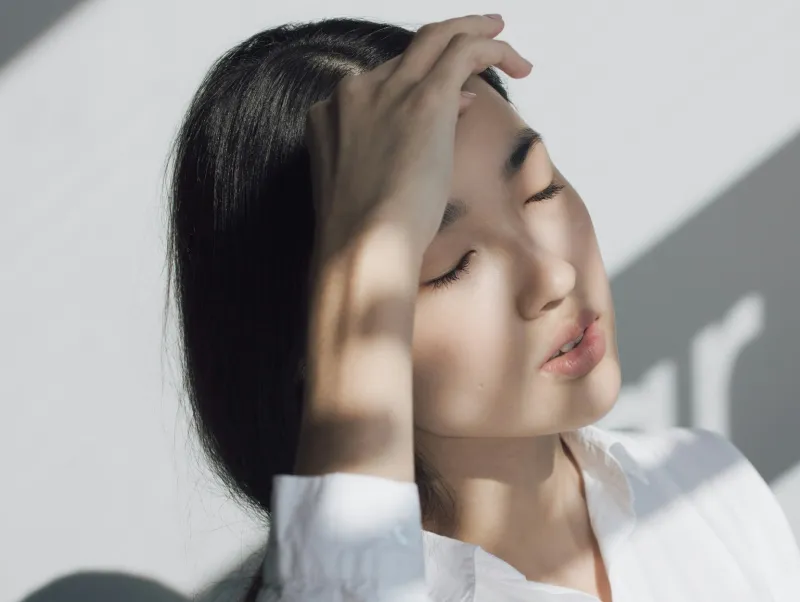
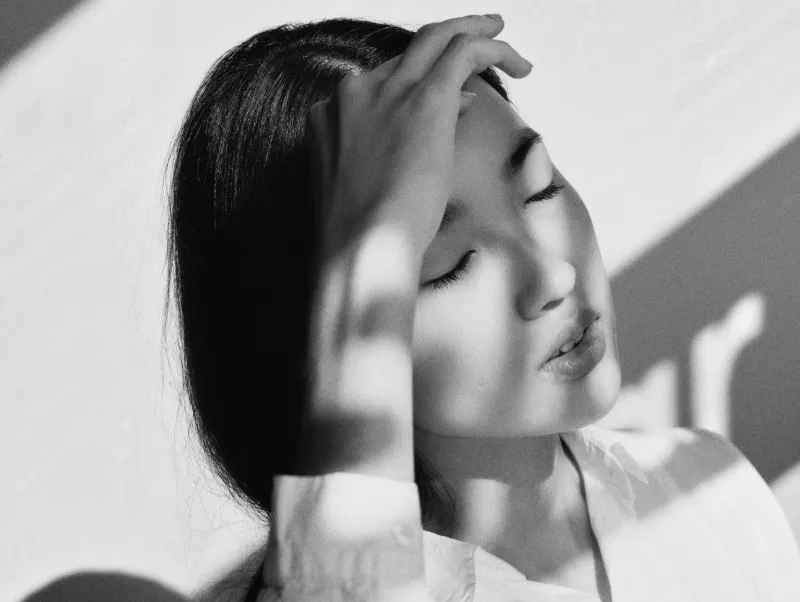
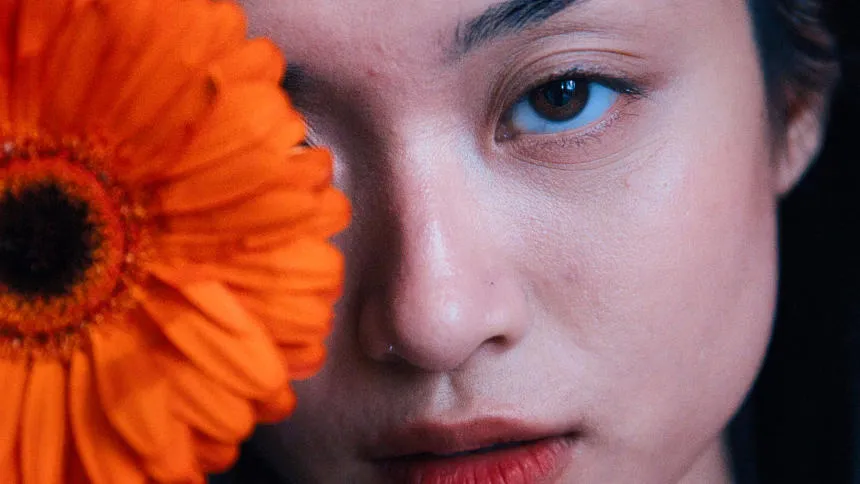
© aiony-haust
Explore Your Creativity By Adding Film Grain Filters
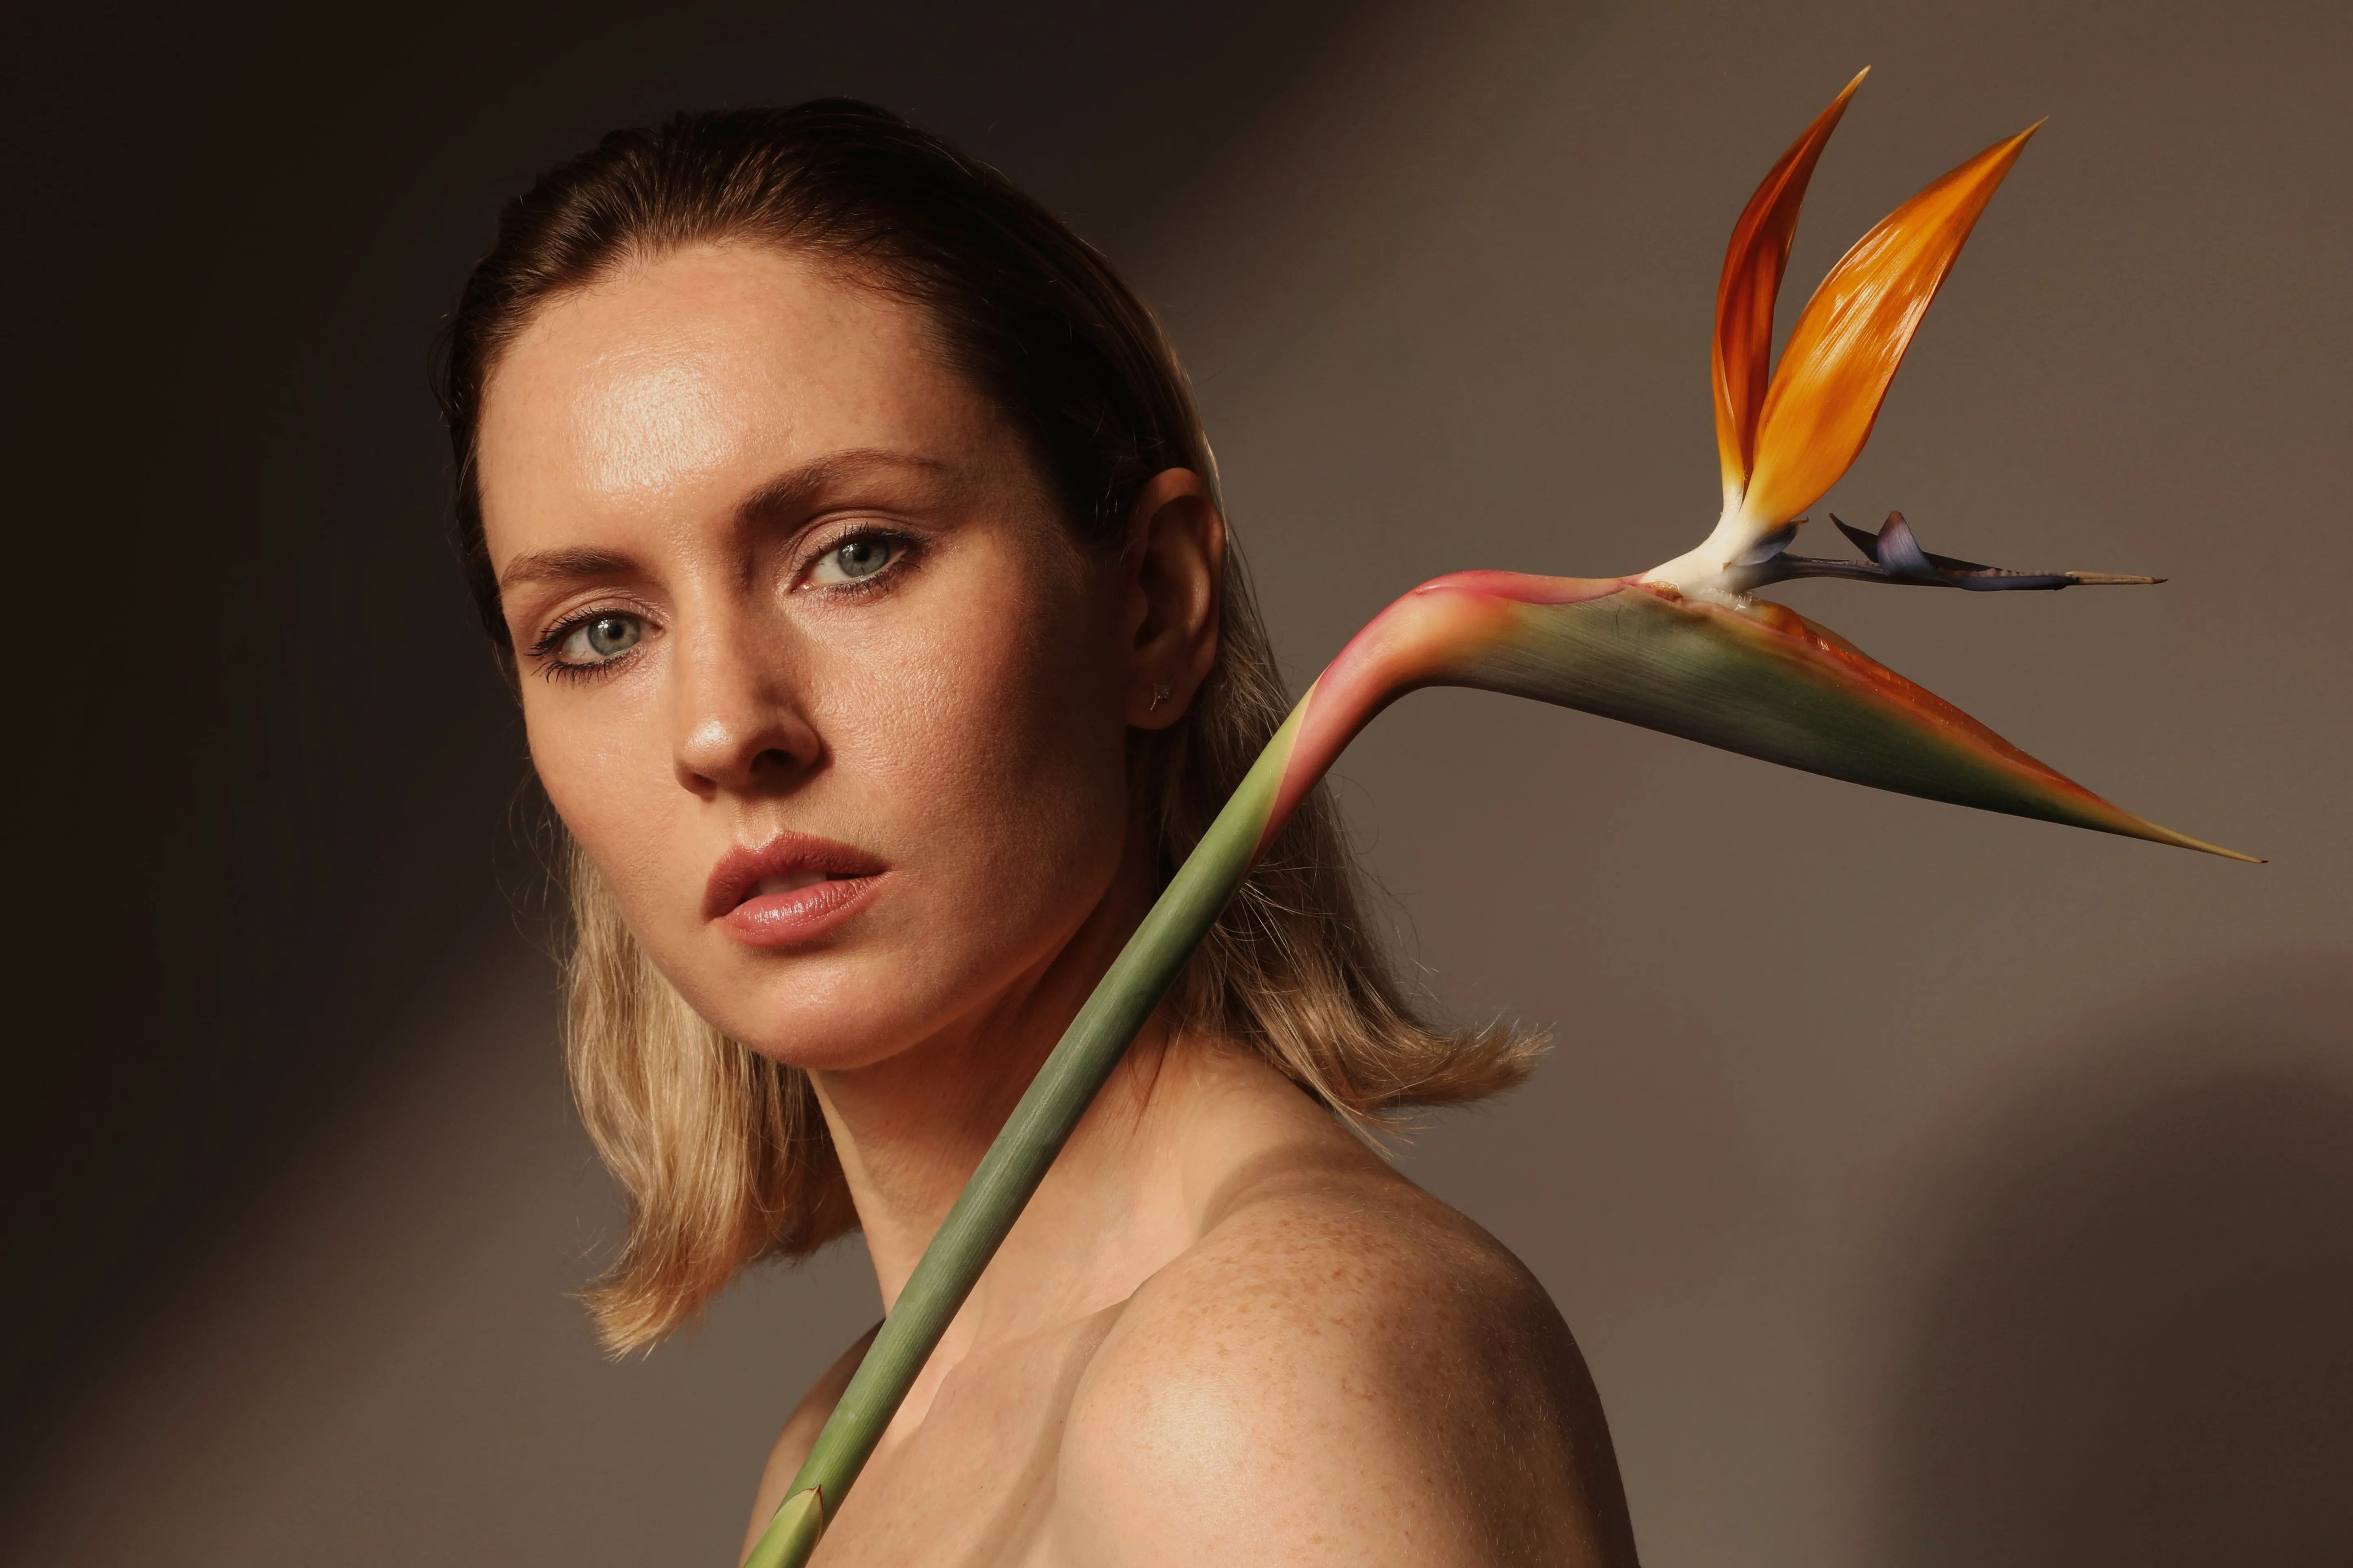
For photographers who wish to create a more artistic or unique style, a film filter with grain can be used creatively to enhance their vision and add a distinctive signature to their work.
Try it on black and white photos!
Try it on black and white photos!
Find Your Way to Make Perfect Grain
Explore Other Features
Photo Retouching
© Depositphotos
Make your photos appear their best by removing distracting items.
Photo Restoration


© David Persson
Transform old photos into stunning, rejuvenated images with the magic of AI-powered photo restoration.


Selective Color
-min.webp)

© Depositphotos
Utilizing selective color photography, make striking stylistic alterations and original artistic images.
An application & plugin
For macOS & Windows
- High-performance AI editor
24/7 technical support
30-day money back guarantee
Join community of Luminar Insiders
Frequently Asked Questions
How to add grain to a photo?
To make a photo grainy, you can use the easy Film Grain tool in Luminar Neo. It’s super simple! Another option is to apply one-click Presets and Overlays that contain grain.
How to remove grain filter from photo?
Once you’ve added a grain effect, you can undo your adjustments in the Edits tab. If you want to remove grain that was originally present on a photo, you can use the Noiseless AI Extension in Luminar Neo that tackles unwanted noise.