Illuminating Low Key Lighting Photography Tips
March 14, 2019
Low key lighting creates mood, mystery and incredible images. Here are some simple tricks to help you experiment with this neat technique and make creative low key photography.
If you are a newcomer and did not know what low key photography is, now is the time to talk about this topic. Low key lighting photography is a technique that utilizes minimal lighting to create striking contrasts, emphasizing shadows and highlights. This approach produces images with a dark, moody atmosphere, often evoking a sense of mystery and drama. It enhances depth, emotion, and feeling in photographs, making it a captivating challenge for both novice and professional photographers.
With low key lighting, you can create incredibly sensual images, full of a mysterious atmosphere and drama. In this article, we go over the basics of low key photography to help you experiment with this neat technique. Low key lighting creates stunning contrasts in your images, along with mood and mystery. It gives depth, feeling, and emotion—and is an invigorating challenge for novice and professional photographers alike. Though the technique itself is simple, mastering the art of low key photography can take some time.
That’s why the Skylum team has put together this list of tips to help you get the most out of your session with low key photography.
Low Key Lighting Gear
If you have absolutely no idea how to take low key photos, then first of all you should take care about the availability of the necessary gear. Low key lighting doesn’t require any special gear. In fact, for creative pictures you’ll only need the following:
- Camera
- Tripod
- Light source (either natural or artificial)
- Black or dark grey background
- Good editing software
Once you’ve learned the basics of low key lighting, you might also invest in a large soft lighting source like a softbox. Another great addition for low key lighting photography is a fast lens that reduces problems with camera noise.
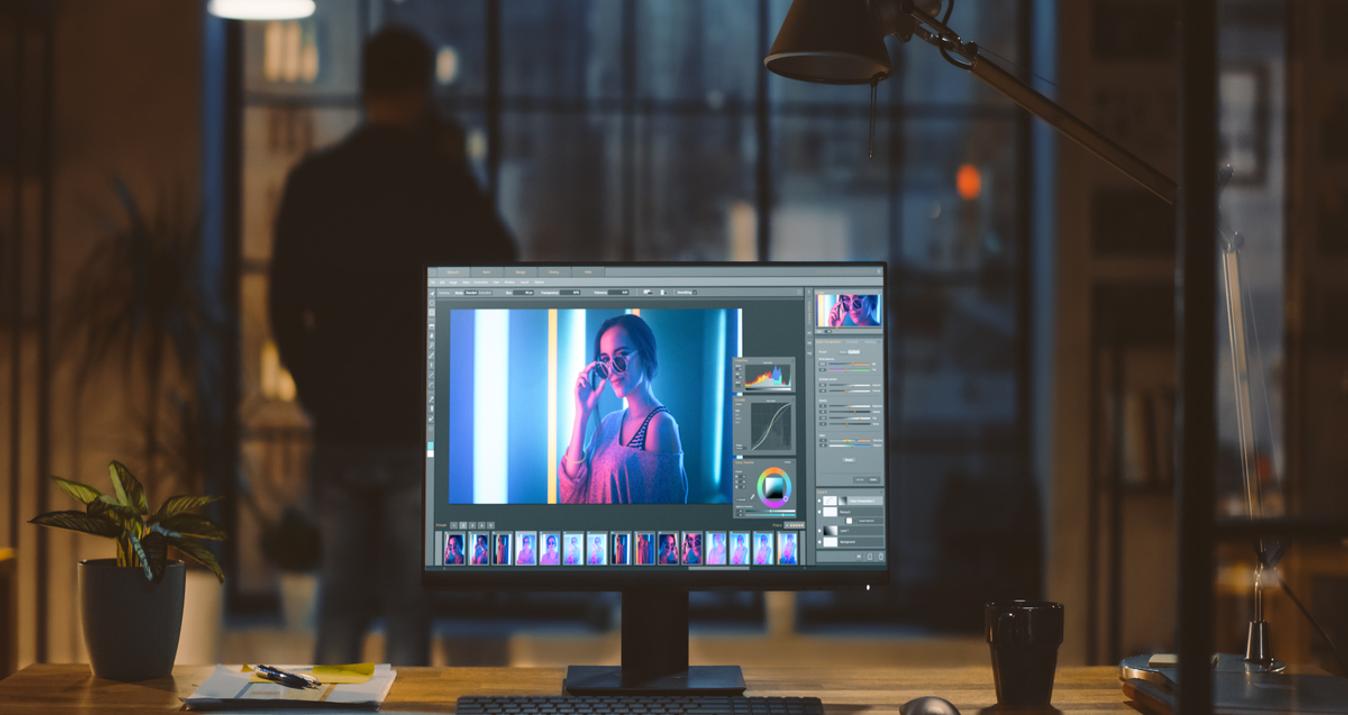
After you’ve taken your low key photos, you always need to retouch them with great photo editing software. Luminar Neo can help you do the job quickly and easily: retouch the skin of your models and add depth and sharpness to your low-key photography.
Replace the sky in your photos, instantly! Boost details with Structure AI. Discover more amazing tools in the new Luminar Neo.
Low Key Lighting Meaning
First of all, let's talk about low key photography definition. What is low key lighting? Traditional photography lighting is called three-point lighting: it uses a key light, a fill light, and a backlight to illuminate the subject. Low key photography, on the other hand, uses only a key light, which is optionally controlled with a fill light or a simple reflector. This means that shadows remain in the dark and only the subject is in the highlighted area. The thing about low key lighting is that it tends to heighten the sense of alienation and suspense, and hence is commonly used in the film noir and horror genres. So, we need to control the fill light.
Also read: How To Add Stickers To Photos For A Creative Flair
The lighting is up to you as the photographer and artist. You have the power to choose its direction and strength. The main tip is to keep your subject close and avoid lighting the background. Manipulate your lighting until your shadows fall where you want them. Dark lighting photography looks unusual and elegant at the same time.
High Key and Low Key Differences
To sum up the basic difference, low key photos are dark, having little light. On the other hand, high key shots are bright, having lots of light.
High key lighting is bright and leaves almost no blacks and mid-tones. High key images are optimistic, youthful, simple, and upbeat, which means they’re perfect for wedding, newborn, and fashion photography where you want to convey happy feelings.
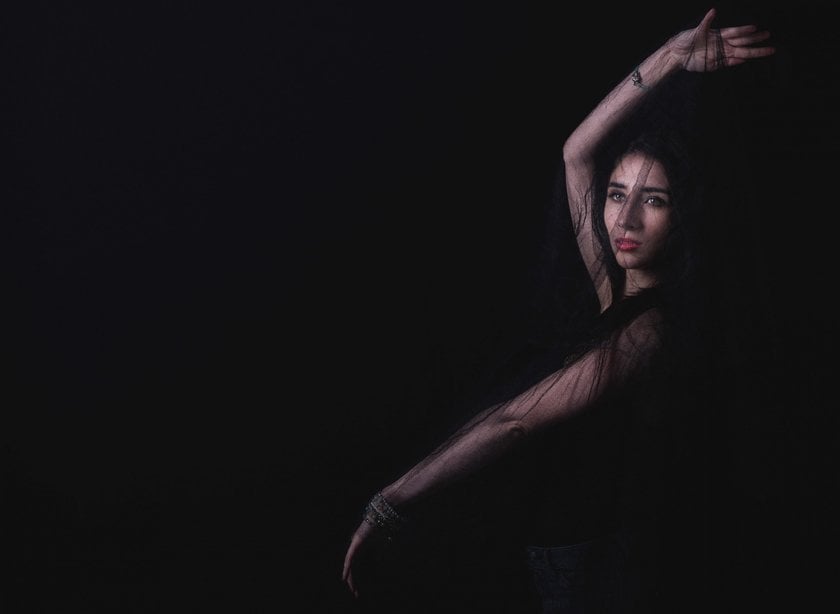
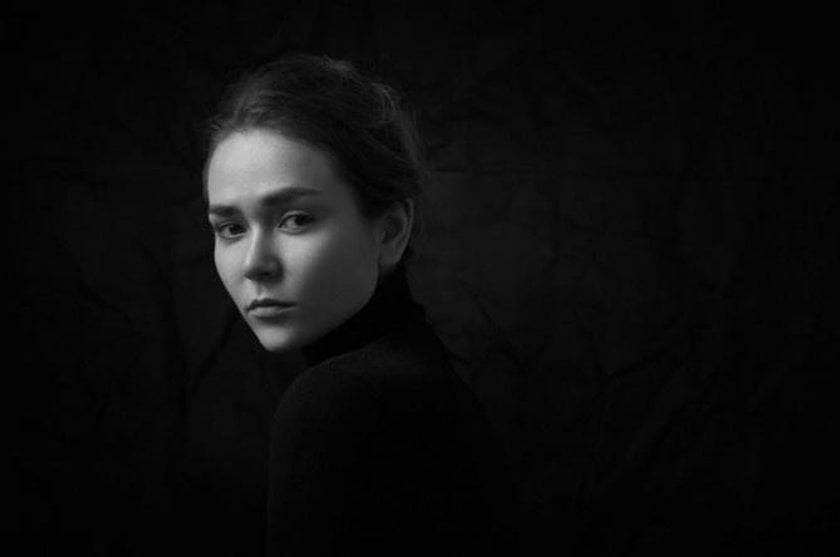
Deep blacks, darker tones, and shadows define low key photographs. They have almost no whites and mid-tones. The light is reduced, making these images dramatic and mysterious, with lots of shadows. Low key photography is perfect for portraits, commercial shoots, and any shots that are meant to evoke sensuality and mystery. Low key black and white photography always looks great.
Choose Black and White
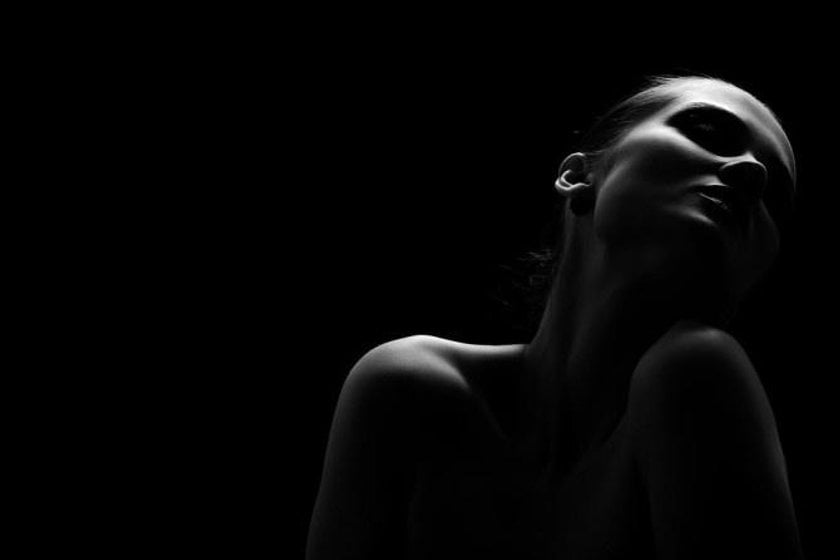
When you think about a creative low key portrait, the first thought that springs to mind is likely a dramatic black and white portrait. Black and white is a popular choice, as black and white images bring light to the shadows — one of the most important aspects of composition for low key images. Low key lighting eliminates all distractions from the background to highlight the subject. To achieve this, you can set up a black background using a cloth or cover all the windows in the room to reduce unwanted light sources.
Experiment With Lighting
Light can make or break your photograph. A light directly in front of your subject’s face is not low key. You can try to experiment with side lighting, Rembrandt lighting, light modifier or any other type of lighting to add depth and drama to your photos.
Also read: Photography Prices for Beginners – How Much Do Photographers Charge
Side Lighting
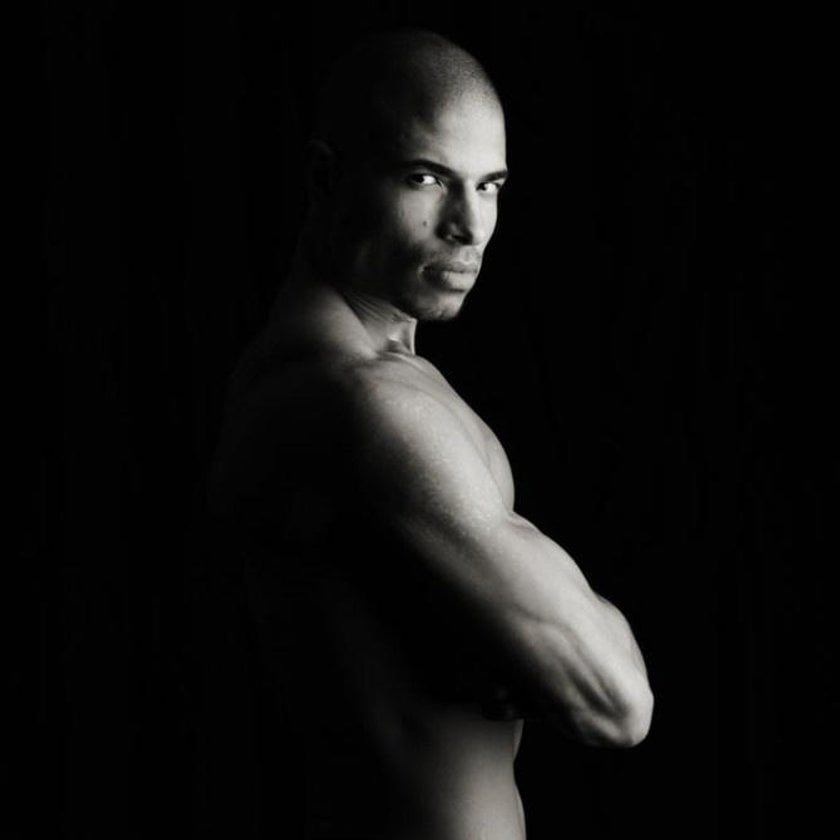
High contrast in your image will be easier to achieve if you side light your subject, keeping one side dark and contributing to the characteristic drama of a low key portrait. If one side of your subject enters the dark side, this is referred to as split lighting. There’s no correct side to shoot from; it’s down to you as the photographer to choose which side of your subject works more effectively. Just try moving the light.
Where the subject will stand and therefore where the directional light will come from is a decisive factor. A small deviation and you get a different kind of picture! What are the properties of side lighting?
- First of all, it is convenient for us. Because it shines from the side of the subject, i.e. not directly on the model, being somewhere behind the photographer who can block it, and not behind the subject, getting into the lens. Also, you can very easily control the light.
- Secondly, as said before, it gives volume to parts of your image, unlike the frontal one which makes the photos flat. And at the same time side light does not create serious problems like backlight for example: in the latter case, we have over-highlighted, dark objects and excessively bright background, very harsh contrast.
So with sidelights, we get a beautiful image without too much fuss in post-processing. Although someone may call it a predictable and easy option due to the described positive features.
Tip: Remember that you don’t need to use artificial lighting to achieve beautiful low key images. Try experimenting with light streaming through an open window, using curtains to control its intensity.
Rembrandt Lighting
Named after the Dutch painter who used this type of lighting in his portraits, Rembrandt lighting is achieved when a triangle of light falls onto the dark side of the subject, creating unique shapes and moods. There are certain composition rules to follow when you want to achieve Rembrandt lighting, but of course you’re welcome to experiment. Remember, in this technique light falls in a special way.
There are a few things to pay attention to when drawing. Let's take low key portraiture as an example. As you have already understood, it is not possible to draw exactly where the light is exactly in relation to the model, at what distance, and at what height. It's all very individual and depends on many things, from the height and pose of the model to the attachment to the one source of light.
The light is placed at the side of the model so that the shadow of the nose, moving along the nasolabial folds, touches the shadow on the cheek. We have built a sketch of a low key portrait, now it is necessary to correct it for the model. We remember that all the faces of the models are different, so for each, necessarily, there will be a separate approach. First, we need to position the resulting triangle on the face.
The upper side of the triangle should start from the upper eyelid. For this, we have the height of the light source, lowering or raising it, and we will move the triangle vertically. Also for orientation, the glare in the eye will help us a lot. If you can not see it, then the triangle is too low. But, again, it all depends on the model's face and there are cases when the triangle is positioned correctly and the glare is not visible.
Camera Settings
There are certain camera settings that will let you achieve the best low key portraits. We will tell you how easy it is to make low key photography without flash, just using the right camera settings.
Low ISO
When we talk about low key lighting setup, this is the first important factor. Set your ISO to 100 or as low as it will go on your camera. This will keep your image dark and free from noise. Then adjust your shutter speed and aperture from there.
Cameras with small sensors (most often not expensive or old DSLRs) create a lot of noise across the image plane when you increase the light sensitivity. Modern cameras with full frame sensors allow you to use higher ISO without visible artifacts, but you still shouldn't rely on luck, because in the darkness the details are pulled out only with the appearance of noise. It's better to increase the detail in your shot with slower shutter speeds or a brighter lens.
Note that all cameras produce noise when shooting at high ISO settings. The degree of noise depends on the quality and physical size of the sensor. Full-frame sensors with large pixels are capable of capturing more light, without any amplification.
This makes it possible to capture images with low noise. If you consider a cropped sensor, it has the same resolution as a full-frame sensor but a smaller size. So the size of each pixel is also smaller. These sensors are more susceptible to electromagnetic interference and less susceptible to light, which contributes to noise.
Low f-number and Fast Shutter Speed
If you start with a low f-number, you’ll take in the most light and be able to adjust from there. A fast shutter speed is generally recommended for low key photography settings, though you may need to adjust depending on the light source you’re experimenting with.
Although many lenses can work in low light, the standard kit lens has an aperture of about f/3.5. Such an aperture does not let in enough light for the best results. A simple lens with a maximum aperture of f/1.4 or f/.8 is ideal. It lets in considerably less light than a lens with an f3/5 aperture. If you start with a low aperture, you can make adjustments when you get the maximum amount of light.
Start With an Object
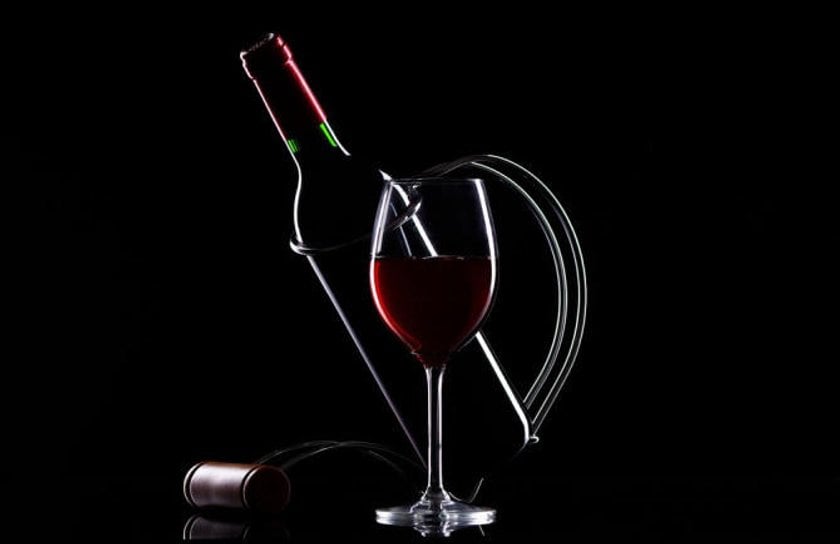
Low key lighting shouldn’t be limited to portraits. You can also highlight an object in your shots, it can be any type of photography. This technique works well for elegant commercials where the subject is the most important part of the image. You can practice with a stationary object first, like a vegetable or a potted plant in nature photography. This will help you become more comfortable before you dive into the world of low key portrait shots.
Also read: How To Put A Black Background On A Picture In 5 Minutes
Remember Textures
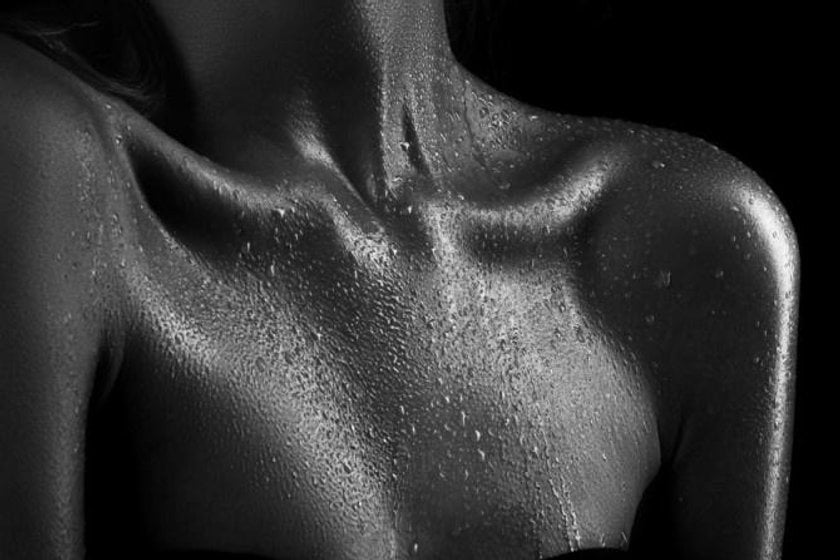
Low key lighting offers an incredible way to experiment with textures and lines. For example, in low key portrait photography, you can think of the wrinkles near the eyes or in the forehead, the dip in someone’s chin, the way the hair falls over the subject’s face. It’s also a creative way to celebrate the curves and shape of the human body. You can use low key lighting to emphasize the wrinkles of aged skin, add drama to a shot of an old man, or draw attention to detail within roughly textured fabrics.
One of the photography tips: Clothing with patterns can draw the viewer’s attention away from the subject’s face. Opt for dark and plain clothing.
Editing in Luminar Neo
Luminar Neo can be a great helper for your creative low key photography, adding drama, depth, and contrast to your photos. Let’s see how you can improve your photos in Luminar Neo:
- Use the portrait tools to enhance your model’s look and the overall image with the Eye Enhancer, Skin Defects Removal AI, Portrait Bokeh AI or other.
- Use Presets to create beautiful black and white photos with a single click.
- Use Face AI to eliminate any imperfections on the model’s face, such as pimples or black dots.
- Sync your edits across all the photos in your low key light photography using a simple copy/paste action to save time.
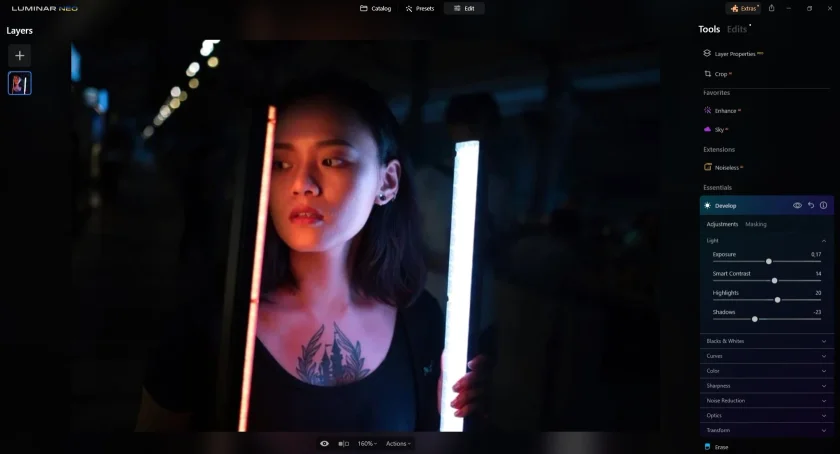
Photo by Evgeny Tcherotarev
Luminar Neo has a lot of features to enhance your low key lighting photography. It’s easy to master and can help you store, organize, and edit your photos quickly and easily.
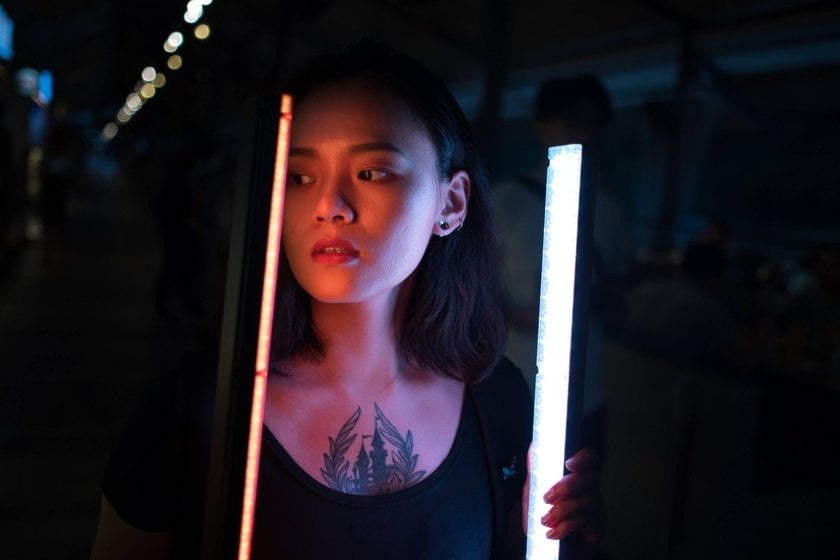
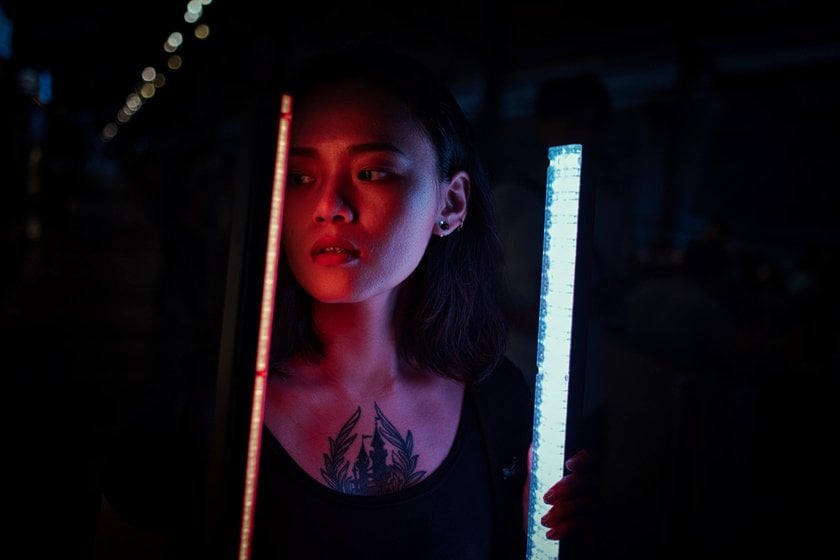
Photo by Evgeny Tchevotarev
Advanced yet easy-to-use photo editor
Get Luminar Neo NowEditing in Photoshop
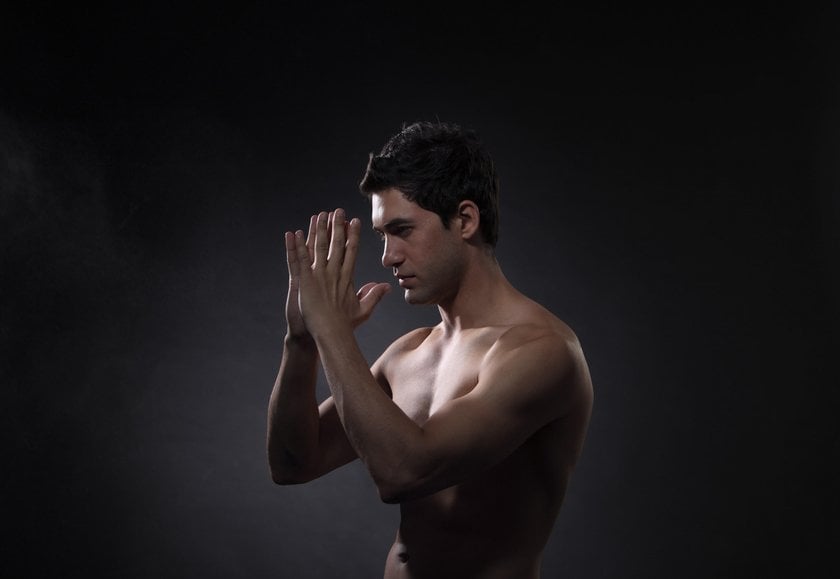
Photoshop is one of the most famous tools for photo editing, and you can achieve a lot by using it in post-production. For example, if you’re not satisfied with the background in your low key shot and some unnecessary light shines through the darkness, you can easily set this by using the adjustment brush tool and darkening the levels. Photoshop gives you a lot of options to edit the depth of field, contrast and shadows to add even more drama to your low key pictures.
Photo by Evgeny Tchebotarev
By increasing the contrast, your subject will pop. Using Photoshop, you can even transform a common portrait into a low key portrait just by following simple instructions.
Low Key Photography Recap
So, what does low key mean? Here’s a quick recap for you to brush up on the basics of low key photography. We also recommend looking for inspiration in low key photography examples.
Set your camera to manual mode. Set your ISO as low as it will go and your shutter speed as fast as you’d like. Once you’ve set up the shot, adjust your aperture to a low f-number. After you take a practice shot, narrow the aperture down until there’s no light in your frame. Then experiment. Play with the direction and intensity of your lighting. Move your subject around.
In Conclusion
The beauty of low key images is that they capture the drama. The main idea for low key images is to control the light and darken the environment. Once you begin to experiment with this technique, you’ll realize the creative world is yours — and offers the opportunity for endless moody captures without a single flash.
Not only that, you have a variety of choices in post-production of low key photos, where you can eliminate the imperfections of your photographs and highlight the best parts with specially designed tools, creating your own low key look. You can try it in Luminar right now for free by clicking the button below.
From all of us at Skylum, have fun, and feel free to experiment!