April 13
15 min. to read
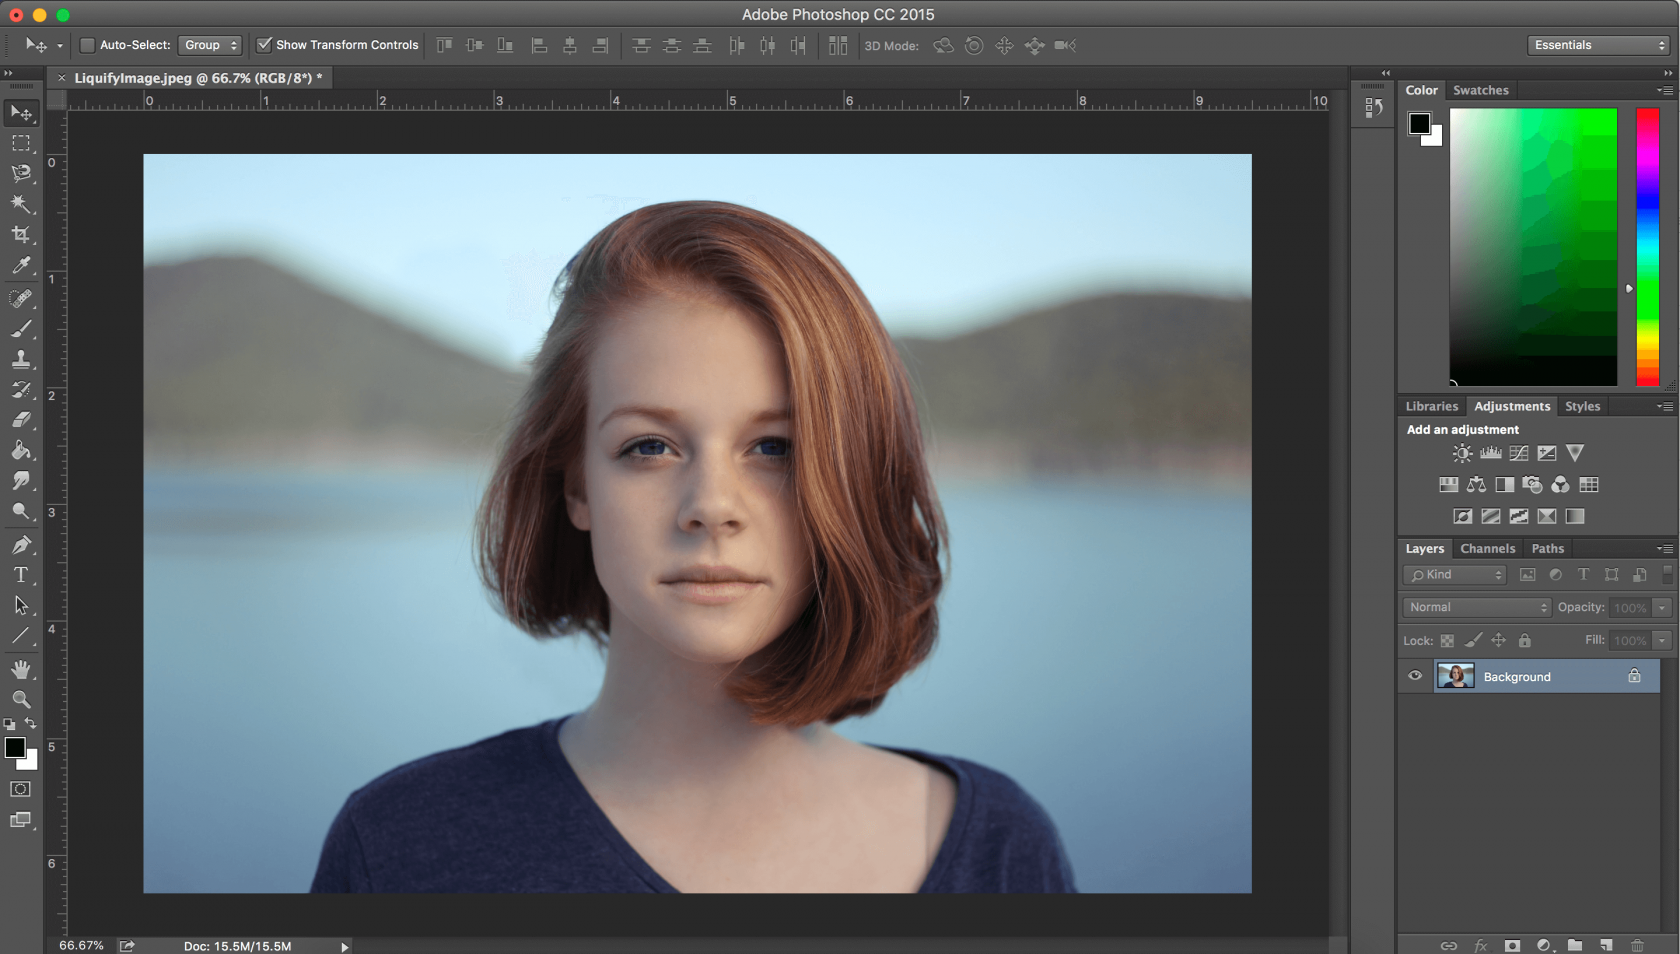
How to Use the Liquify Tool in Photoshop
Photoshop's Liquify tool is versatile, allowing users to push and pull pixels as desired. It excels in minor retouching tasks such as smoothing clothing wrinkles, refining edges, and adjusting smaller features like facial details. While it may initially seem daunting, the Liquify tool becomes user-friendly with practice. You can access it via Filter › Liquify.
The tool has sparked debate due to its ability to dramatically alter body shapes, enabling enhancements like slimming down or enlarging muscles and eyes. However, it's crucial to use these changes subtly to achieve realistic results. Beyond body modification, Liquify's capabilities in pixel manipulation are extensive, providing creative freedom in image editing.
Ready to explore the Liquify tool in Photoshop? Let's dive in!
Getting started
First things first – choose your image. The first edits you make using the Liquify tool likely won’t be magazine material, but that’s okay! The trick is to play around with the tool and understand all of its functions. The more you practice, the more professional your edits will become.

Once you’ve opened your image in Photoshop, the next step is to make a copy of it as a new layer. You can easily do this using keyboard shortcuts. On a Mac, make a new layer using ⌘+Option+Shift+N. Then use ⌘+Option+Shift+E to duplicate your image into that new layer. If you’re using a PC, use Ctrl+Alt instead of ⌘+Option. Make sure you have this new layer selected before opening the Liquify tool.
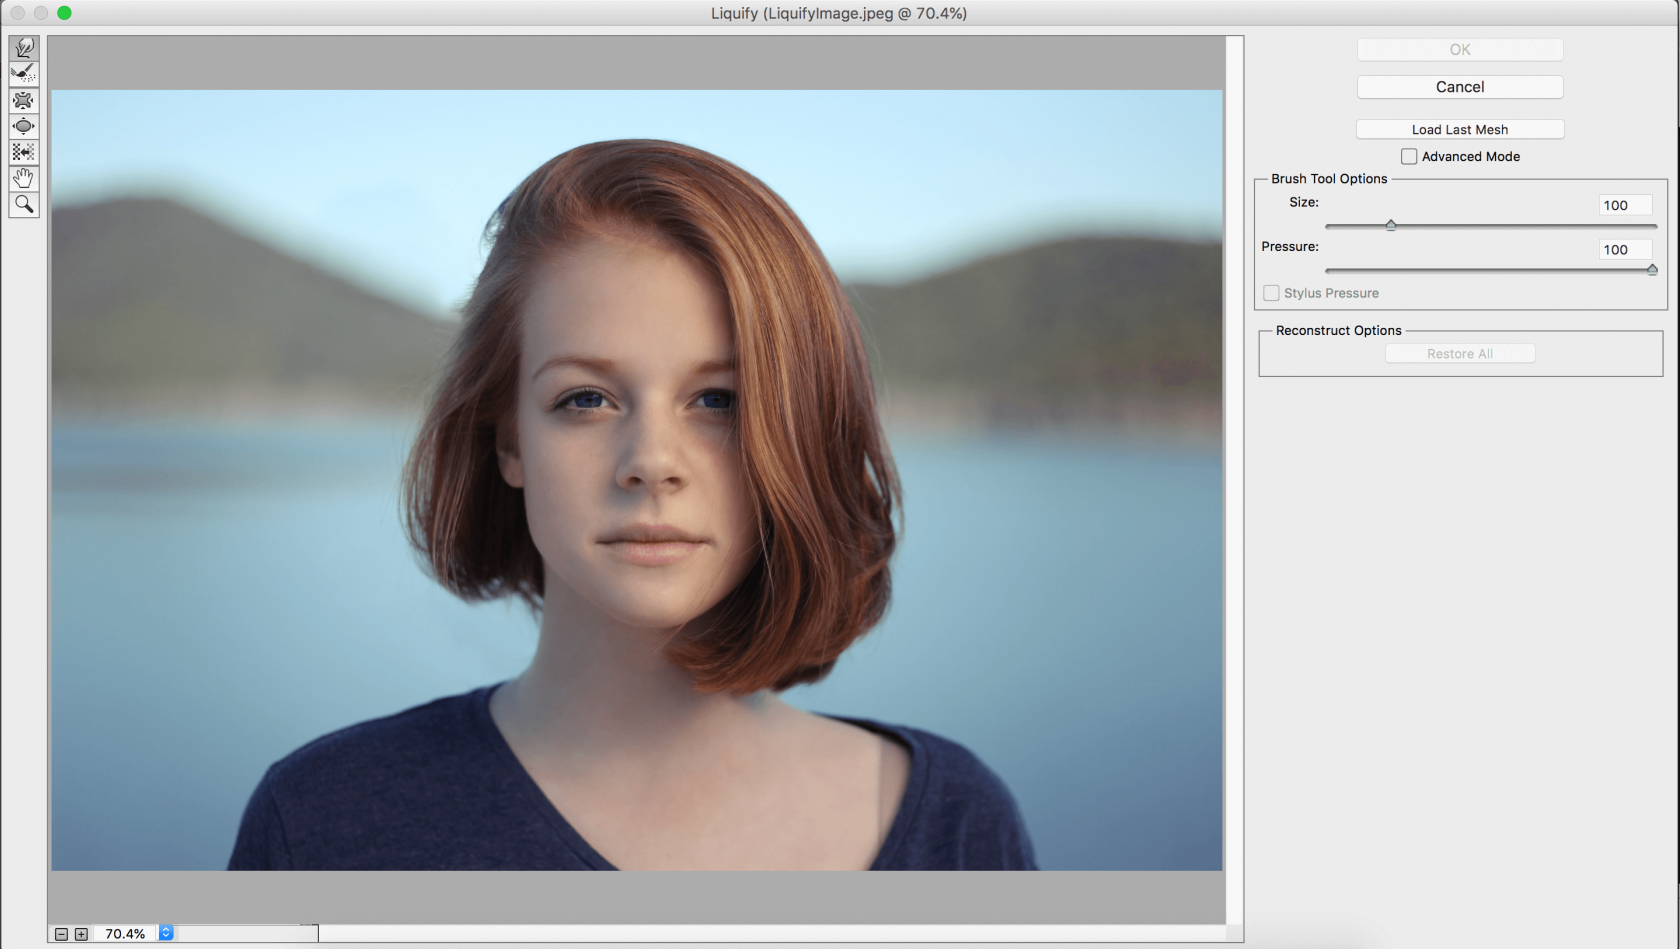
Now it’s time to move into the Liquify tool. At the top of your screen, click on the Filter drop-down menu, then choose Liquify. You can also open the Photoshop Liquify tool by using Shift+⌘+X.
Understanding the Photoshop Liquify tool
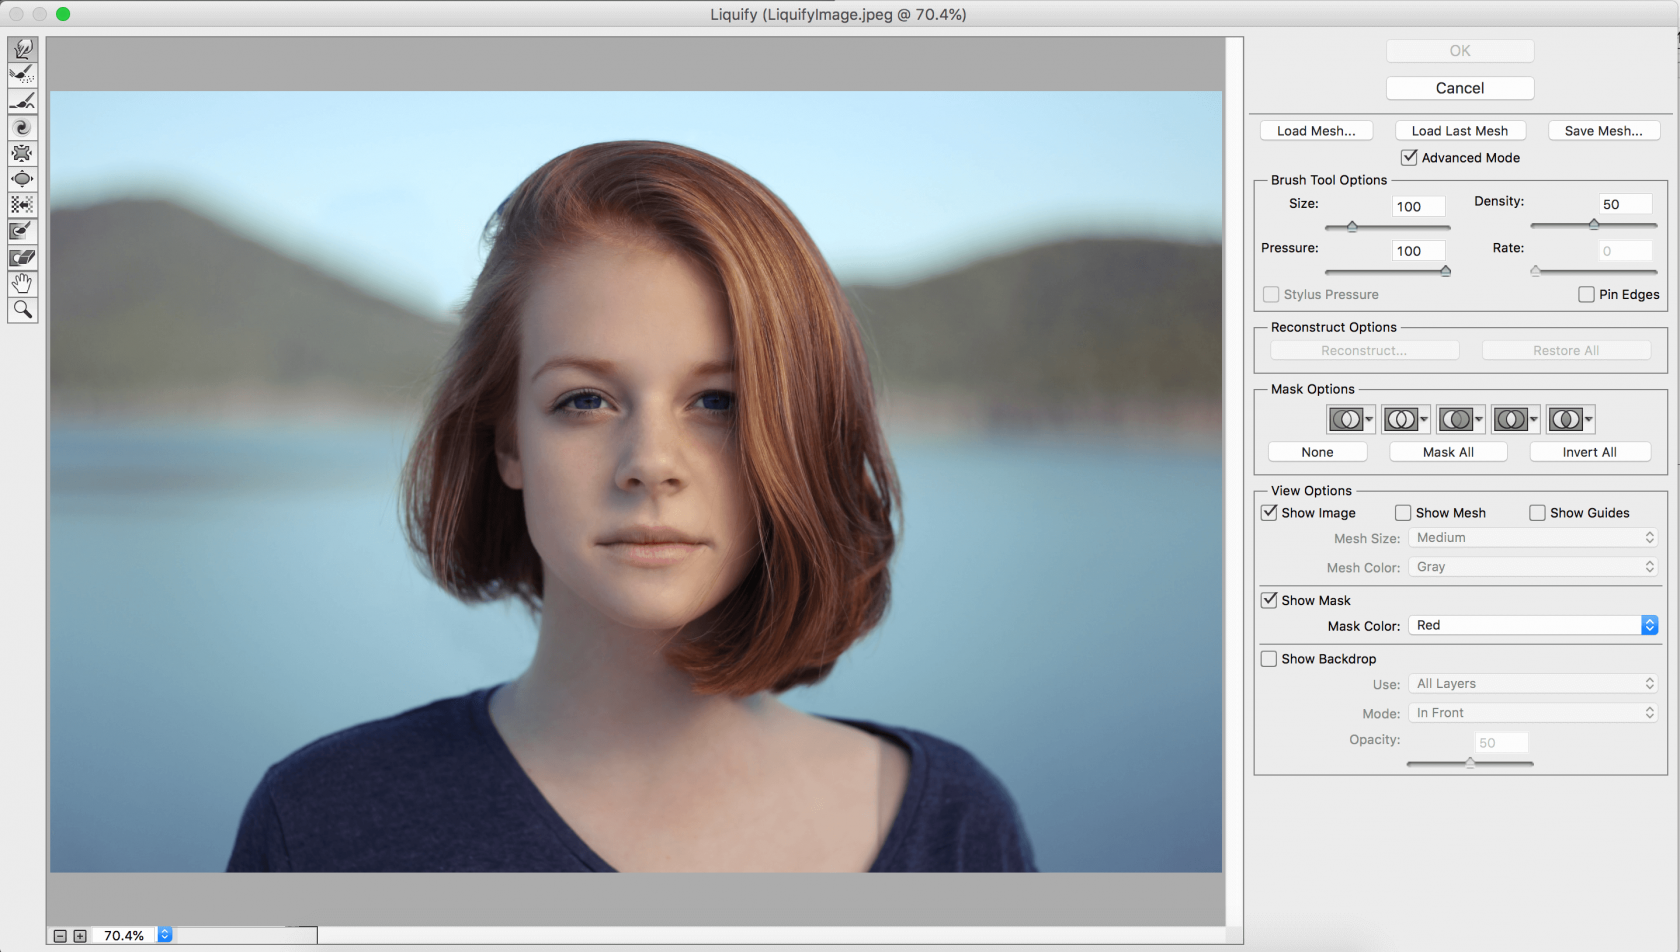
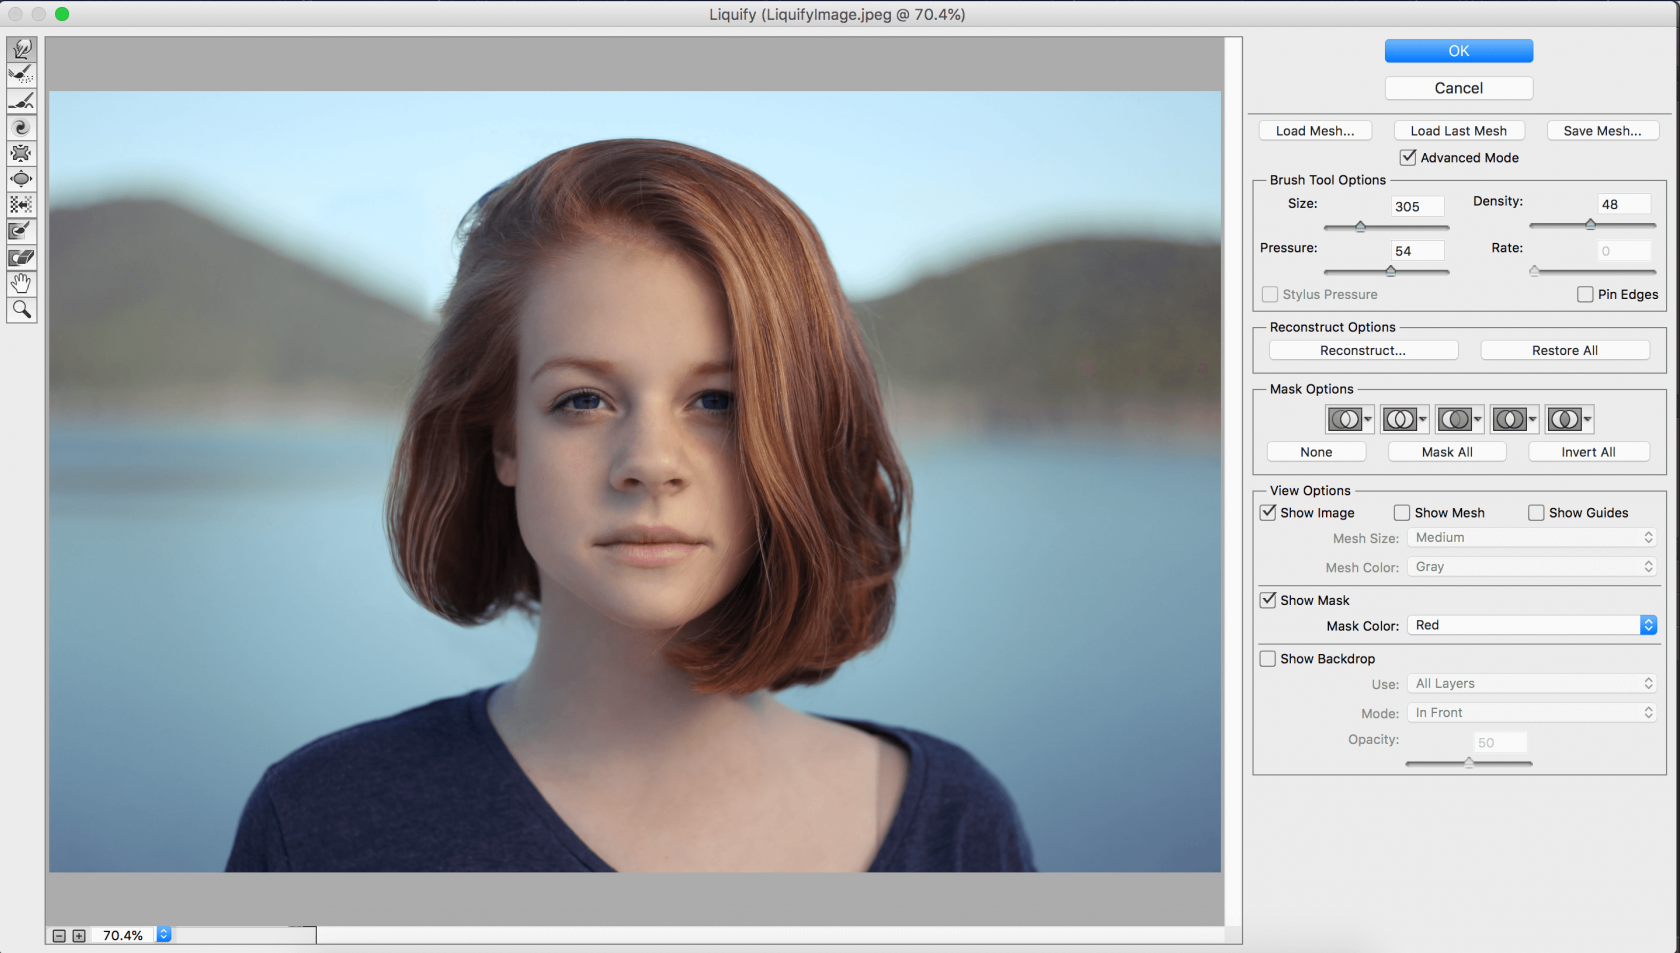
Upon opening the Liquify tool, you’ll see a simple layout with 7 icons on the left and brush options on the right. If you click the box next to Advanced Mode, you’ll see 11 icons on the left and more advanced brush and mask options.
Let’s take a closer look at the 11 icons on the left in Advanced Mode.
W – Forward Warp
If you’re adjusting hair, clothing, faces, or bodies, you’ll likely be spending most of your time working with the Forward Warp tool. It pushes pixels around within the image in various ways depending on your brush settings.
You have four options for your brush tool: size, density, pressure, and rate.
- Brush size. We recommend starting with a larger brush than you think you need. You can easily adjust the size of the brush using the [] (bracket) keys.
- Brush density. This is essentially the same as hardness and softness in typical Photoshop brushes. A higher density will affect more pixels within the brush (further out toward the edges), while a lower density will only affect pixels toward the middle of the brush.
- Brush pressure controls the speed at which pixels are affected by a brush when it is dragged across an image. A low brush pressure will affect pixels at a much slower rate than a high brush pressure.
- Brush rate controls the speed at which pixels are affected when a brush is used in a stationary position (for example, the Twirl tool). Similar to brush pressure, a low brush rate will affect pixels much slower than a high brush rate.
Other tools within the Liquify filter
R – Reconstruct. This tool is essentially a paint-on eraser. You can easily return pixels to their original state by brushing the Reconstruct tool over modified areas of an image.
E – Smooth. This tool helps smooth any rough edges or harsh lines after you’ve used other brushes in the Liquify filter. If there are any distorted lines in your image, simply brush this tool over them to round them out.
C – Twirl Clockwise. This tool twirls pixels clockwise. If you want to reverse the twirl, simply hold down Option (Mac) or Alt (PC).
S – Pucker. This tool pushes all the pixels underneath the brush inward. Imagine a mouth puckering after tasting something tart. Pressing Option or Alt will instantly switch between the Pucker and Bloat tools.
B – Bloat. This tool does the opposite of the Pucker tool: it pulls the pixels beneath the brush in an outward motion.
O – Push Left. When using this tool, pulling the brush up will move pixels to the left. Pulling the brush down will move pixels to the right. Pulling left will move pixels down, and pulling right will move pixels up.
F – Freeze Mask. This tool is very useful when you’re altering parts of an image near other parts that you don’t want to alter. Drawing a mask on certain parts of your image will protect those pixels from being manipulated by any of the Liquify tools.
D – Thaw Mask. This tool is the opposite of the Freeze Mask. Brushing the Thaw Mask over frozen pixels will unfreeze them and allow them to be altered. Pressing Option or Alt will switch between the Freeze and Thaw Masks.
H – Hand. The Hand tool allows you to move your image around the window by simply dragging it. This is especially helpful when you’re zoomed in and need to work on a different area of your image. Instead of clicking on this tool, you can hold the Shift key while working with any other Liquify tool to change the cursor into a hand.
Z – Zoom. The Zoom tool allows you to zoom into certain areas of your image to work at a closer level. Pressing Option or Alt while using this tool will allow you to zoom out.
Mastering basic adjustments
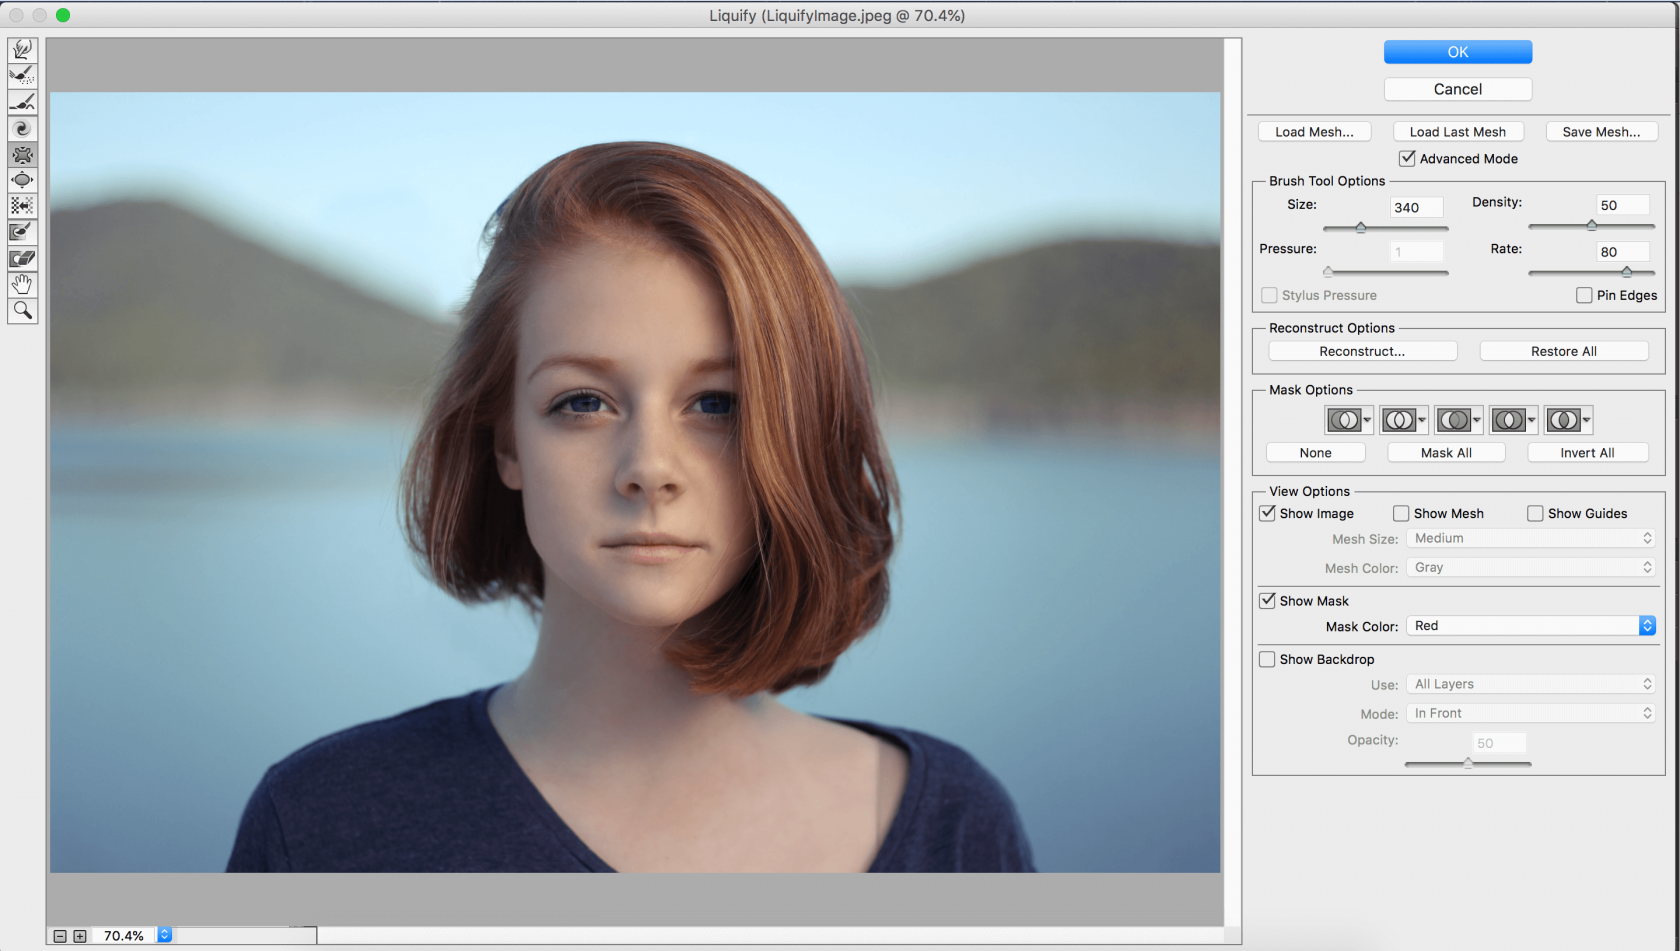
The Forward Warp tool is by far the most widely used within the Liquify filter. Photoshop Liquify can be as simple or complex as you need it to be, but let’s start with the basics. Can you tell the difference between the first and second images?


I used the Forward Warp tool to thin and lengthen the nose and slightly thin the face. The resulting image is natural and doesn’t look overly edited, yet the simple act of altering the nose completely changes the face.
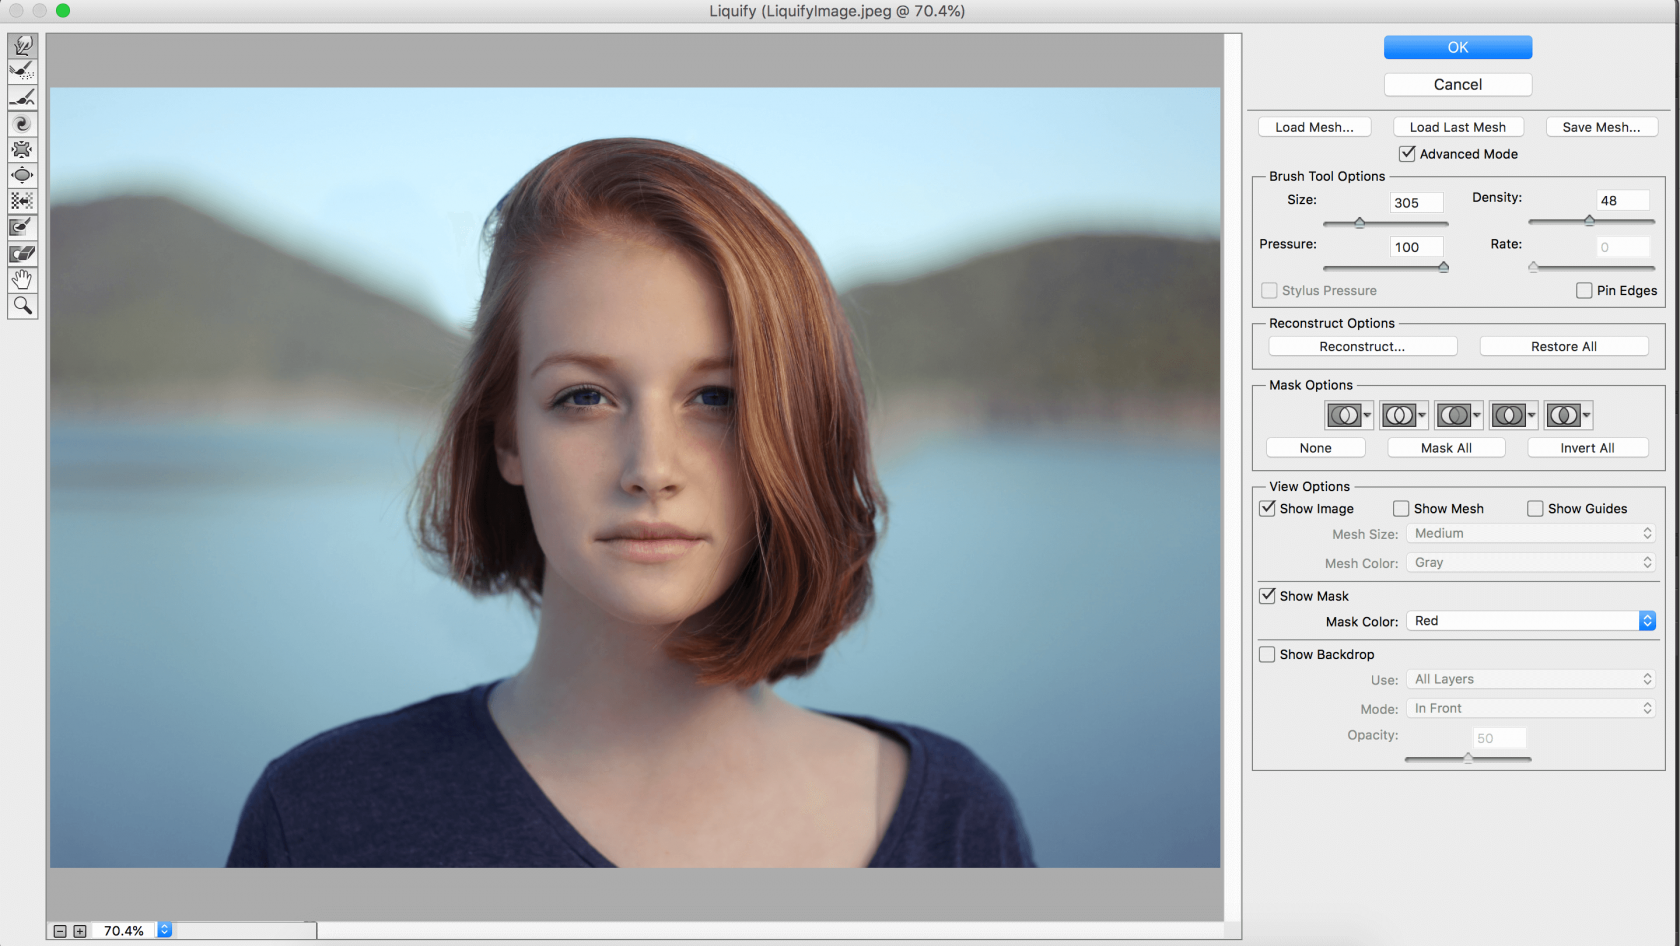
I used the same tool to flatten out the hair. To make the nose, face, and hair thinner/flatter, I simply used the brush to push the pixels inward.
The Forward Warp tool can also be used to push pixels outward. In this example, the jaw, nose, and hair were all dragged outward to make everything wider.
Remember that if your edges look a little off, you can use the Smooth tool to round them out. You may also need to use a larger brush size.
In this example, I used the Bloat tool on the eyes to make them seem slightly larger, while I used the Pucker tool on the lips to make them smaller and thinner.
Play around with the size, pressure, density, and rate of the brushes to see how the pixels are manipulated.

You can make your final image as believable or exaggerated as you want. Here, you can see that I used the Bloat and Pucker tools to such an extent that the final image is almost extraterrestrial.
A – Face tool
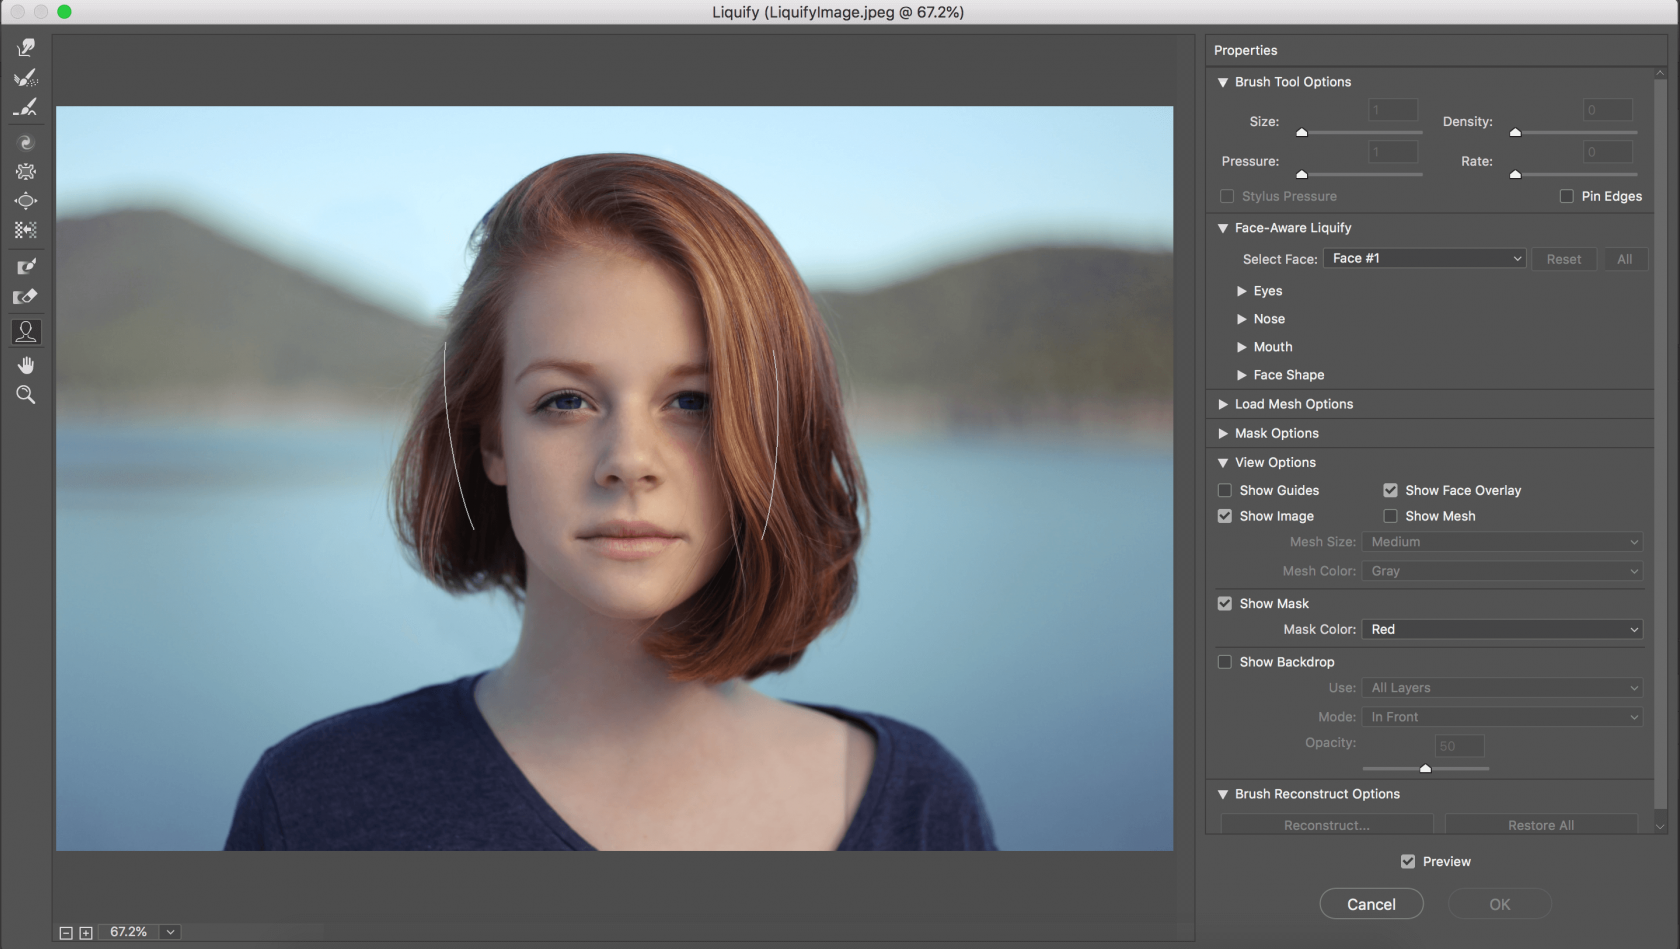
Newer versions of Photoshop have a Face tool. When you open the Liquify filter, you’ll notice there’s an extra tool on the left side in the shape of a silhouette. This is the Face tool. Click on it and you’ll notice how Photoshop instantly recognizes the faces in an image. This new Face tool makes it easier than ever to make adjustments to parts of faces without altering any other part of the image or needing to create masks. It even takes away the need to use any of the other tools on the left side of the screen!
After selecting the Face tool, all faces will show up in the drop-down menu on the right side of the screen, marked as Face #1, Face #2, etc. This tool accurately recognizes eyes, noses, mouths, and other facial features, making it easy to adjust them without having to master the brushes.

By adjusting a few sliders on the right side of the screen, the subject’s face has been completely transformed. You can quickly and easily adjust every single aspect of the face, including the width of the eyes, the thickness of the lips, and the shape of the jaw. You can even change the mouth into a smile or frown!
If you don’t want to use the sliders to adjust facial features, you can click and drag right on the image. Hover over different areas of the face with your mouse and you’ll see controls appear. Click and drag on any point or dotted line to quickly adjust that particular feature. Hovering over a point or dotted line will tell you what that particular control affects.
Working with a mesh
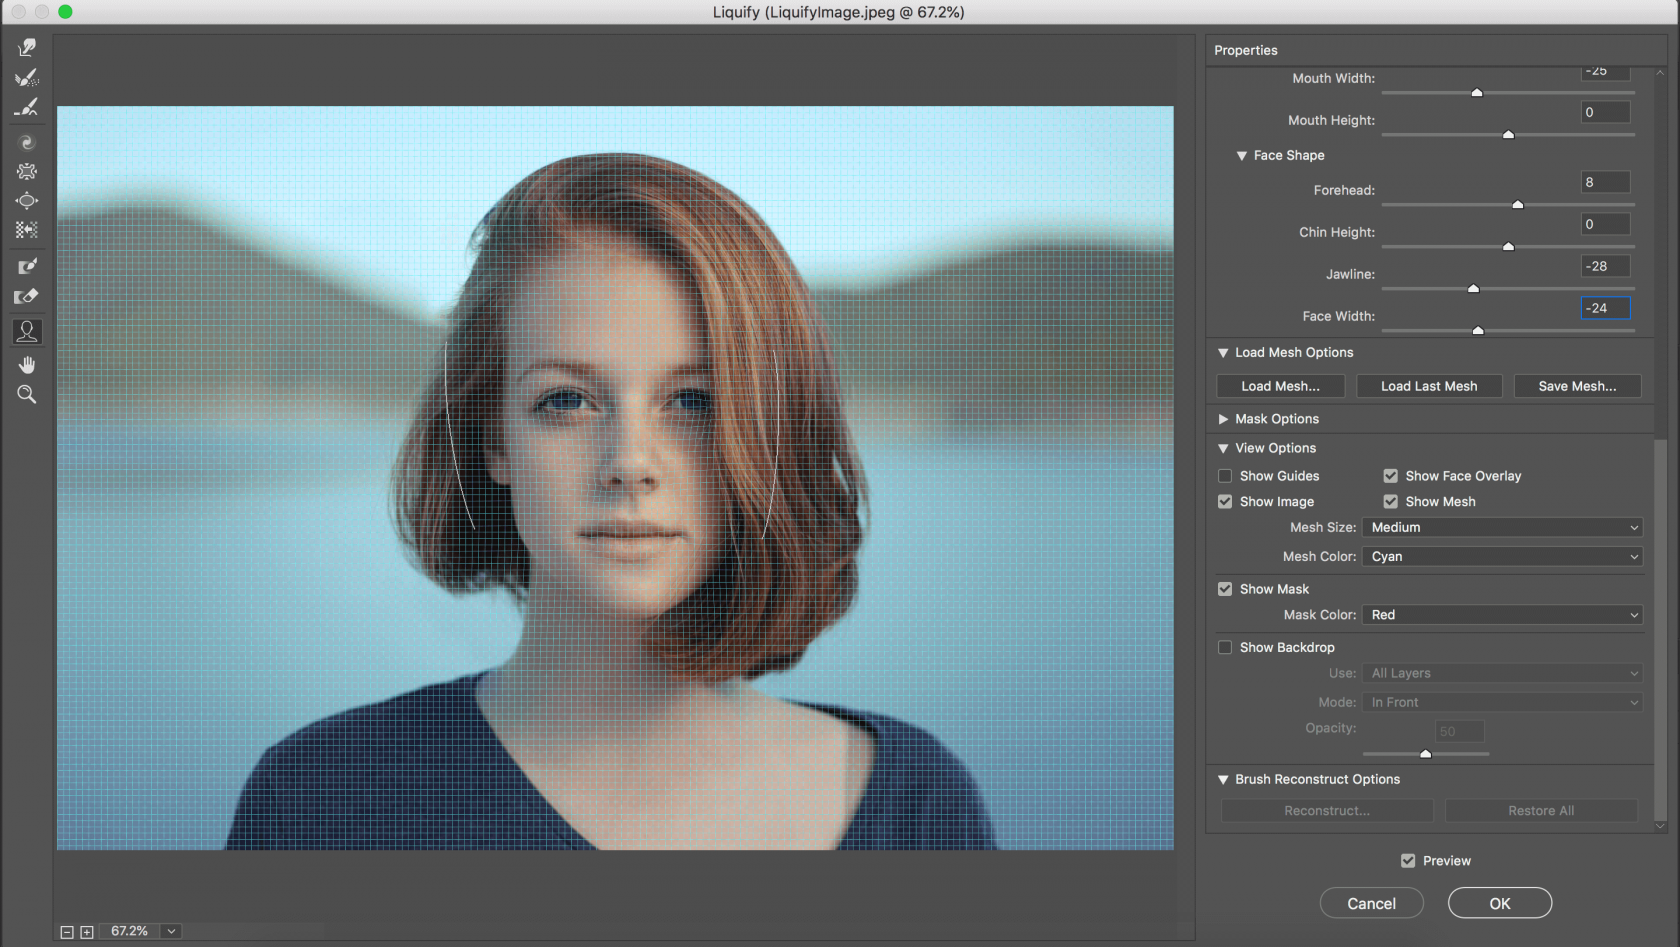
Using a mesh allows you to keep track of distortions to your image. To view the mesh, check the box next to Show Mesh under View Options on the right side of the screen. You can choose both the mesh size and color. Saving a mesh is helpful when you want to apply the same adjustments to many different images (such as a collection of portraits of the same person).
Under Load Mesh options, you can choose to Save Mesh. When opening your next image, you can choose to Load Mesh and apply the same adjustments to your new image, or you can click Load Last Mesh to make the process even quicker. Don’t worry if the face isn’t the same size as in your previous image – the mesh will be automatically scaled to fit the face. Voilà – instant facial adjustments!
The Liquify tool in Photoshop isn’t as intimidating as many people believe. With a bit of practice, you’ll be able to quickly and efficiently retouch hair, bodies, faces, and more.
 >
>
