Aurora HDR vs Luminar Neo: A Side-by-Side Comparison
Choosing between Skylum's Aurora HDR and Luminar Neo? We get it—it’s a tough choice if you’re not sure what each one offers. Our handy guide breaks down the key differences to help you choose the perfect photo editor for you
View plansKey Factors to Consider
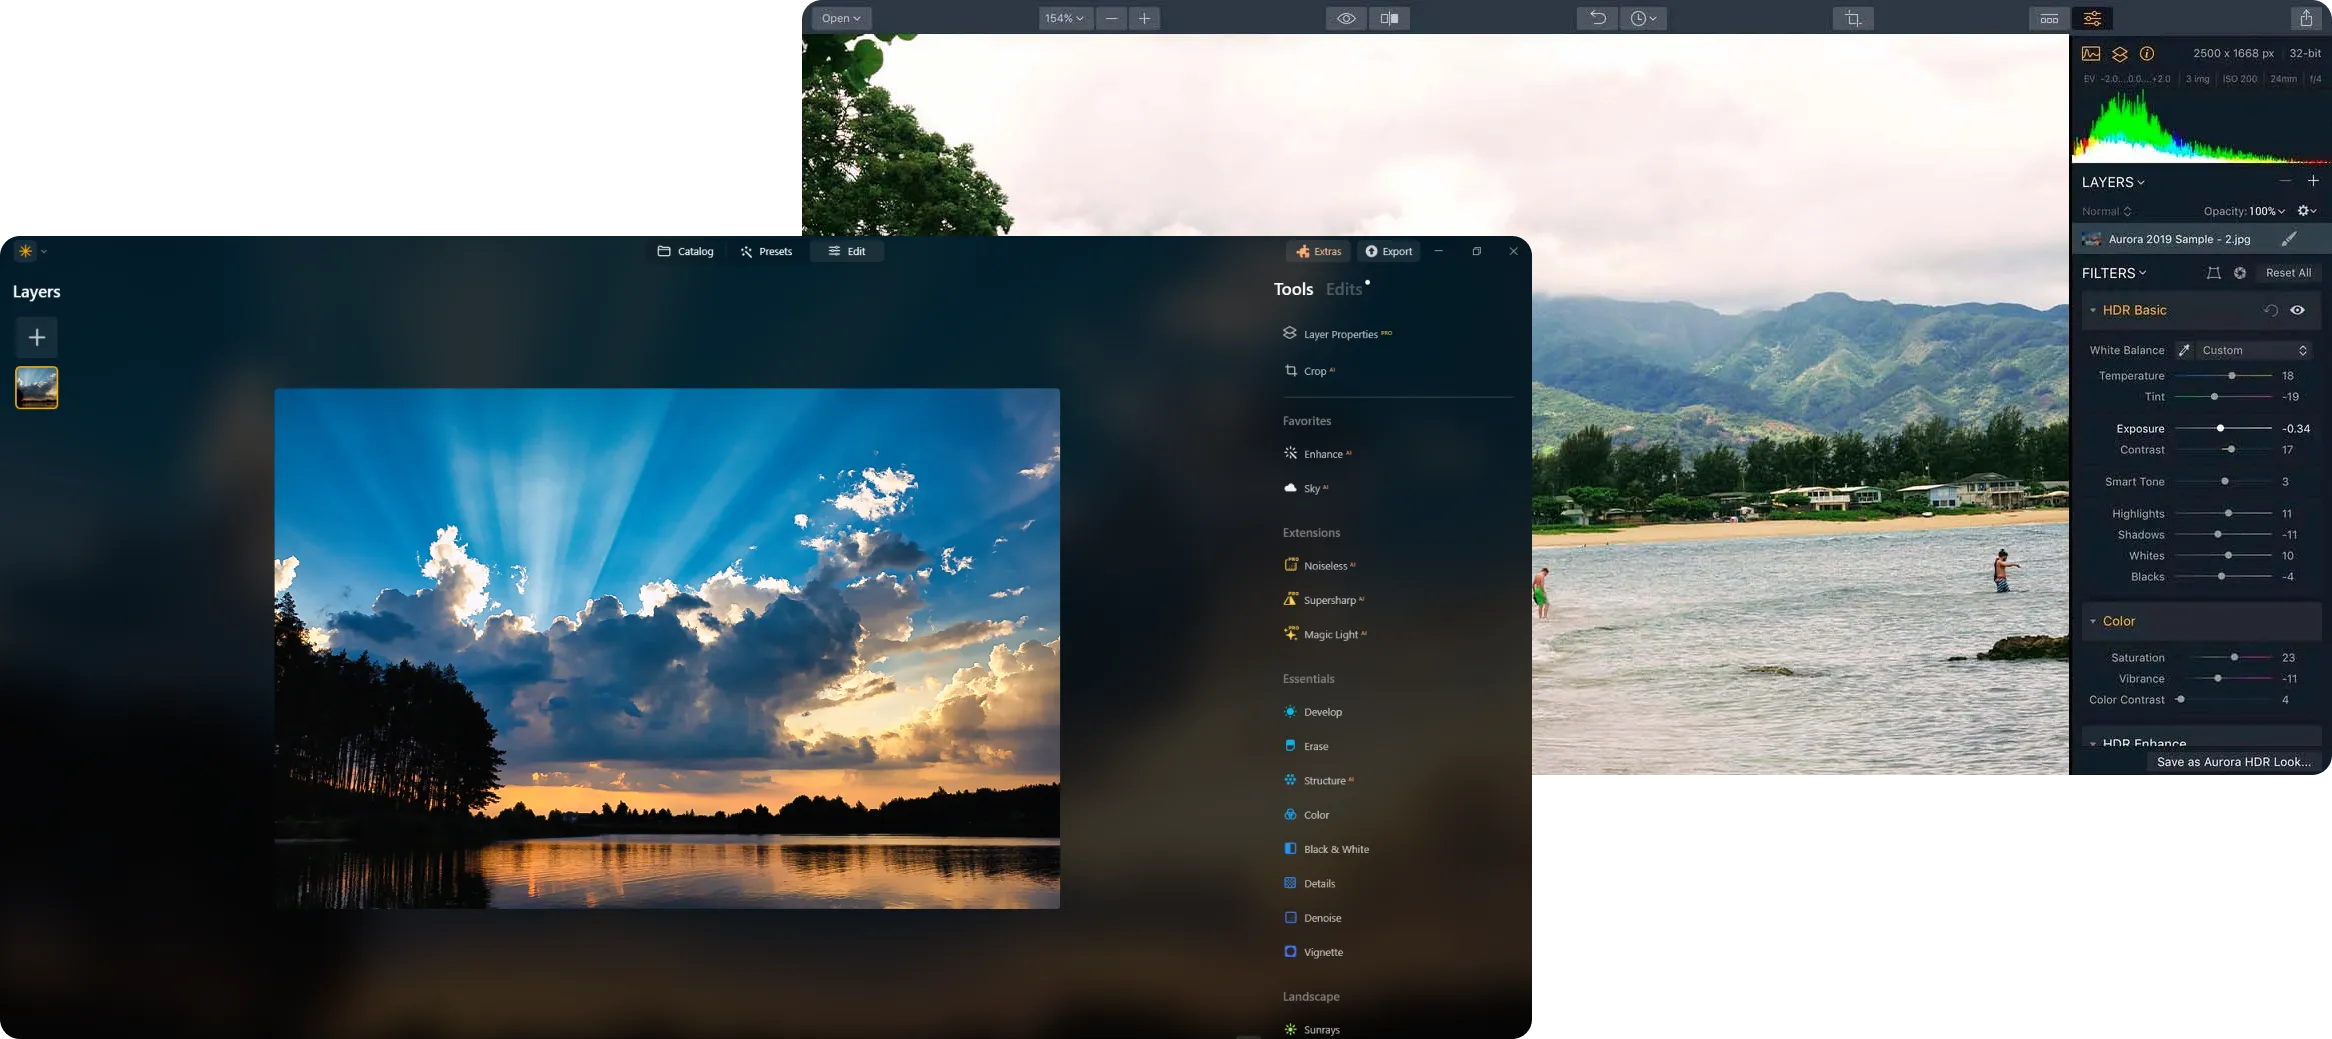
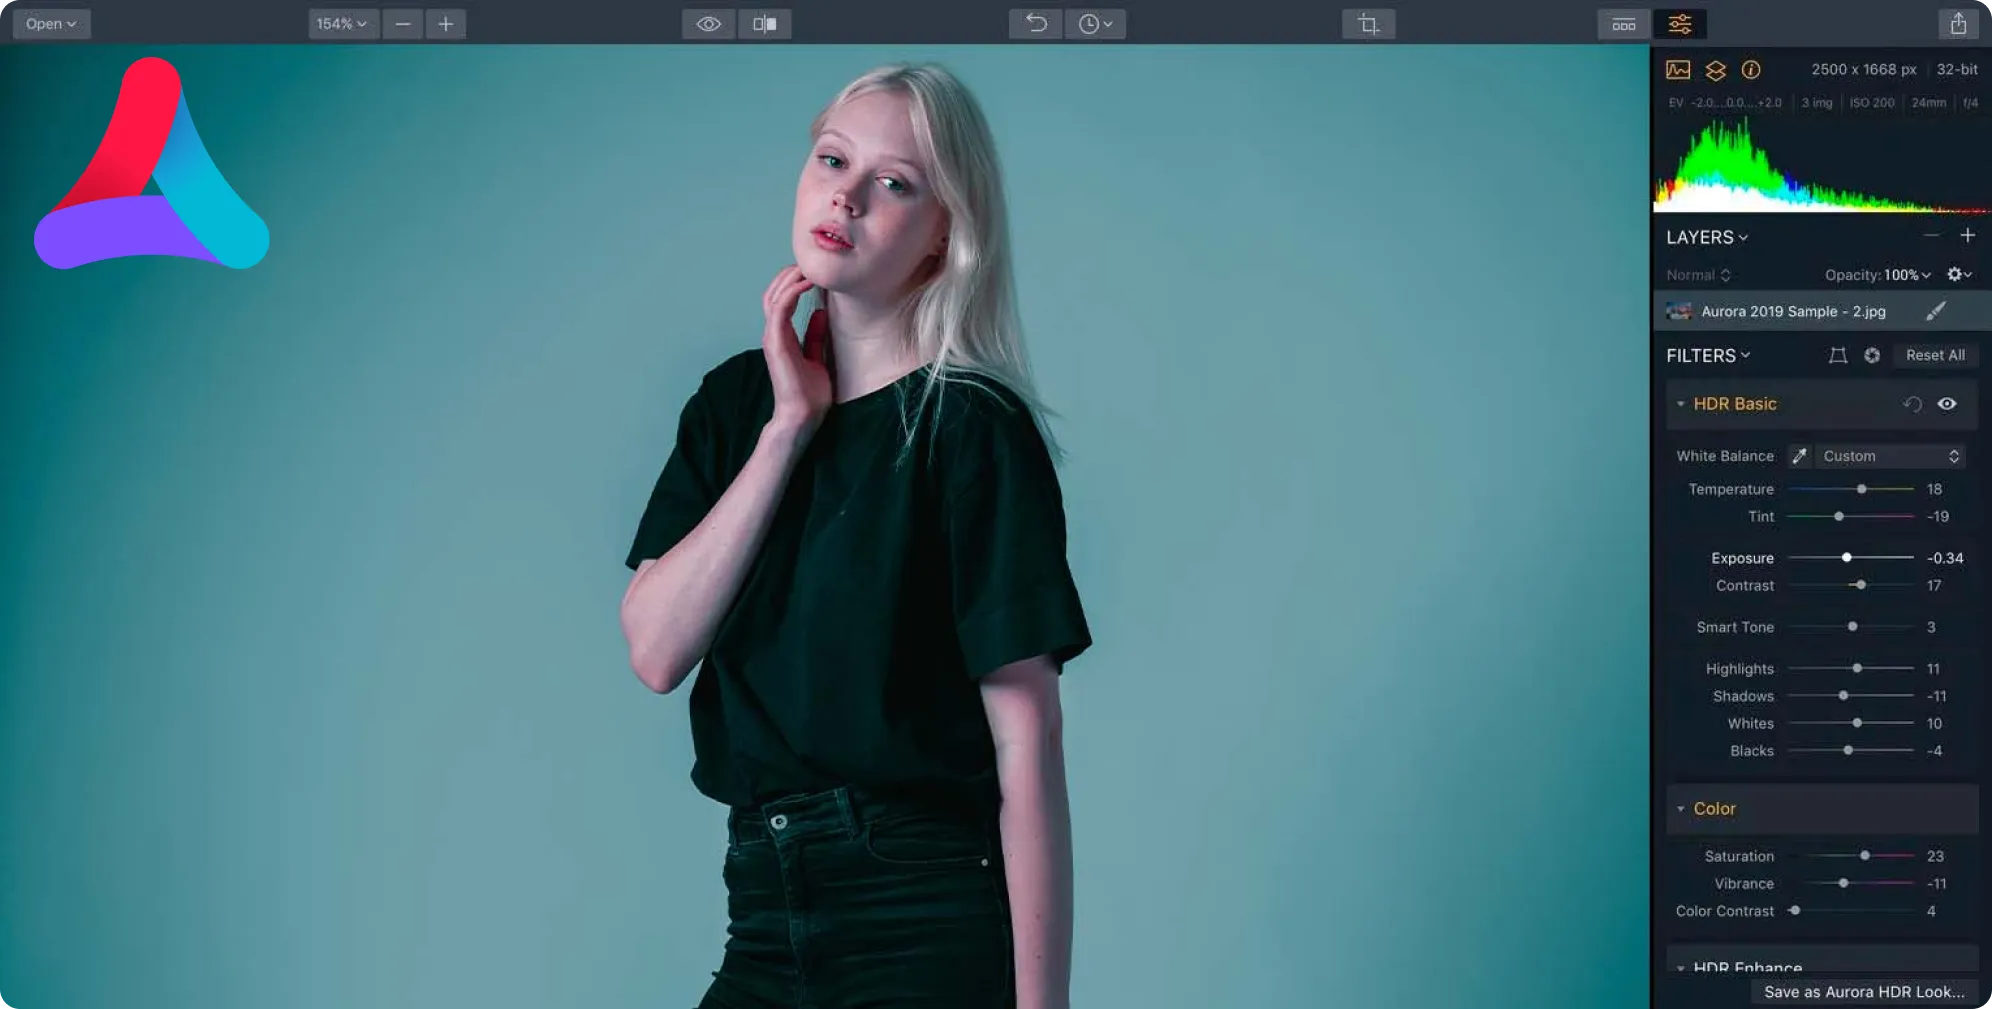
Interface
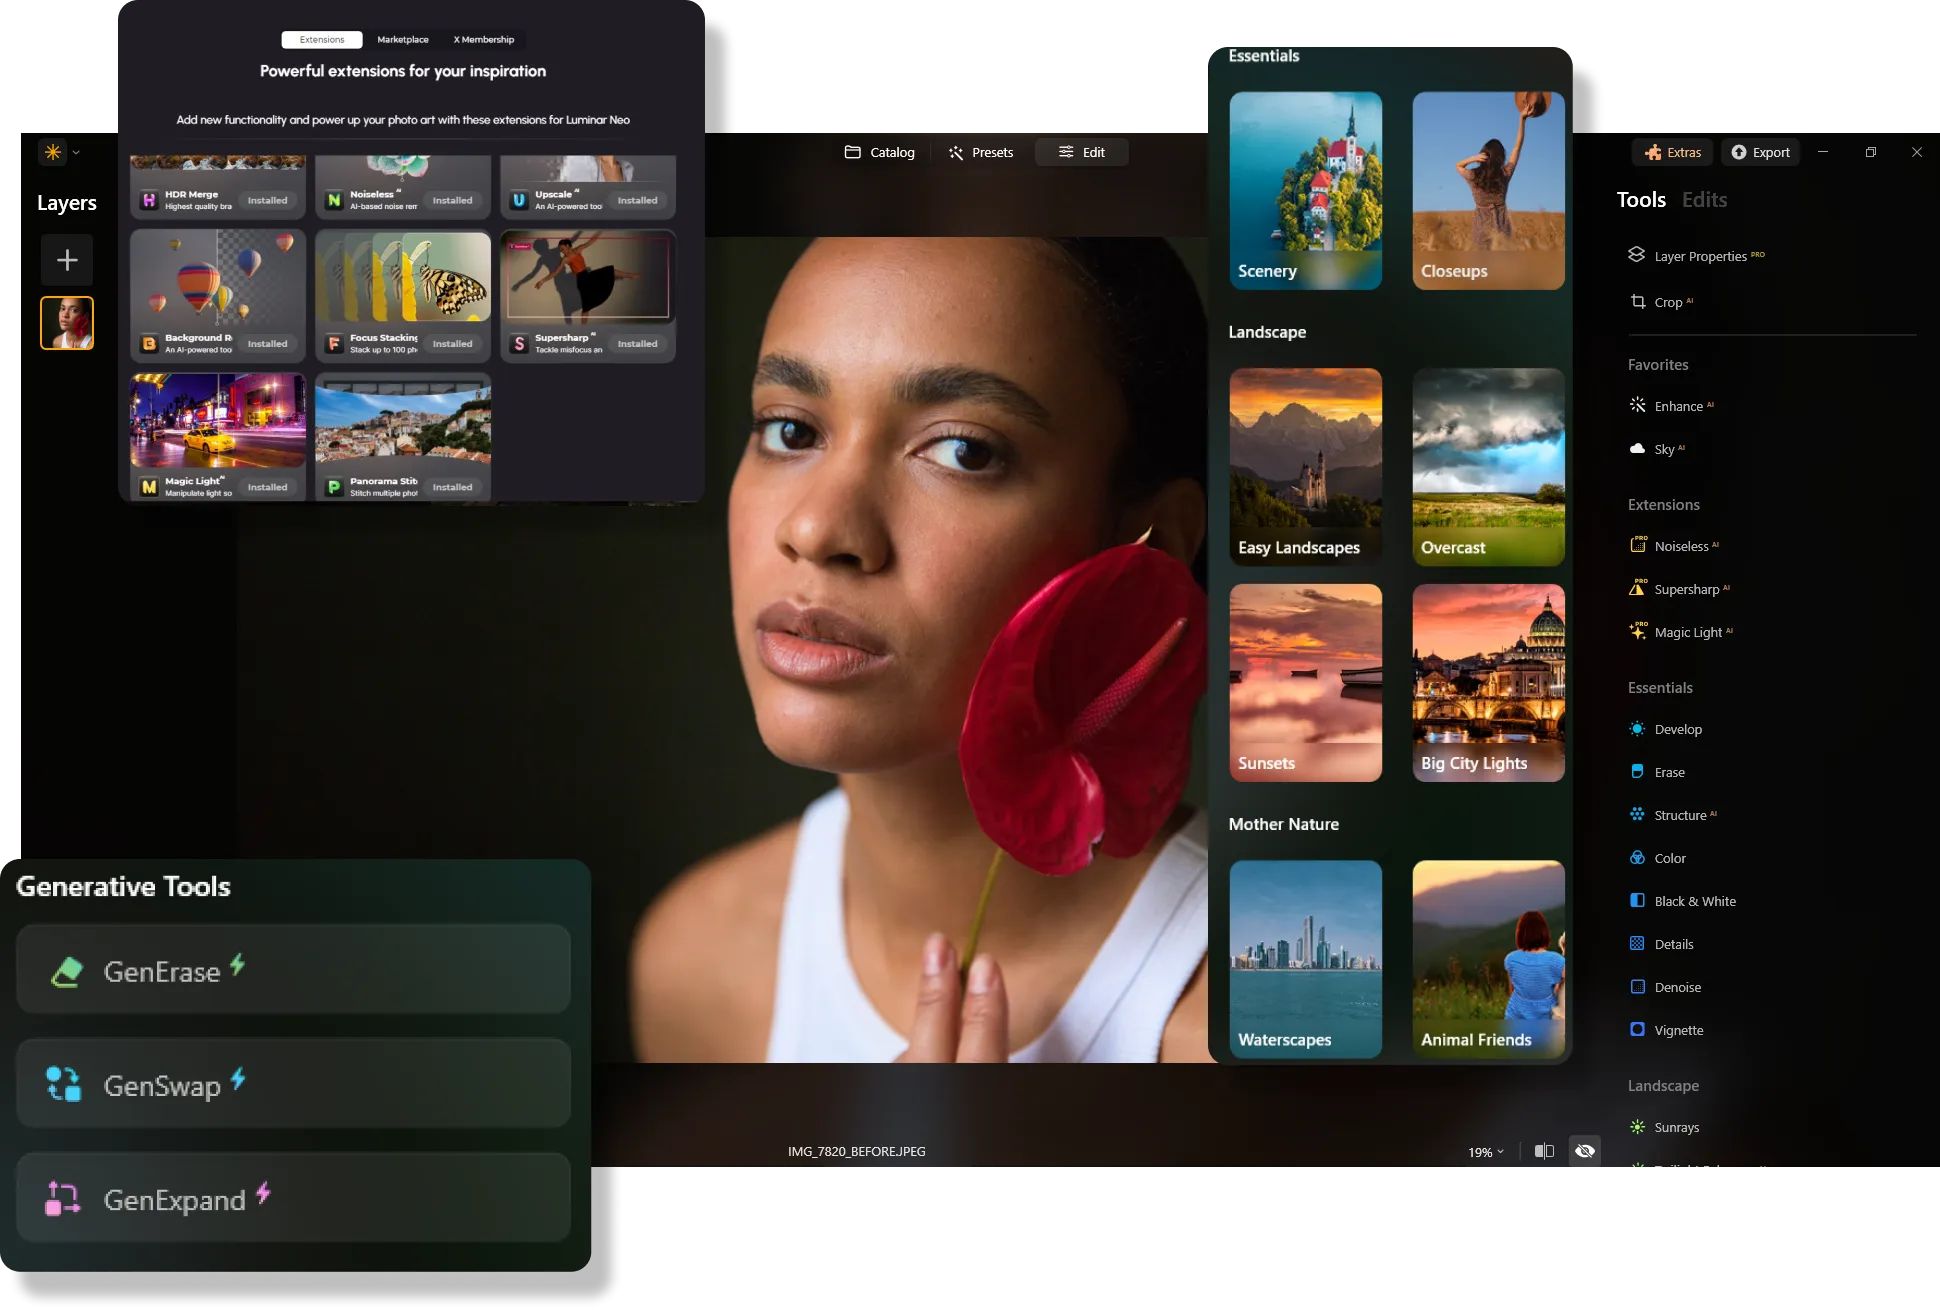
Both Aurora HDR and Luminar Neo have clean, intuitive designs that are easy to use. However, since Aurora HDR software is older, its interface can feel a bit outdated and might be overwhelming for beginners due to its many features. Luminar Neo, with its modern interface, offers a more streamlined experience.
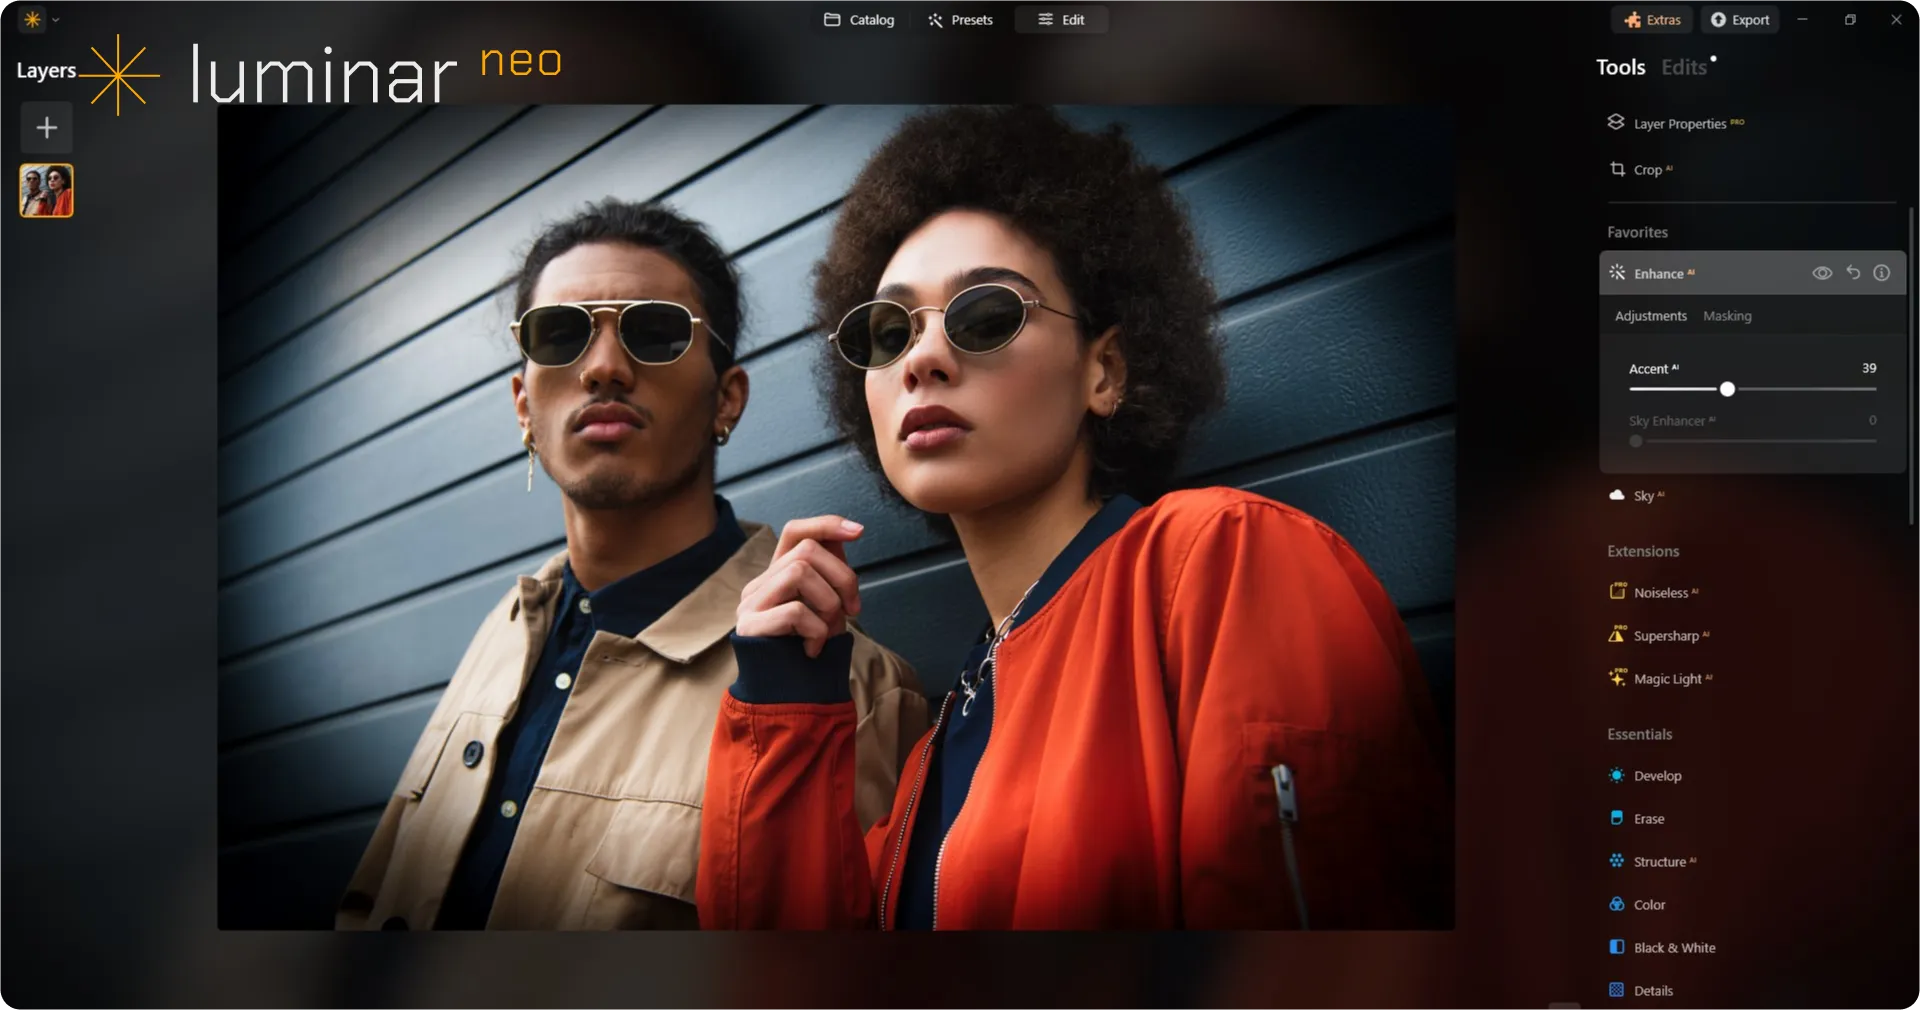
Variety of Functionality
Aurora HDR is renowned for its superior HDR capabilities and was long considered a top choice alongside Luminar Neo. However, with Luminar Neo's new HDR Merge extension, you can now merge exposure brackets and edit photos seamlessly within one program. Additionally, Luminar Neo offers a broader range of tools and advanced AI features, making it ideal for creating stunning, detailed images of both landscapes and portraits.


Updates and Upgrades
Aurora HDR, as an older product now replaced by Luminar Neo, no longer receives updates or upgrades, meaning it won't benefit from the latest features and performance improvements. In contrast, Luminar Neo is frequently updated with new features and enhancements, particularly in its AI capabilities, ensuring users always have access to cutting-edge tools.
 Discover Now!
Luminar Neo vs Aurora HDR: Main Features Compared
| Features | Aurora HDR | Luminar Neo |
|---|---|---|
Single image tone mapping | ||
Single bracket HDR merge | ||
Batch Processing | ||
Auto batch processing detection | ||
Improved HDR brackets detection in Batch Processing | ||
New Cameras Support | ||
Batch file naming and export quality settings | ||
Export presets saving | ||
Up to ~1.5x-1.8x faster on different OS | ||
Wide functionality |
Aurora HDR
Luminar Neo
Single image tone mapping
Single bracket HDR merge
Batch Processing
Auto batch processing detection
Improved HDR brackets detection in Batch Processing
New Cameras Support
Batch file naming and export quality settings
Export presets saving
Up to ~1.5x-1.8x faster on different OS
Wide functionality


.webp)

Keep your workflow, expand your possibilities
Want to get all the benefits of Luminar Neo but have an established Lightroom workflow? Great news! You can use all the power of Luminar Neo within a plugin for Lightroom without changing up your usual post-production process.

An application & plugin
For macOS & Windows
- High-performance AI editor
24/7 technical support
30-day money back guarantee
Join our communities