View plans

Add Frame To Photo For A Polished Look

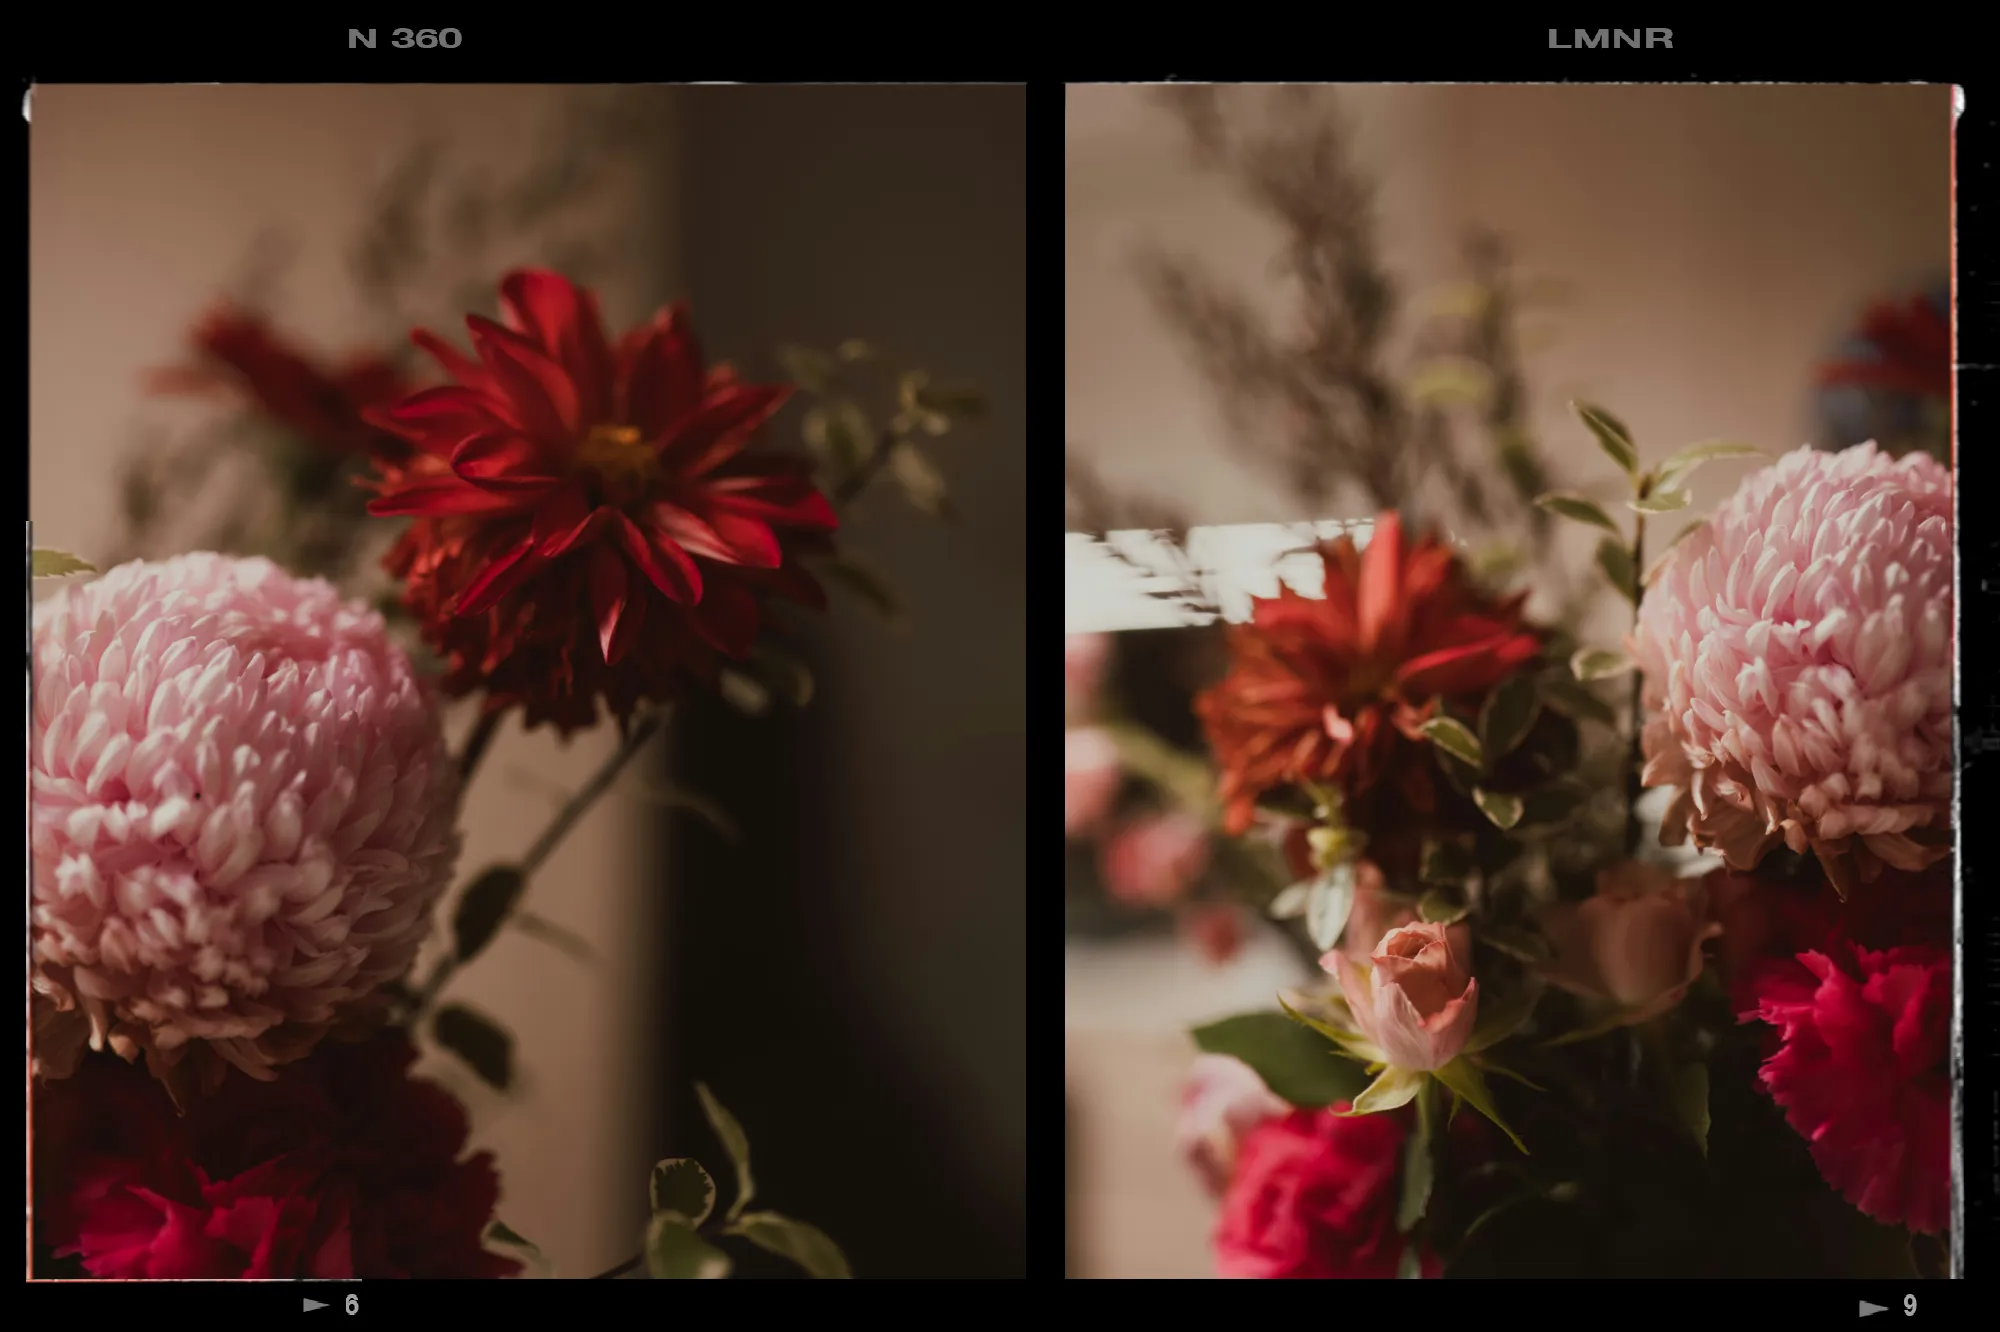
Create a polished look for any image with Luminar Neo’s photo frame maker. Add clean, stylish borders that help your photos stand out online or in print.

Try it now

Turn Ordinary Photos into Framed Visuals with Image Framer

Give your images a polished, gallery-worthy finish with Luminar Neo. While Luminar Neo is not a traditional graphic design tool, it makes it easy to create a professional frame photo editor effect using its flexible layer-based workflow.

(2)

Create a Photo Frame to Match Your Style and Mood

To create a framed effect in Luminar Neo, open the Layers panel by clicking the “+” button and follow these simple steps:

(3)

Choose a frame from the Marketplace or upload your own

(4)

Position it over your photo for the desired composition

(5)

Adjust opacity and blend mode to control the effect

(6)

Resize, flip, or map the frame for a perfect fit

(7)

Fine-tune the placement to create a polished final look

This simple workflow shows how to add a frame to a picture without complex design tools.

Perfect for Social Media, Prints, and Personal Projects

This flexible photo border editor is perfect for:

  • • Photographers who want to present portfolio images with a clean, gallery-style finish
  • • Content creators designing polished visuals that stand out across social media
  • • Print projects where framed compositions create a more professional final presentation

It is also a helpful feature for anyone looking to put a picture in a frame for a more refined and intentional look.

Give Your Photos a Clean, Finished Look

For the best results, use guide templates to center your image perfectly within the frame. Always scale by dragging from the corners to preserve proportions and avoid distortion.

This keeps your composition balanced and gives every photo a professional look, ready for publishing or printing.
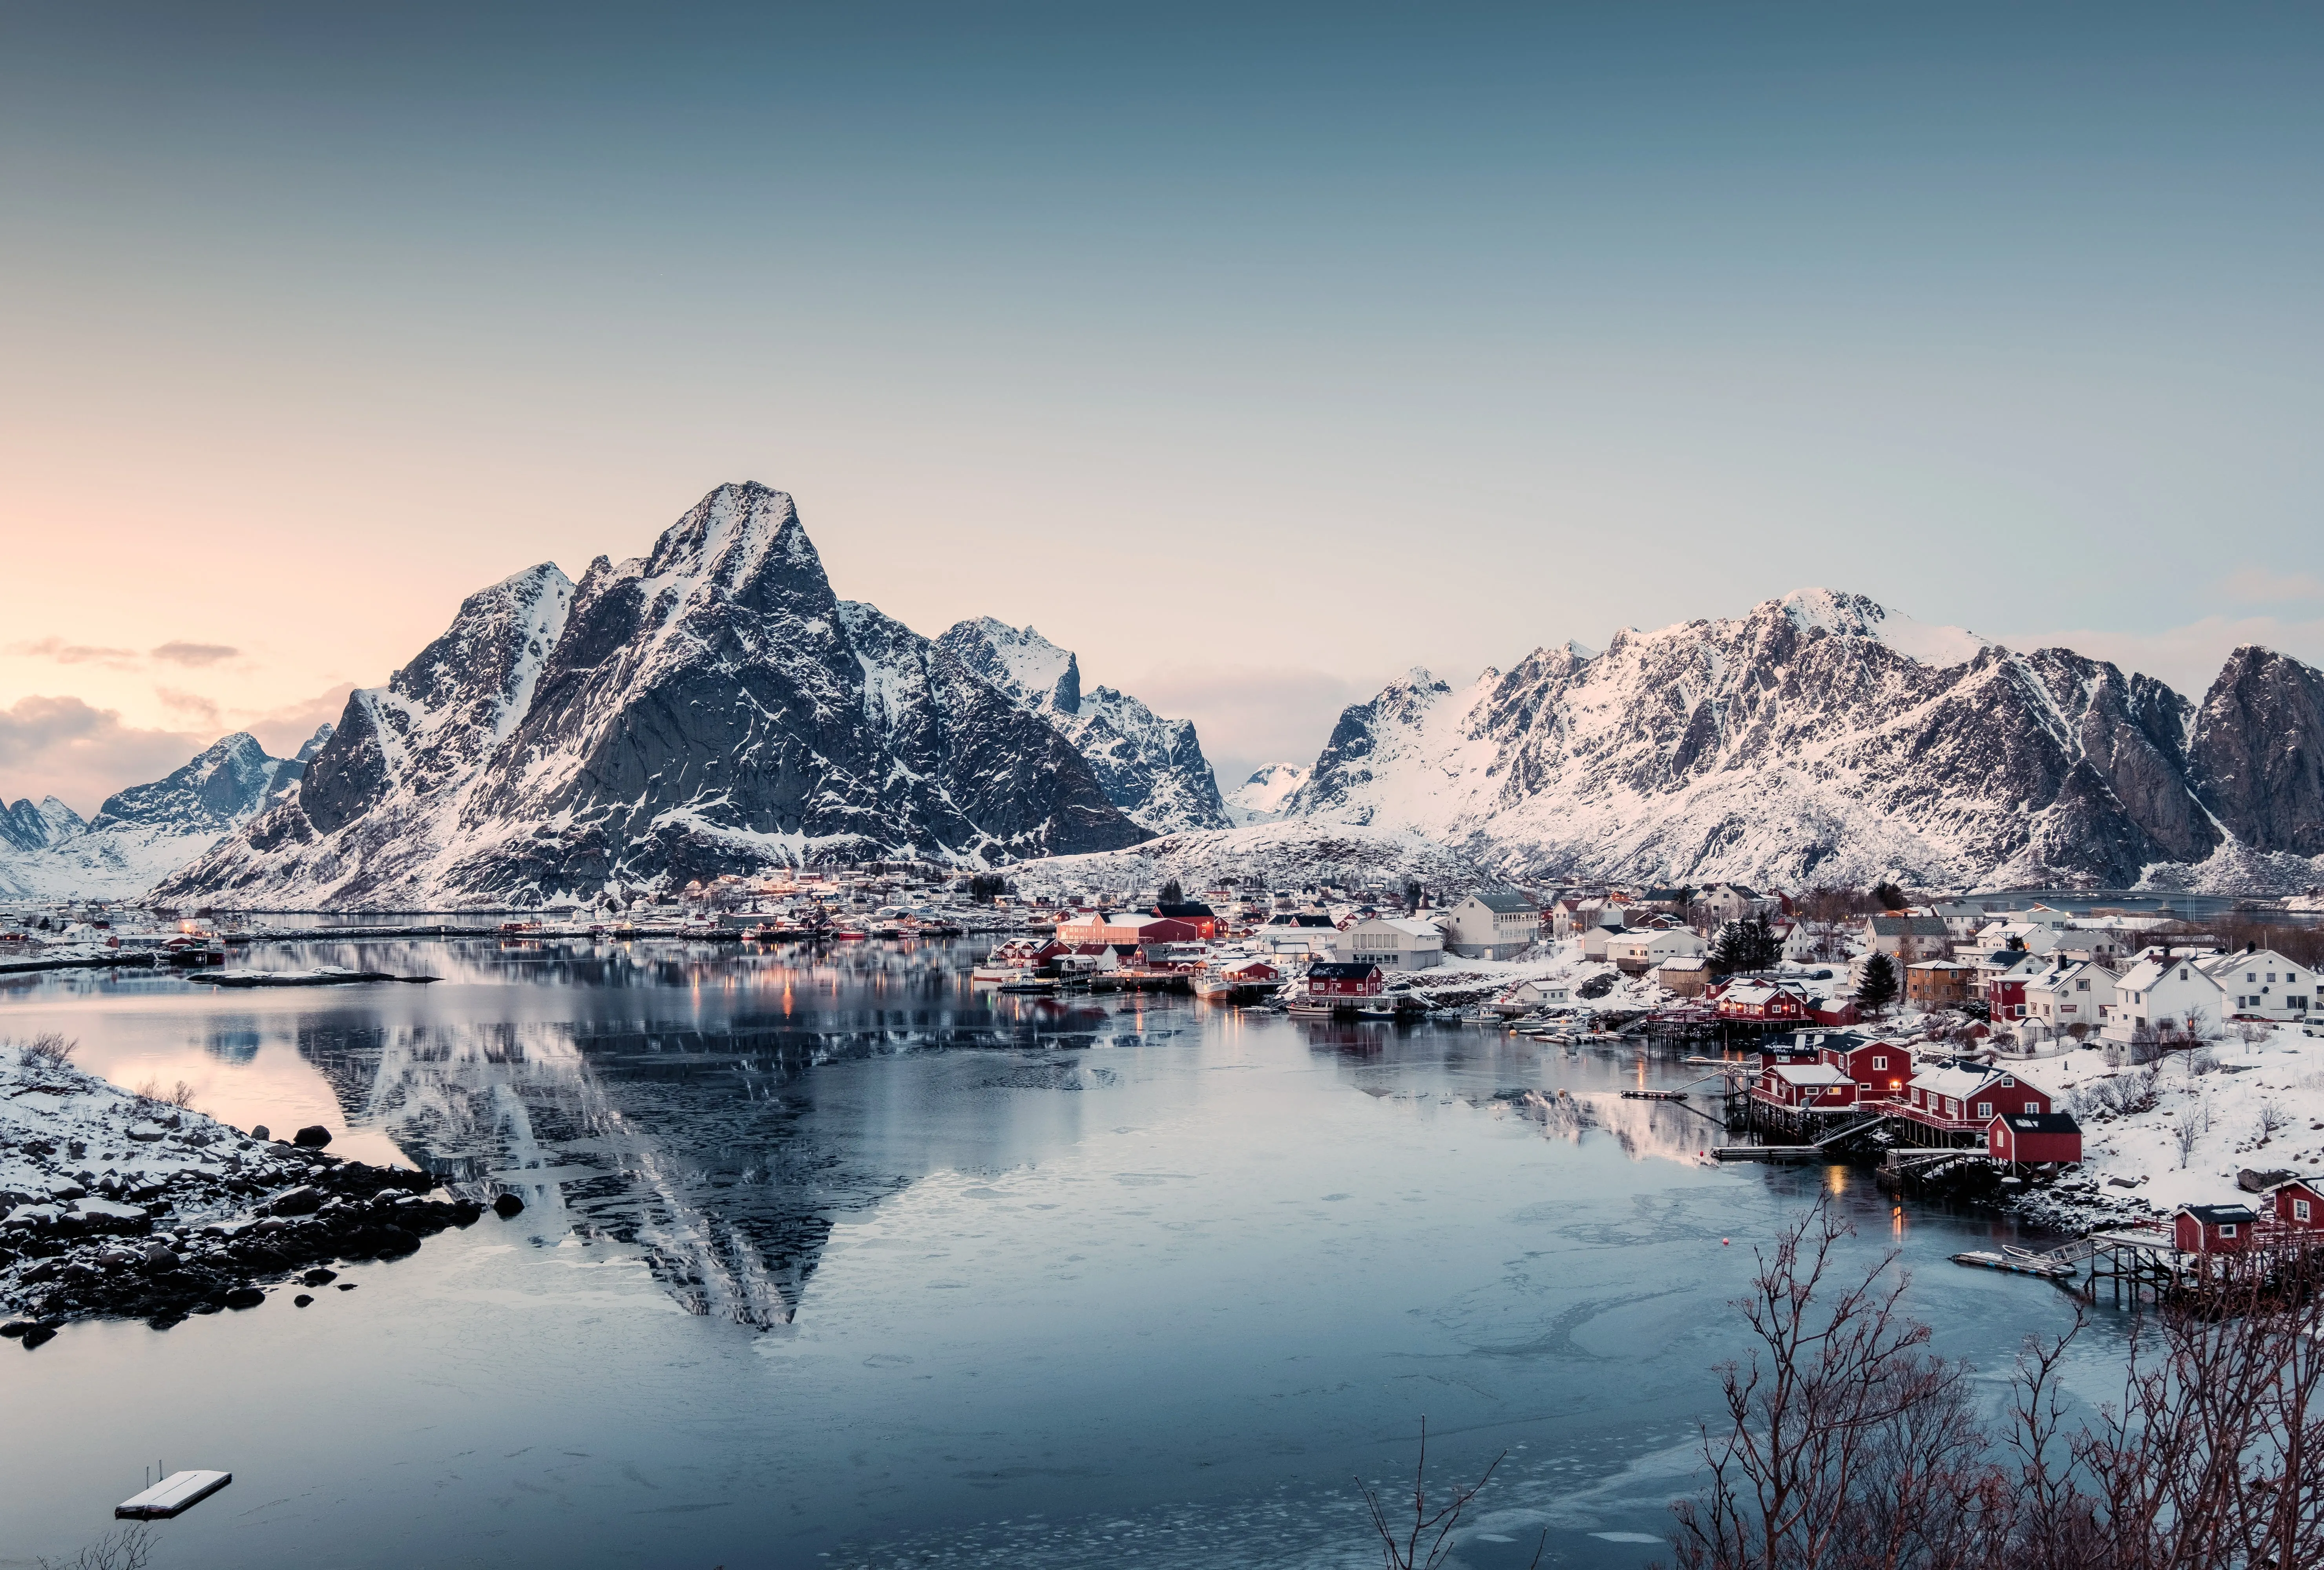
(8)
(9)
(10)
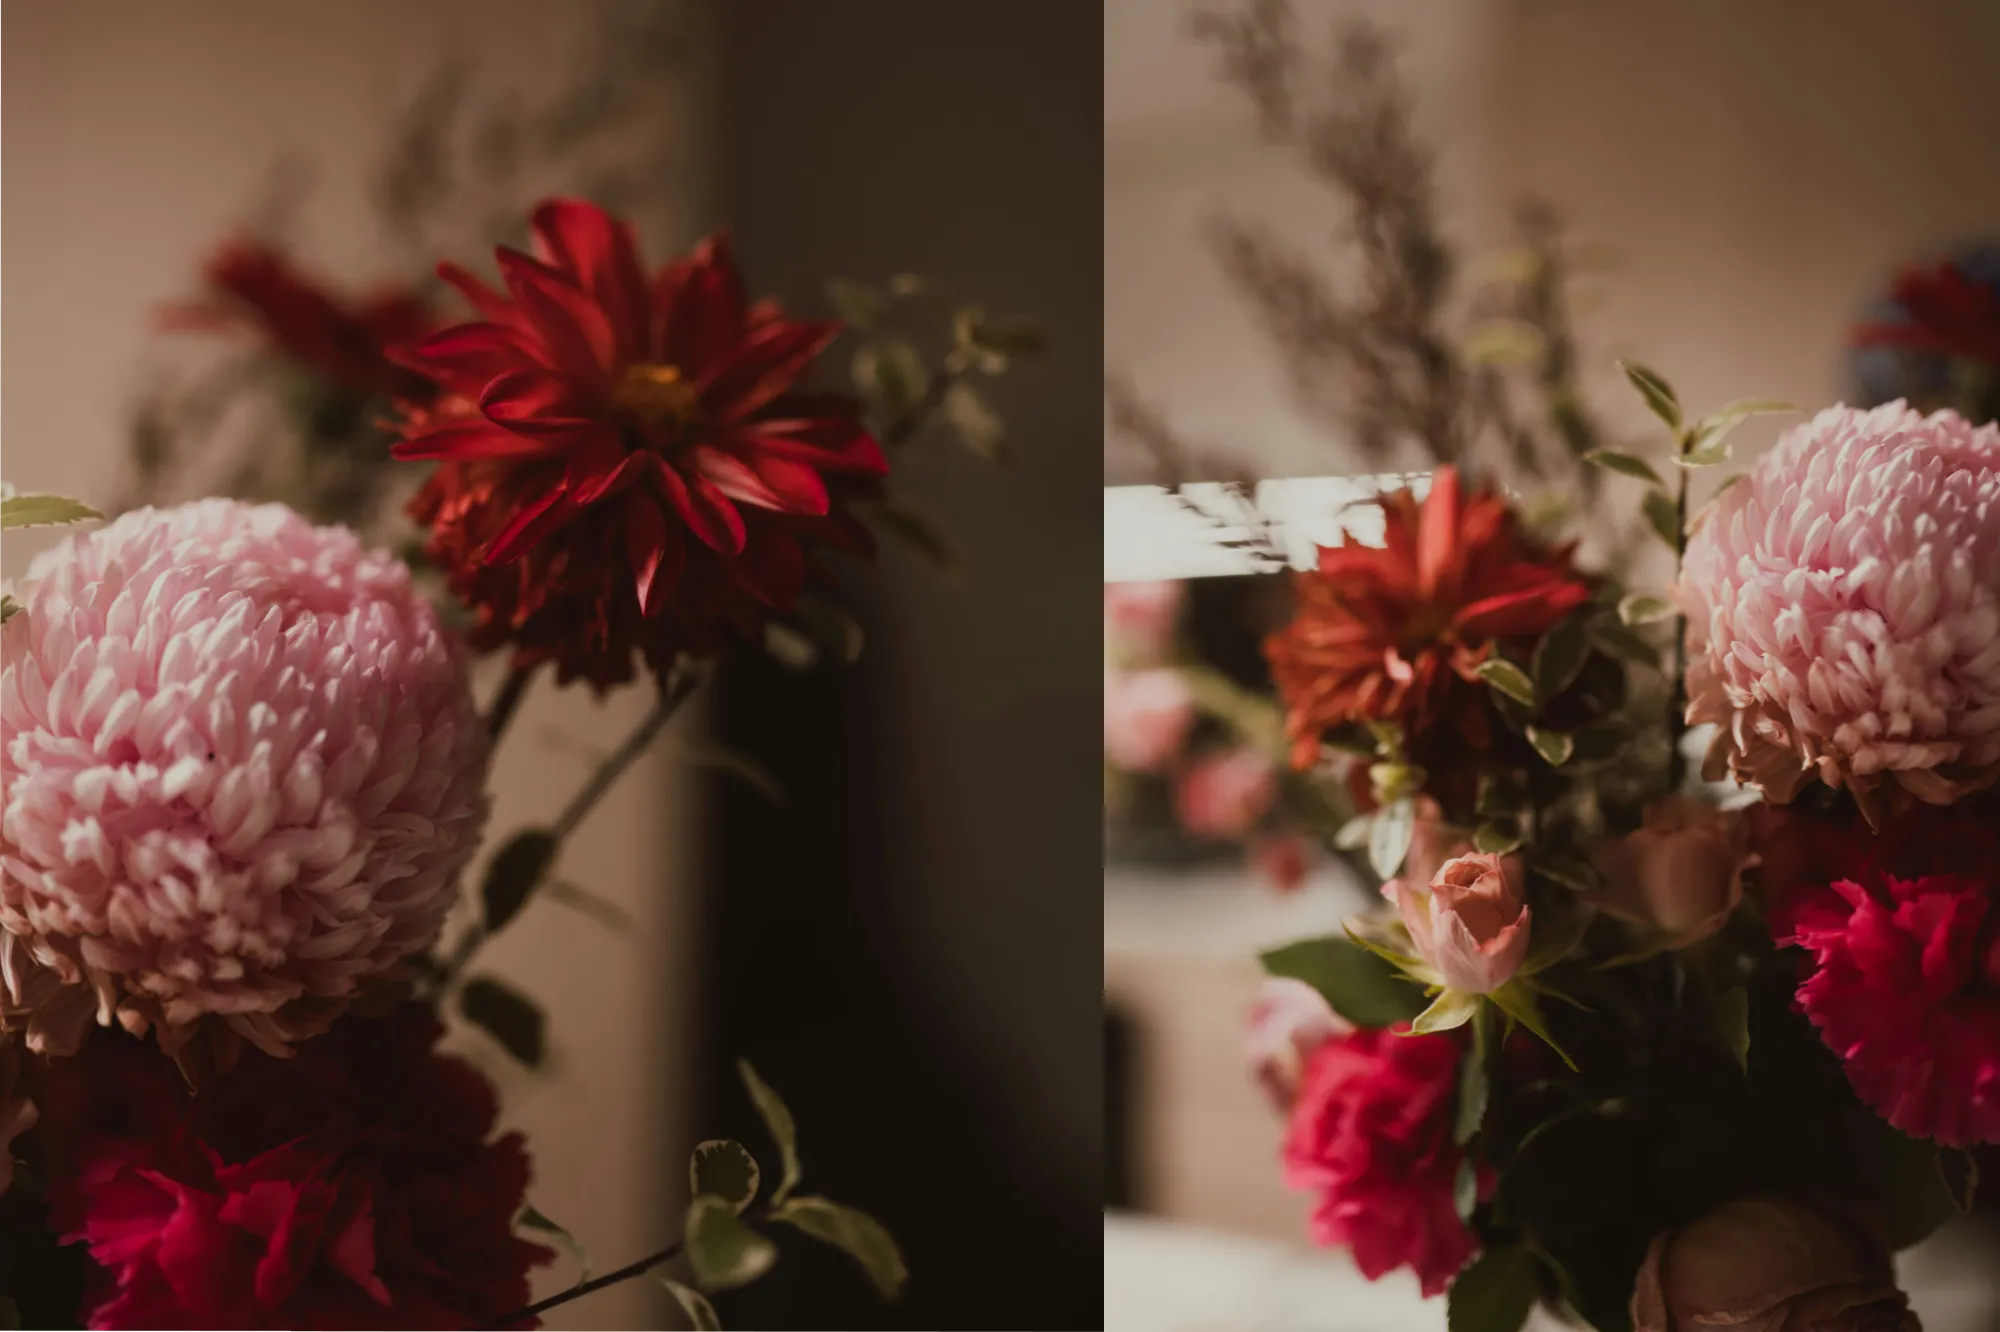
Before
After
© shutterstock

Explore Other Features

(11)
Overlay Pictures
(12)
(13)
Before
After
© Shutterstock

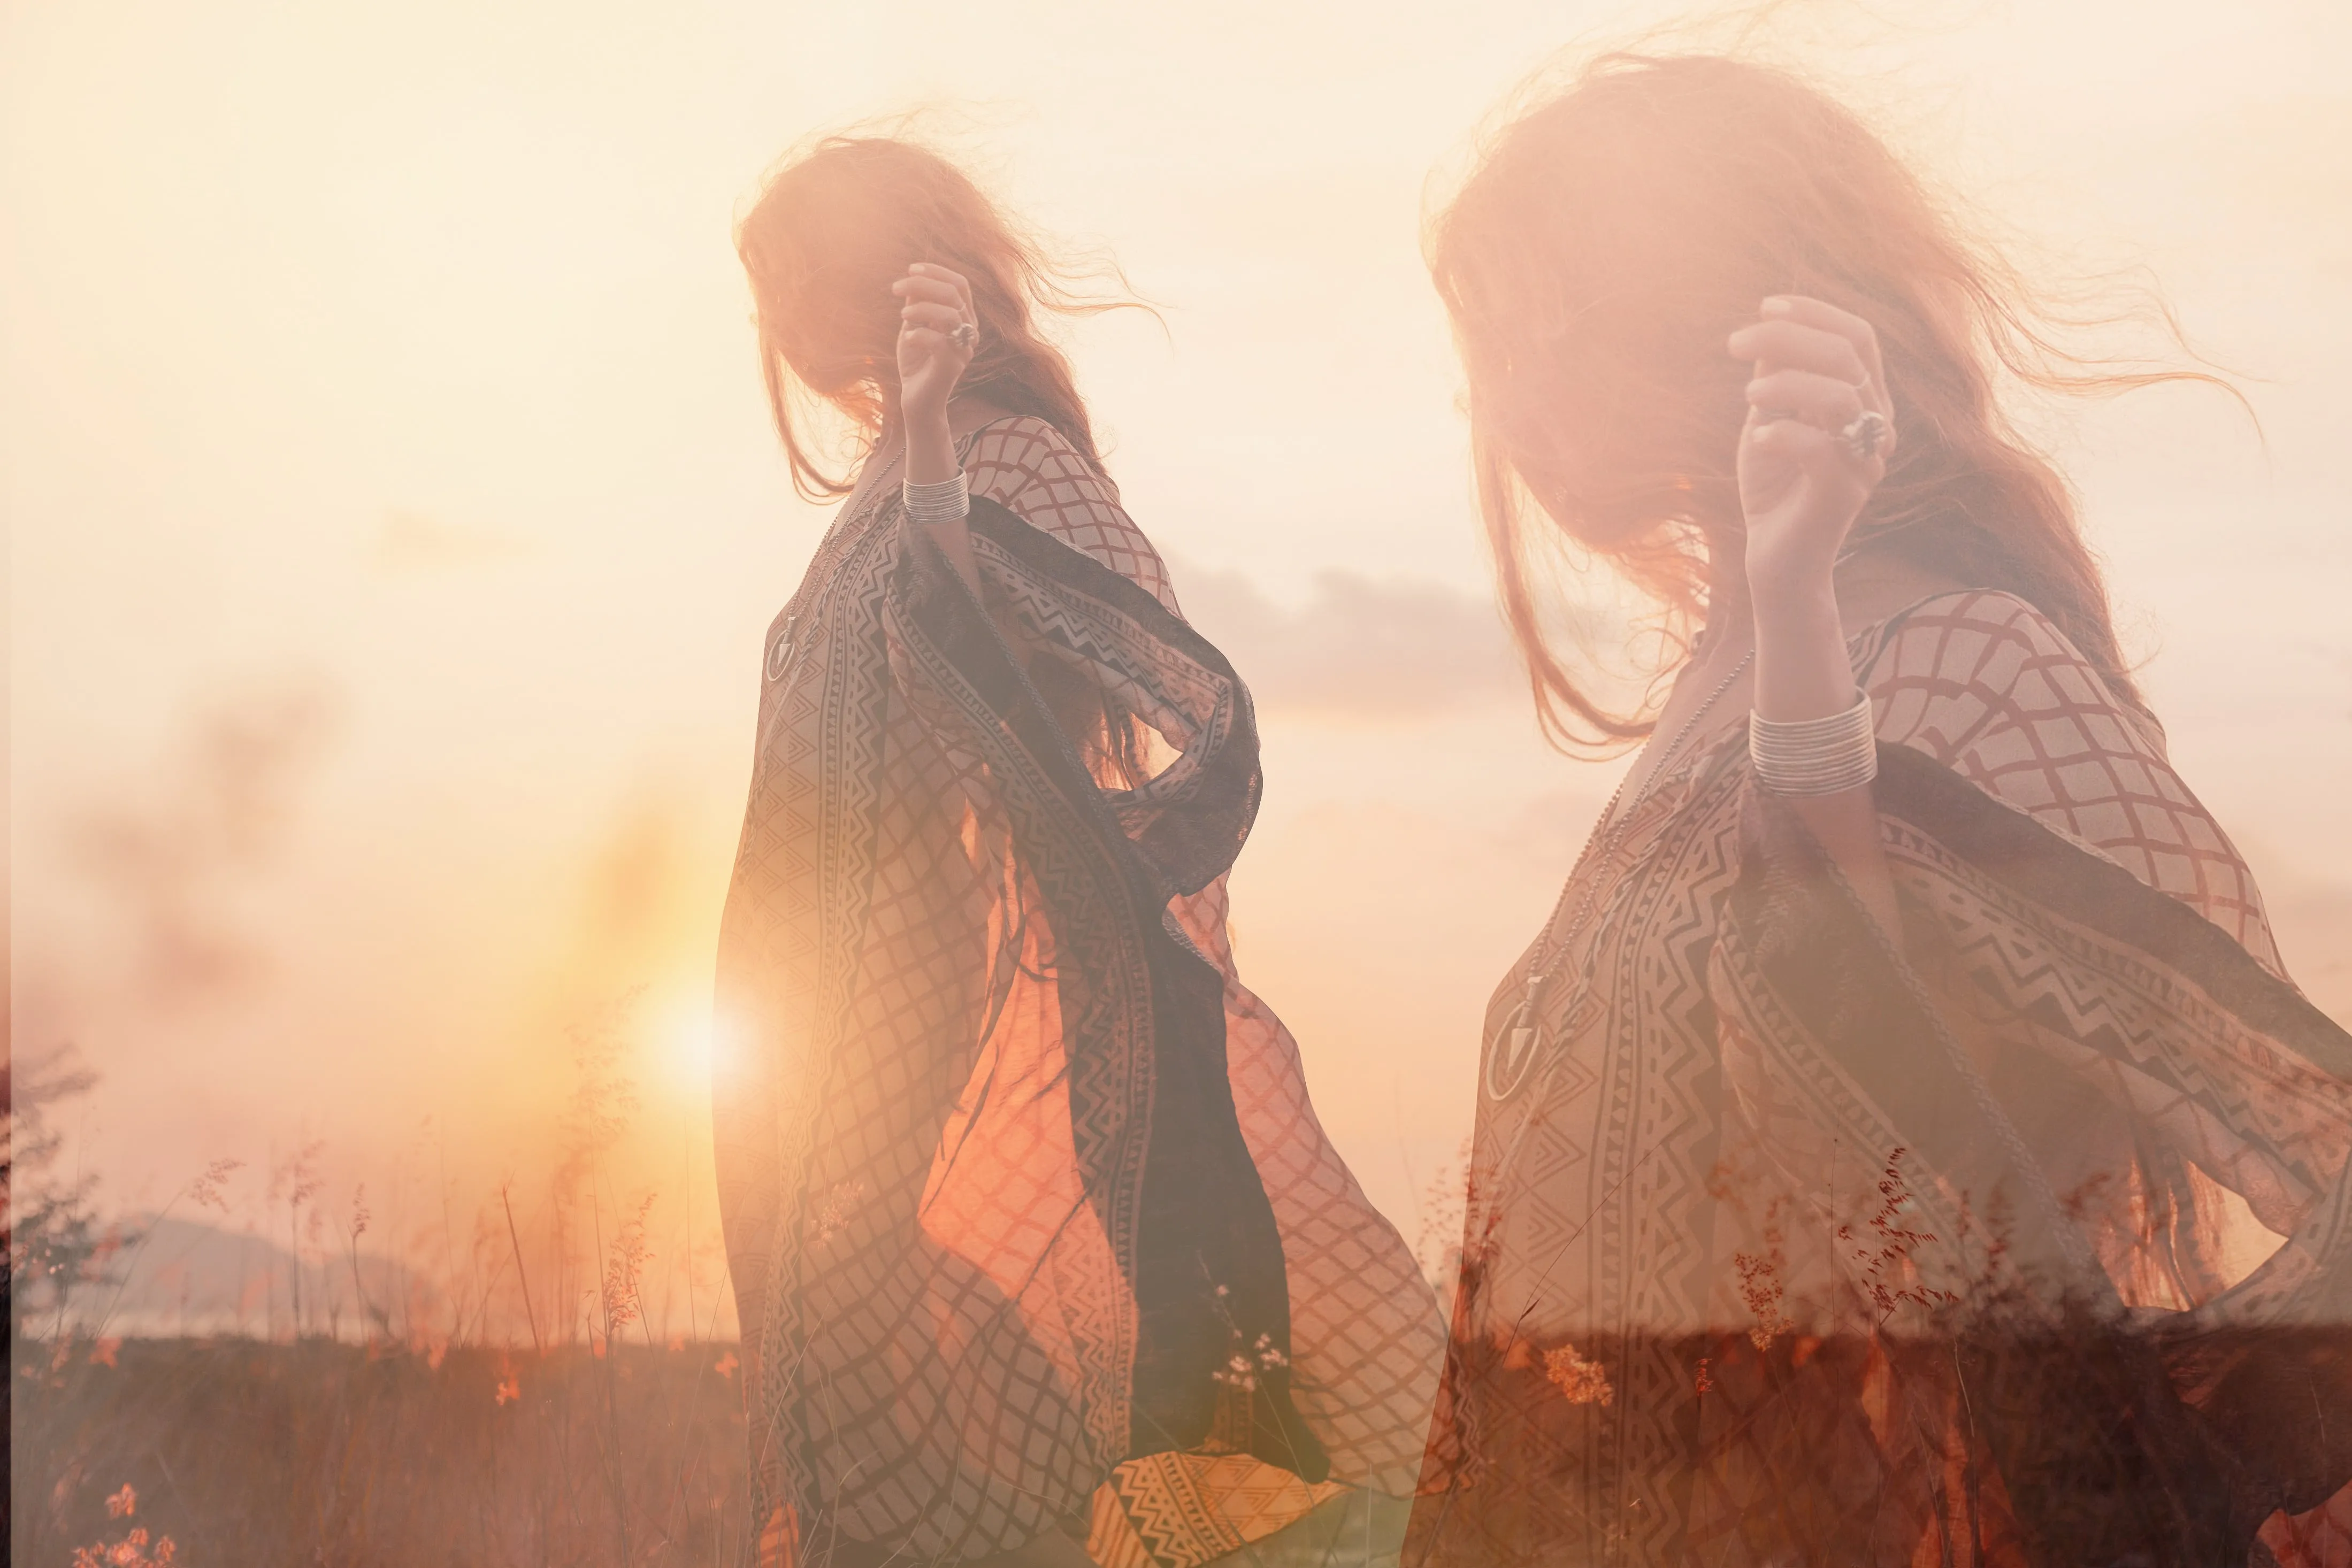
Overlay Pictures

Add texture, light effects, or graphics to elevate your visual storytelling.
(14)
AI Outpainting
(15)
(16)
Before
After
© Depositphoto

AI Outpainting

Add new details, backgrounds, and expand your artwork without losing its natural feel
(17)
Film Filter
(18)
(19)
Before
After
© Shutterstock

Film Filter

Add dramatic film effect filters using Luminar Neo’s powerful features
(20)
Blend Two Images
(21)
(22)
Before
After
© Ksenia Kazak

Blend Two Images

Elevate your photography to new heights by seamlessly blending two images.
(11)
Layer Mask
(24)
(25)
Before
After
© Ksenia Kazak

Layer Mask

Experiment with your photos and create special effects by blending and masking two or more layers in an image.
(26)
Cut Out Image
(27)
(28)
Before
After
© bloodua

Cut Out Image

Cut out your subject and give it a new life on any background—no distractions.

FAQ

Can I Customize the Frame Color and Thickness?

Yes. Luminar Neo offers flexible layer-based tools for photo frames design images editing, allowing you to create custom borders, adjust frame proportions, and build polished compositions for both digital and print use.

How to Add a Frame to a Photo in Luminar?

Create a background layer, place your photo above it, scale it to reveal the border, and align everything for a balanced framed effect.

What File Formats Are Supported After Framing?

You can export your final framed image in JPEG, PNG, and other widely supported formats.

How Do I Remove a Frame If I Change My Mind?

Since framing is created through layers, you can simply hide or delete the frame layer at any time.
(29)